Week 1: introduction to the module
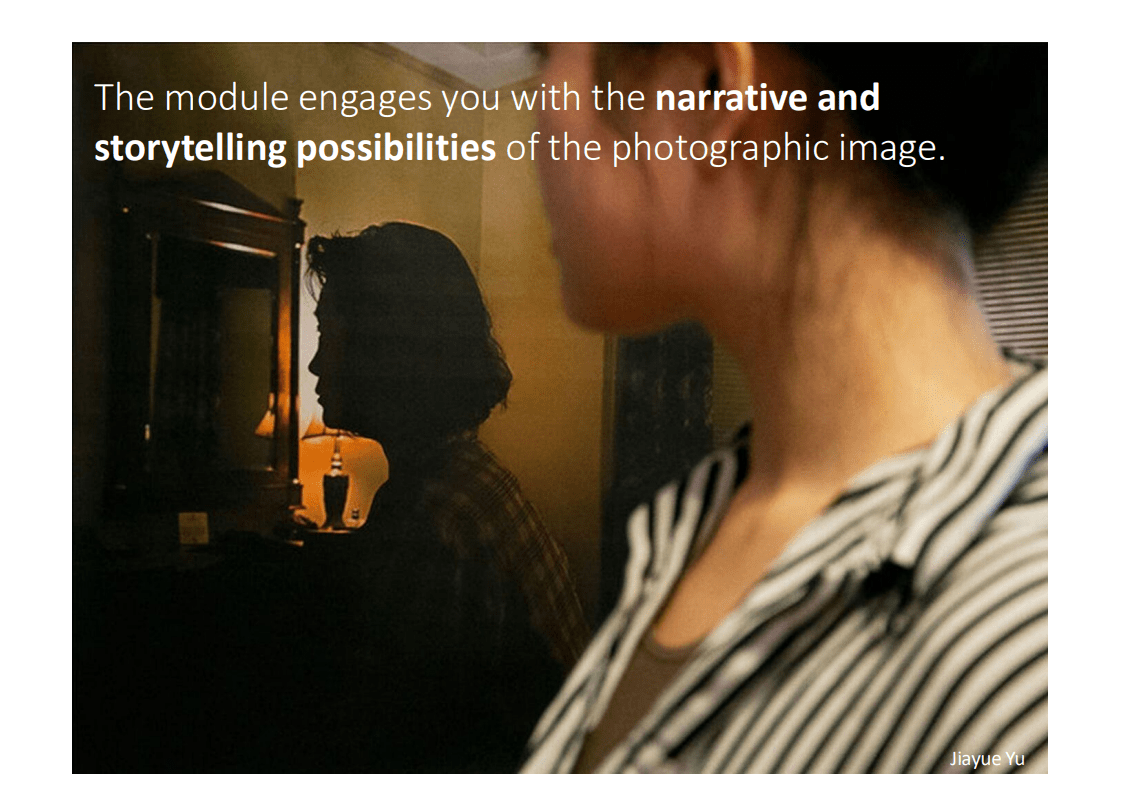
This week we will go thought the different slides on the PowerPoint presentation where we will earn about the module, objectives and its assignments.
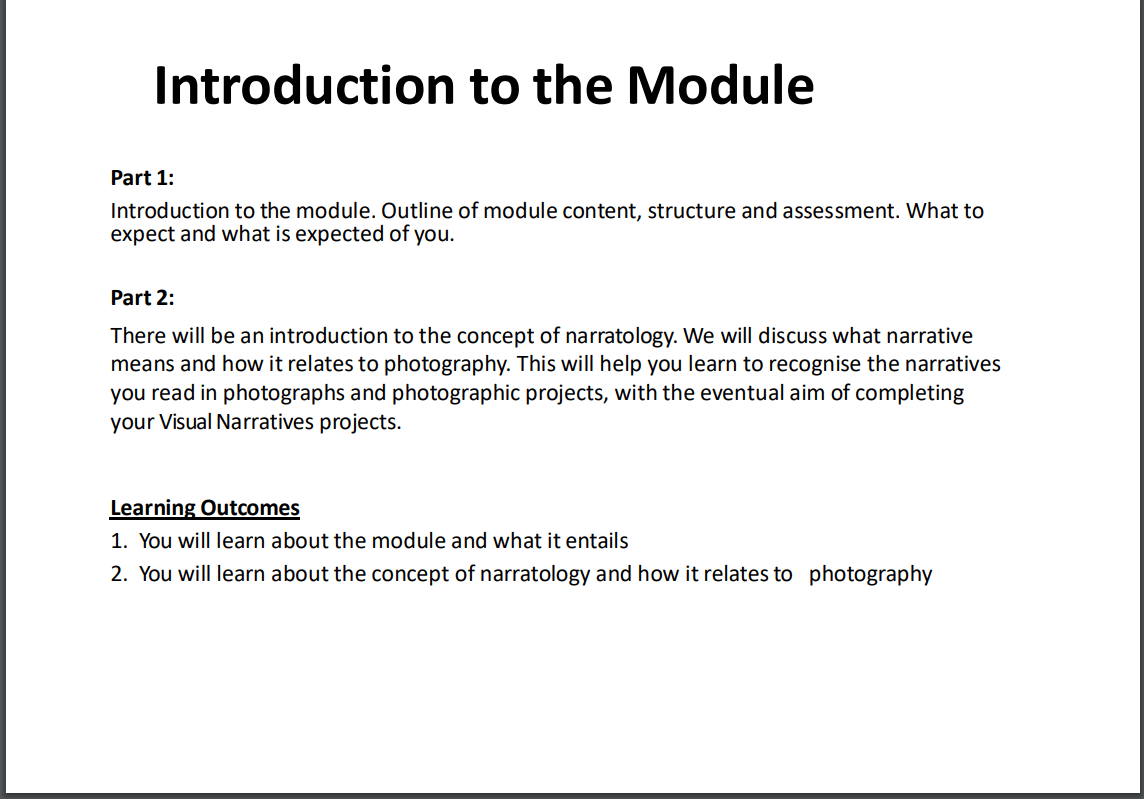
The tutor for this module will be: Daniel Silas.
To begin with we made a short presentation of ourselves to the class so we have a better connection with each other.
for my presentation I told the class my name Illiams Zapata, I explained that I am interested on narrative, that my inspiration for this module will be my cousin which is a photographer that I admire , and that by the end of this module I would like to improve my photography in terms of narrative and storytelling.
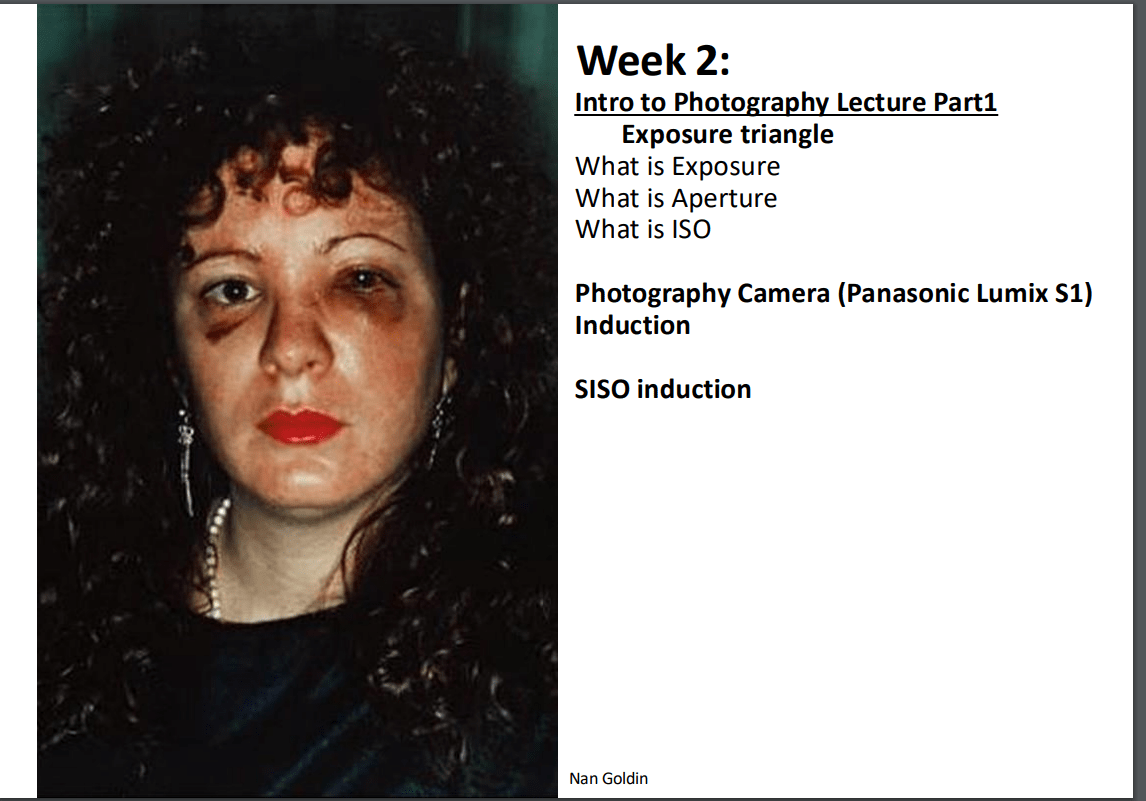
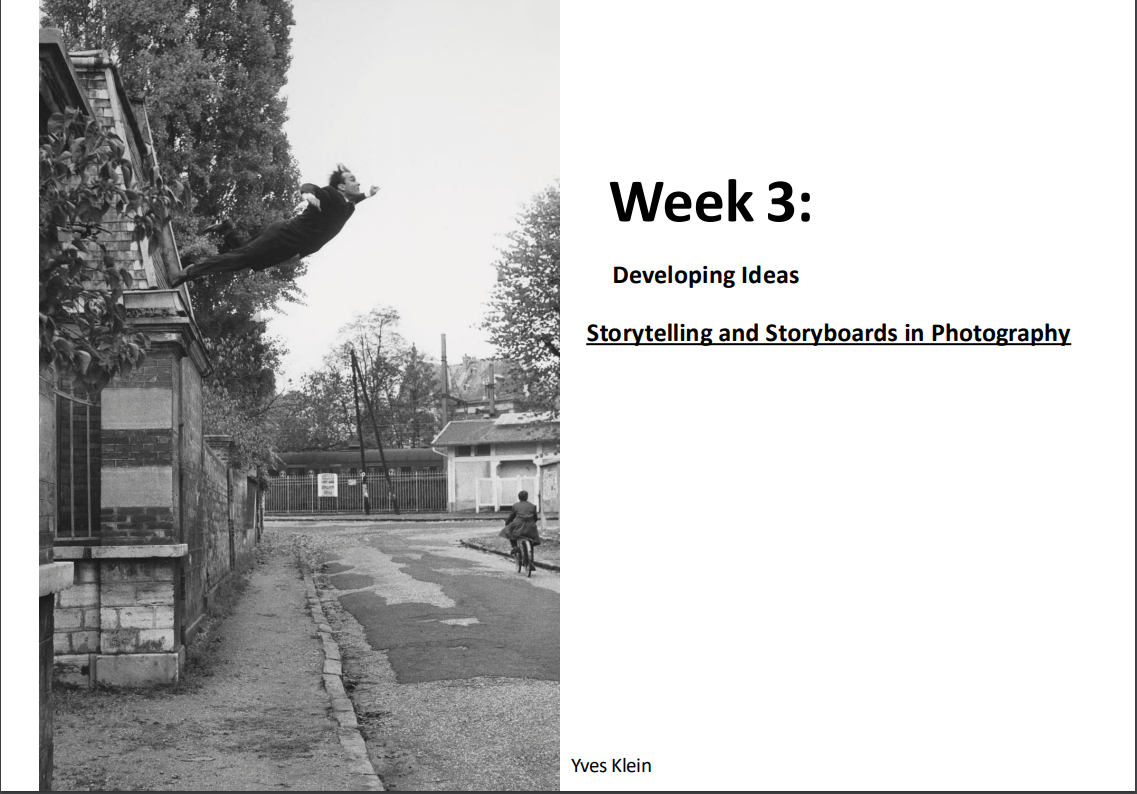
We looked at the content for the following weeks:
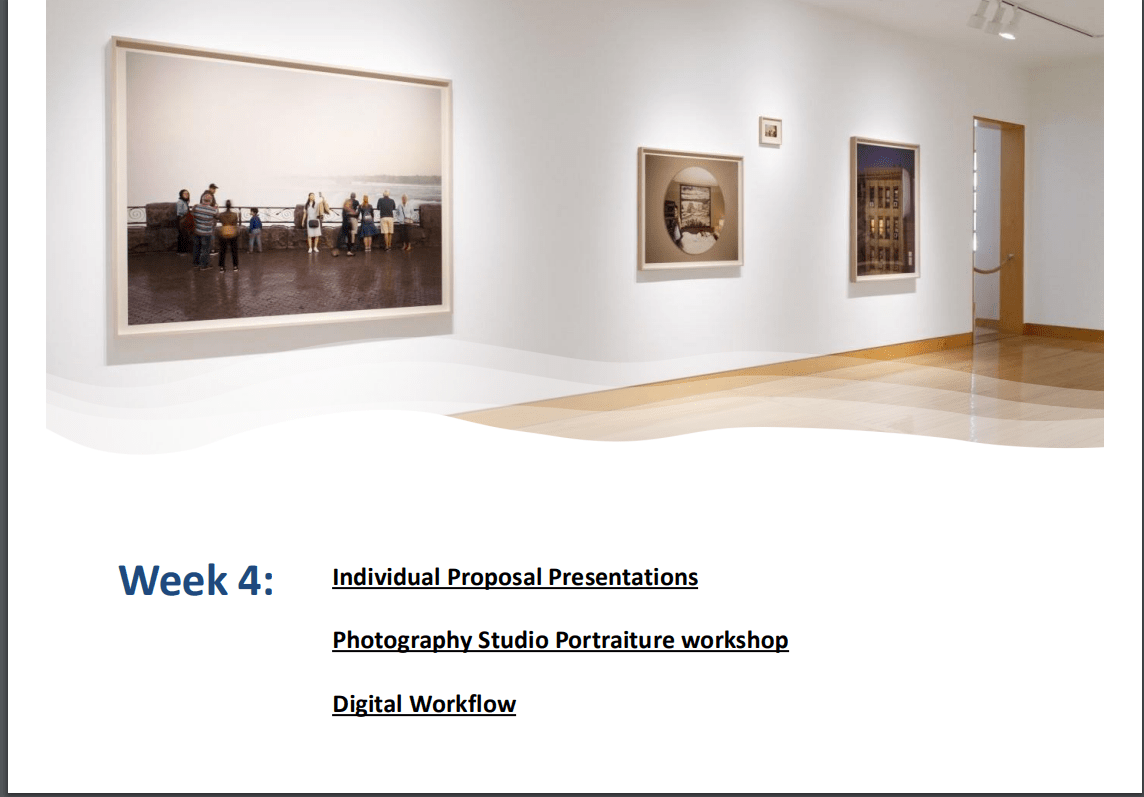
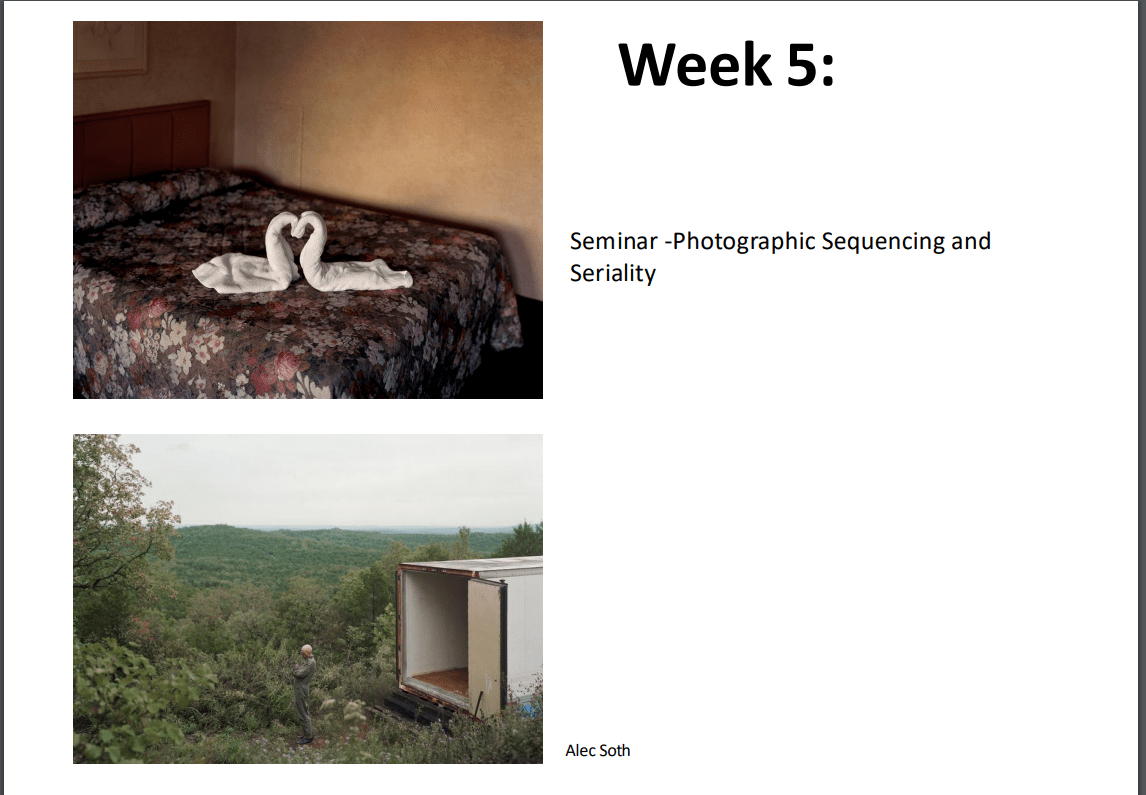
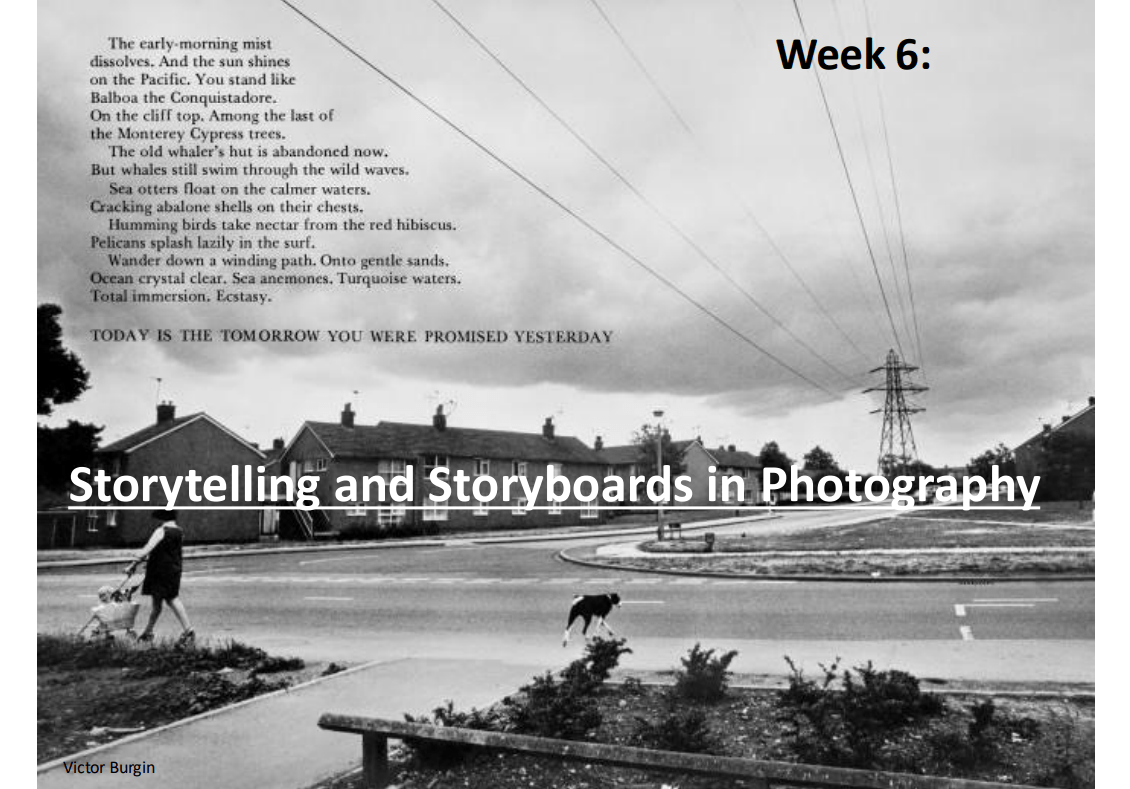
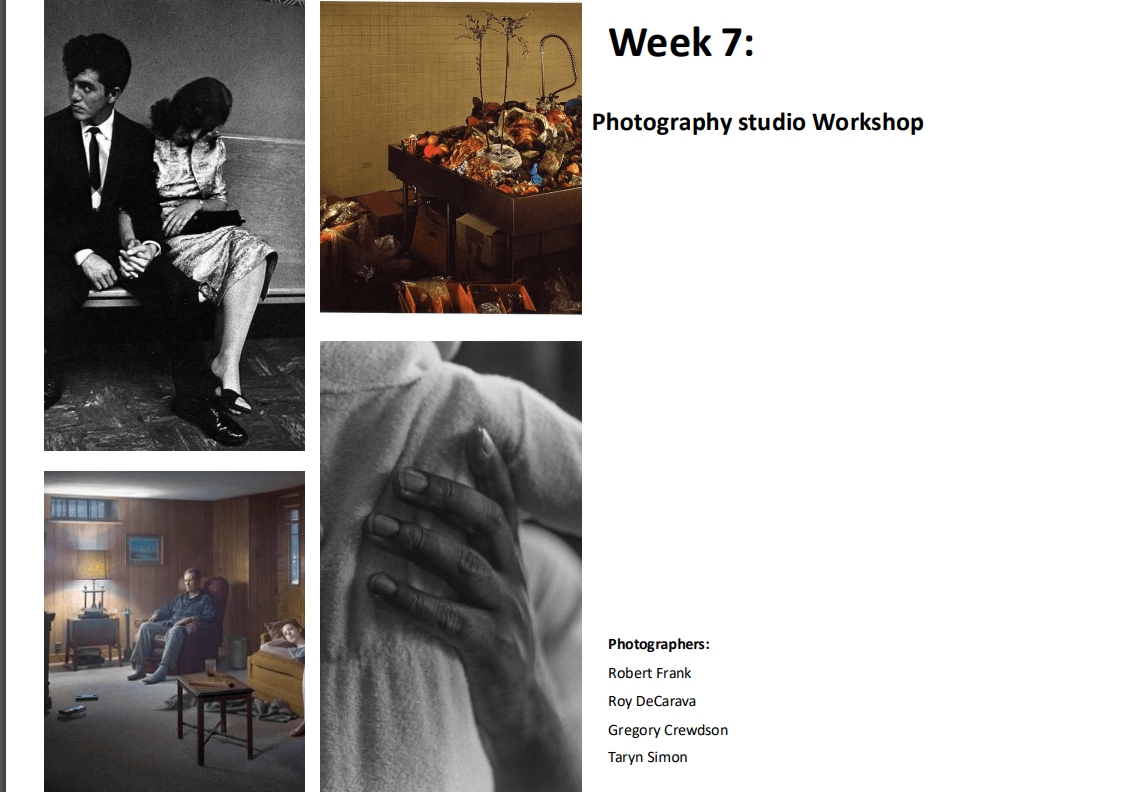
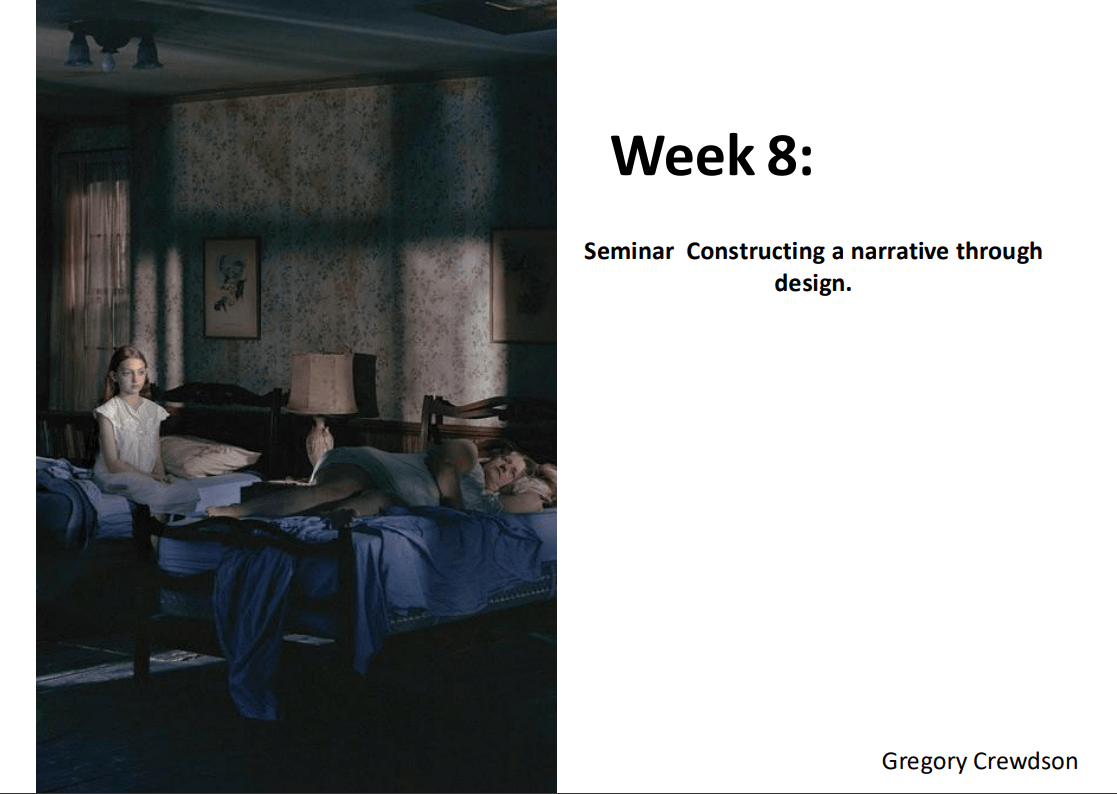
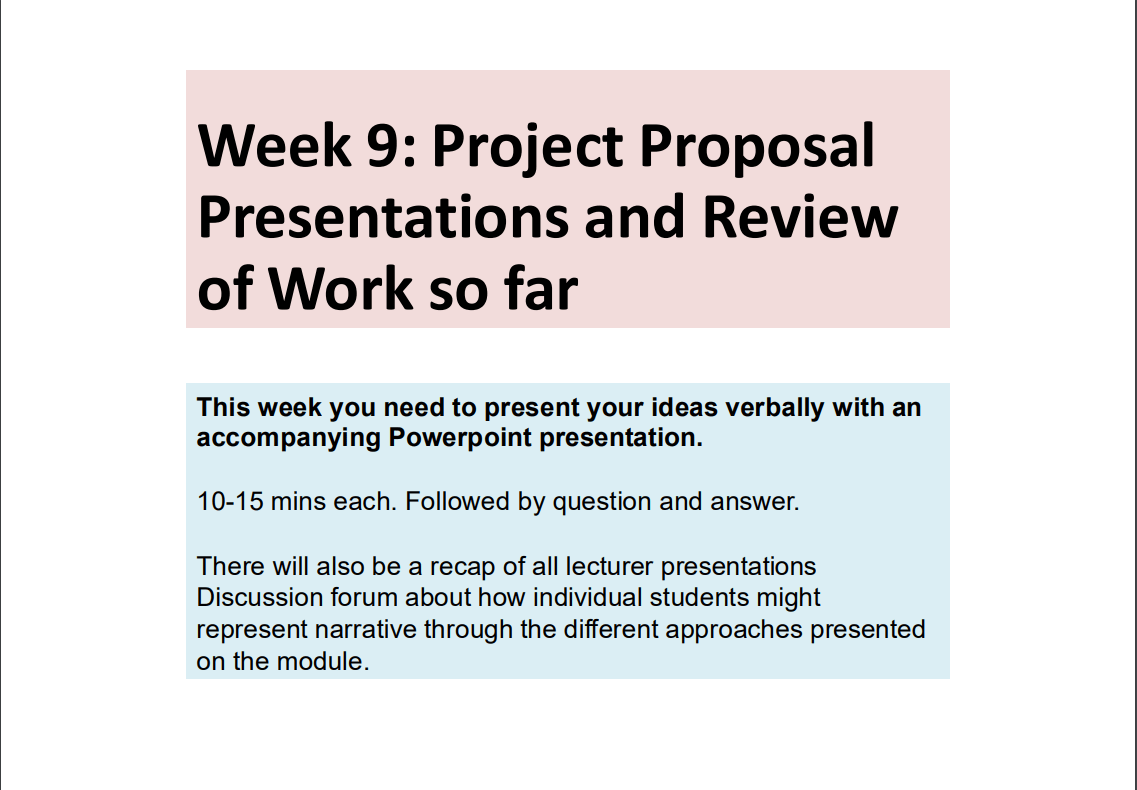
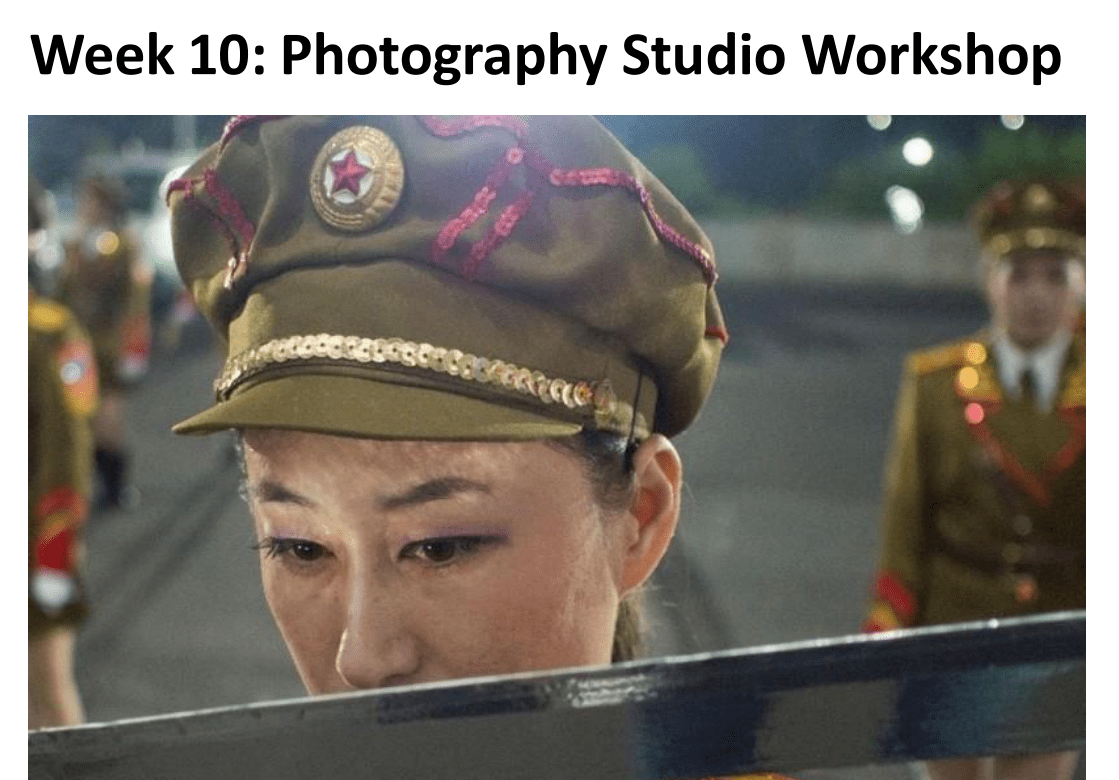
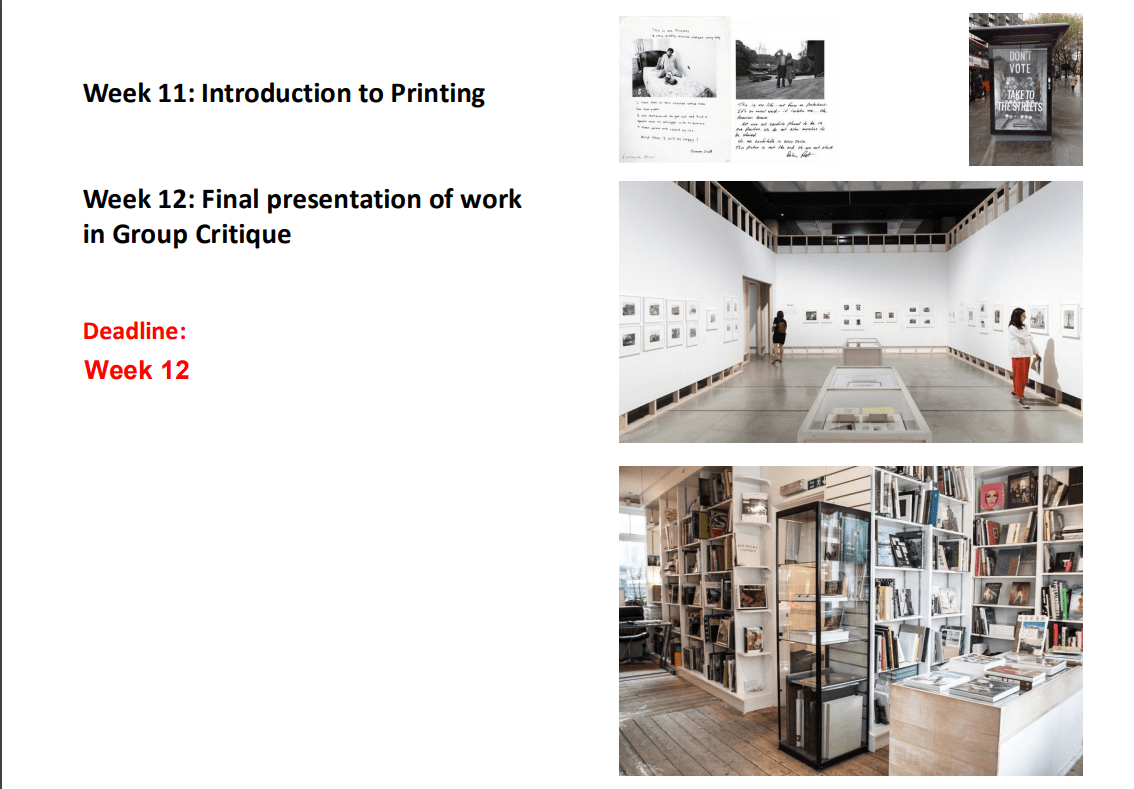
We also talked about the future assignments and learning outcomes.
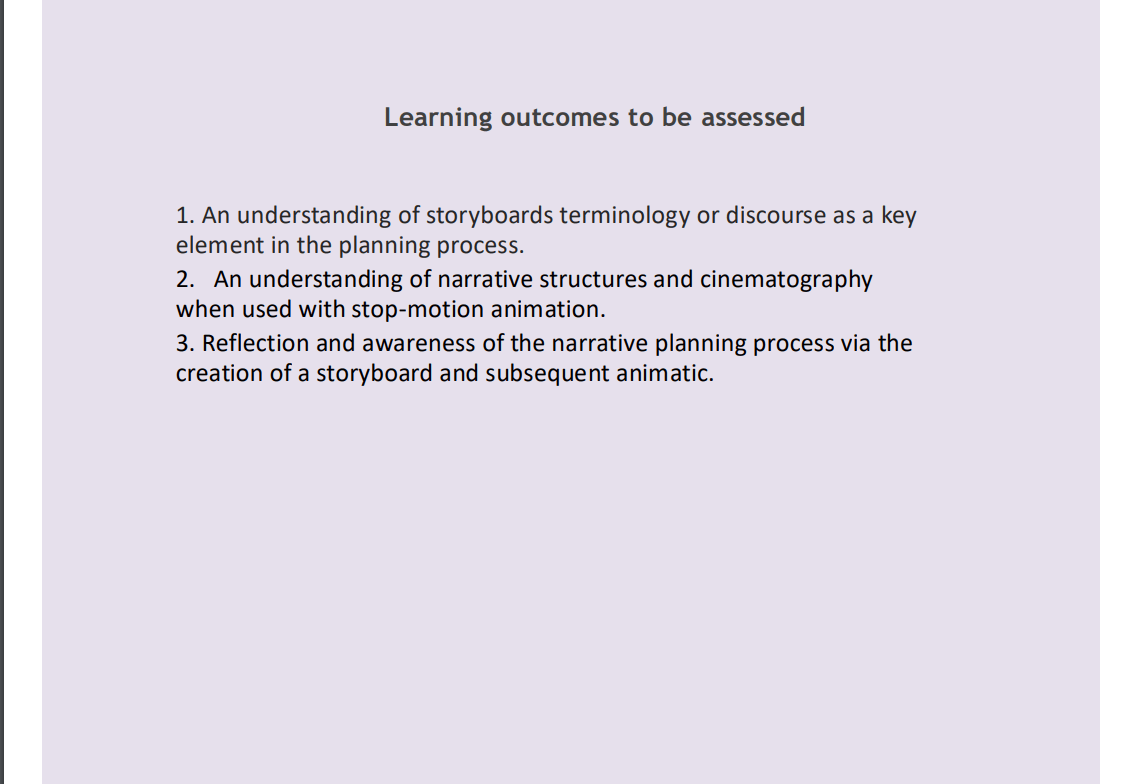
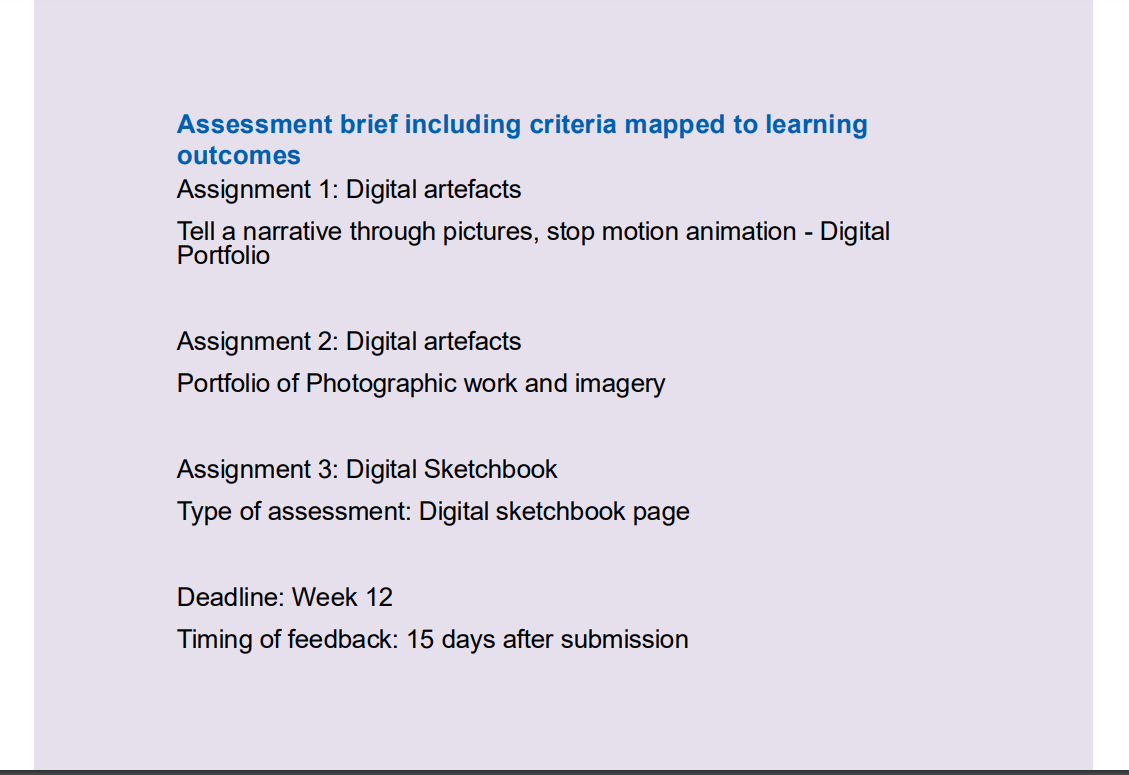
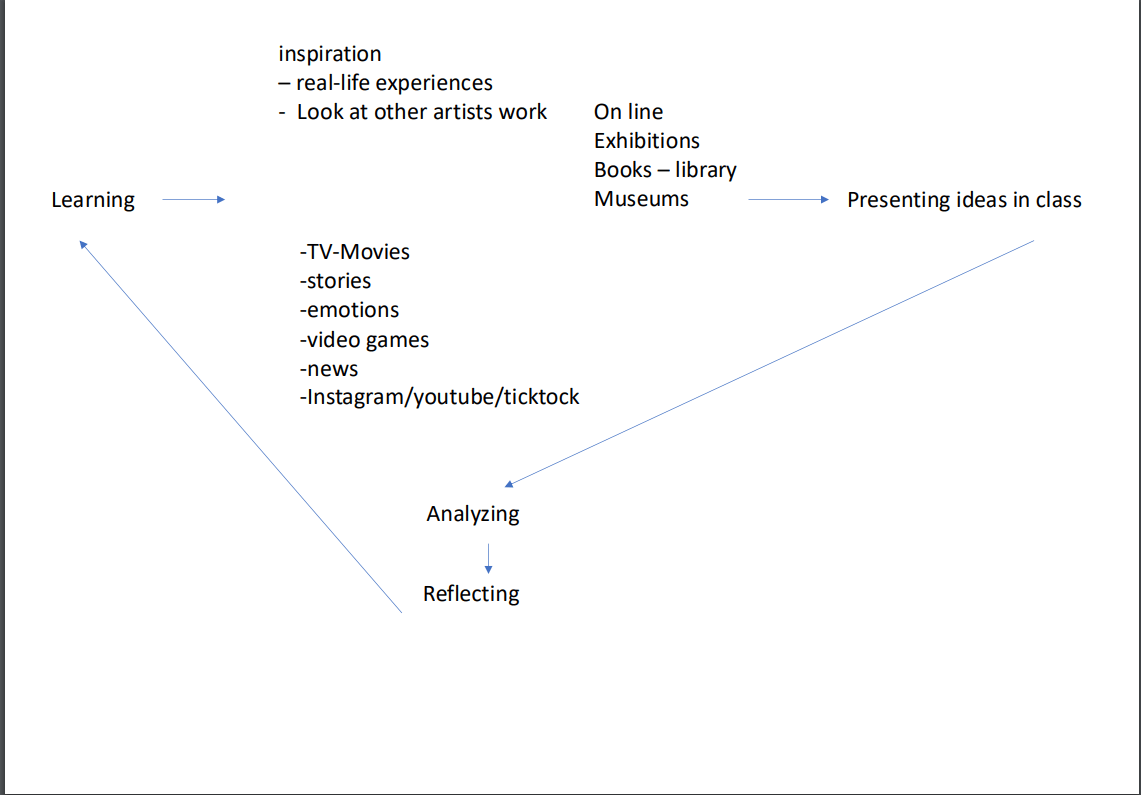
and finally all together we build a scheme on what the prosses of learning looks like for us.
End of week 1
Week 2: Introduction to Photography
For this lesson we will be introduced to photography starting with some context of photography to basics terms on exposure.
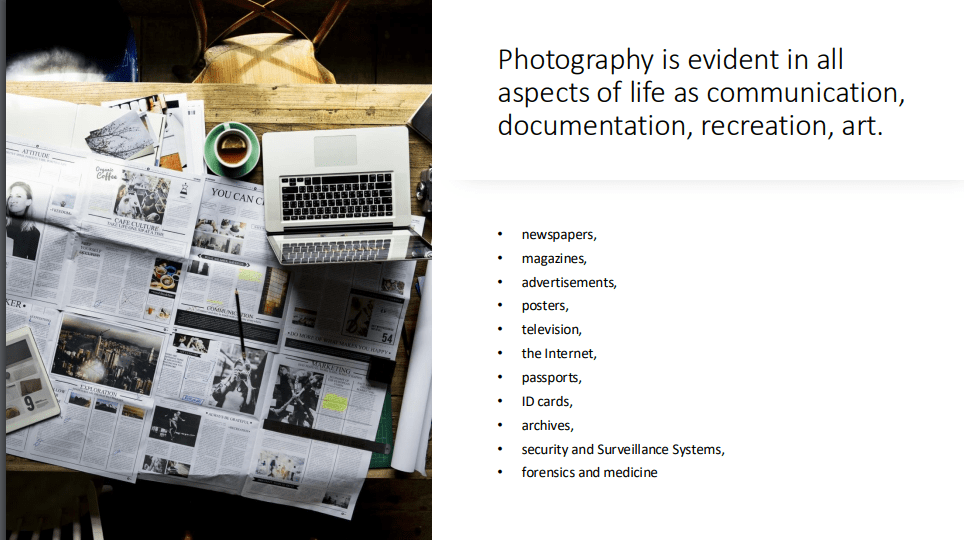
To begin with we start thinking about what the photography is used for:
and we also investigated a bit about the camera obscura:
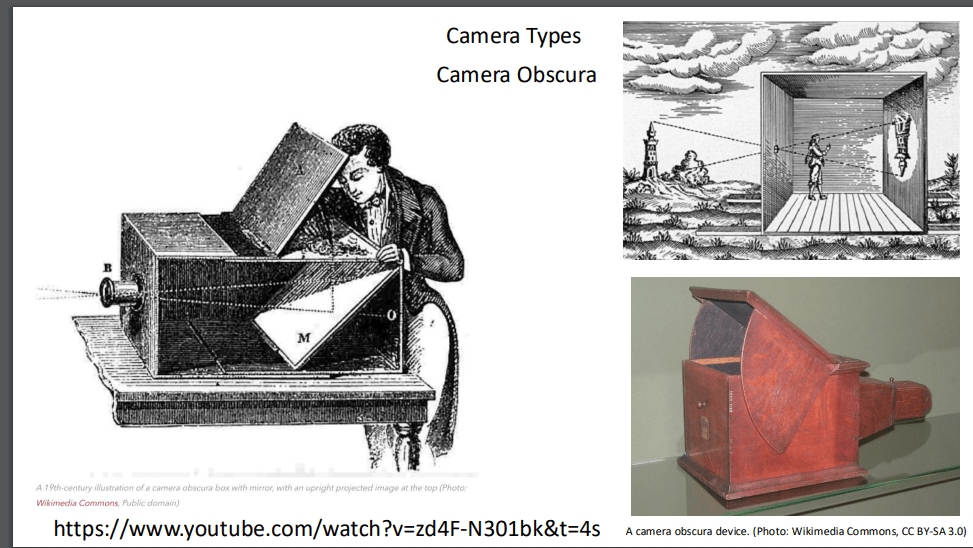
What is a camera obscura?
In simple words, a camera obscura is a dark room with a small hole in one wall. When it’s bright outside, light enters through the hole and projects an upside down image of the outside world onto the wall opposite the hole.
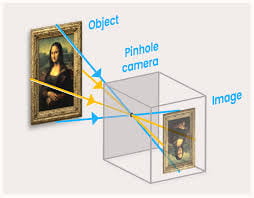
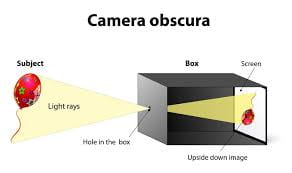
People used to use this kind of rooms to reflect a sharp image to the wall and a painter, would use the reflection on the wall to paint over it.
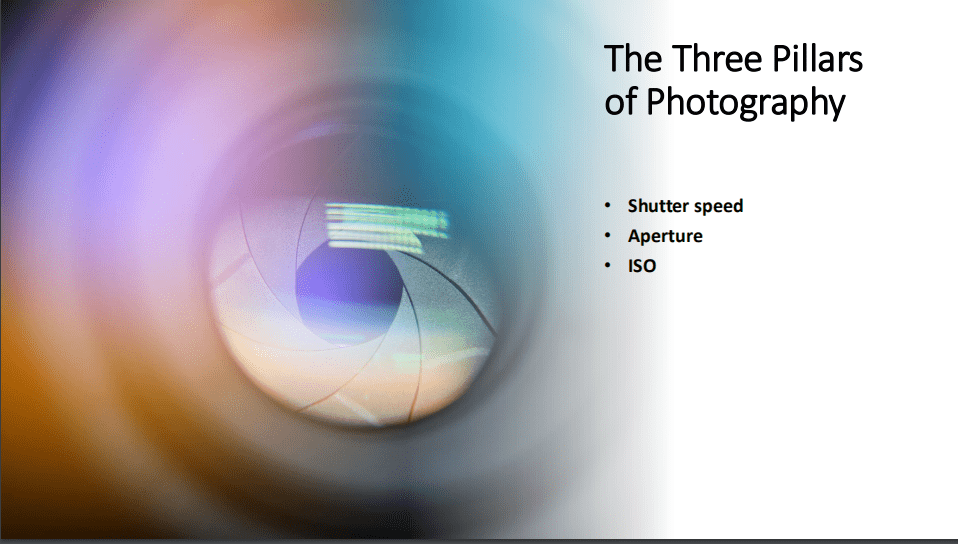
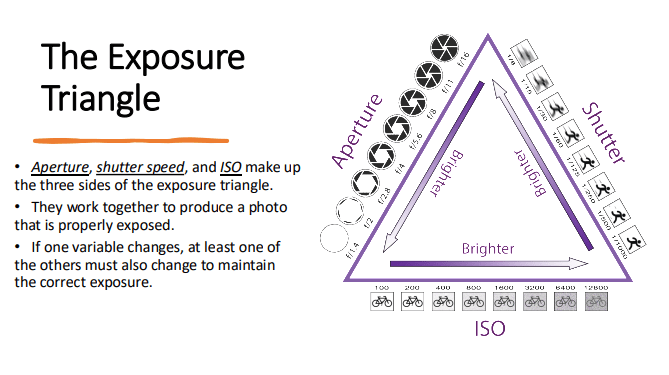
To understand better how photography work we should start learning the basics to exposure, which are the shutter speed, aperture and ISO. These are three fundamental pillar of photography.
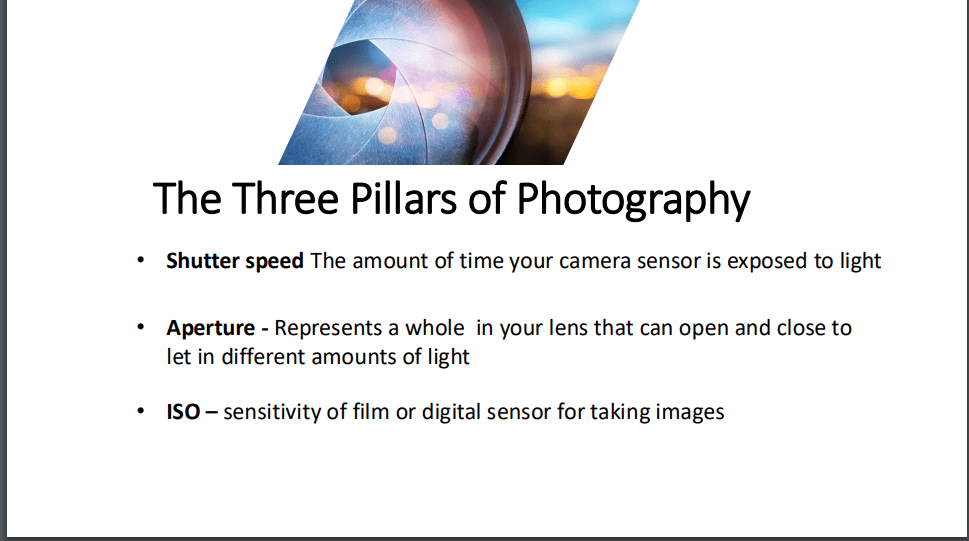
Starting with the shutter speed:
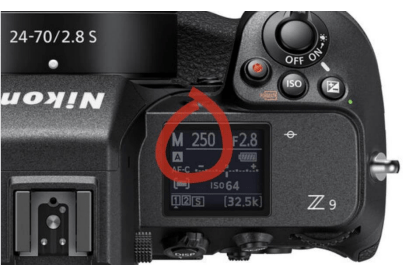
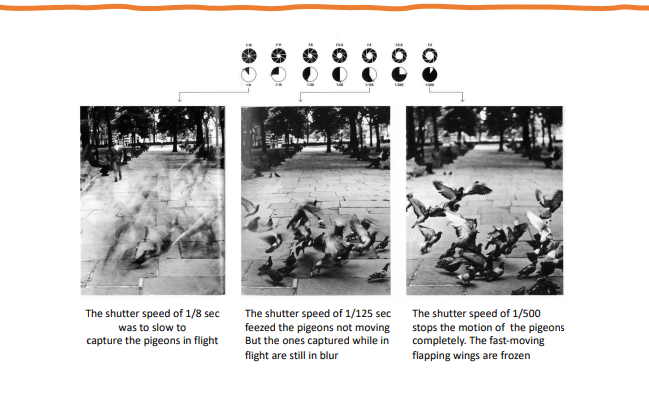
The shutter speed it is the speed at which the shutter of the camera closes.
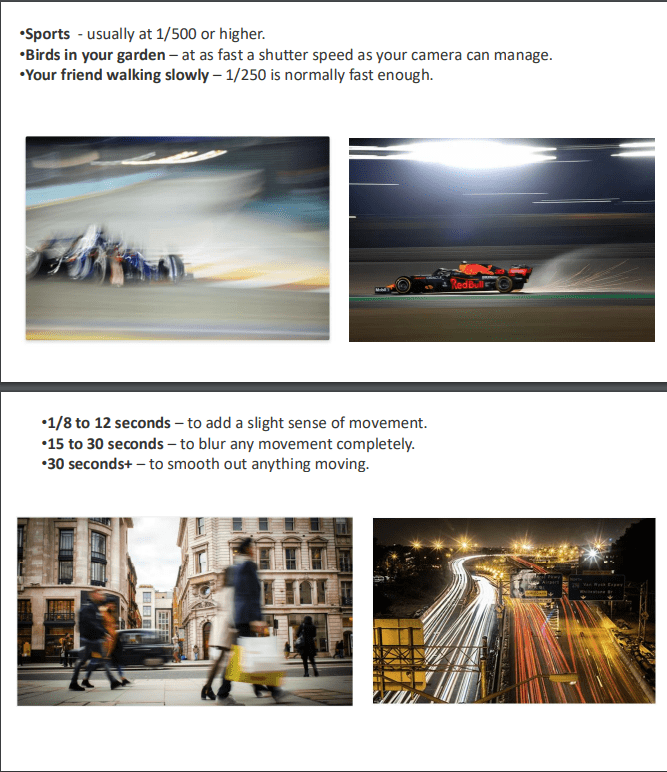
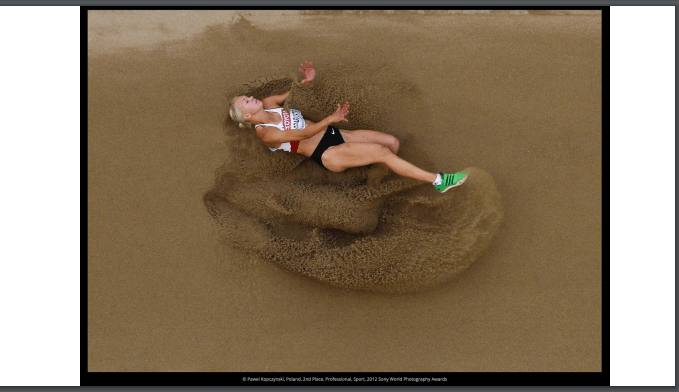
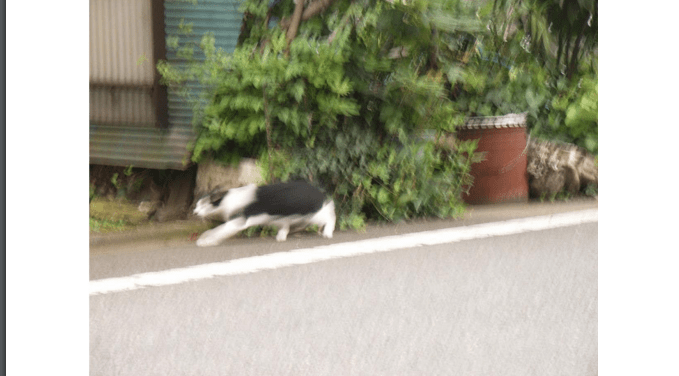
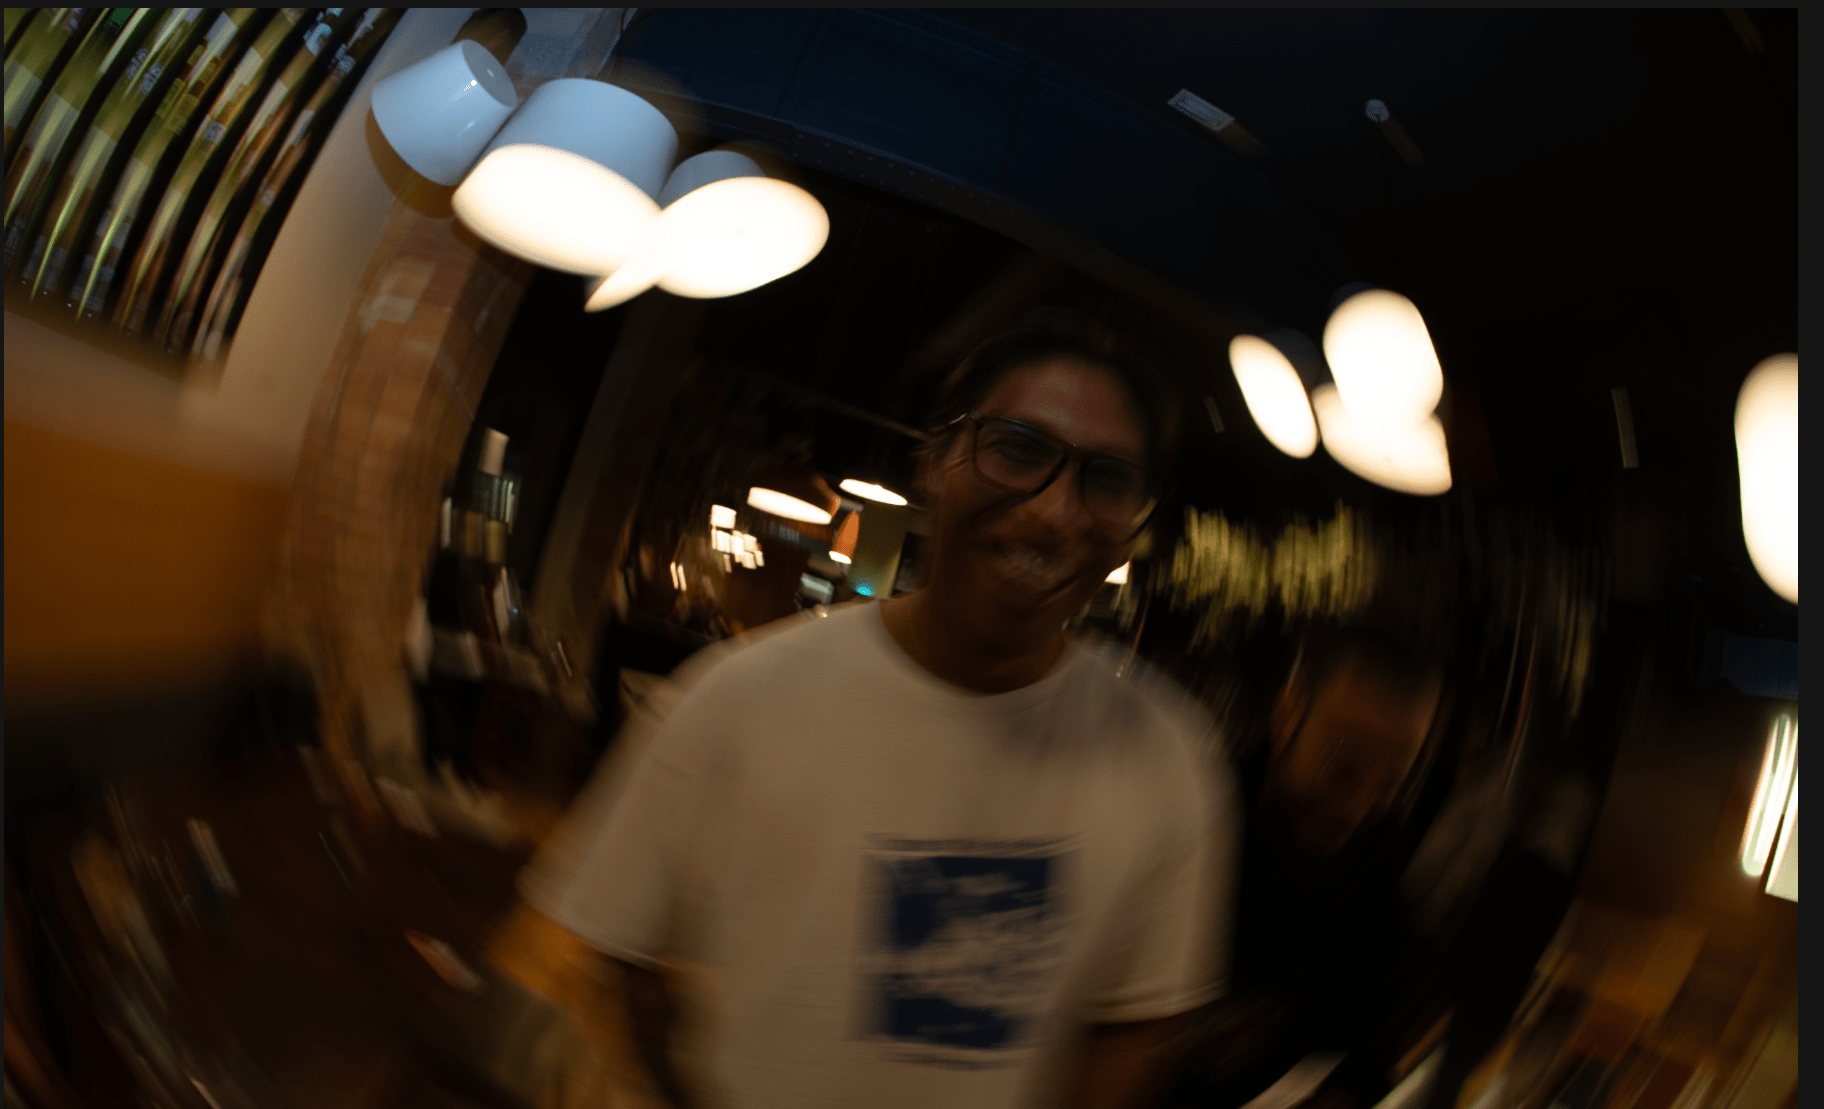
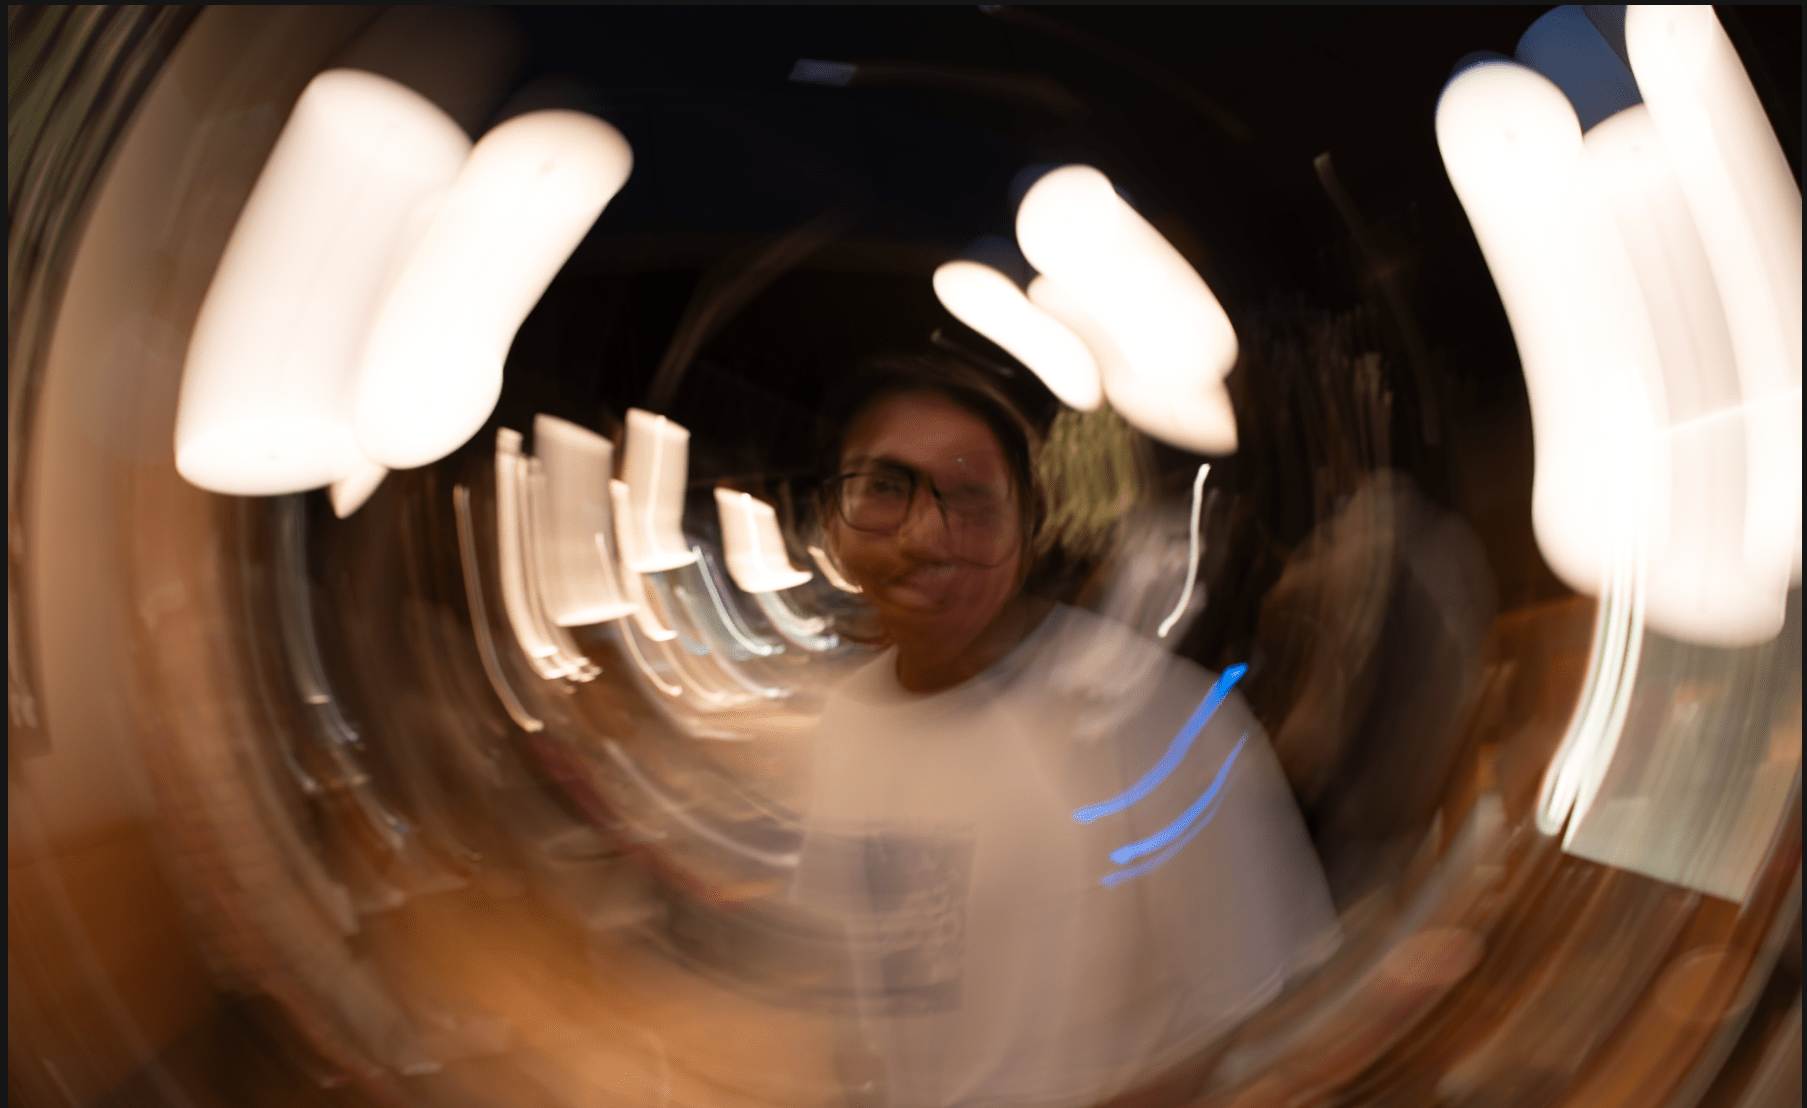
With the shutter speed we can add a sense of movement to the image thanks to the ”motion blur” that can be achieved by setting a long shutter speed that will cause any moving subject to appear blurred.
The shutter speed also controls the brightness of the photo since more exposure to light means more brightness and less means darker.
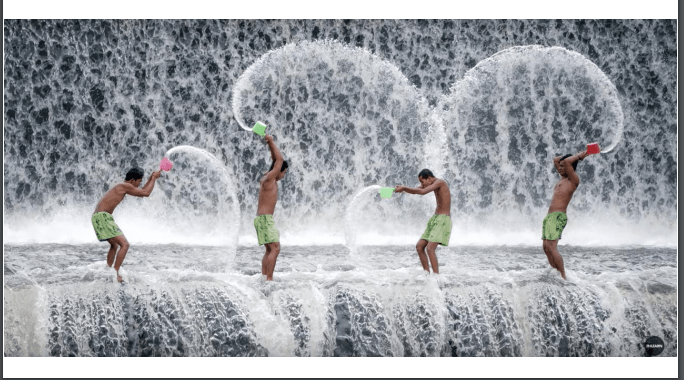
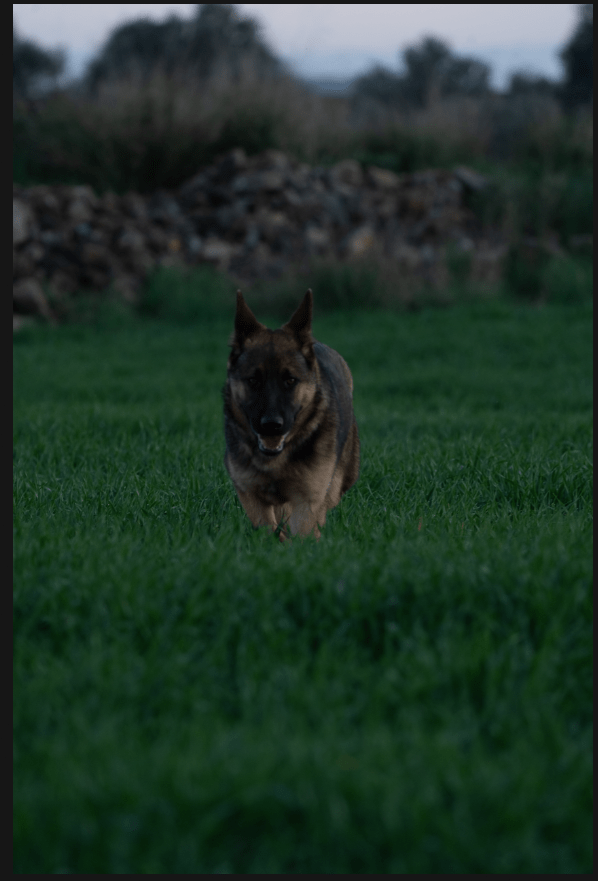
Class examples:
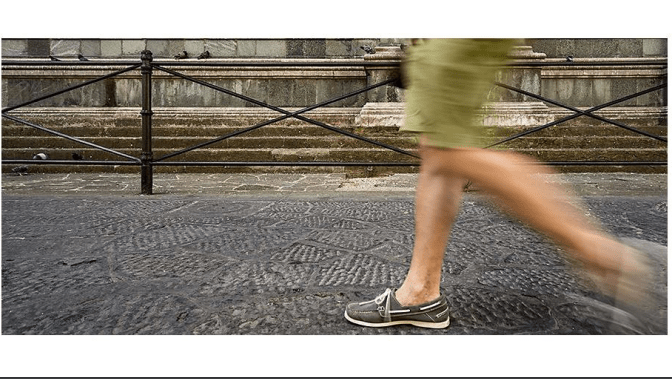
My personal approach:
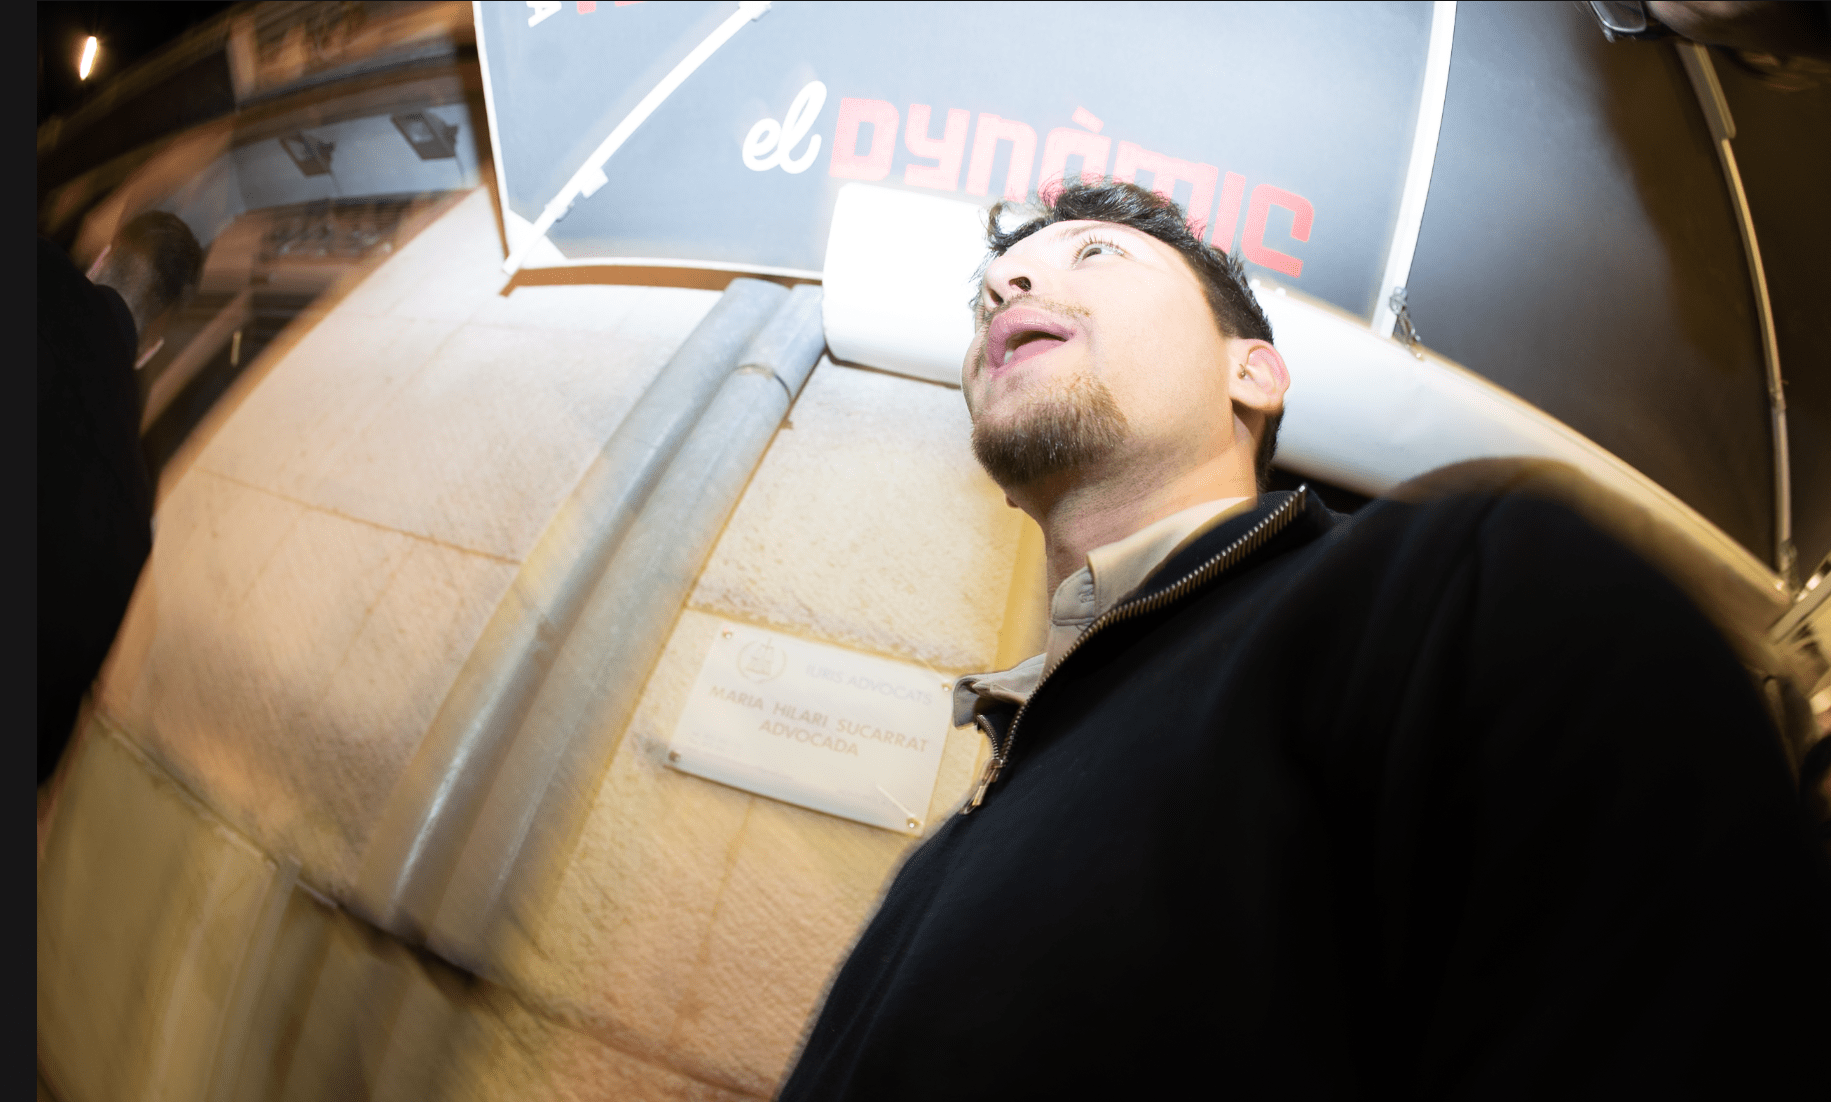
some examples on slow shutter speed:
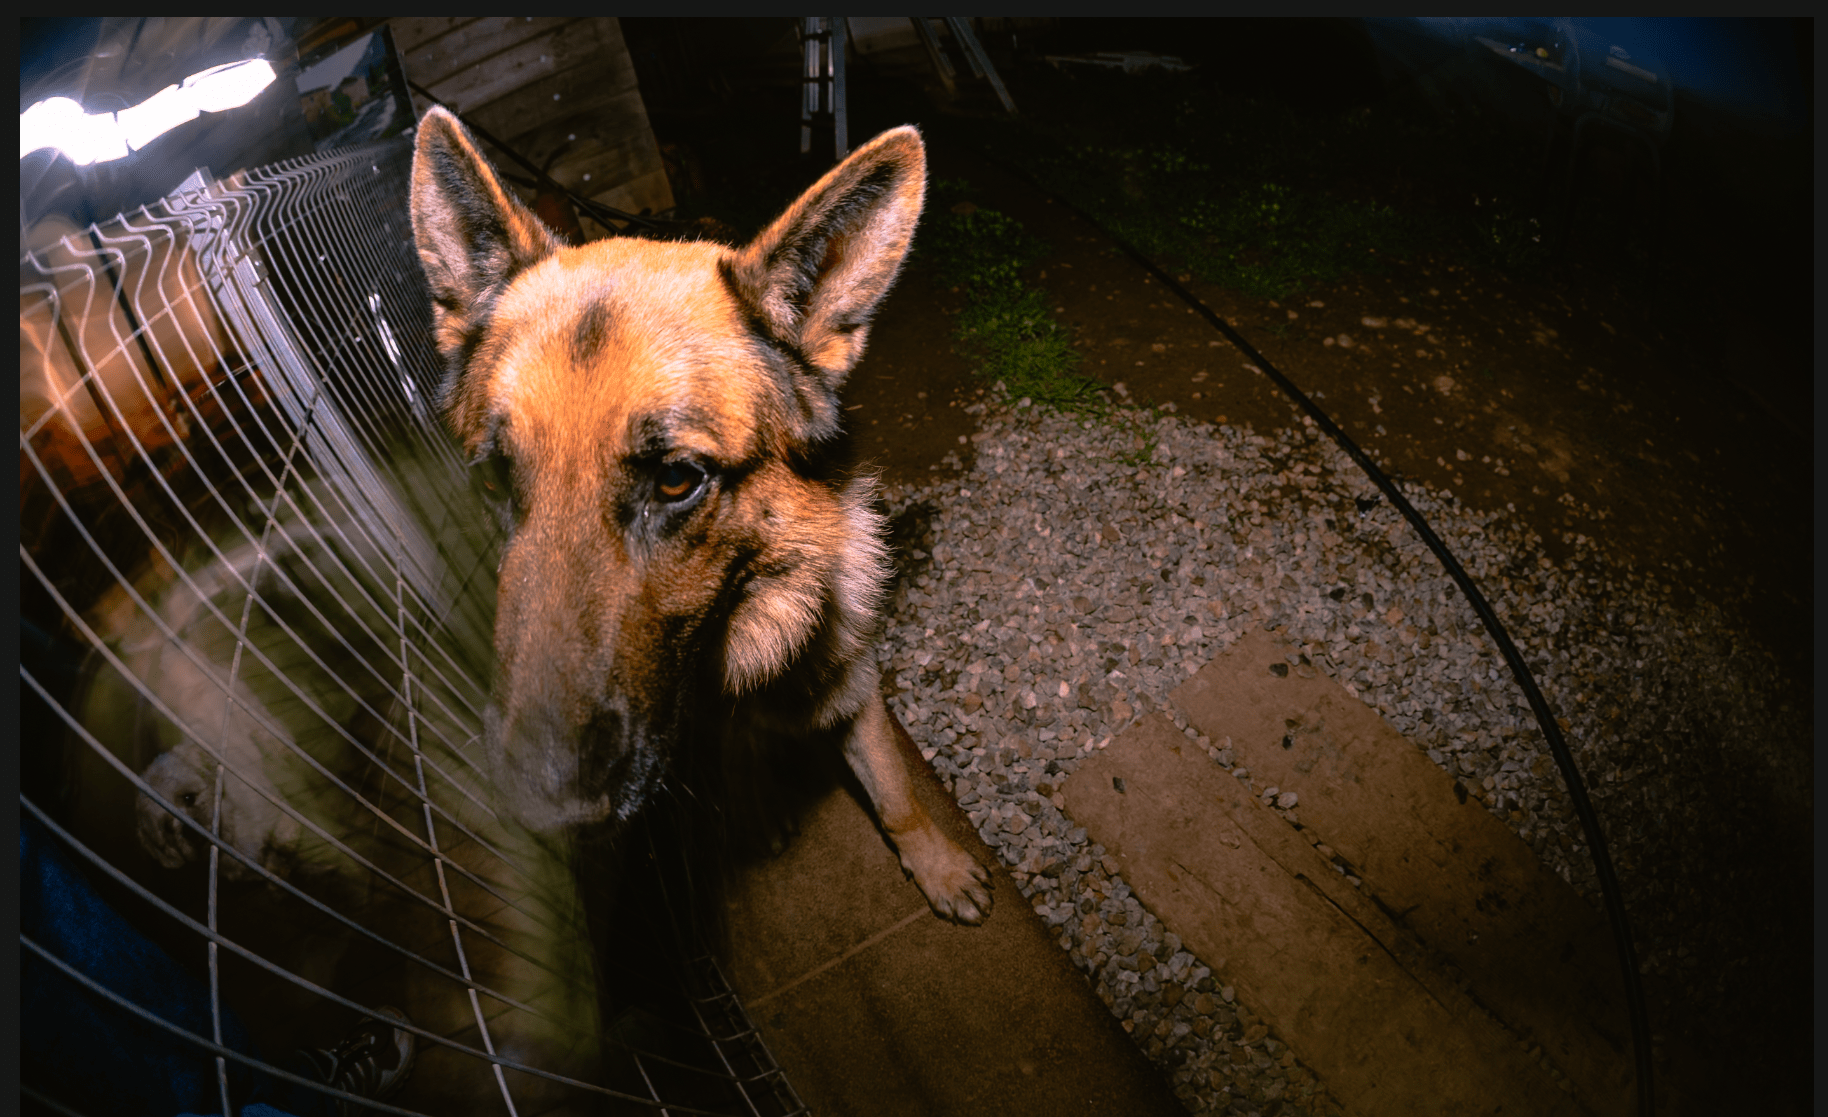
Fast shutter speed:
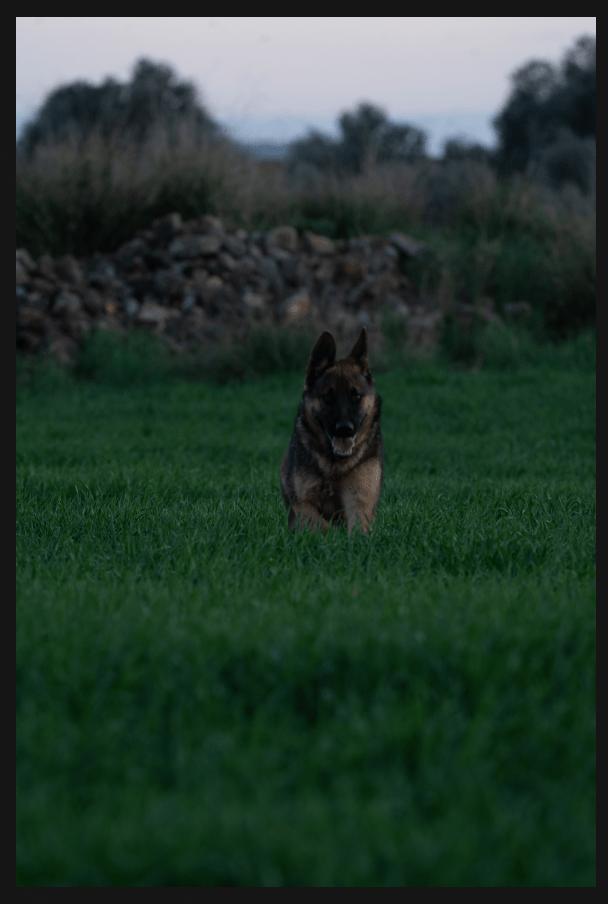
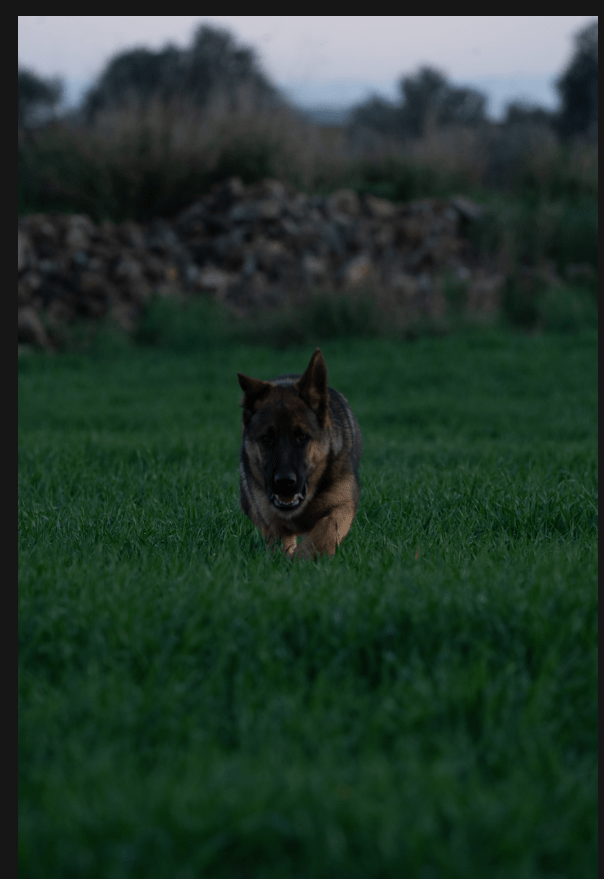
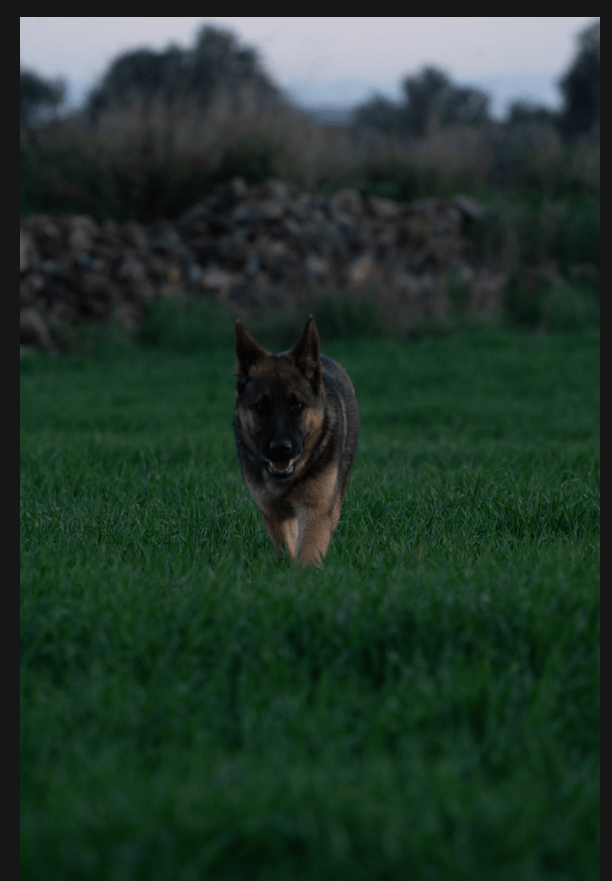
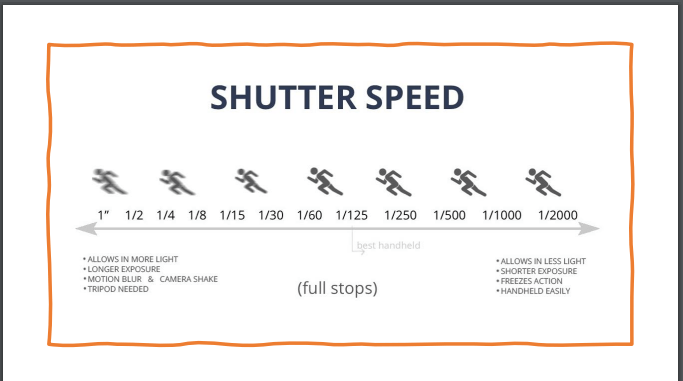
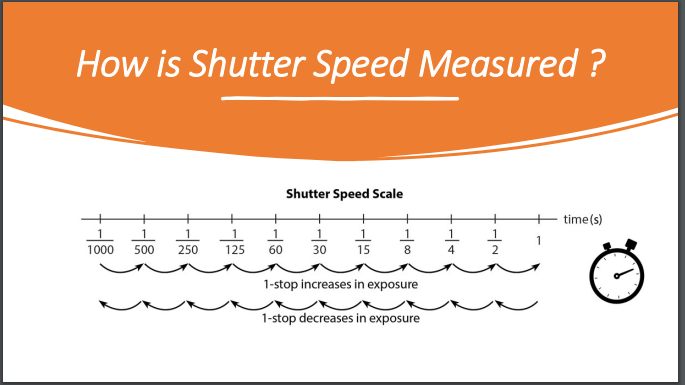
Shutter speed is measured by full stops of light.
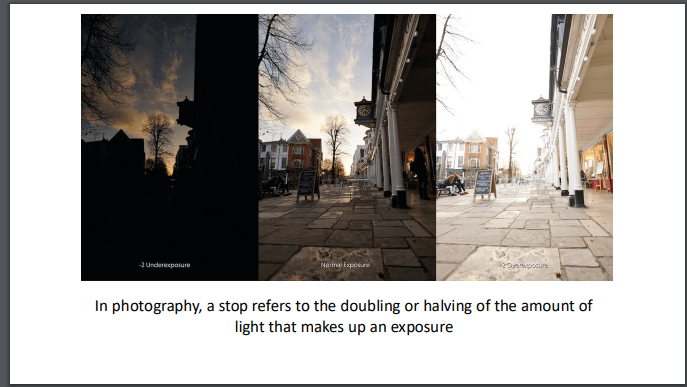
Second we are going to write about Aperture:
What is the aperture?
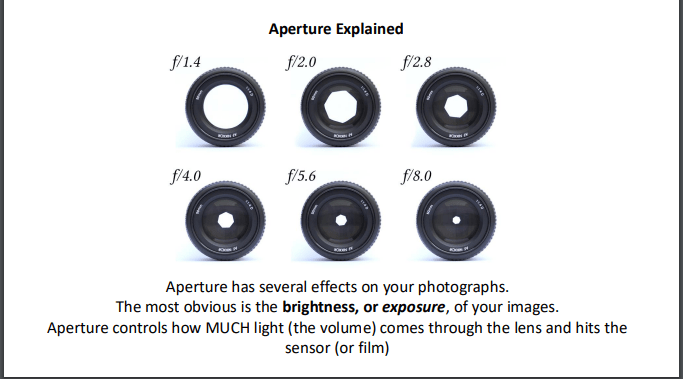
The aperture is the opening in the lends that allows light to enter the camera.
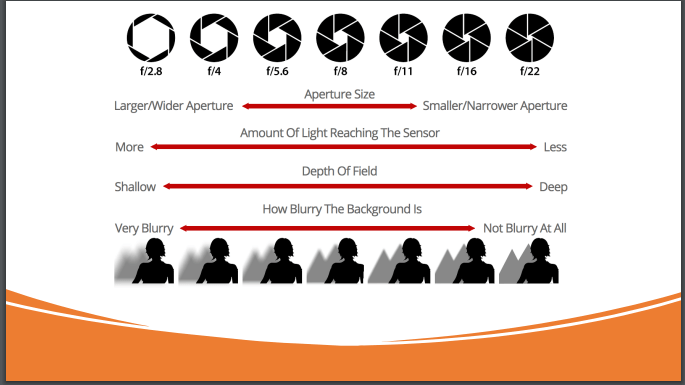
The size of the opening can be adjusted by changing the aperture settings.
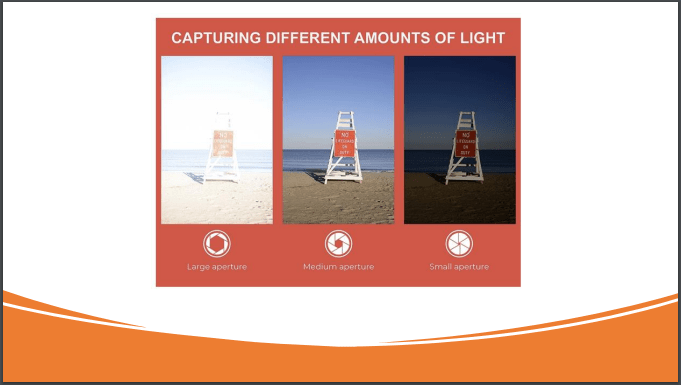
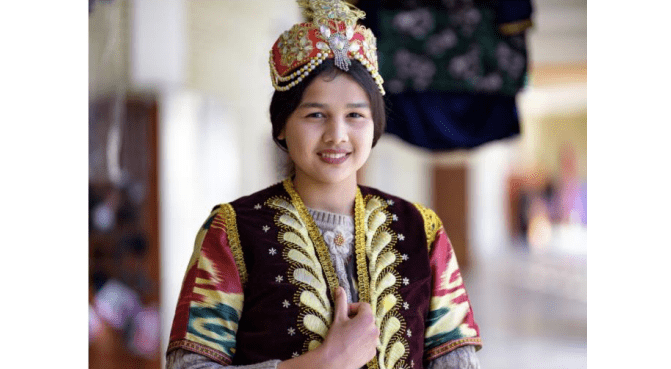
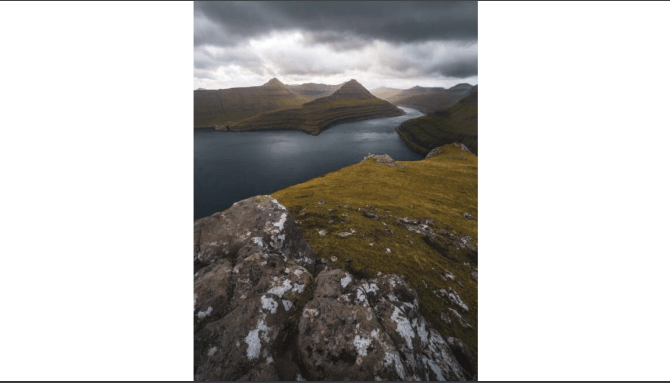
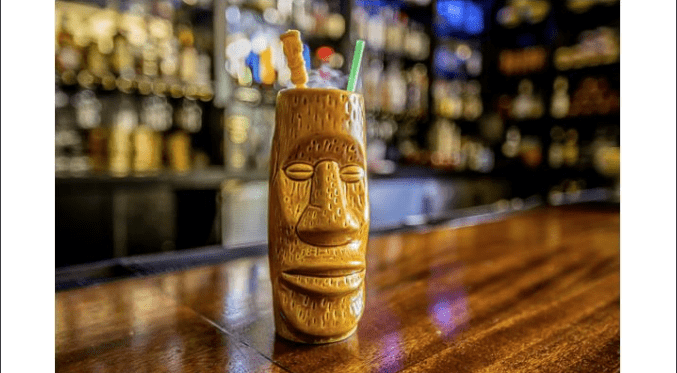
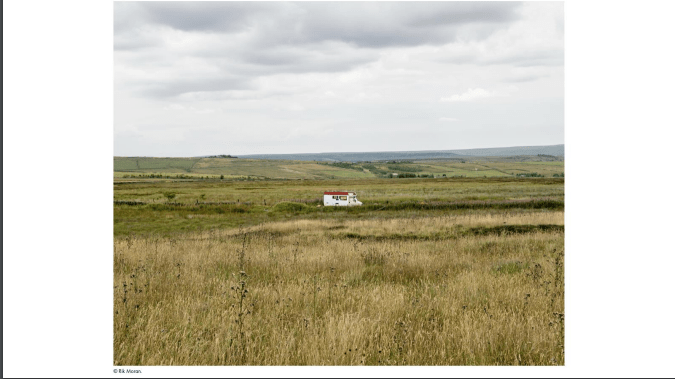
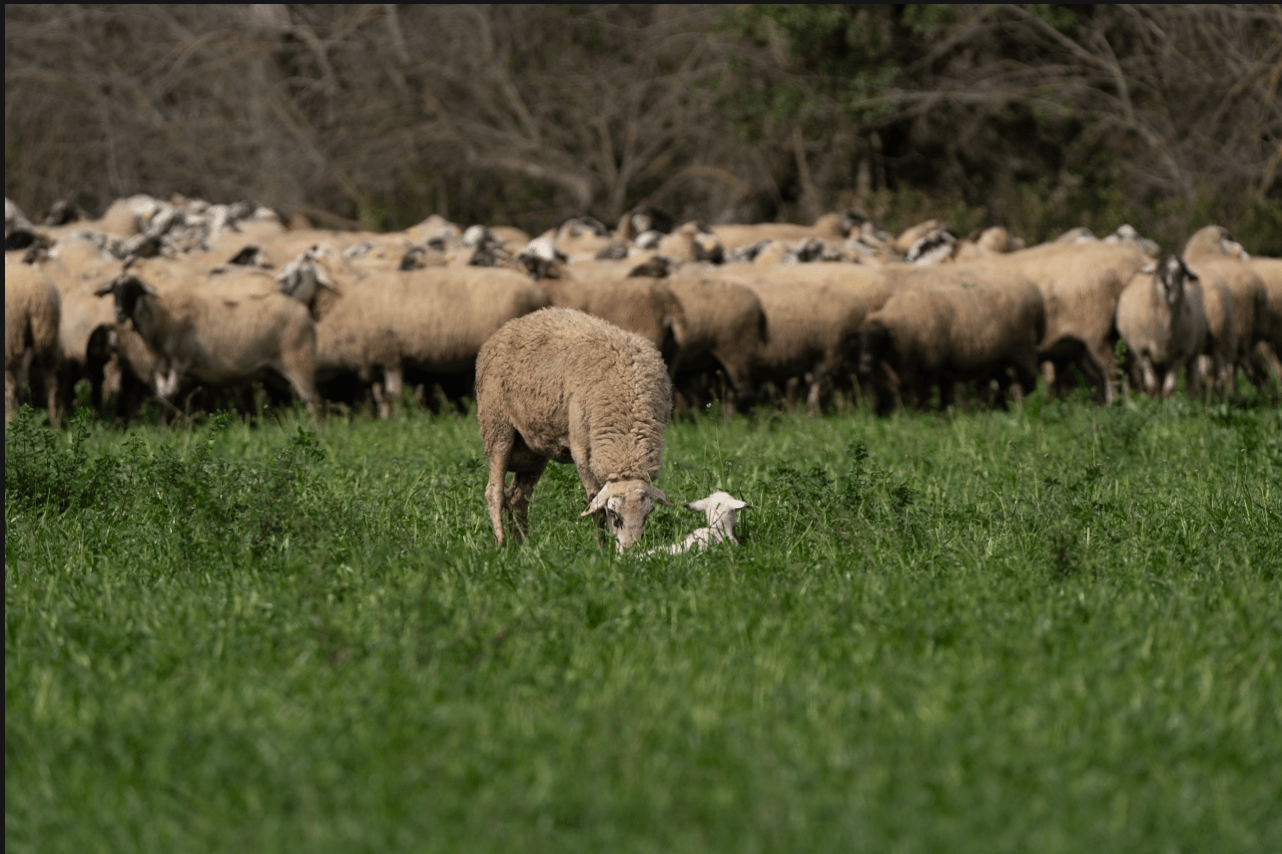
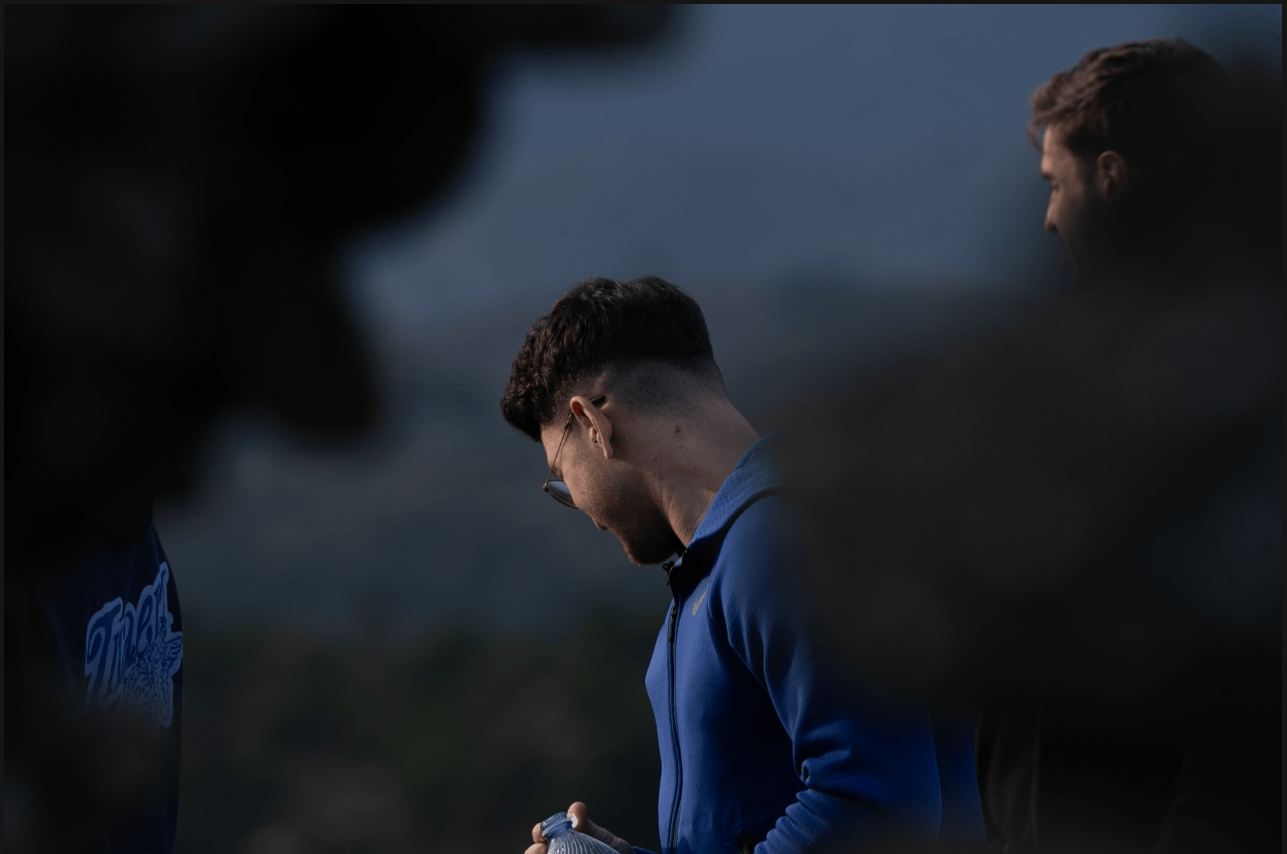
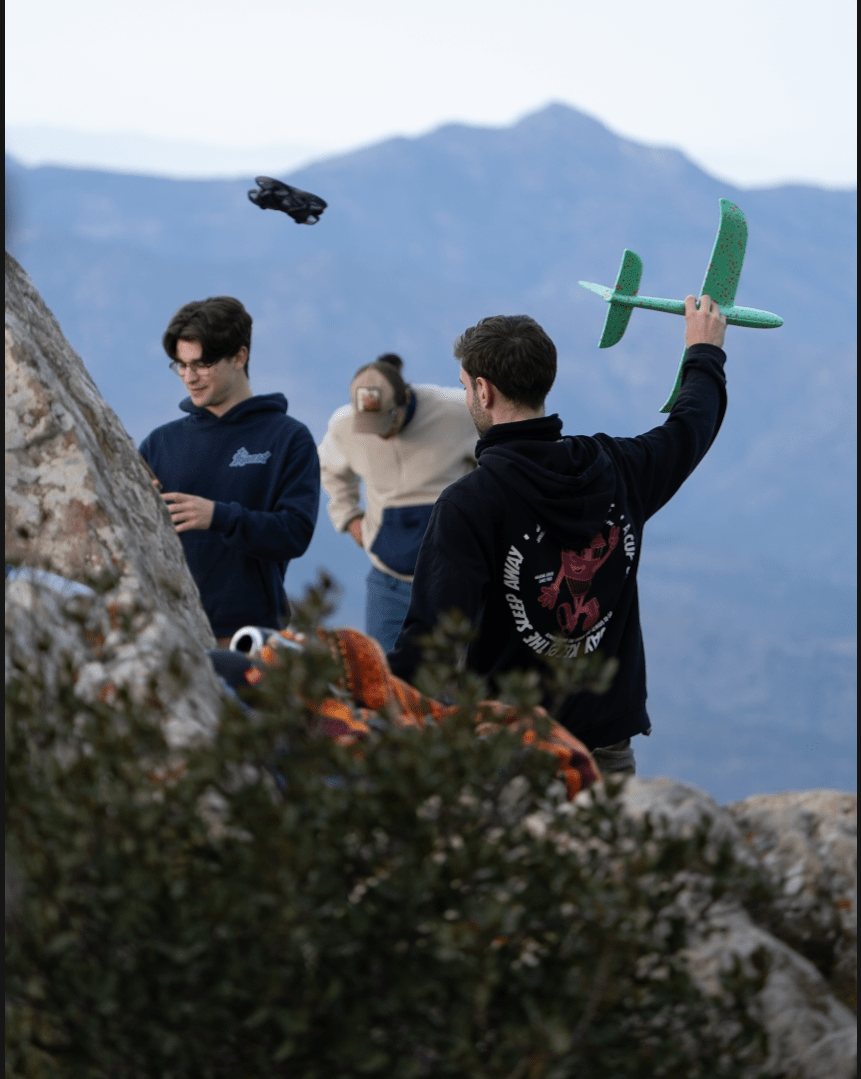
The aperture also controls the volume of light that goes to the sensor and controls how blurry the background is ” Depth of field”, the wider the aperture means the narrower DOF.
Class examples:
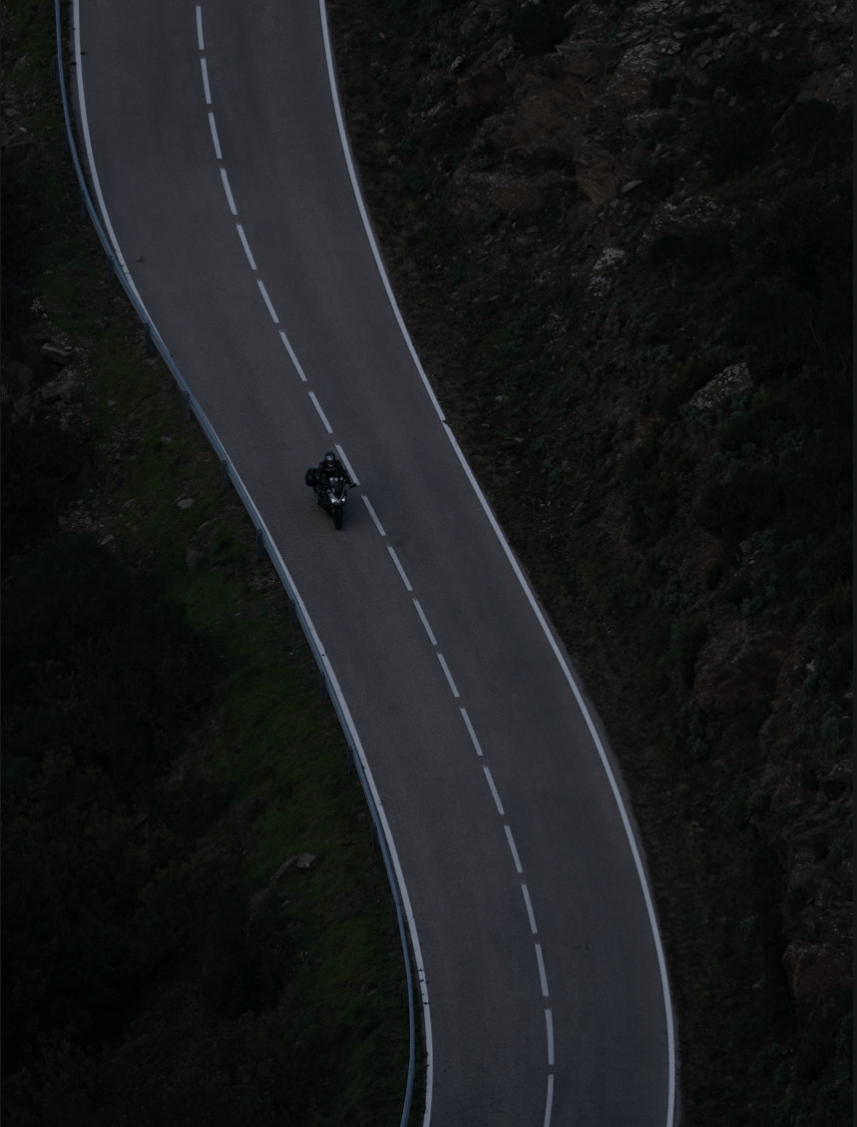
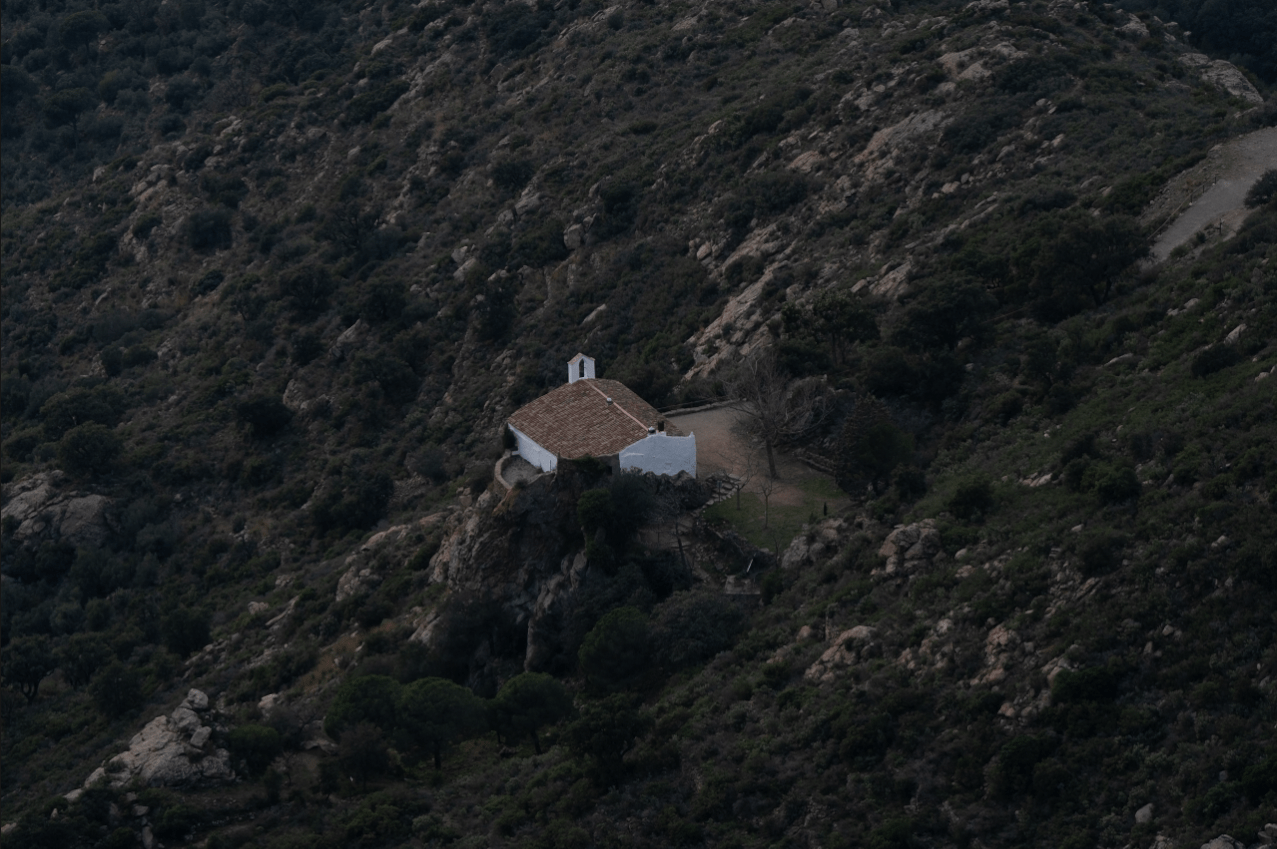
My personal approach:
Finally we talk about the ISO:
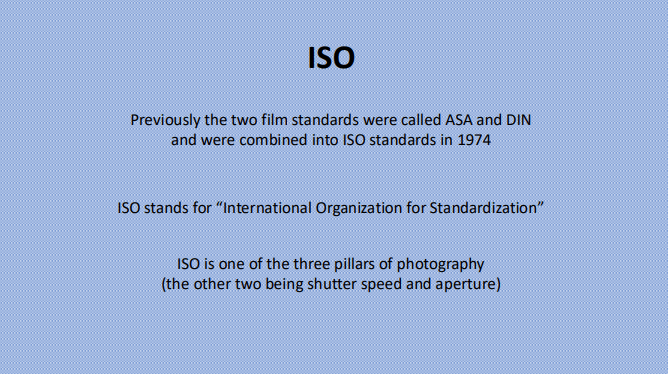
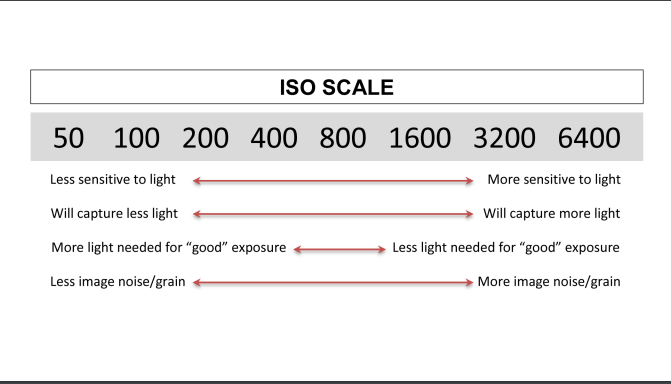
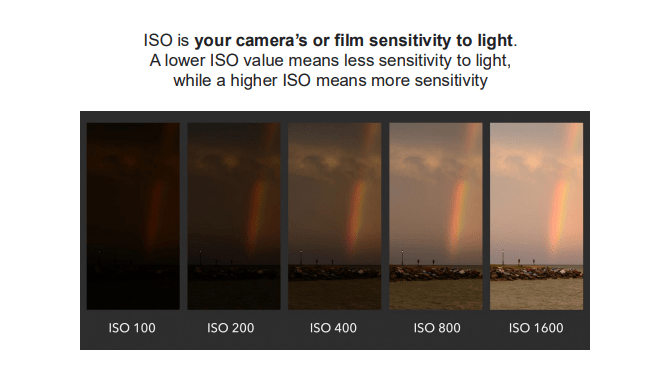
The ISO sets the camera sensor sensitivity to light.
Lower = less sensitivity
Higher = more sensitivity
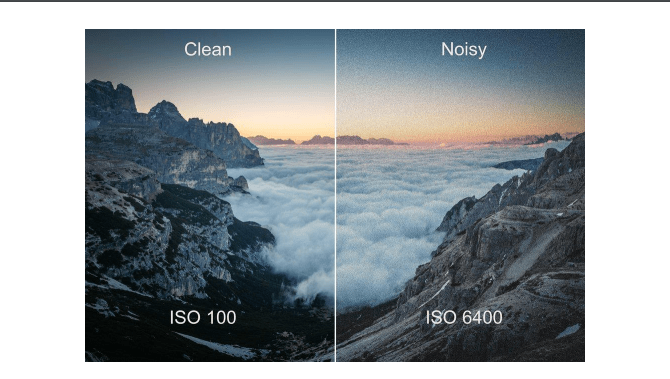
The ISO comes with a drawback which is the higher the ISO the more noise it will generate in the image.
The lower the ISO, the more light we will need on scene to achieve an adequate level of exposure.
Class examples:
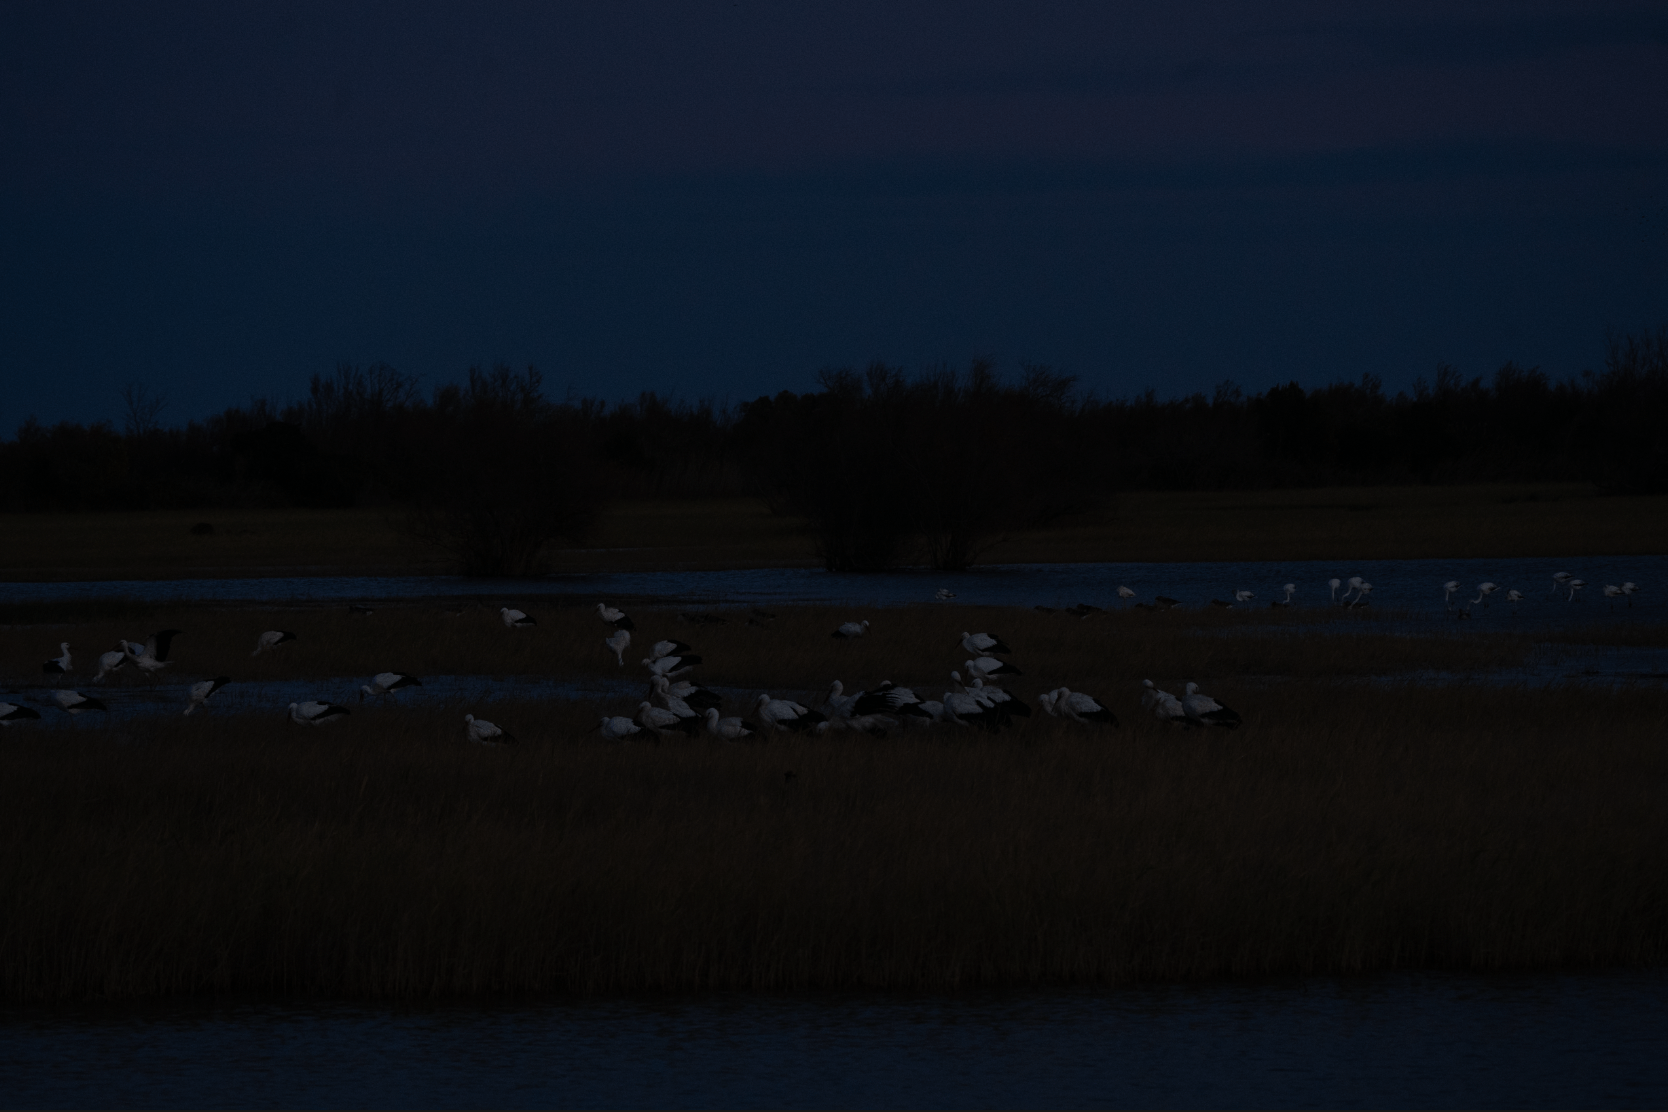
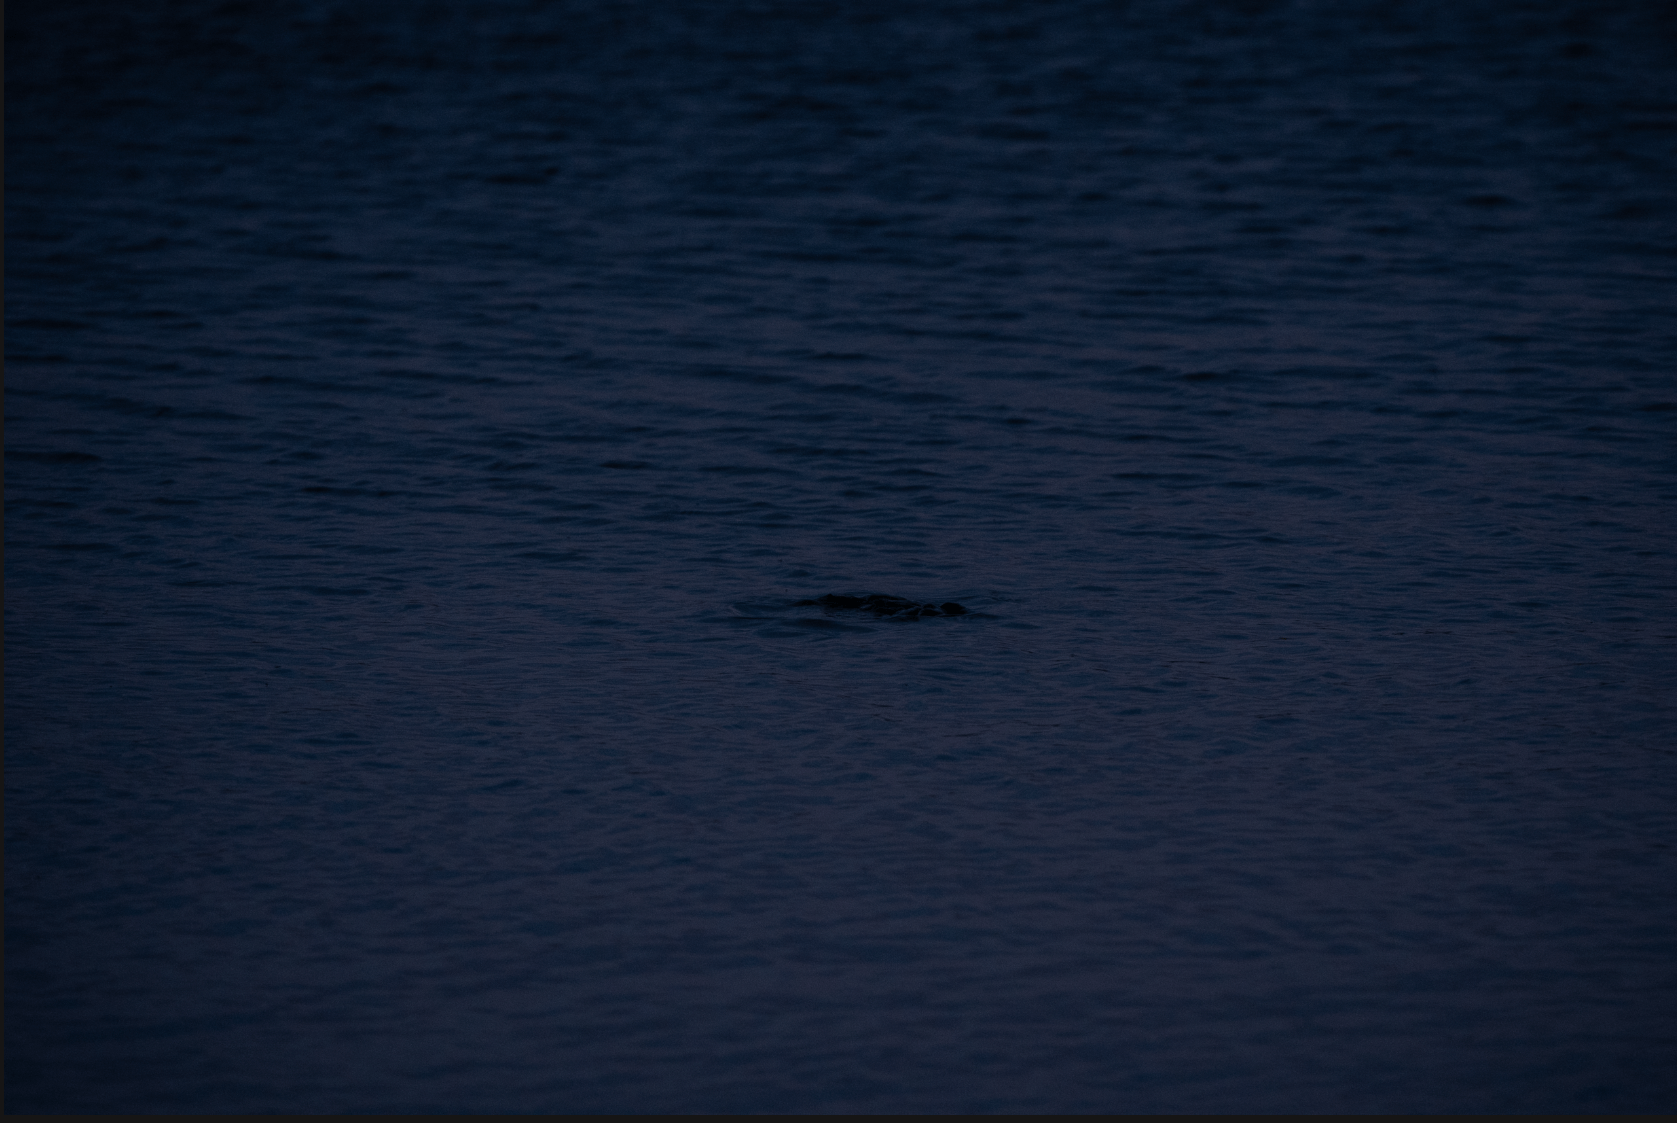
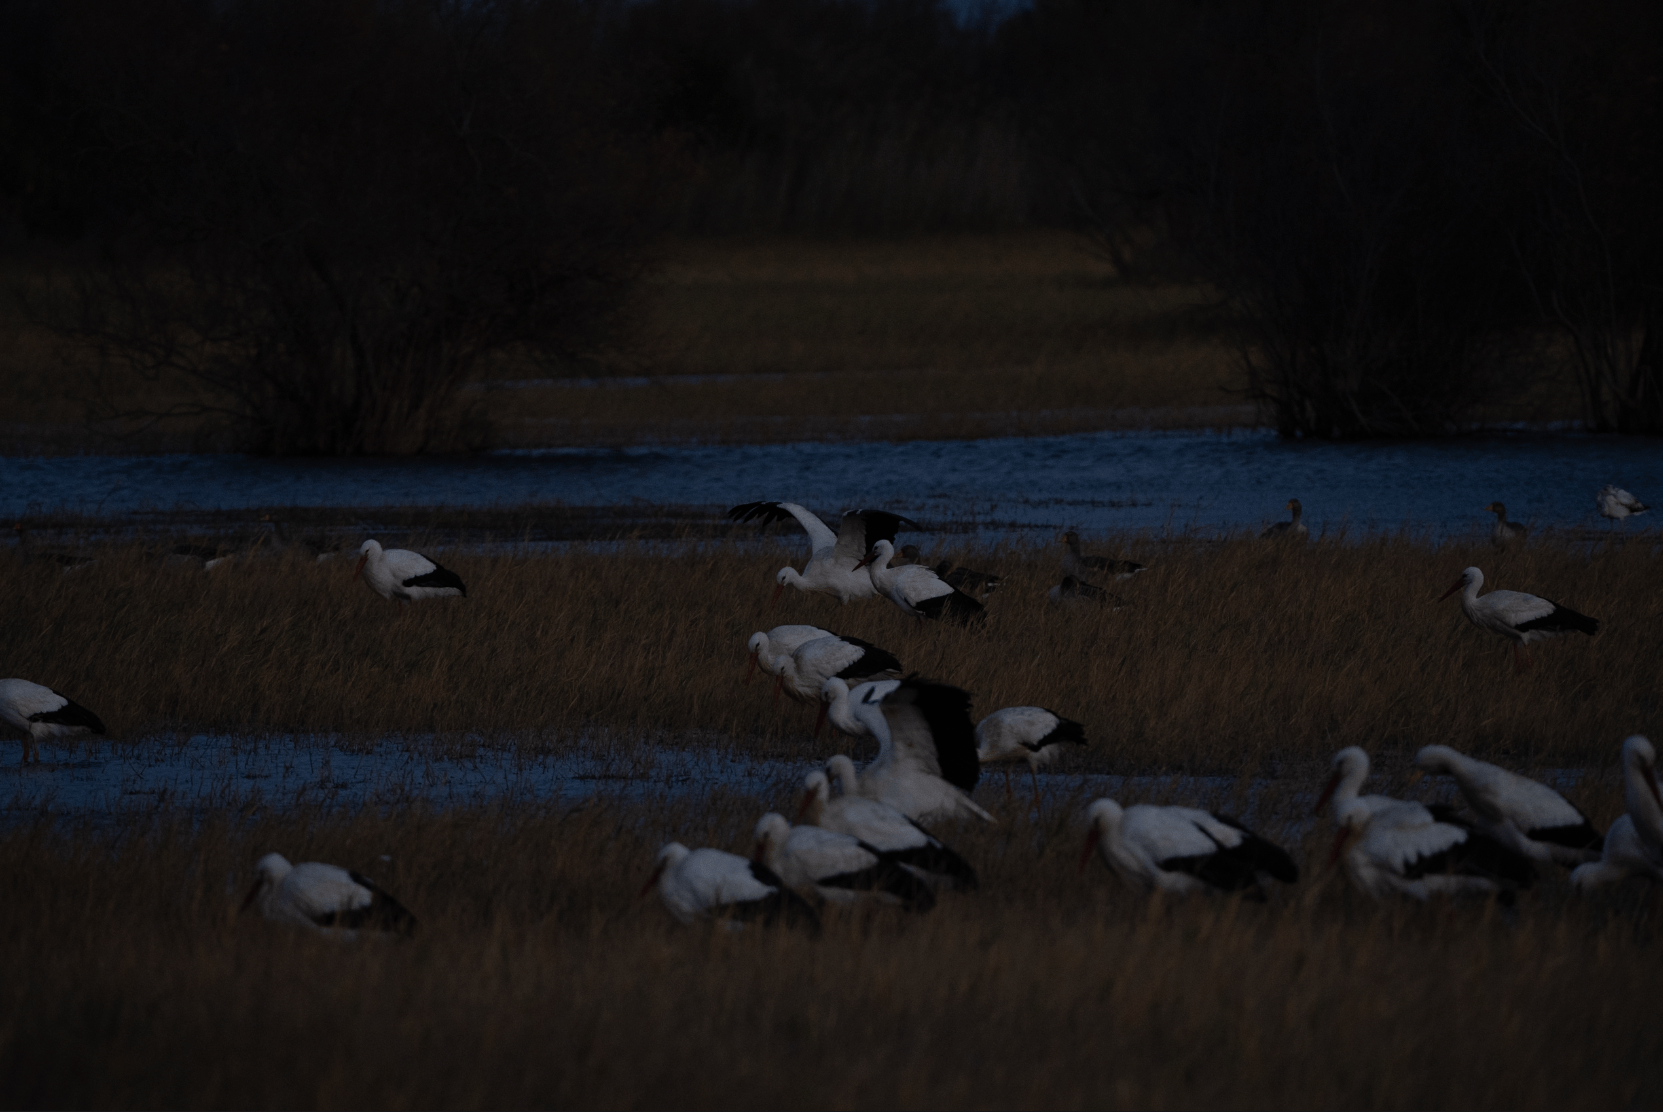
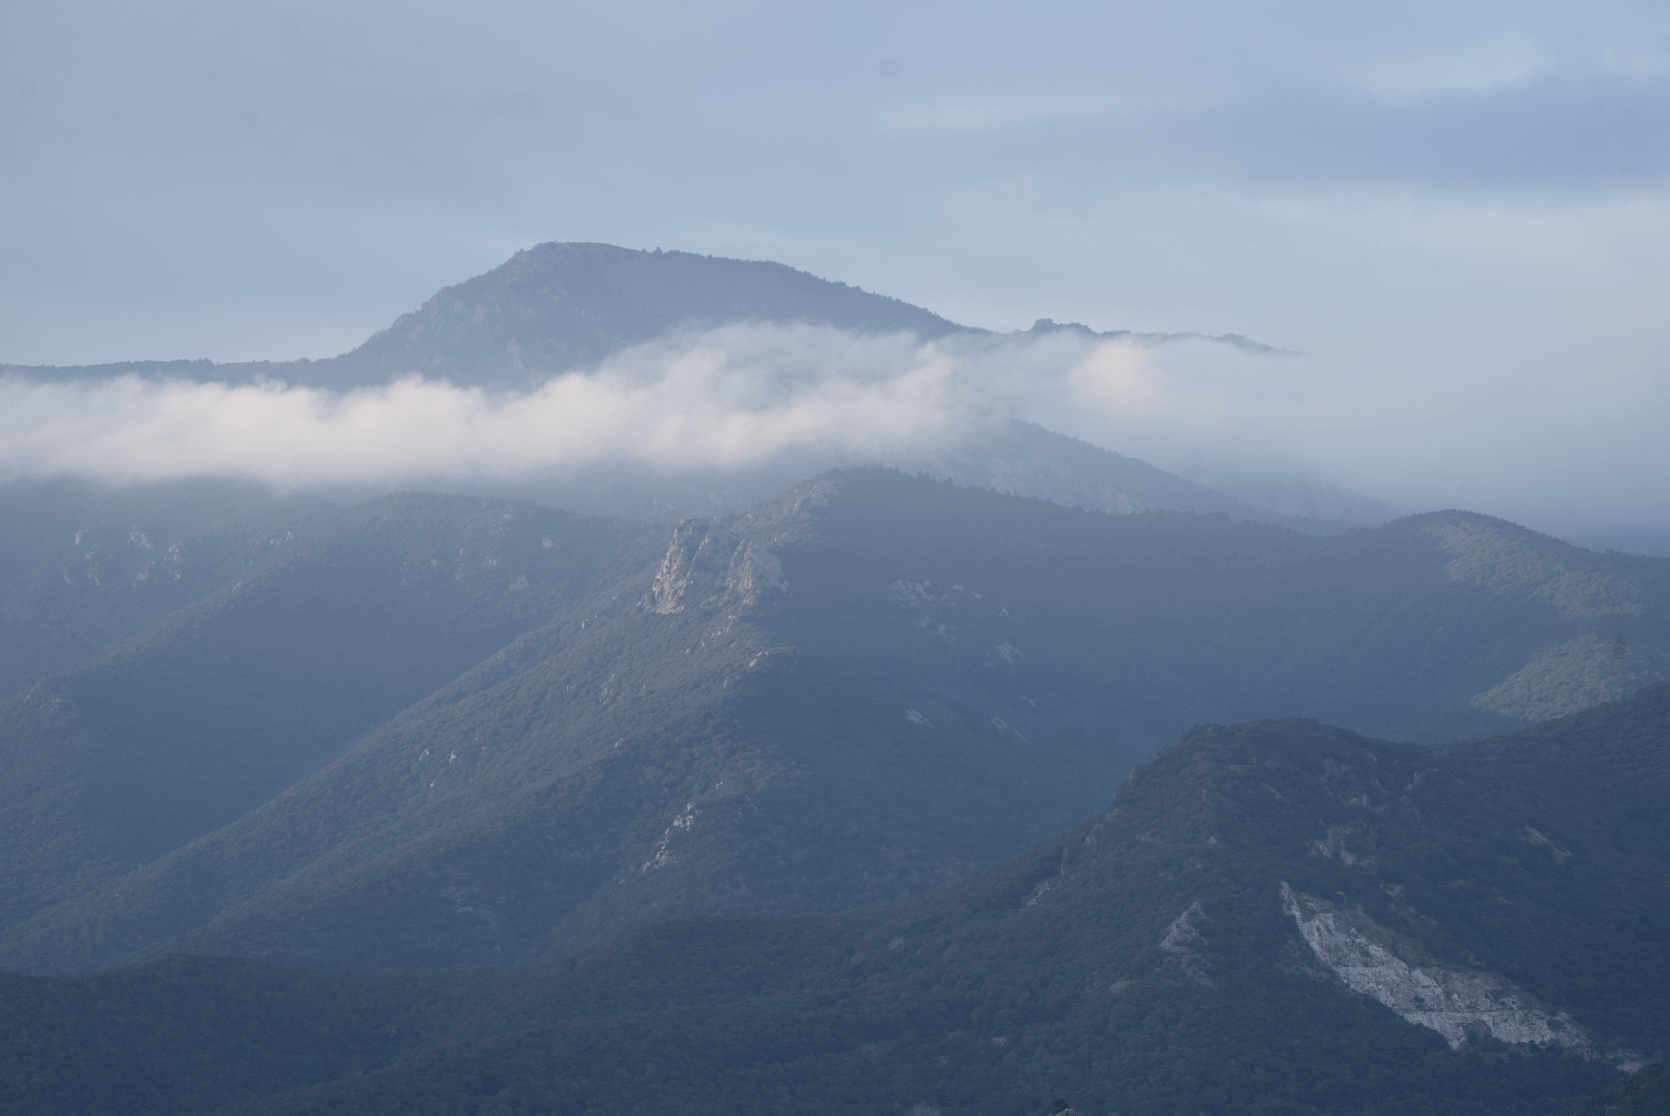
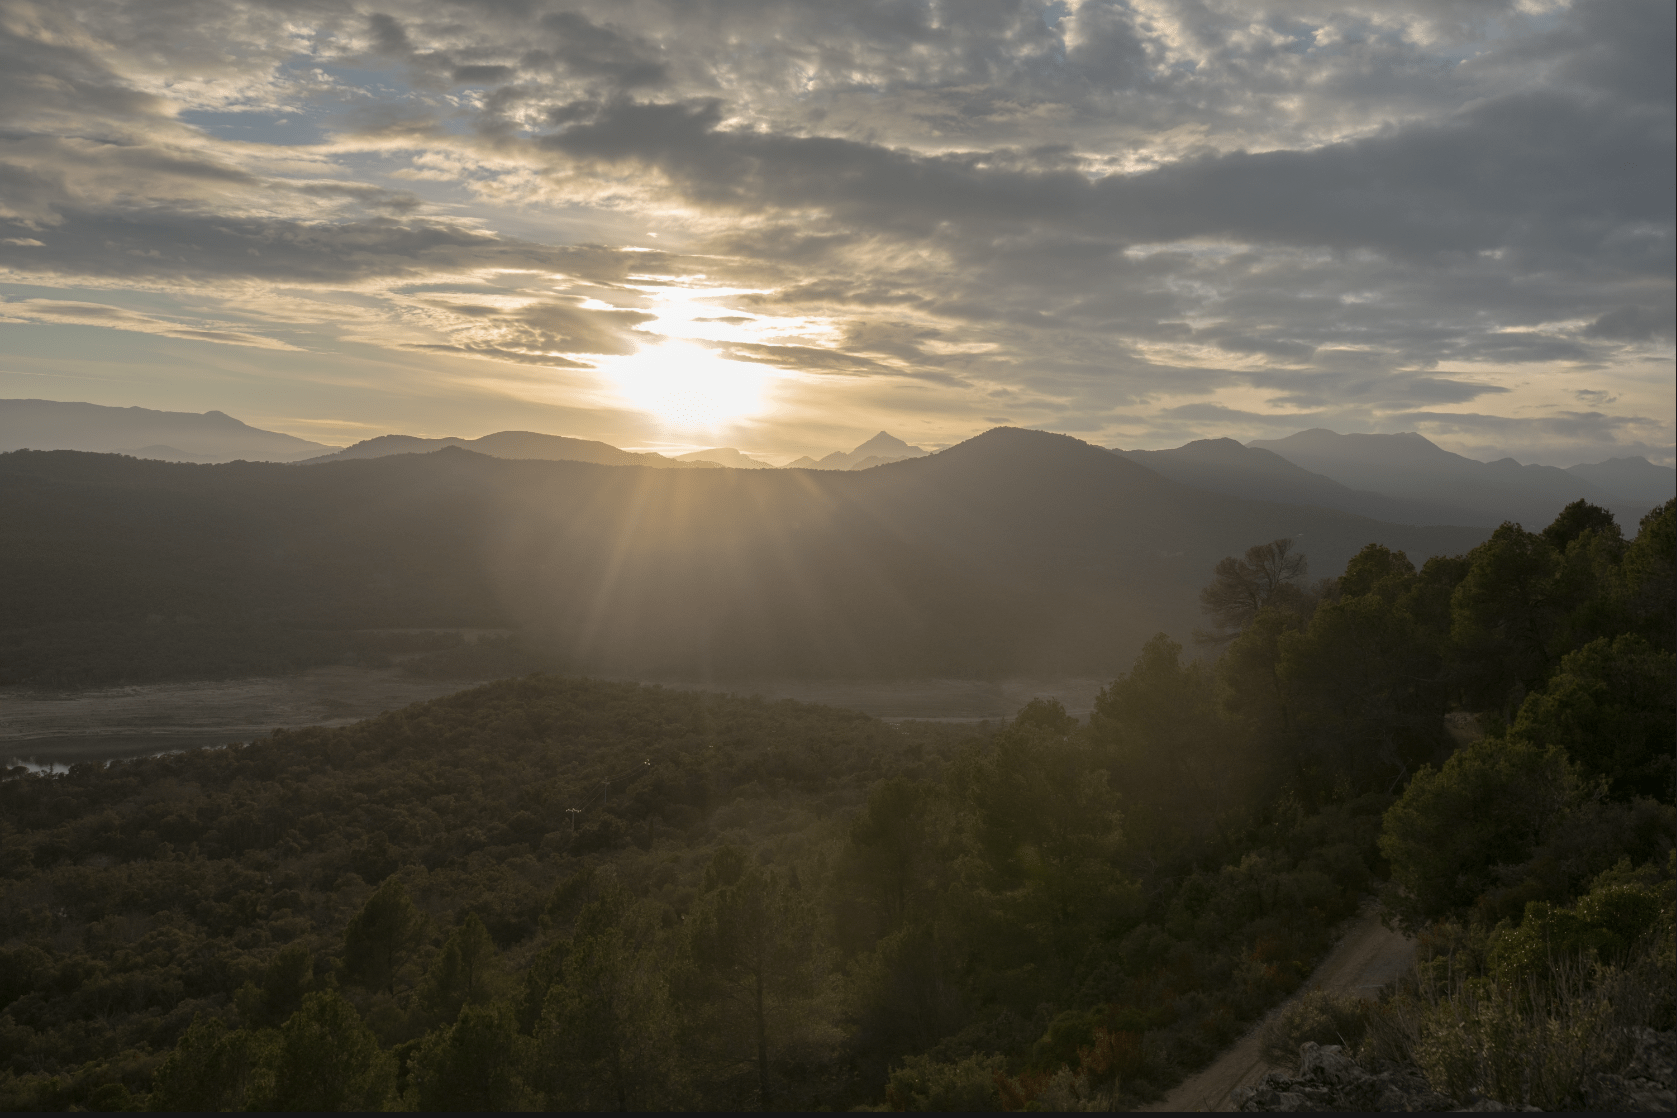
My personal approach:
We end this week learning about the Exposure triangle.
Always balance the 3 of them to get a good exposure.
investigate about the dynamic range
What is the dynamic range?
For cameras, dynamic range is what determines how much detail one can capture within an image. It is measured in f/stops or t/stops. The wider the range in stops, the greater the range. A high dynamic range typically means that more detail in both highlights and shadows can be captured.

End of week 2
Week 3: The basics of photography composition
This week we will explore composition in photography.
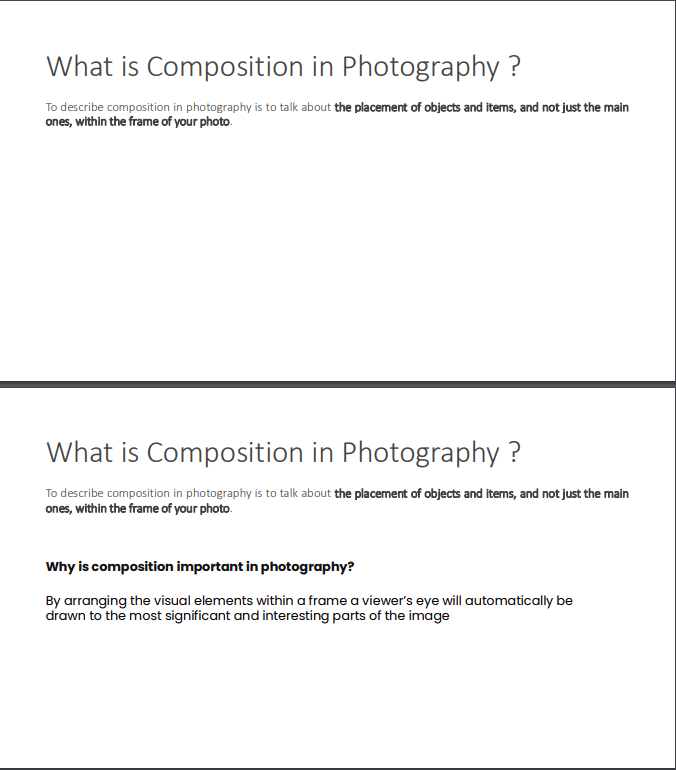
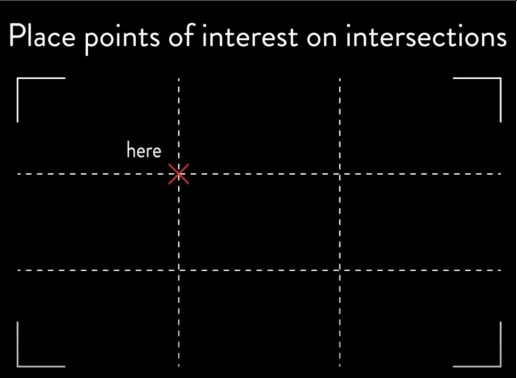
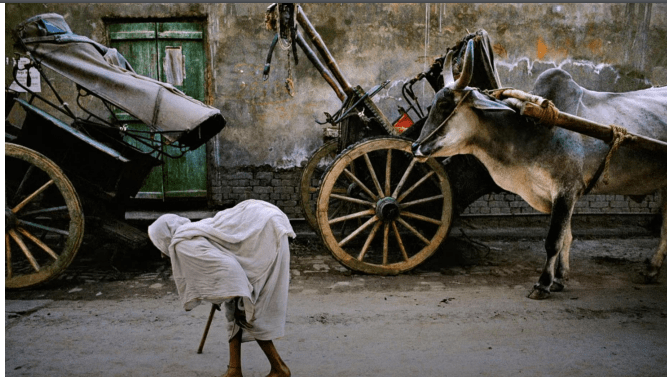
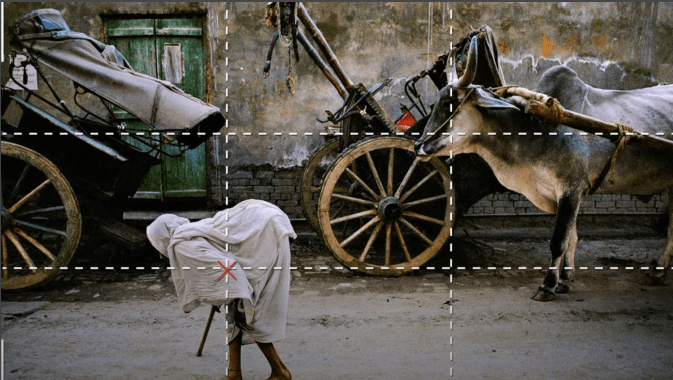
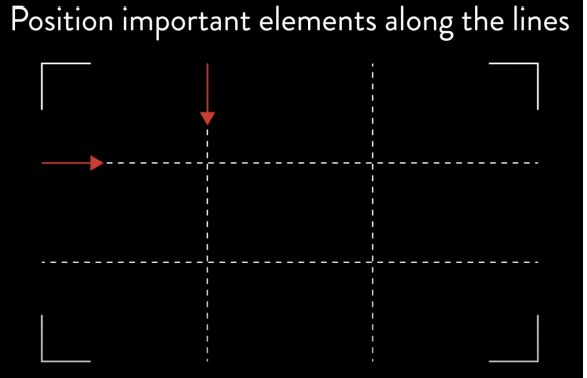
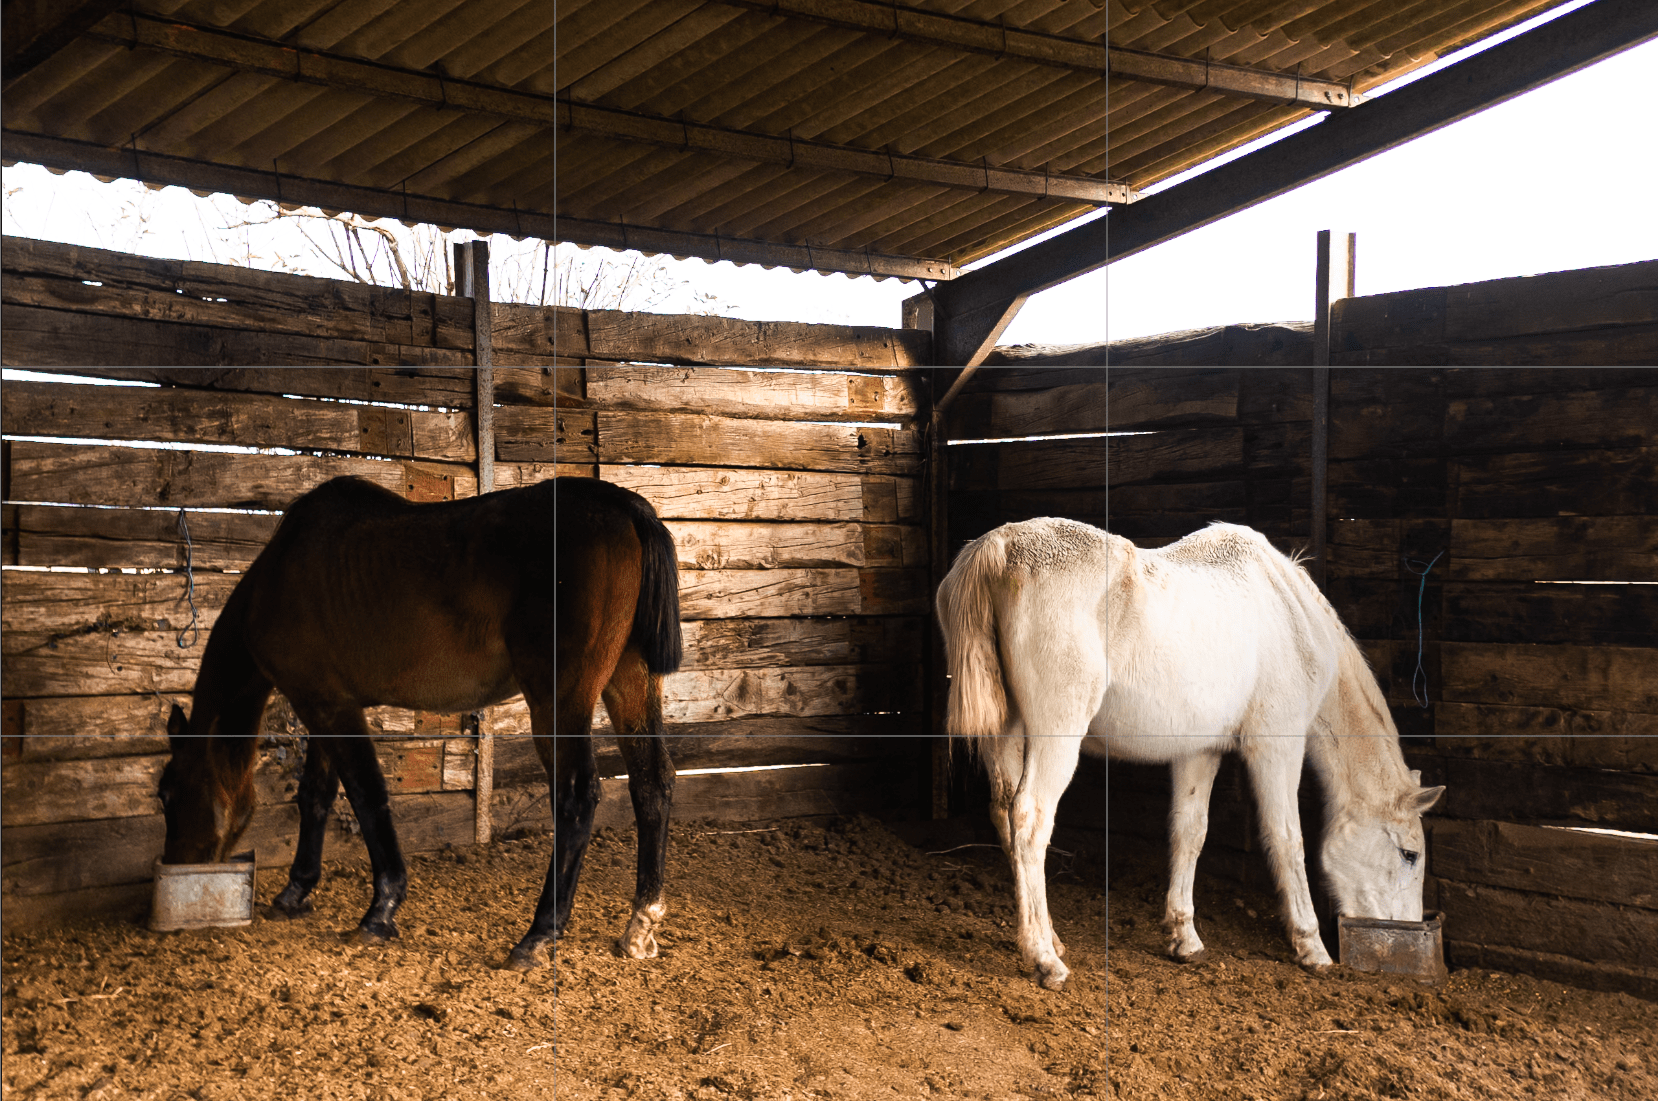
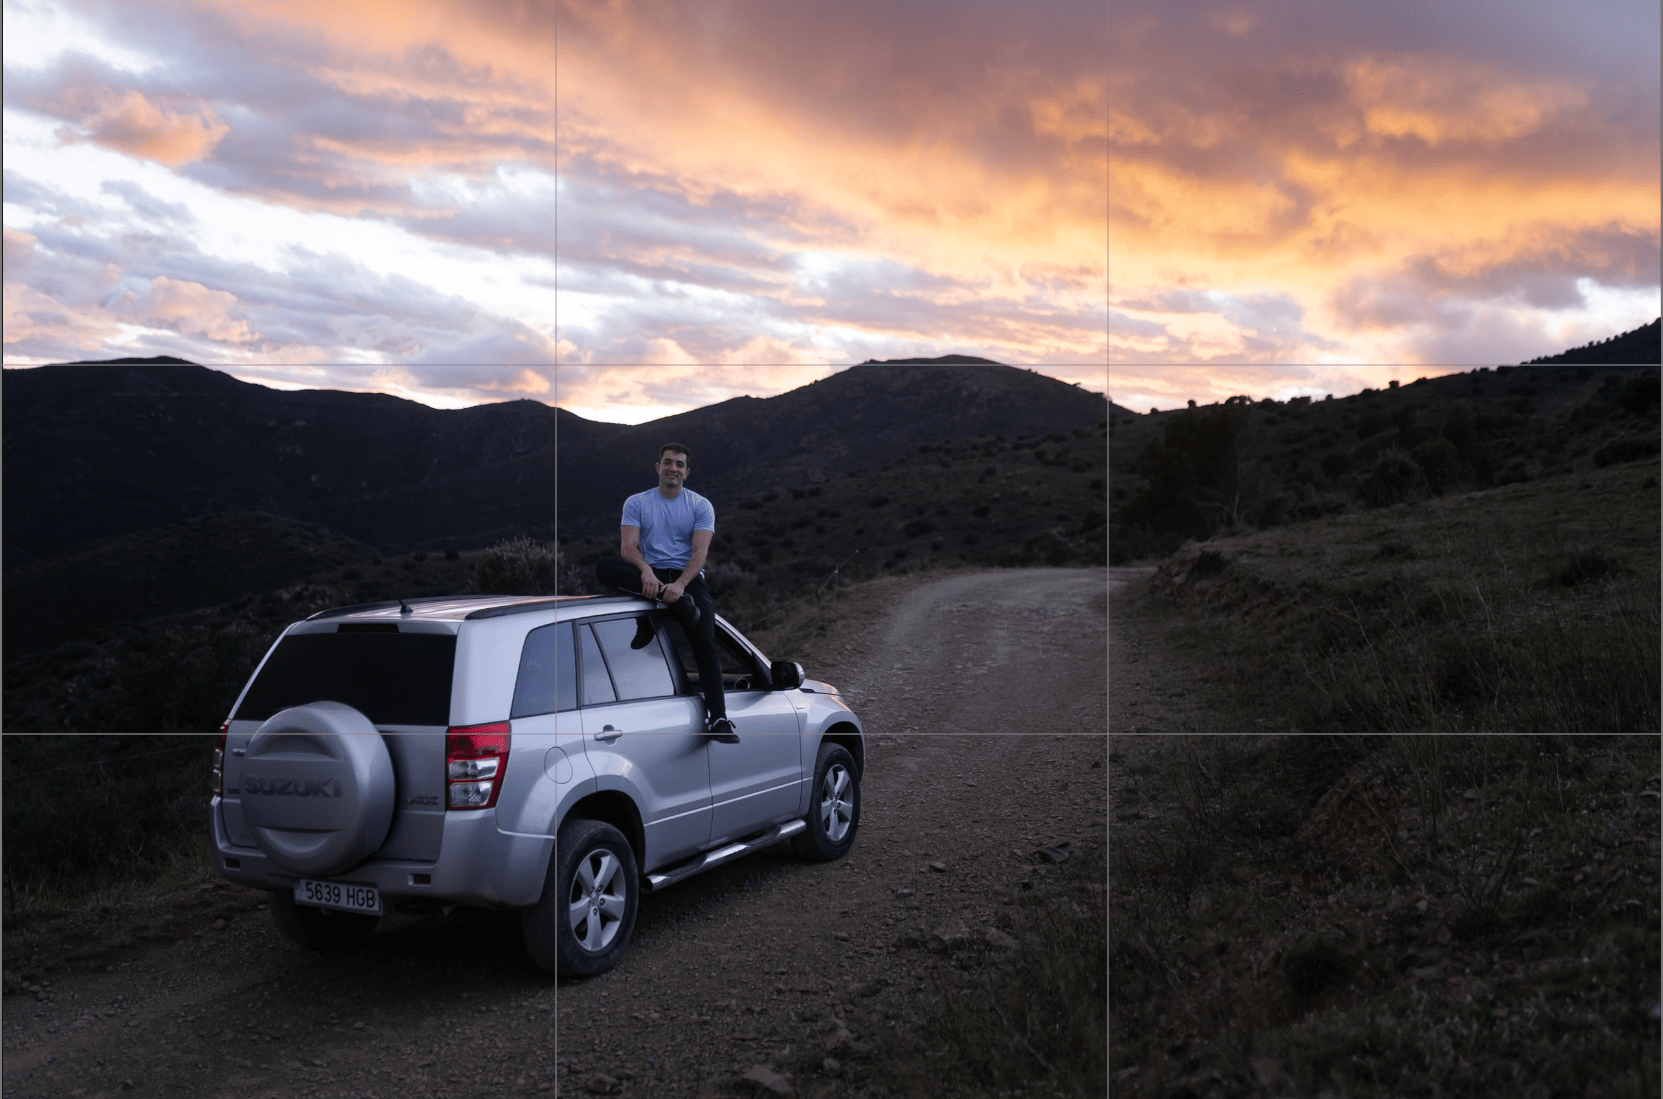
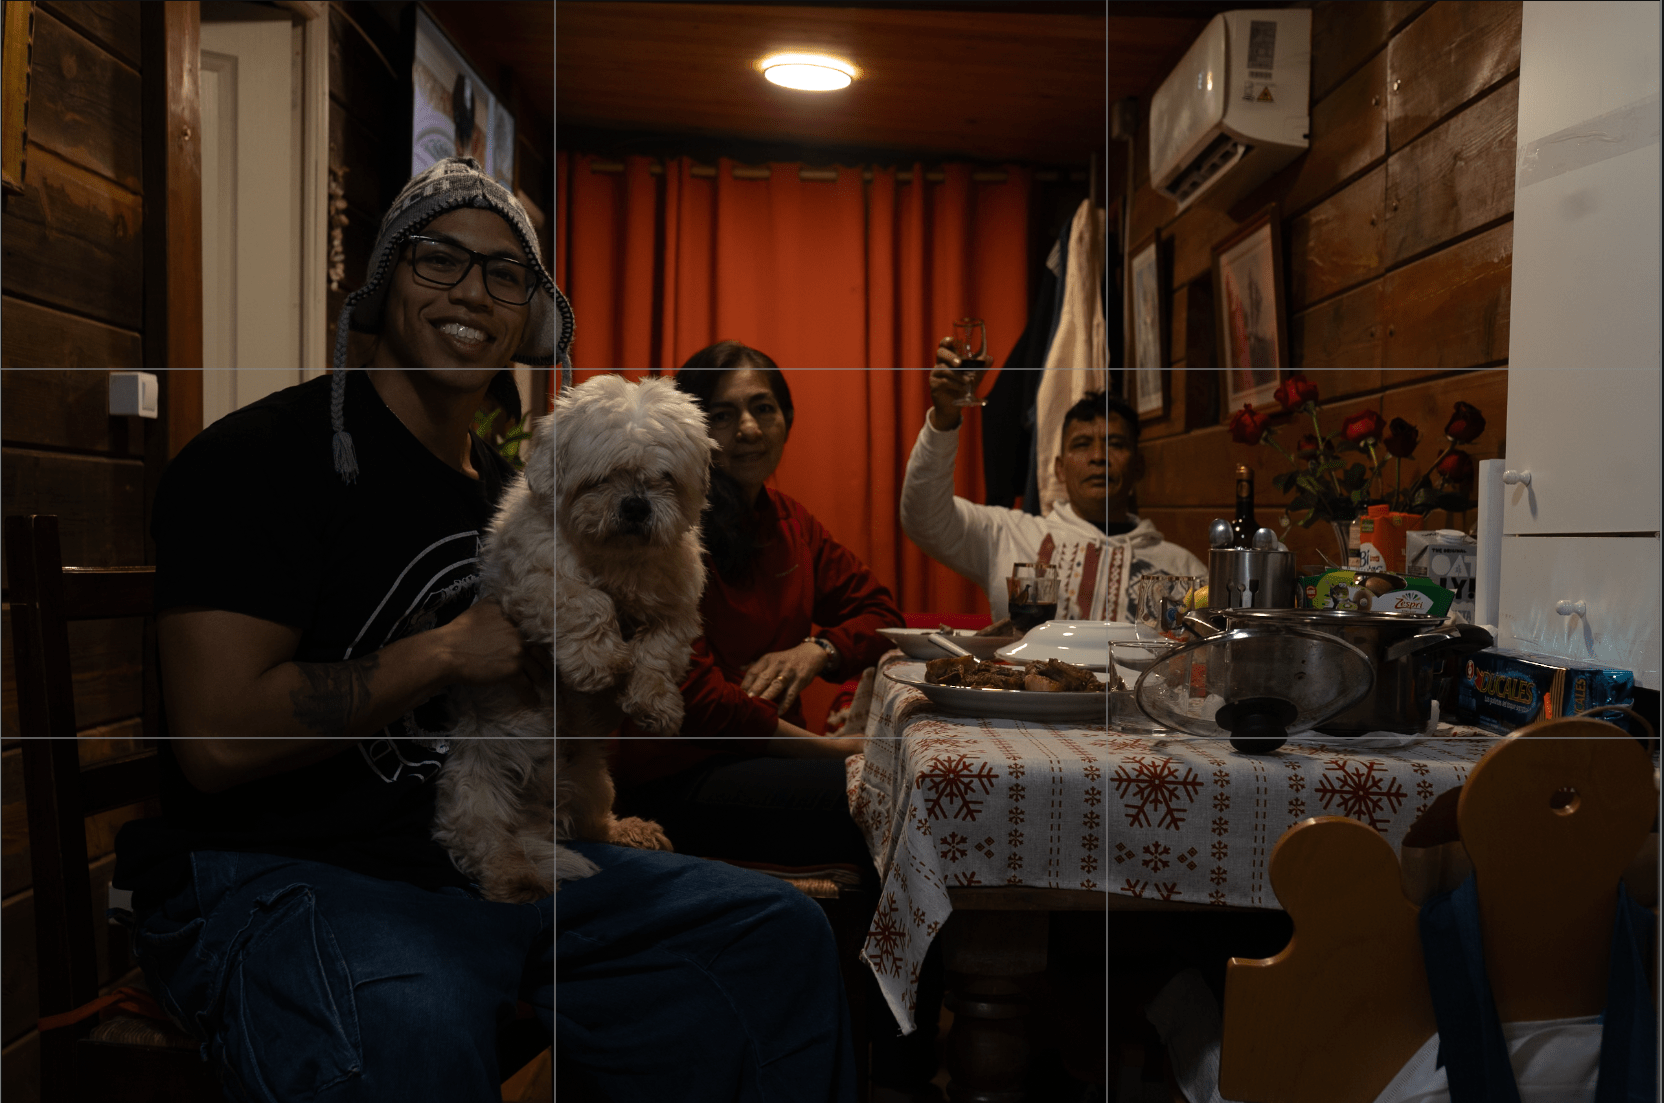
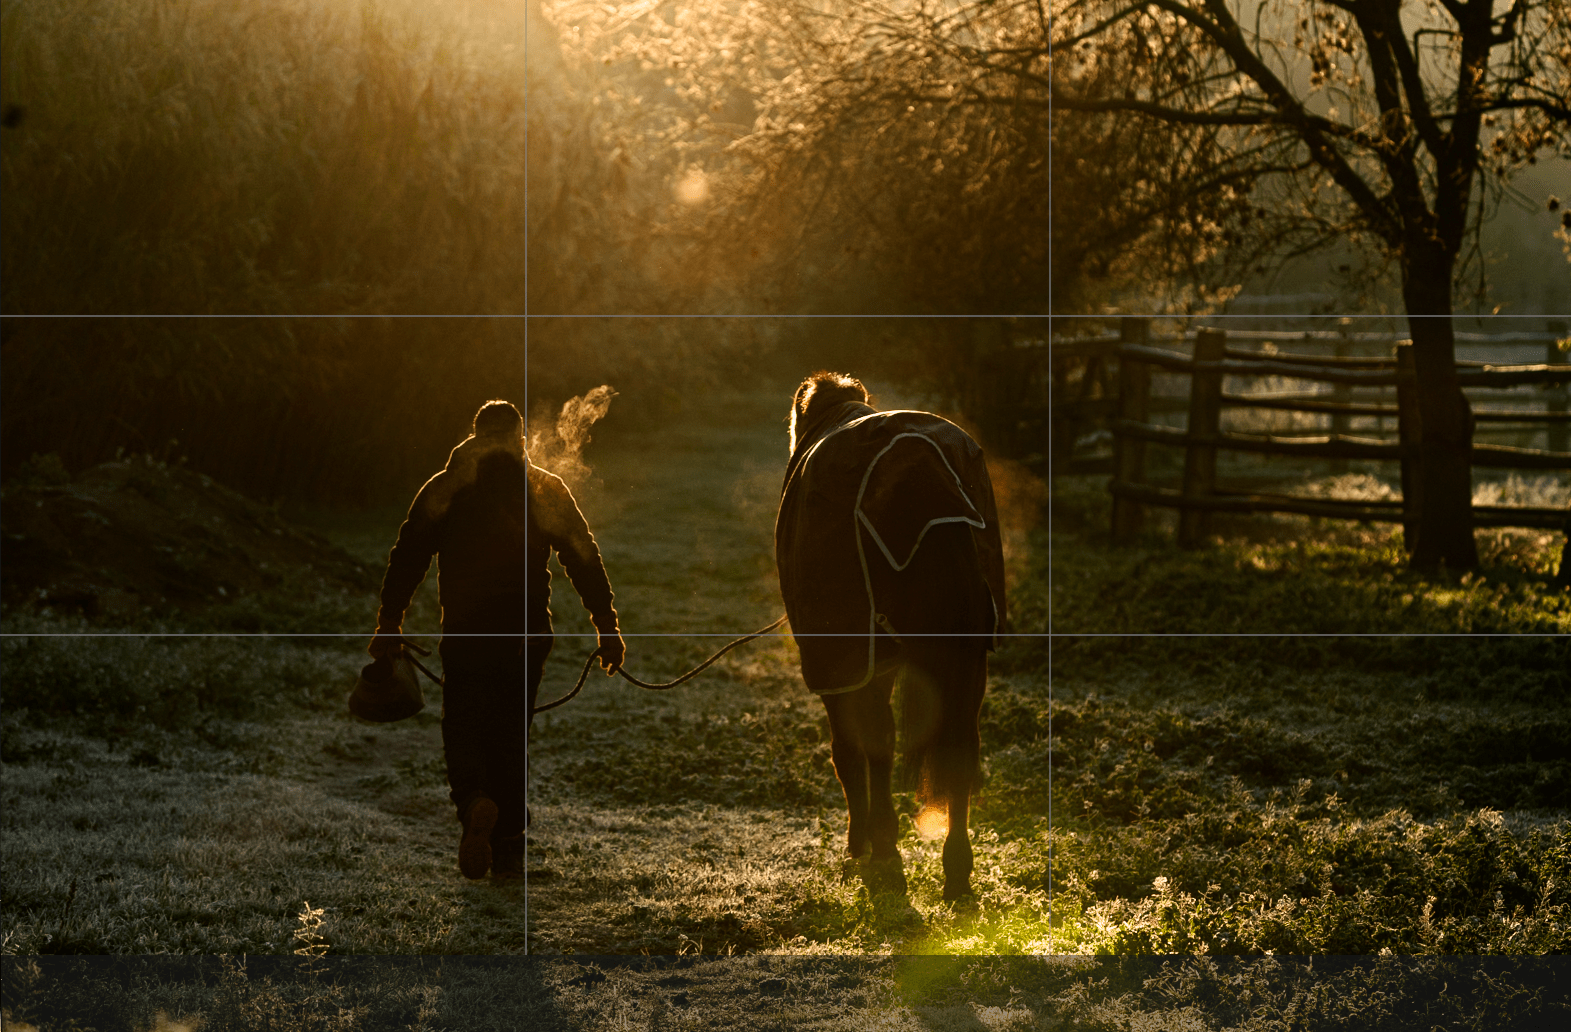
In composition we use the rule of thirds:
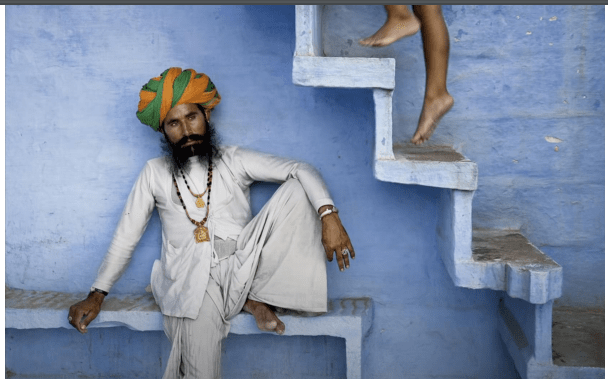
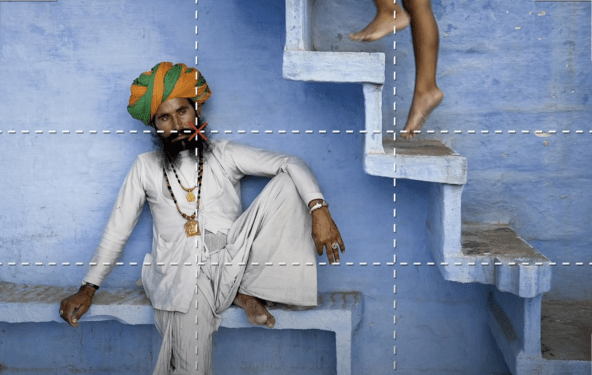
The rule of thirds is a composition guideline that places your subject in the left or right third of an image, leaving the other two thirds more open.
Class examples:
My personal approach:
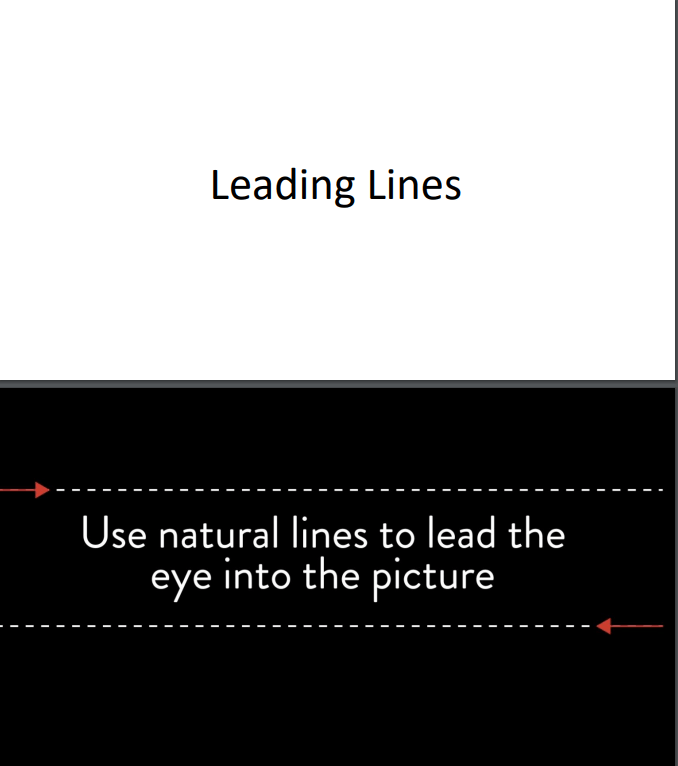
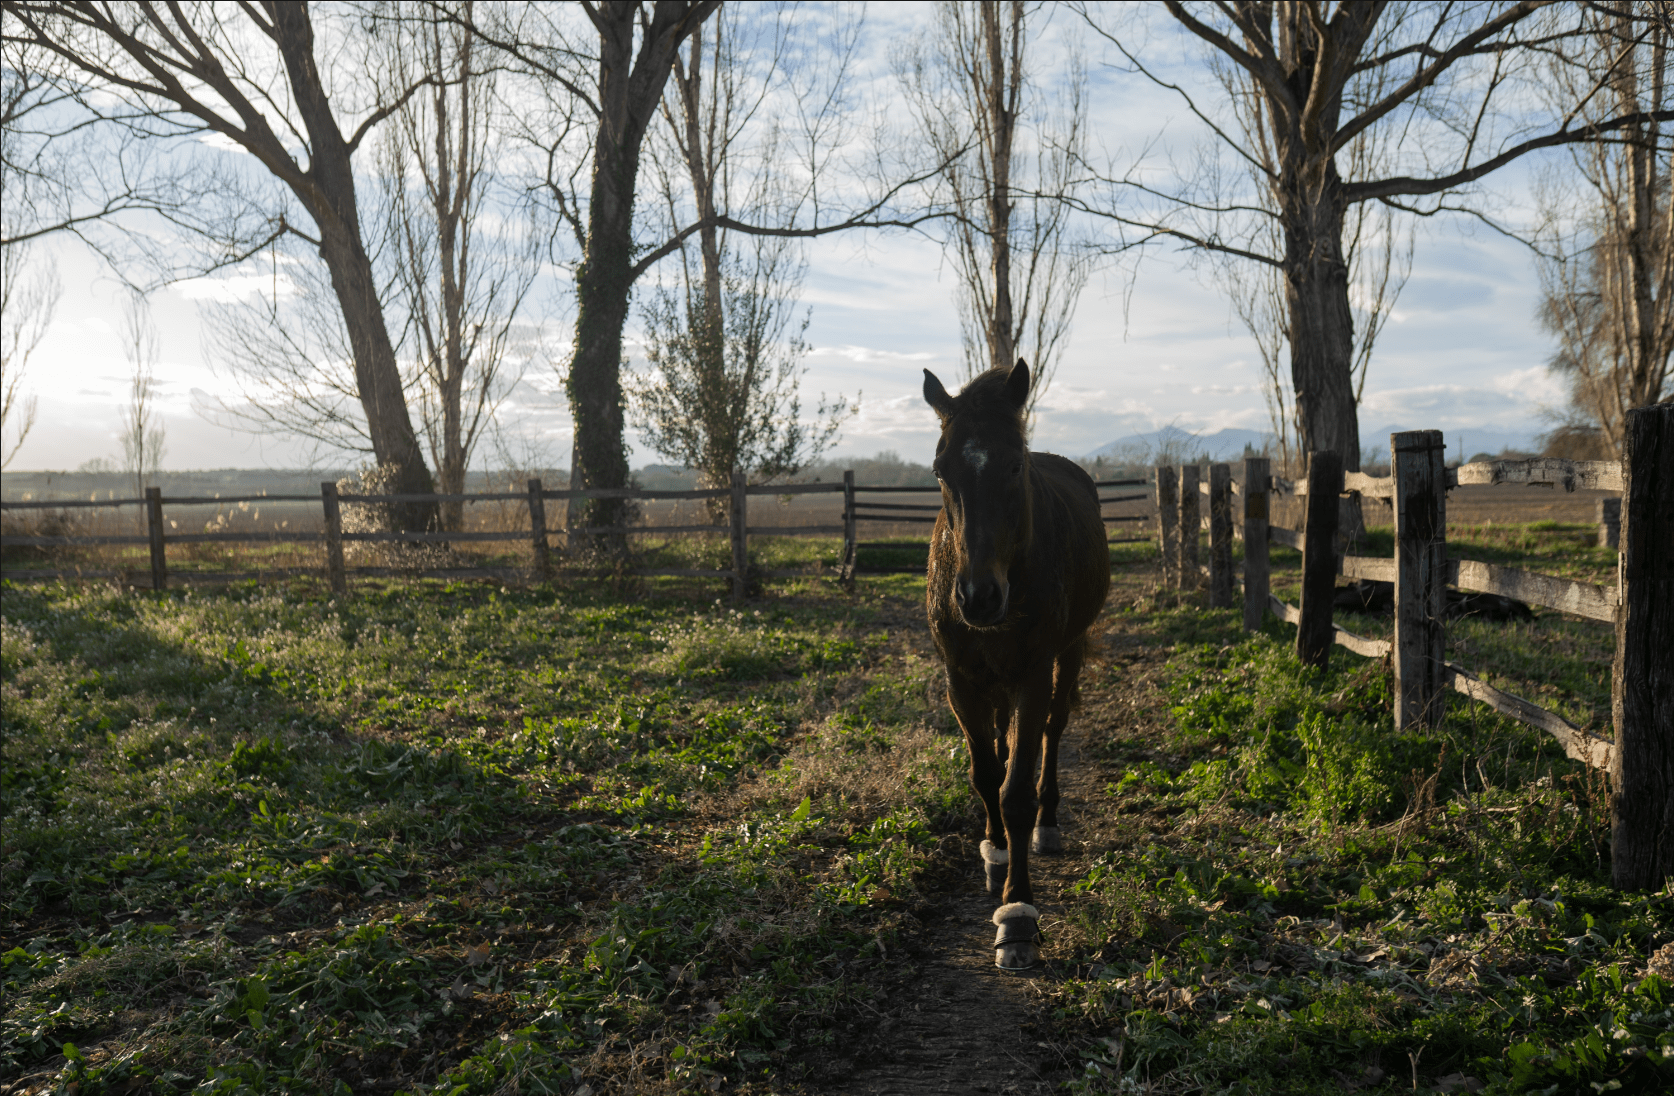
We use leading lines:
Class examples:
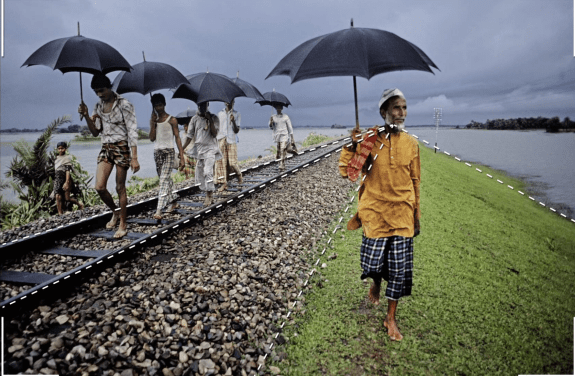
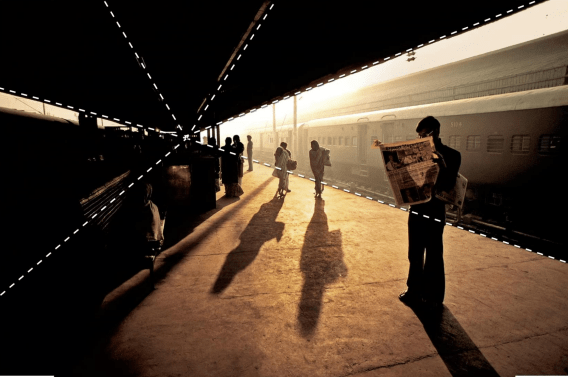
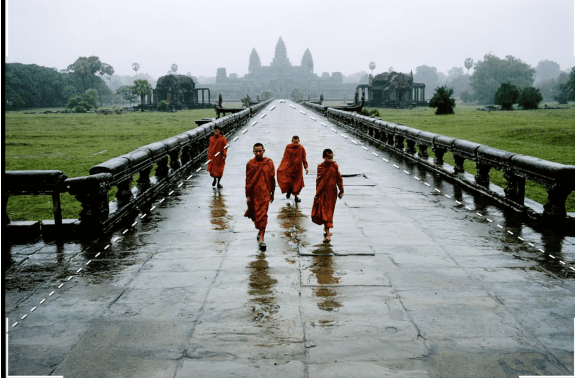
My personal approach:
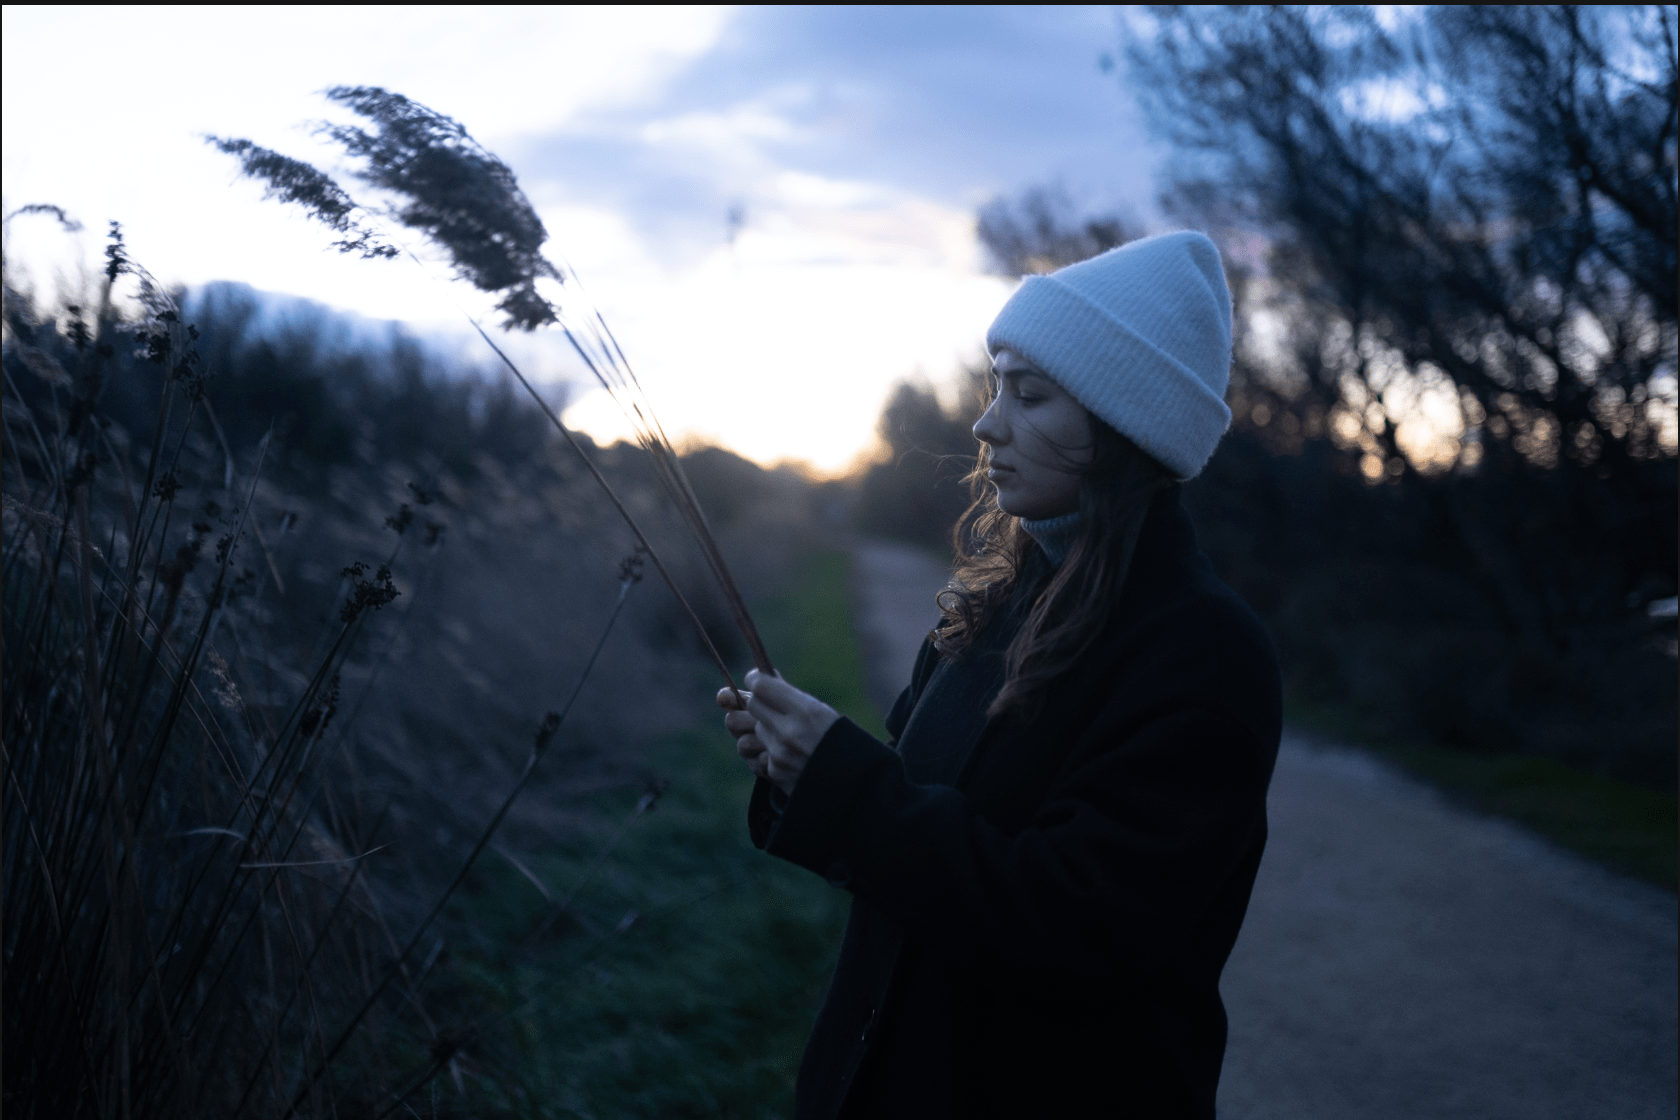
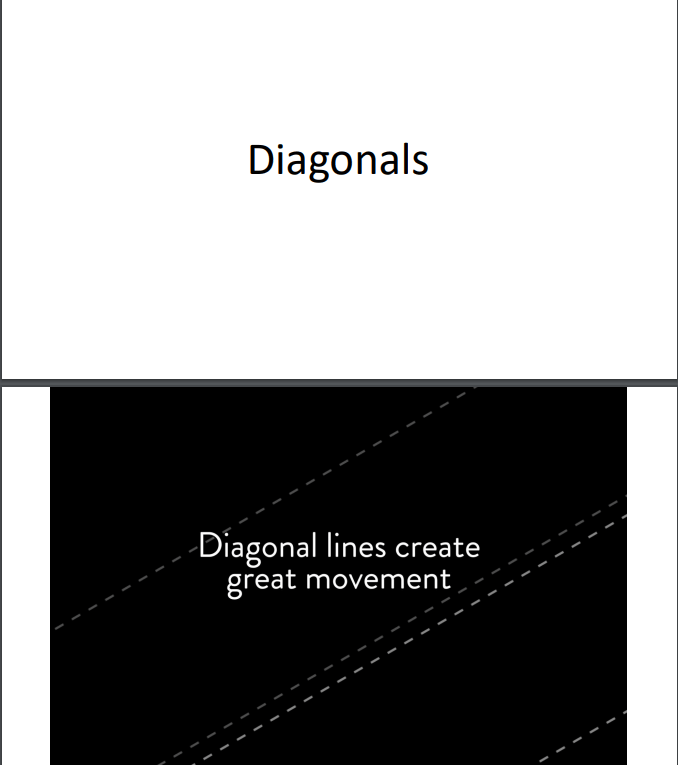
Class examples:
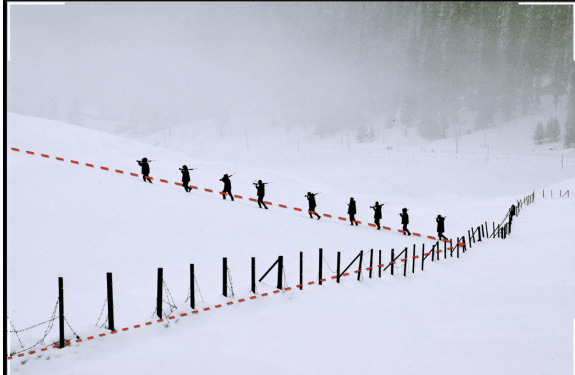
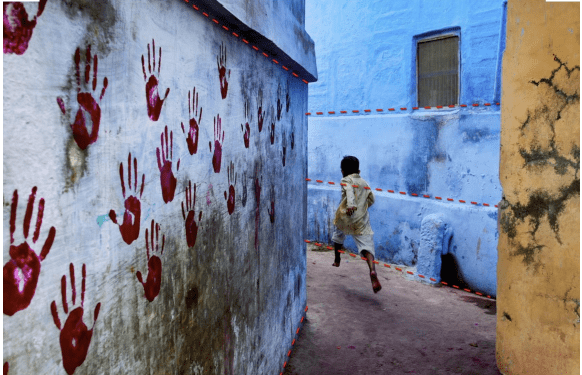
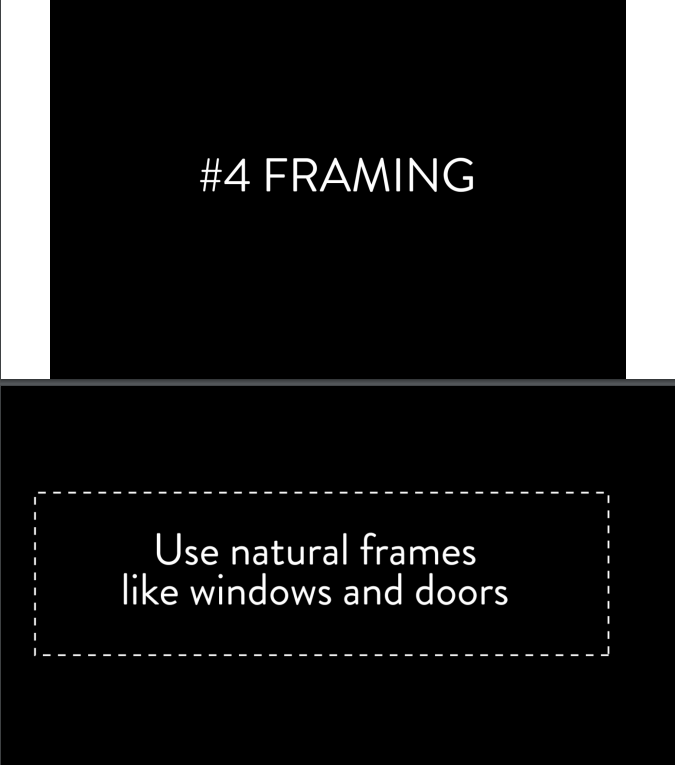
Class example:
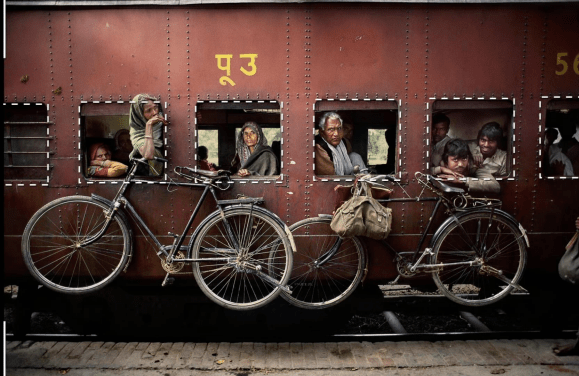
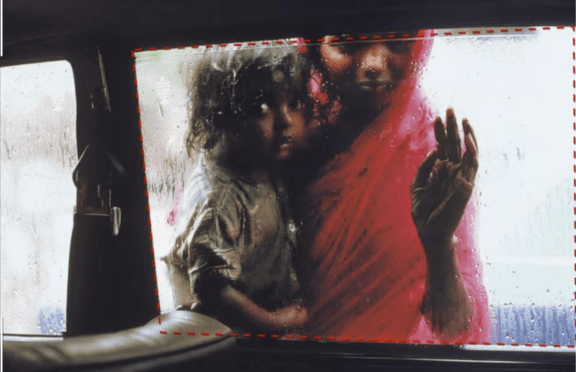
My personal approach:
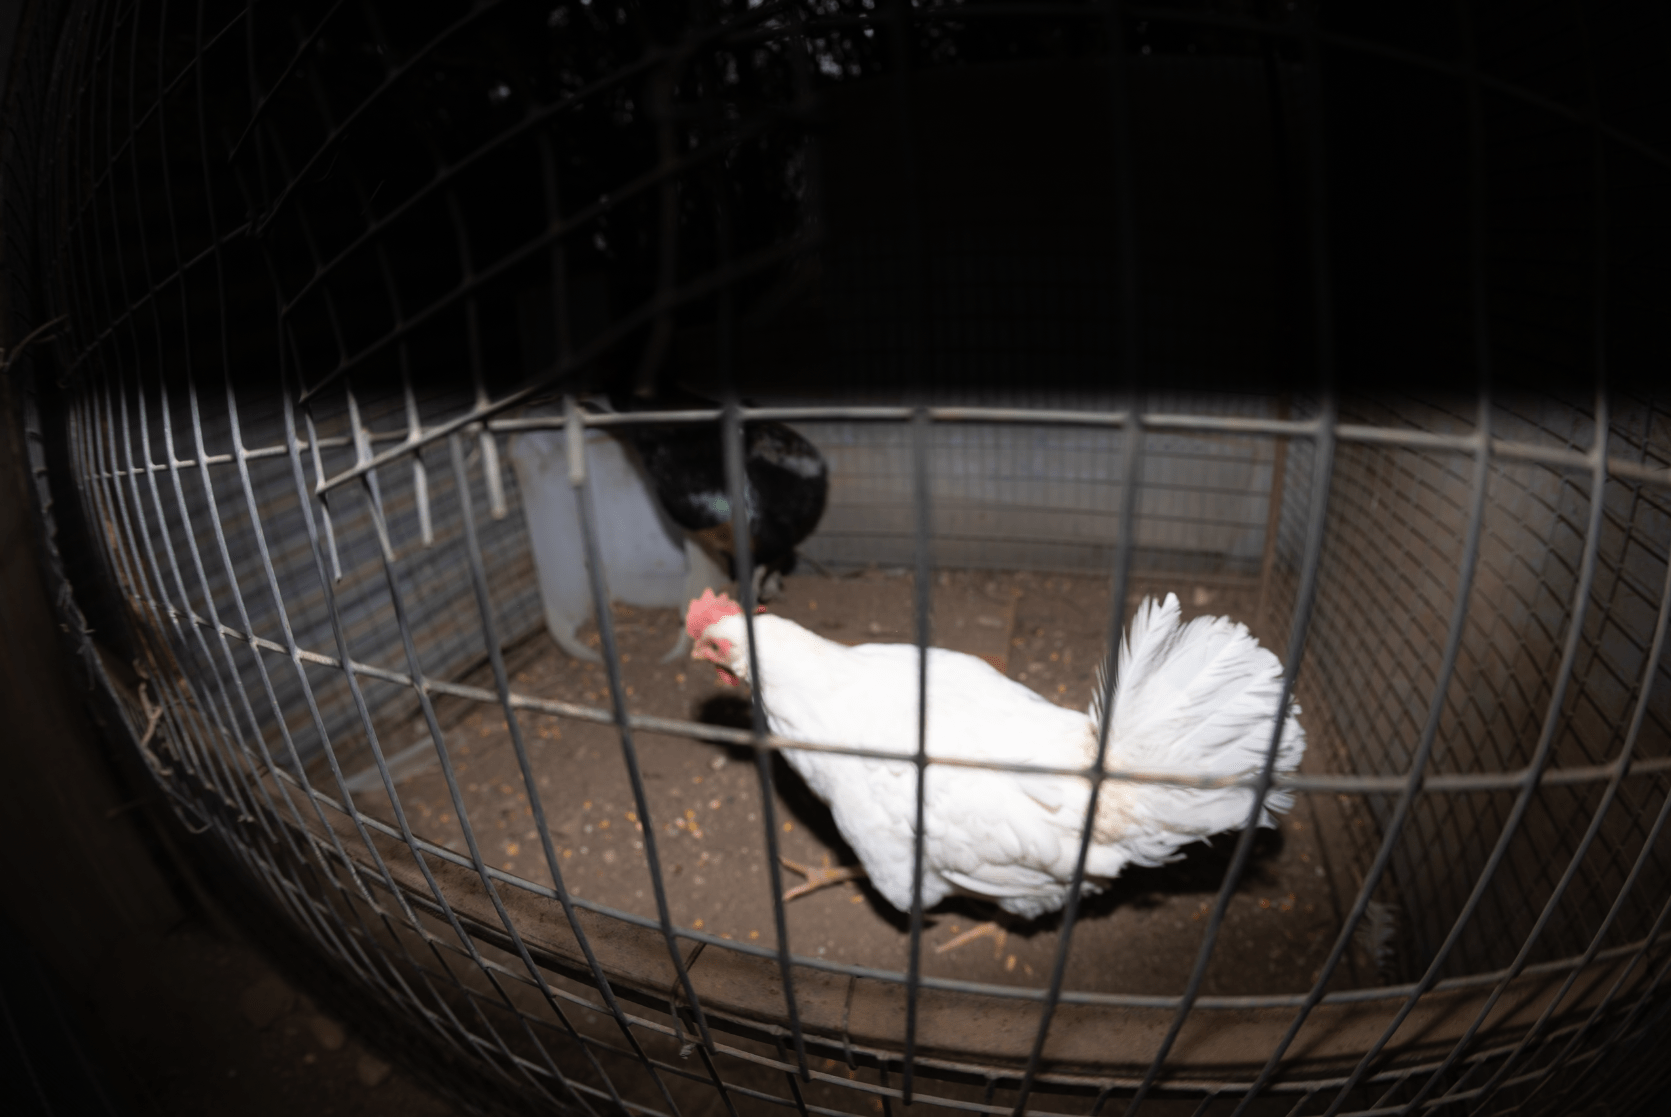
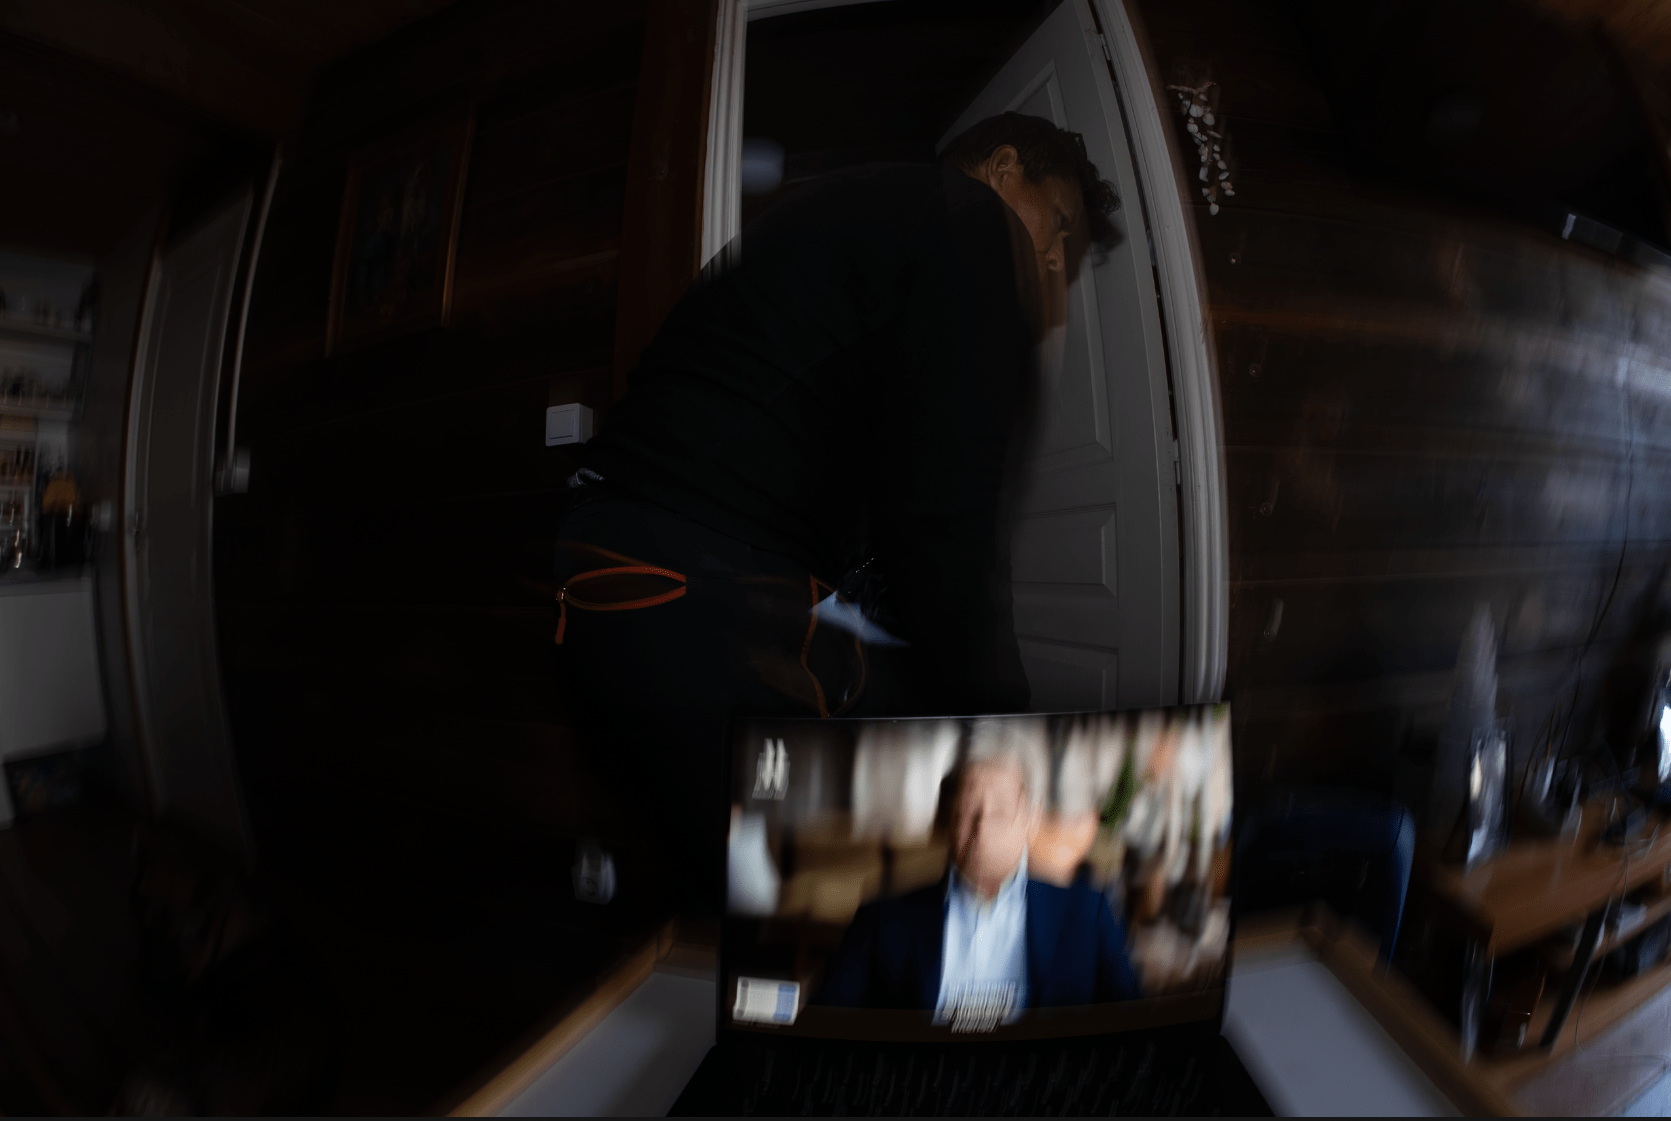
Class examples:
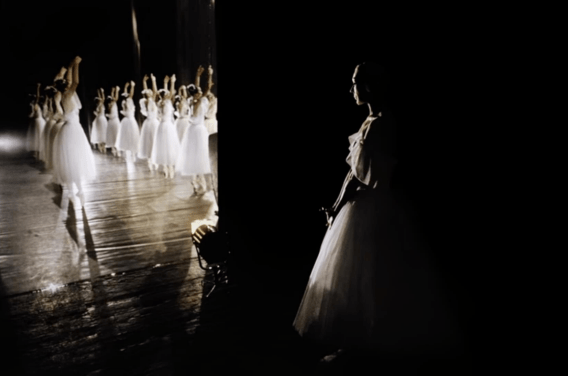
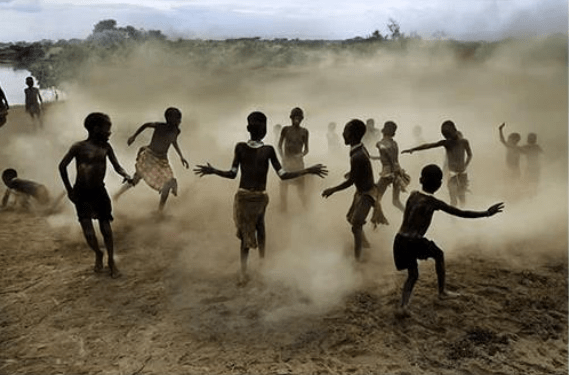
My personal approach:
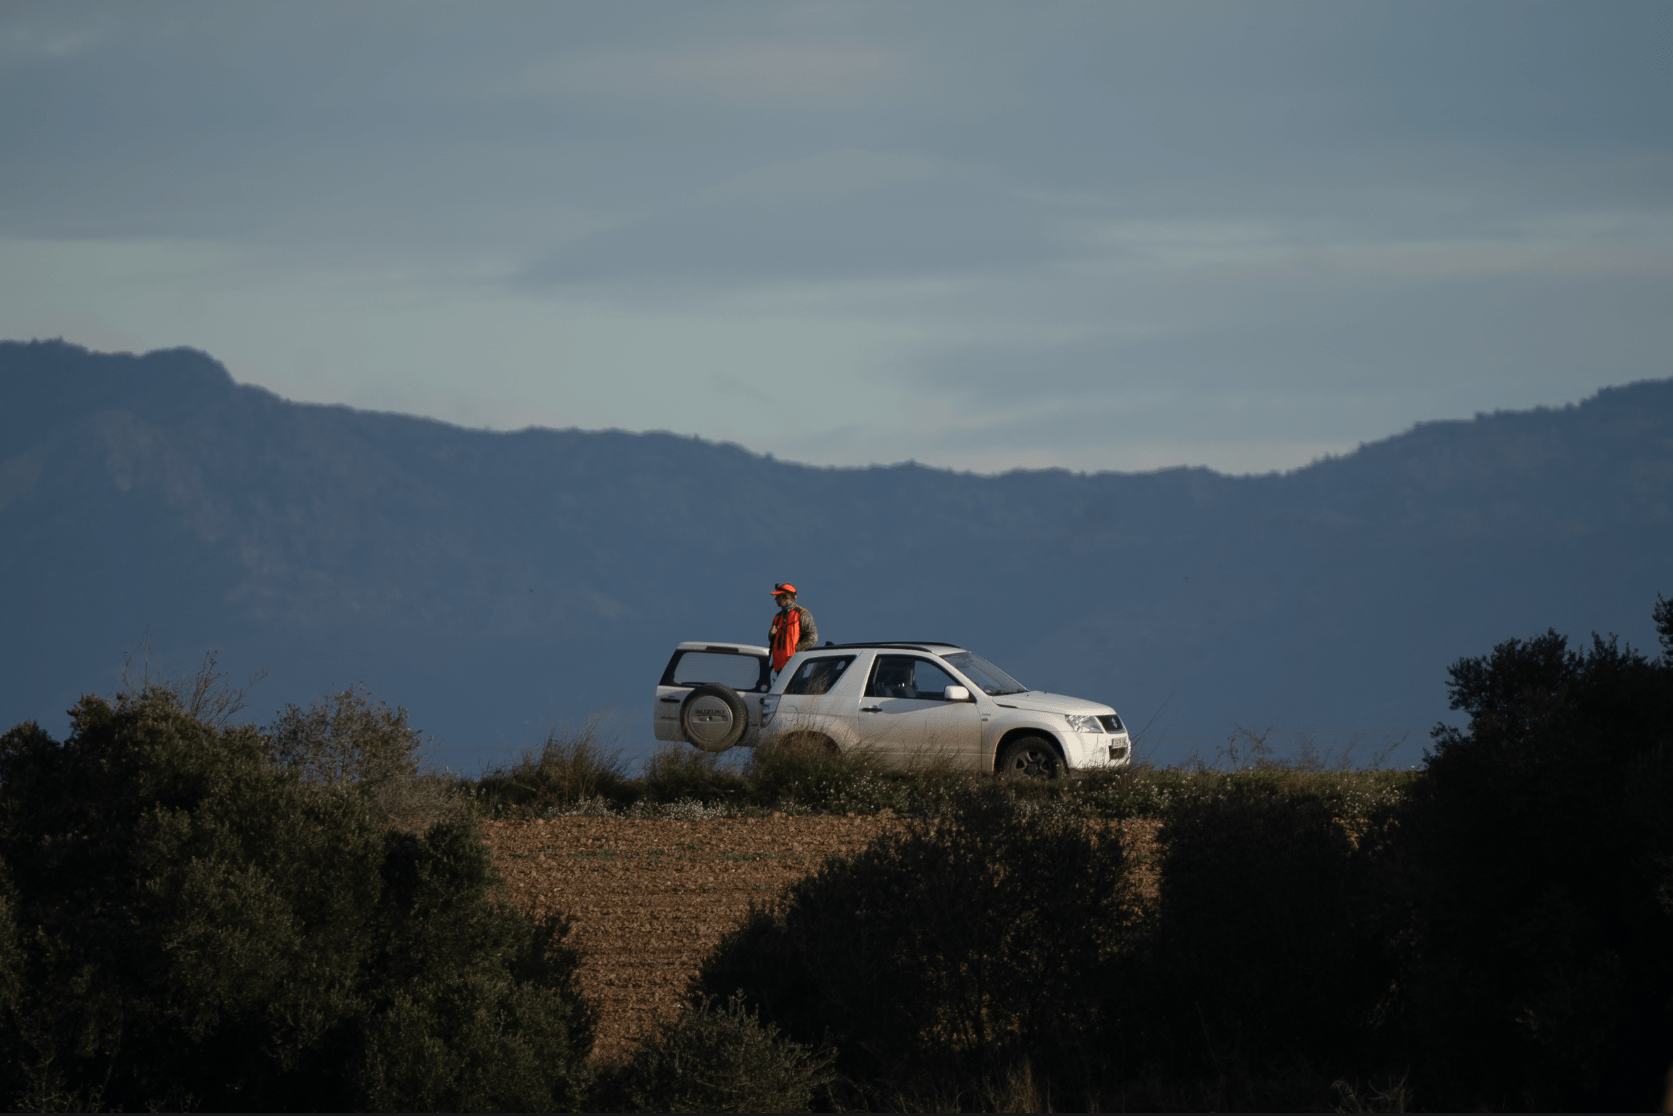
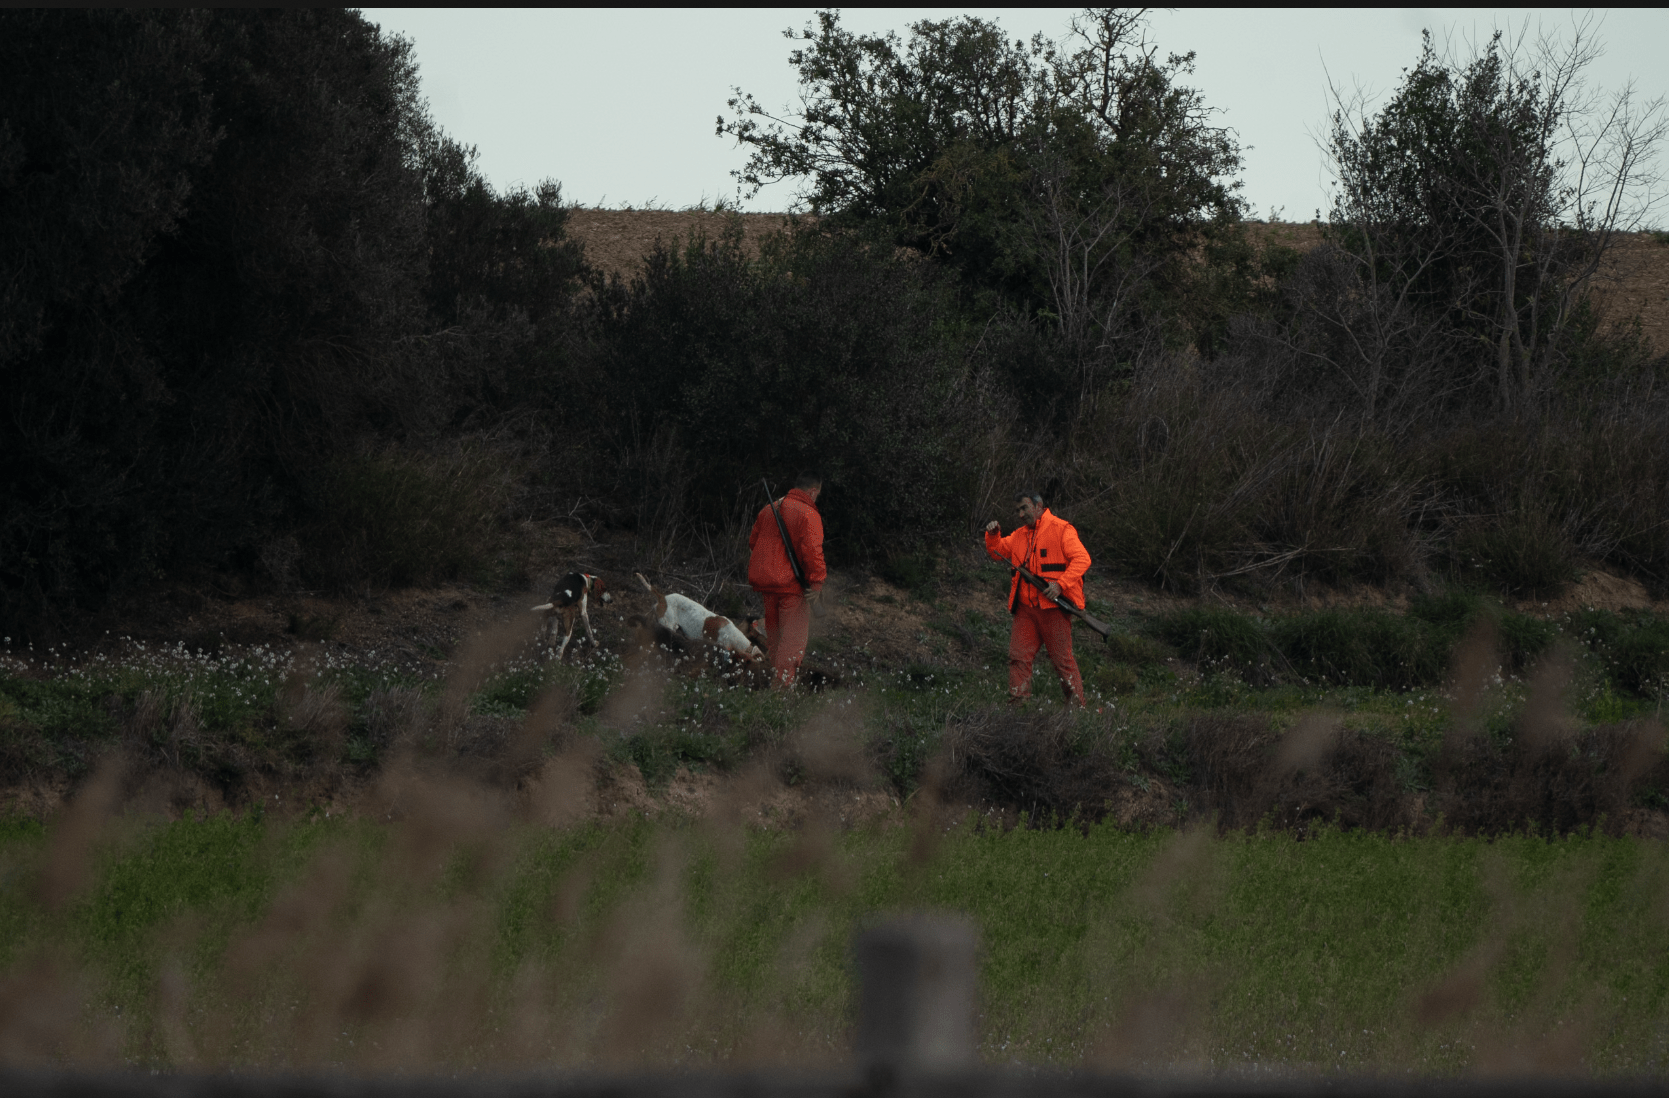
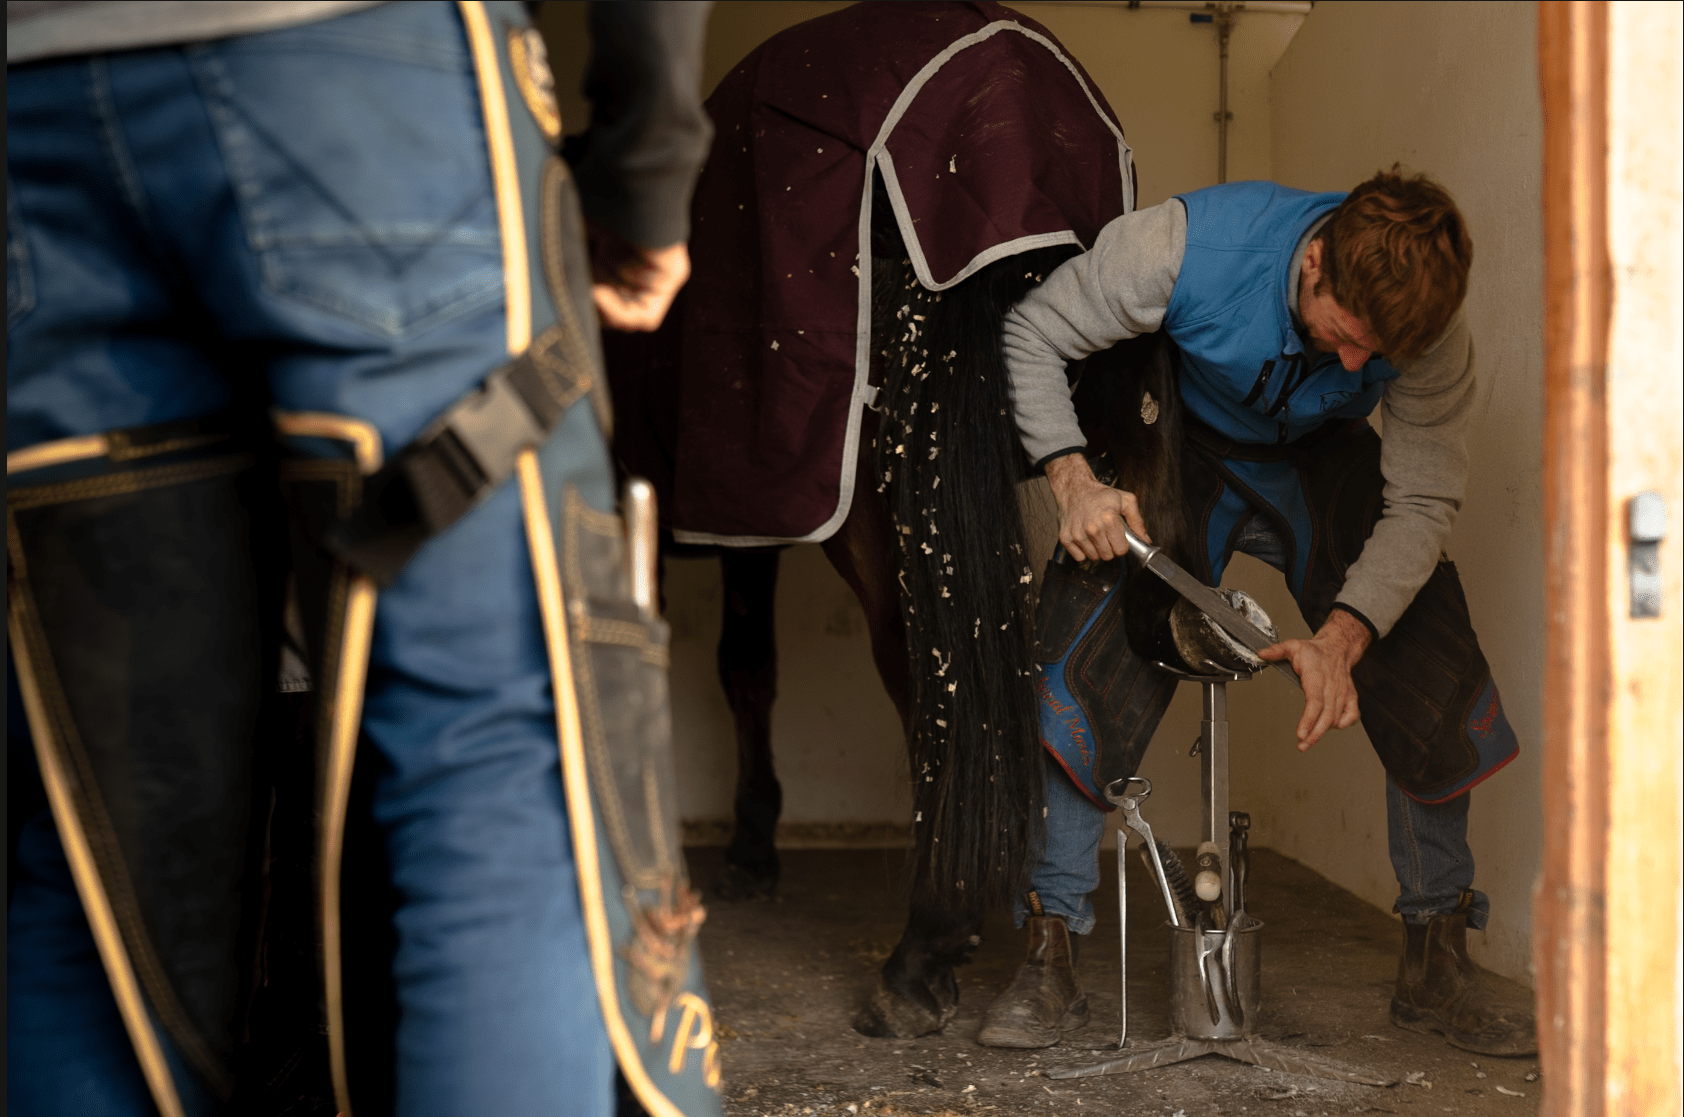
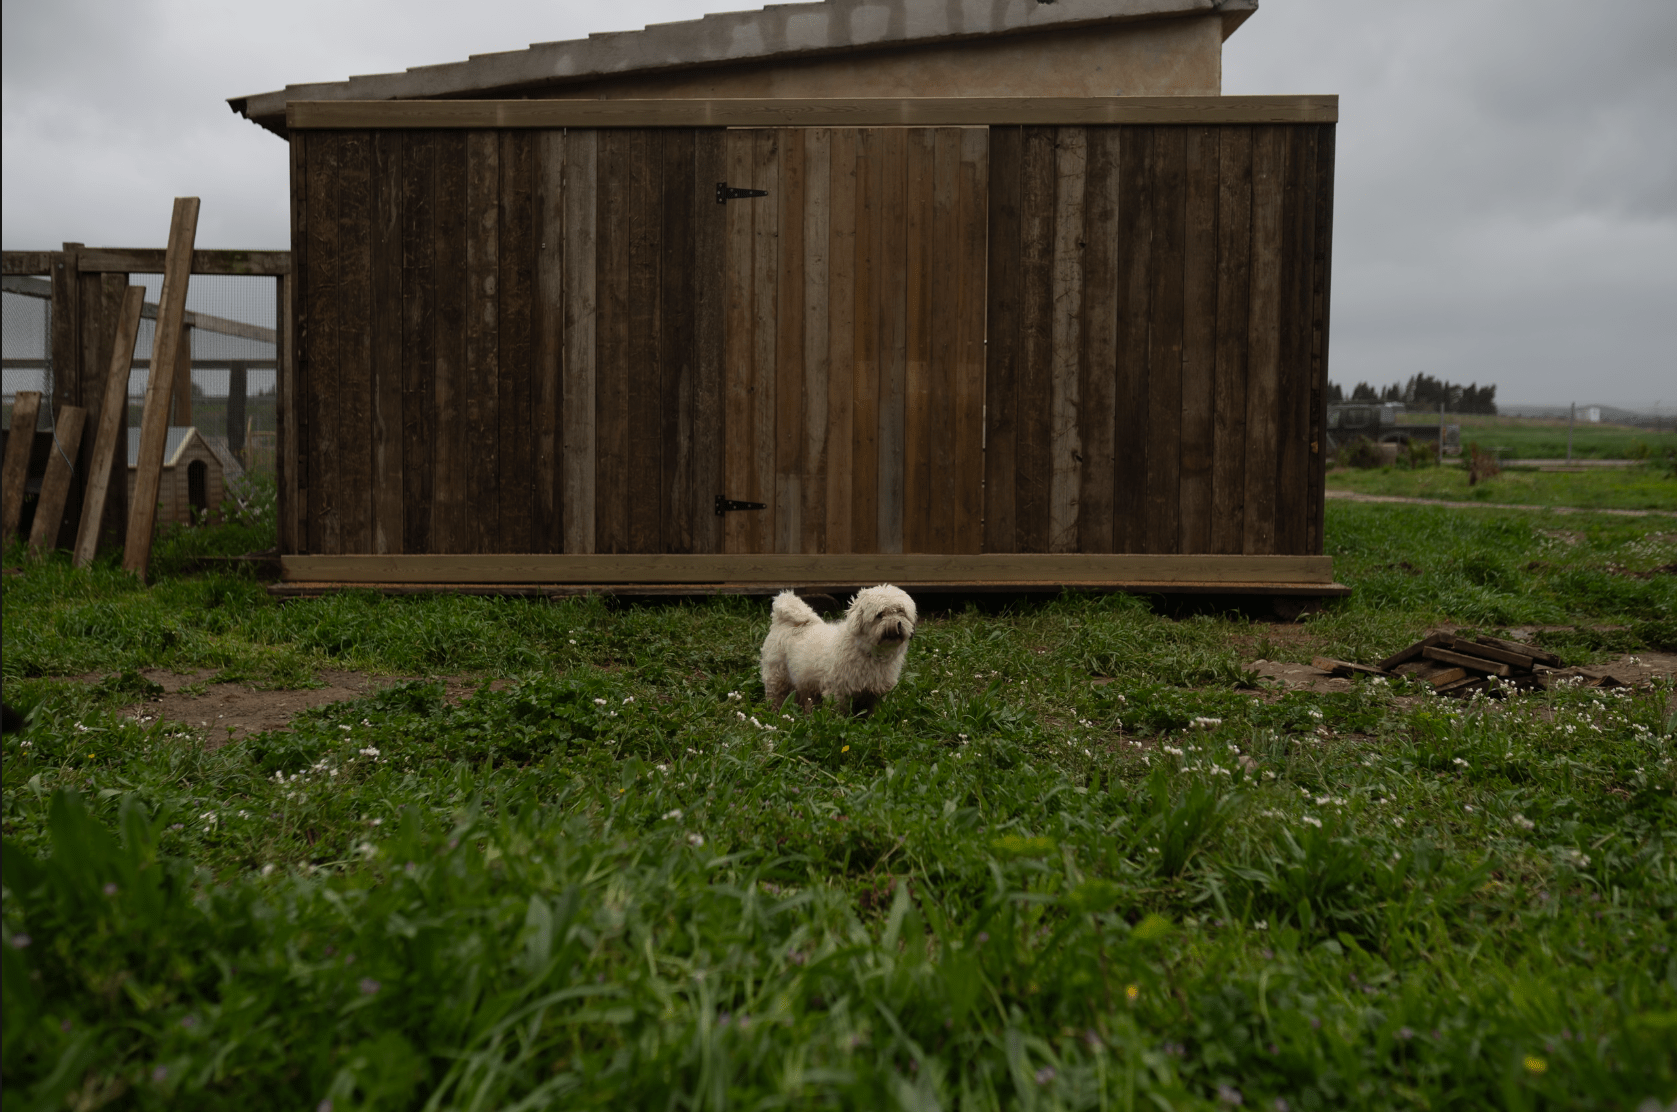
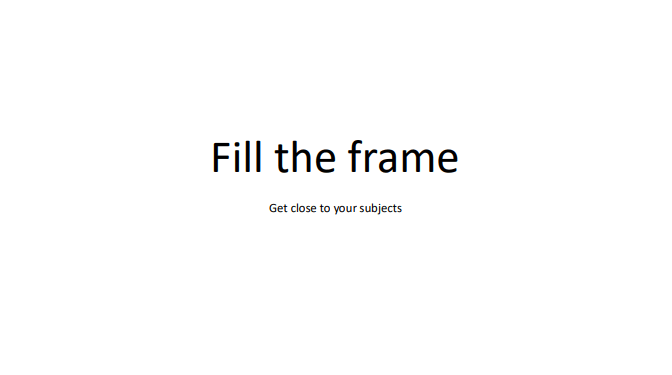
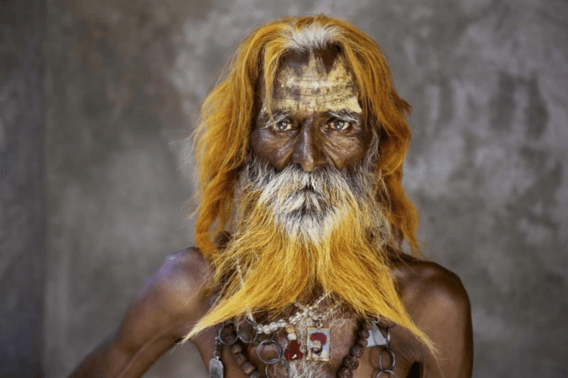
Class example:

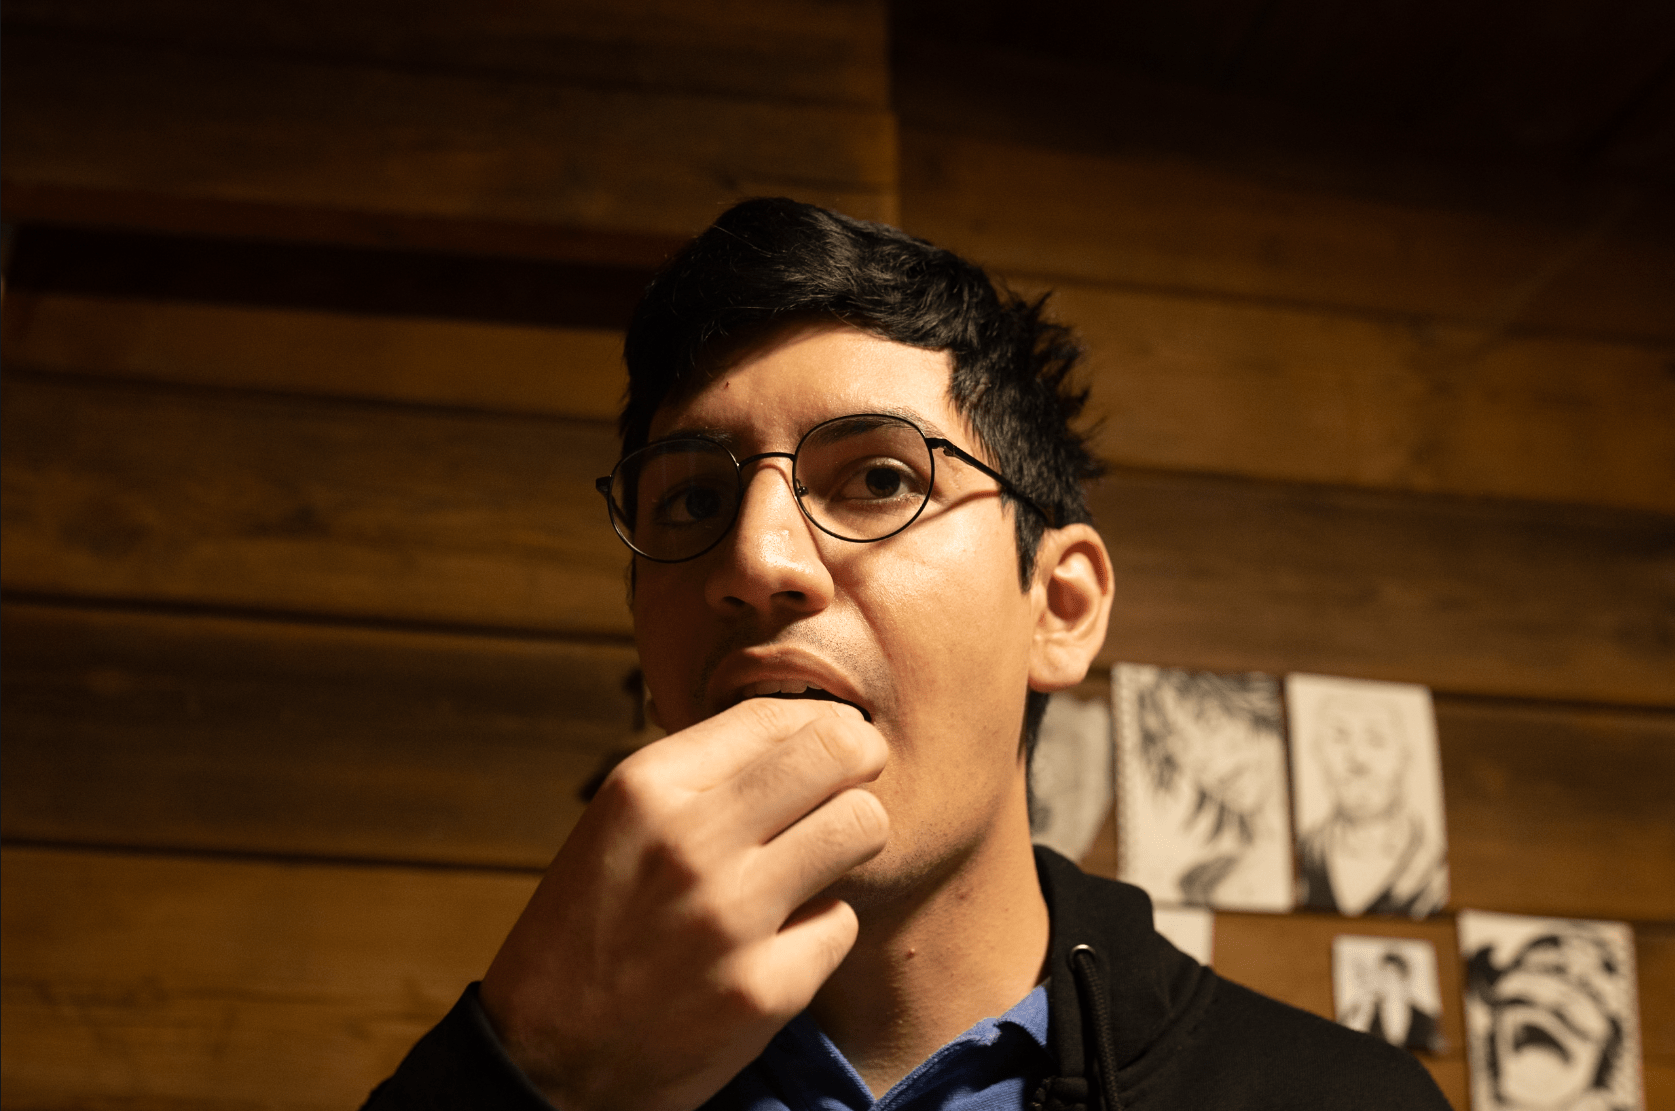
Personal approach:
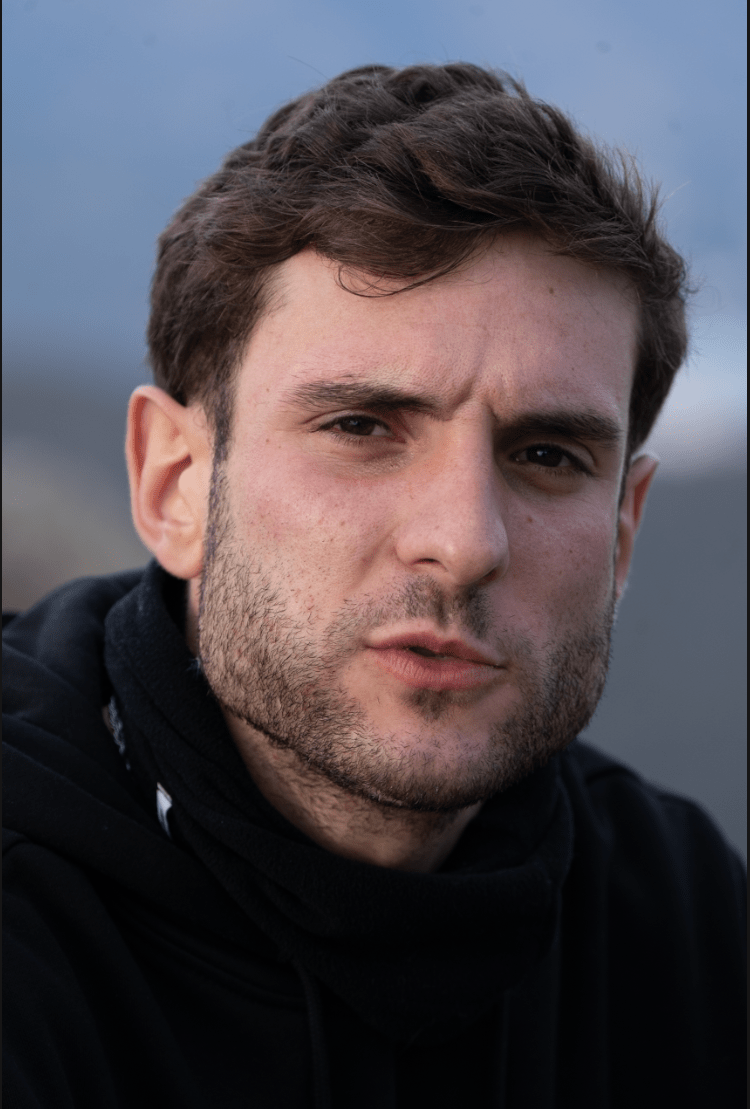
Class example:
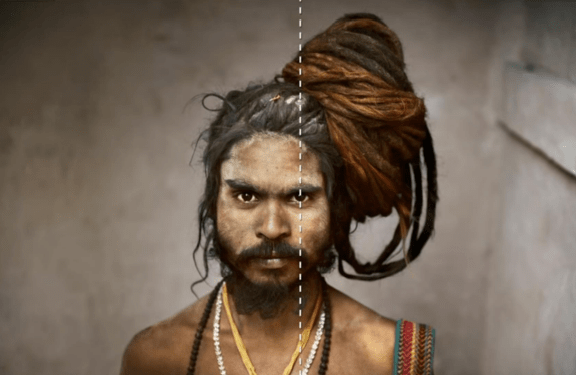
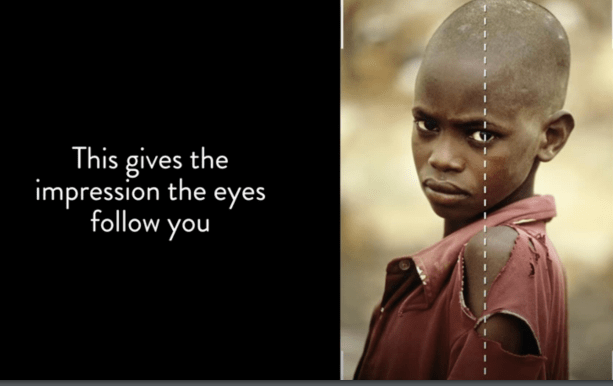
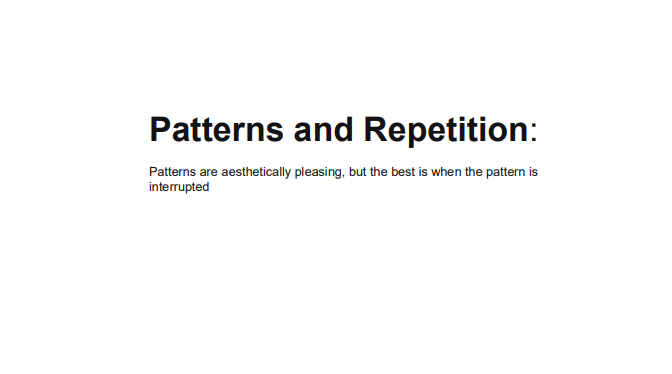
Class example:
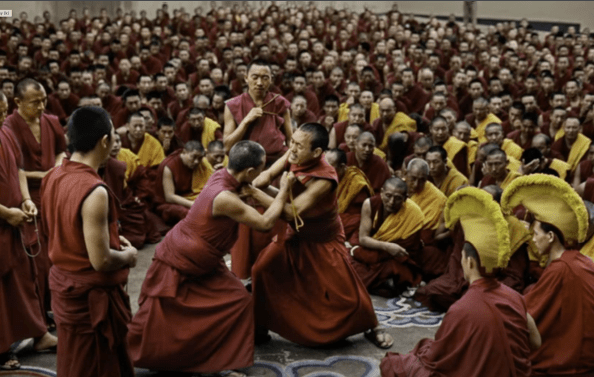
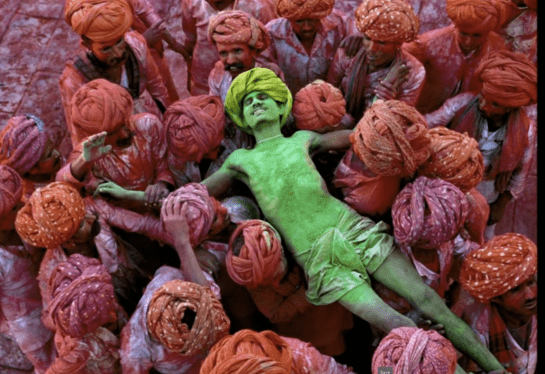
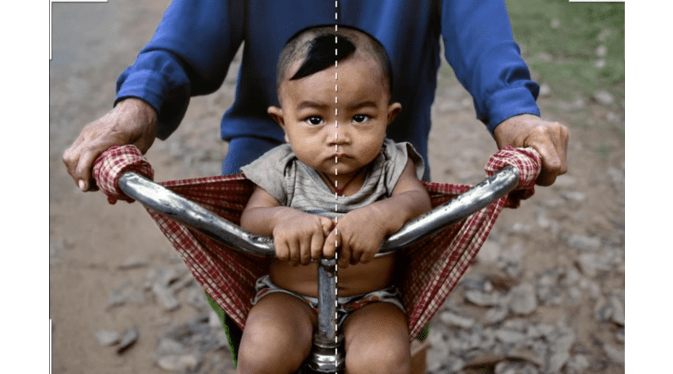
we use symmetry:
Class examples:
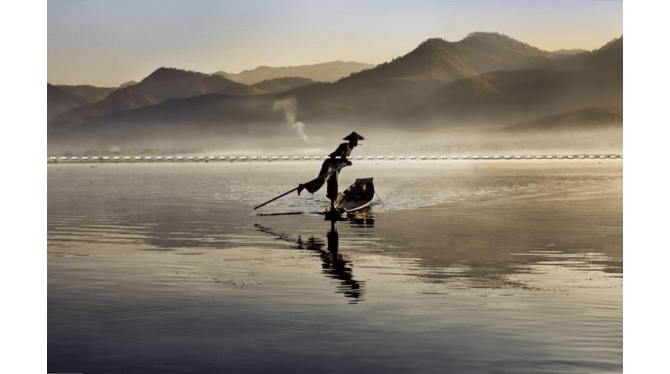
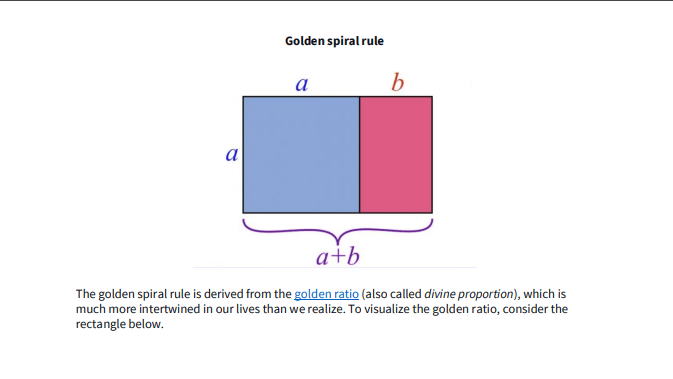
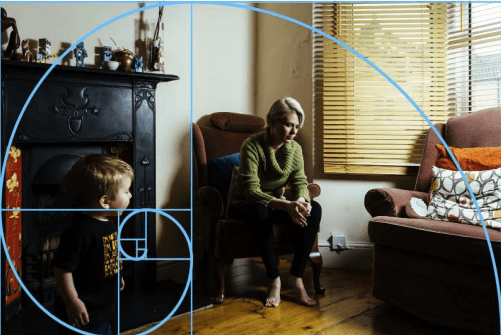
And finally we use the golden spiral rule:
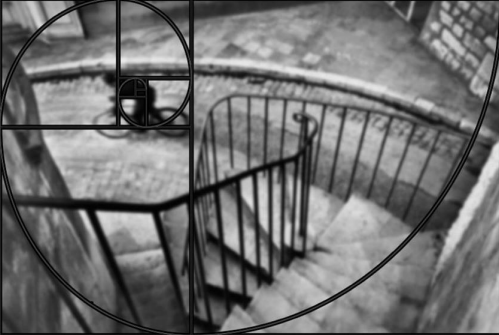
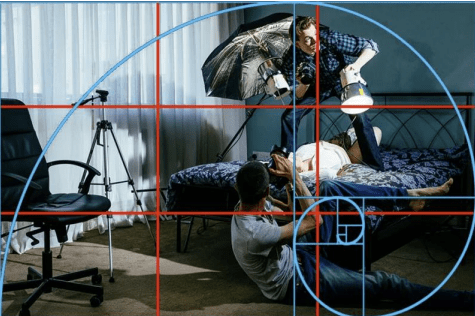
Class example:
End of week 3
Week 5: Sequencing and Seriality
In this week we are going to explore what sequencing and seriality is.
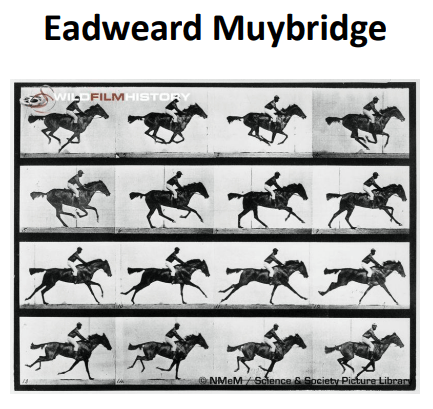
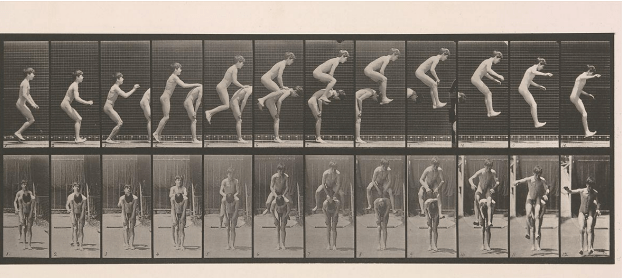
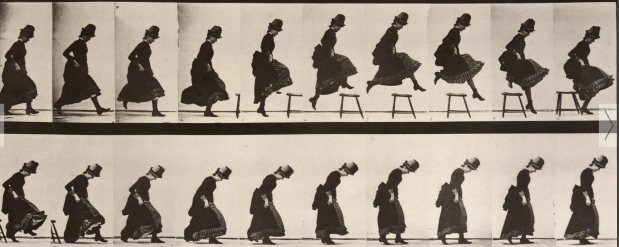
.A sequence is a series of images that capture an action.
the sequences can follow a narrative and add to a story.
Examples of sequences:
We have also series of images:
these are a series of pictures that follow the same context.
Examples of serialization:
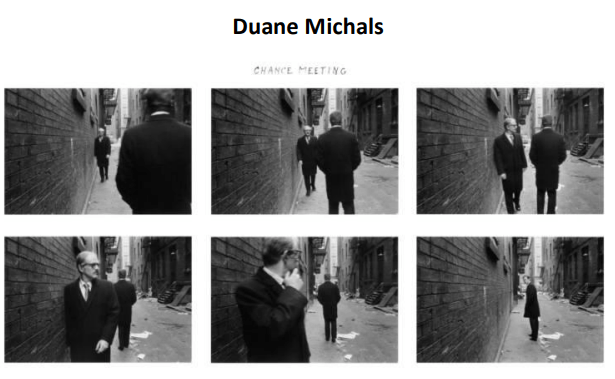
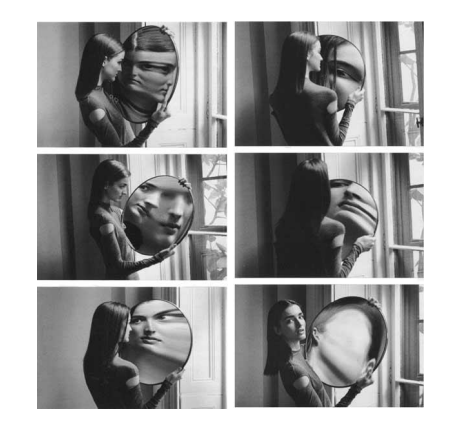
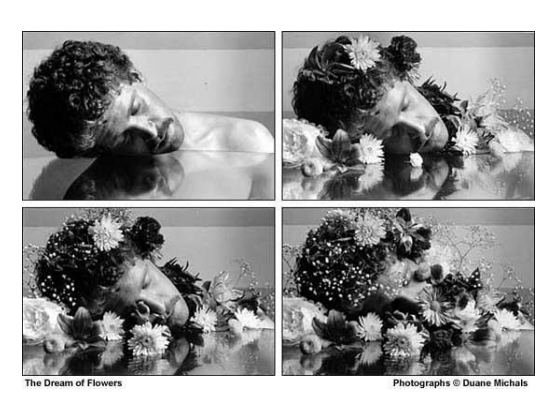
Now we are going to shoot a series of photos that can be used to create a coherent sequence:
First we started making a storyboard.
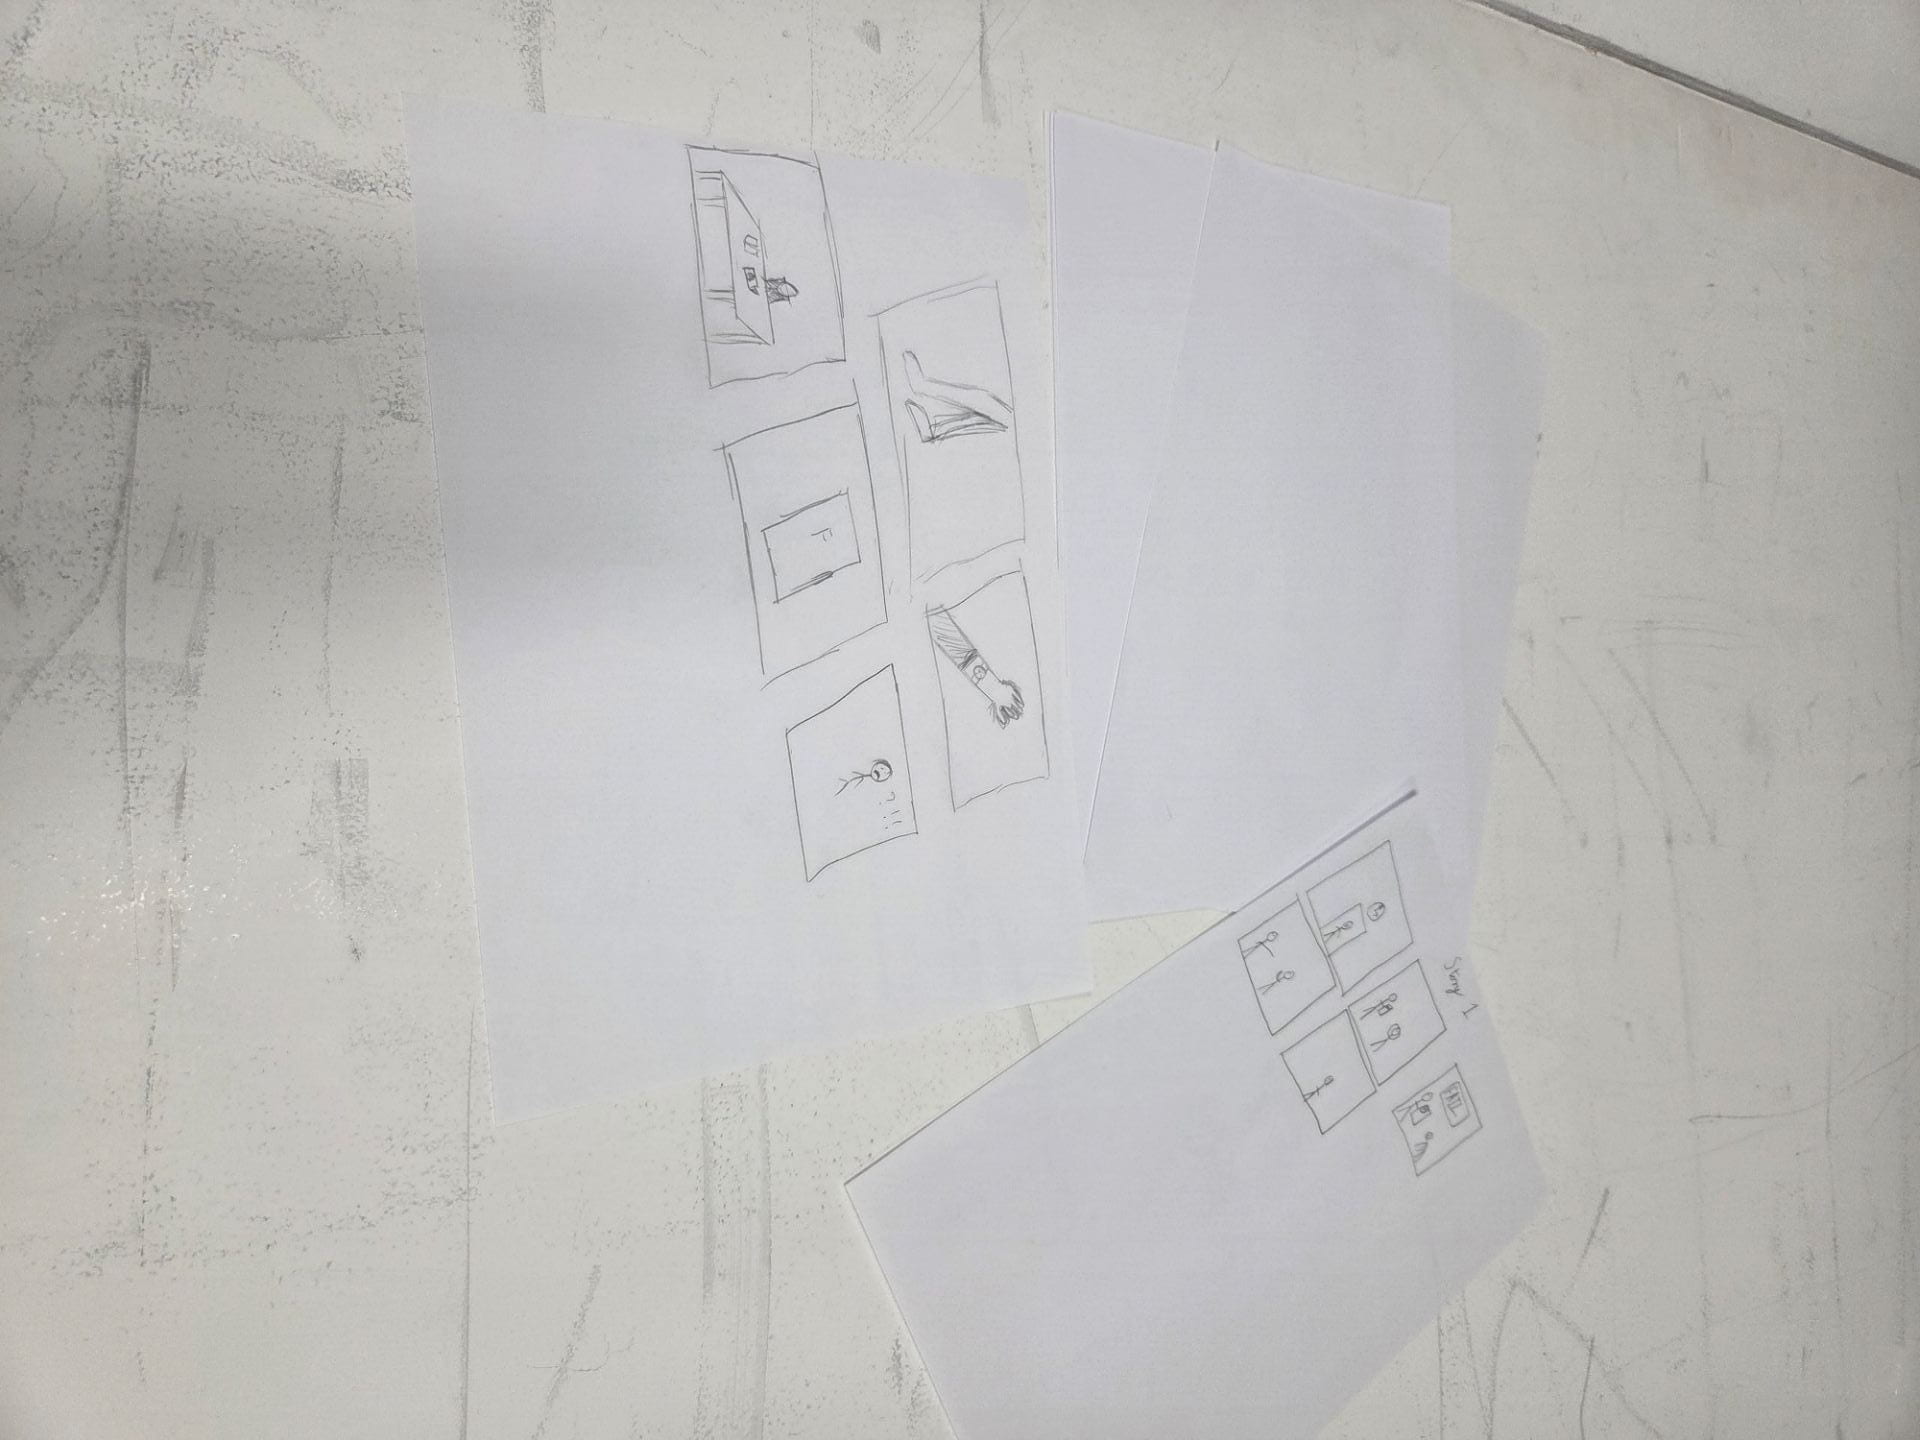
our storyboard was about a student who was late at the lesson, once he arrives at class is scolded by his teacher and gets failed, and finally he is sad about what happened.
Some photos of the process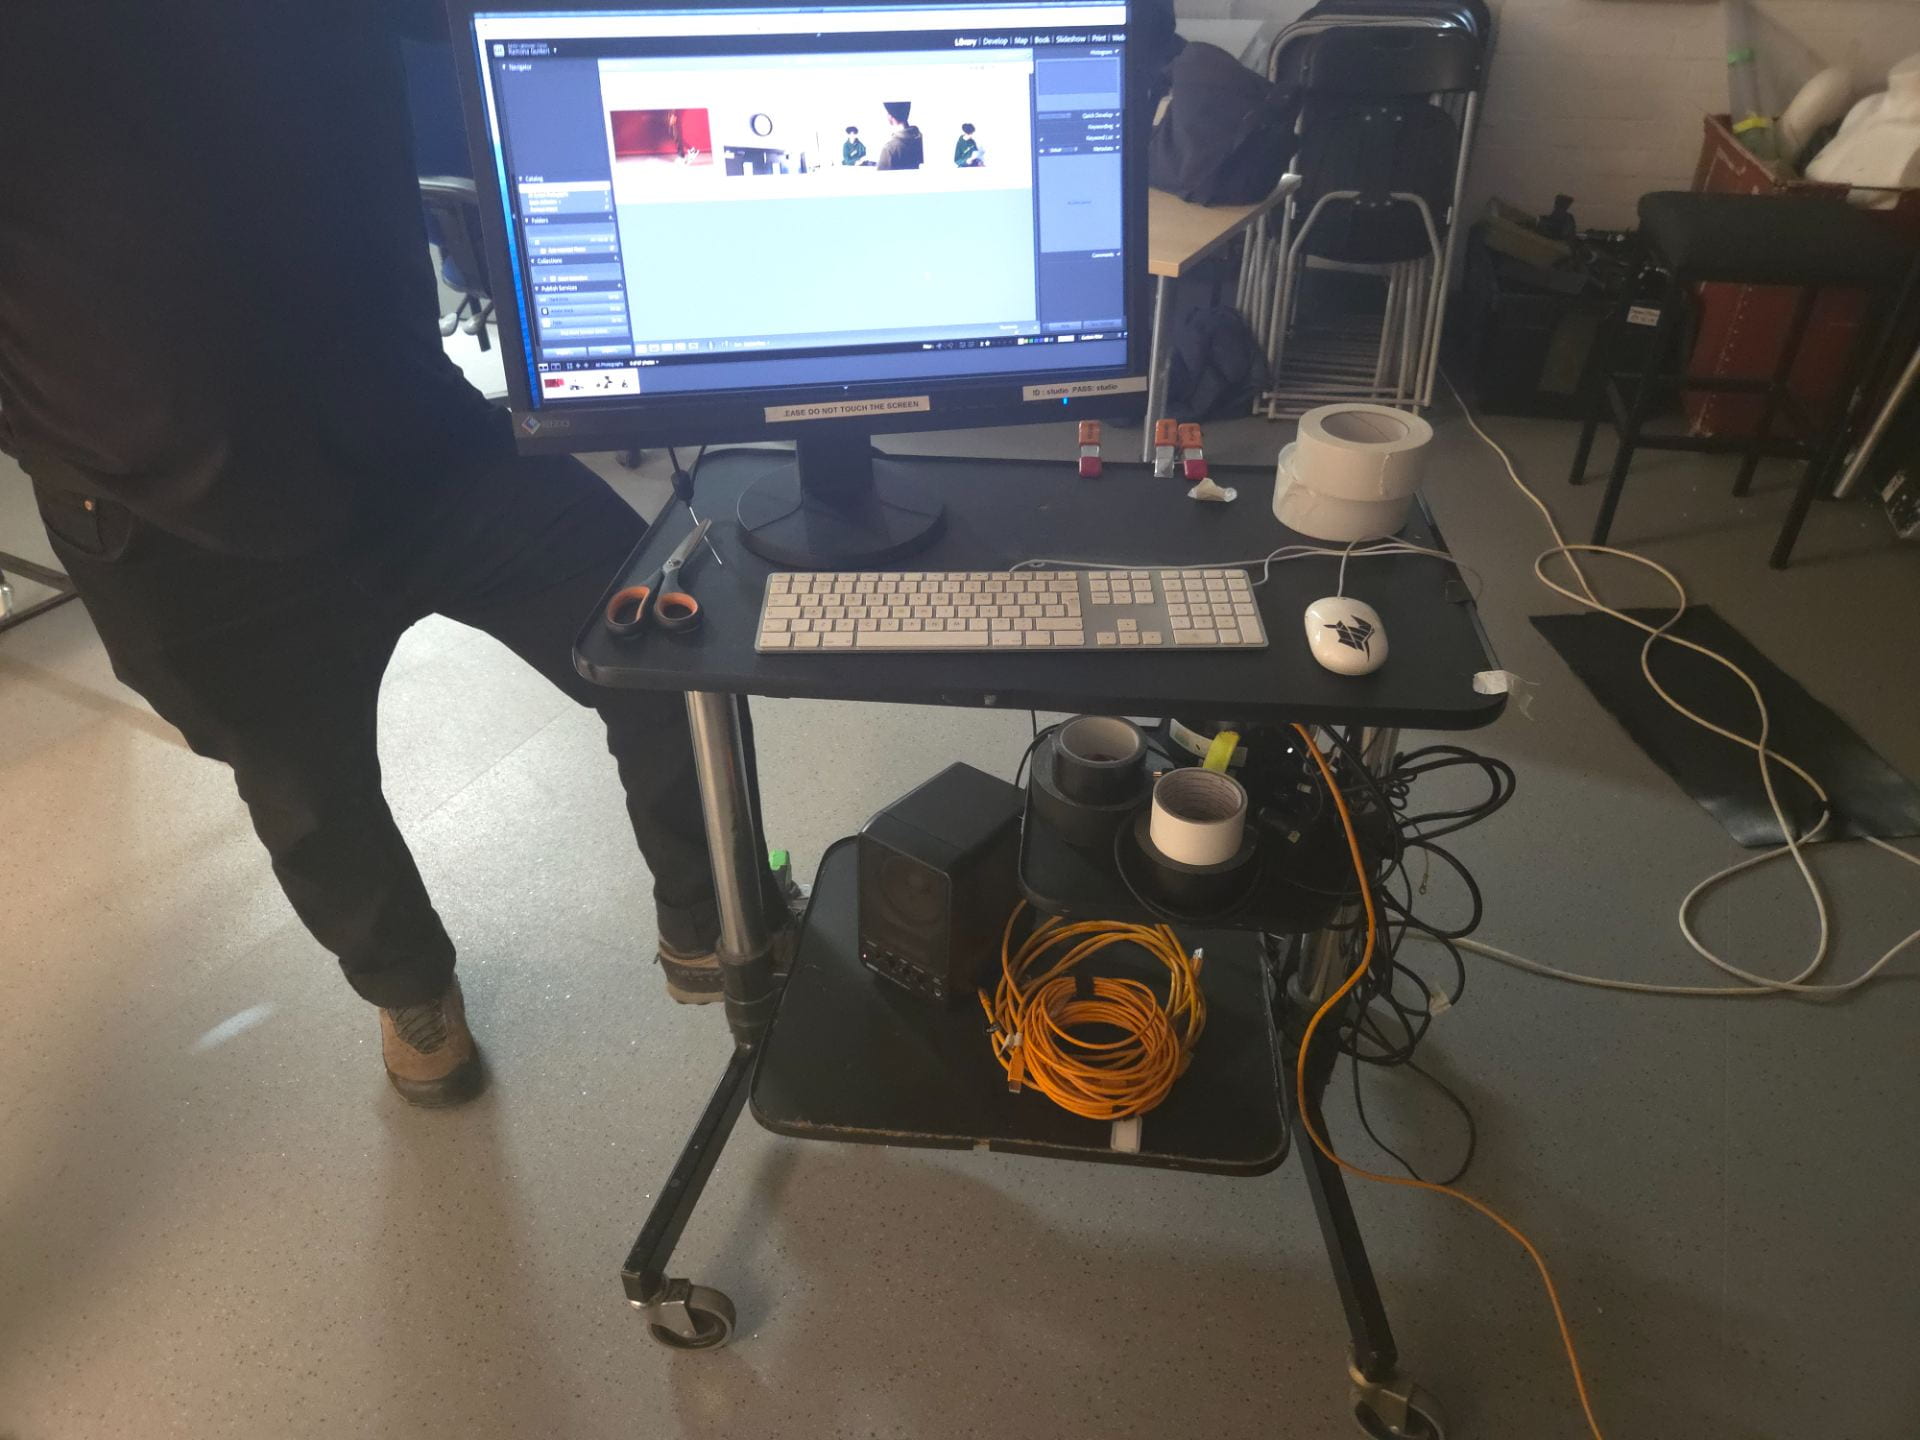
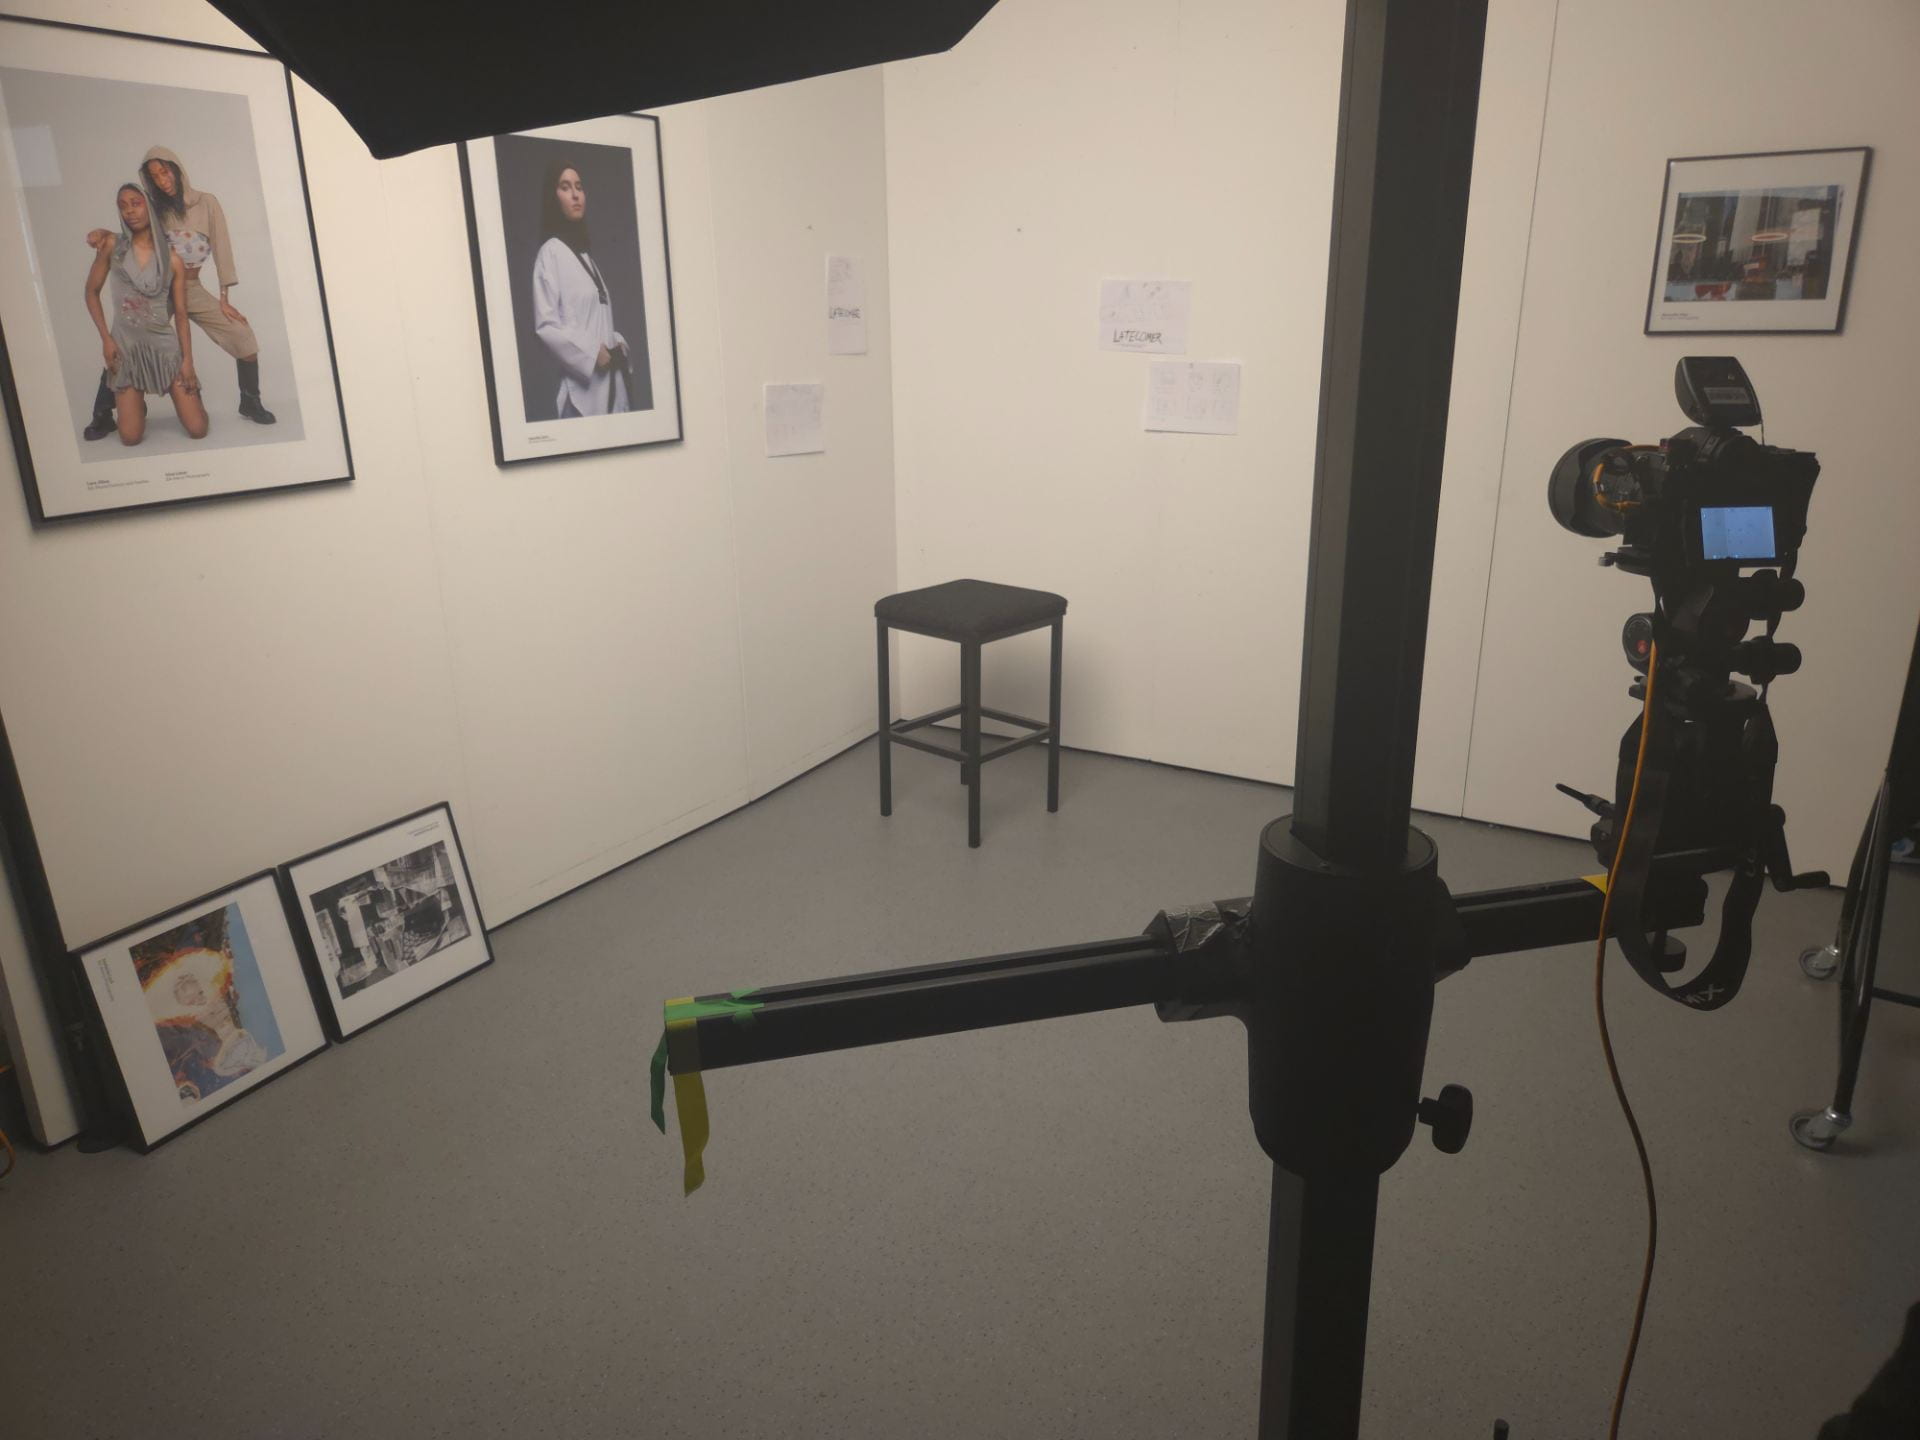
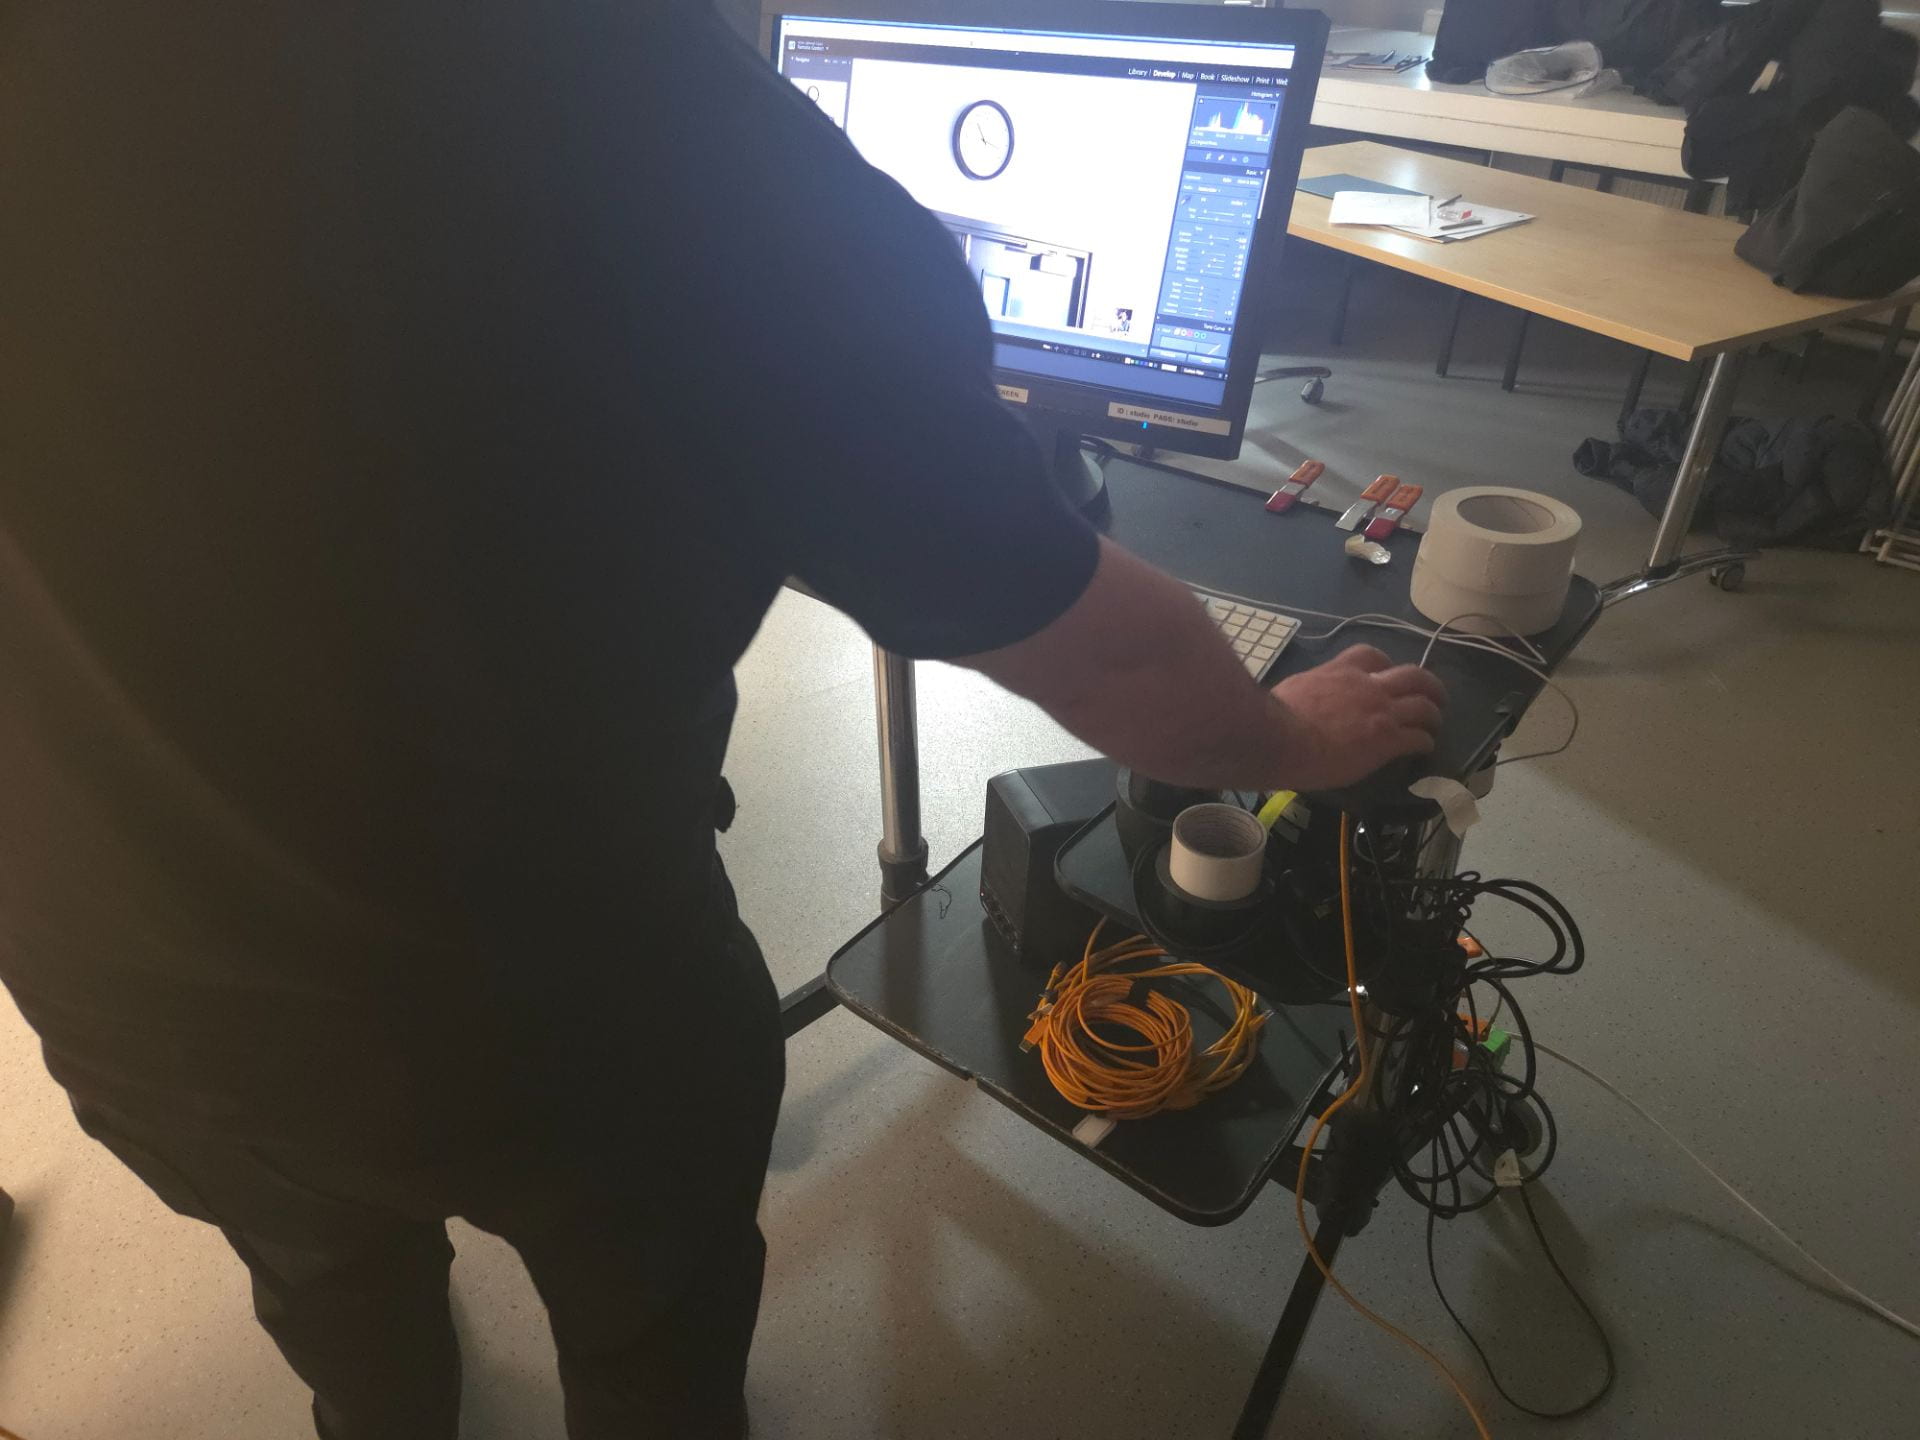
And here we can find the final result:
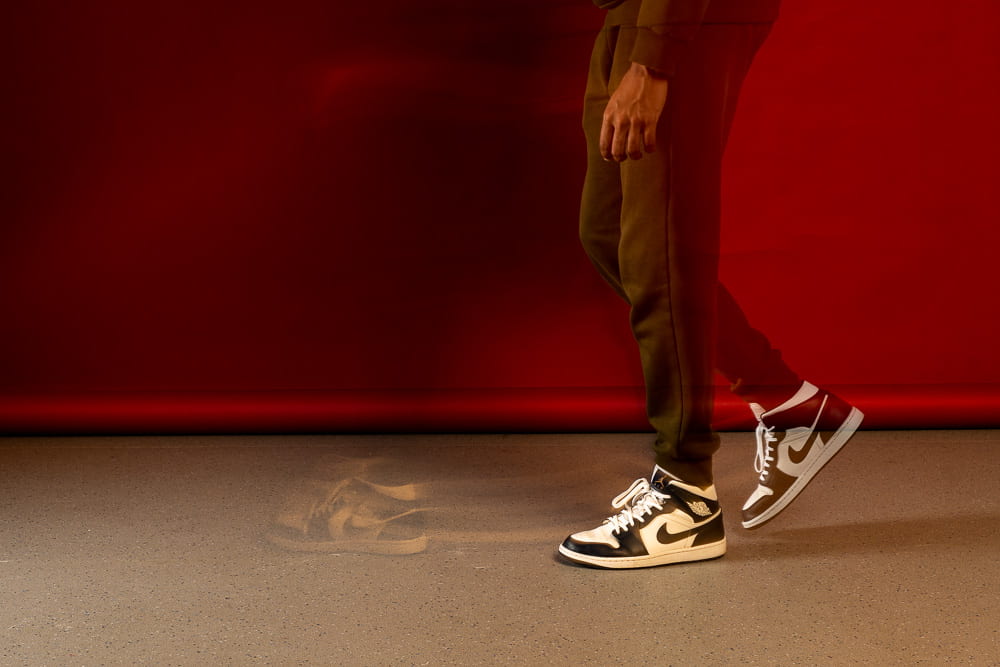
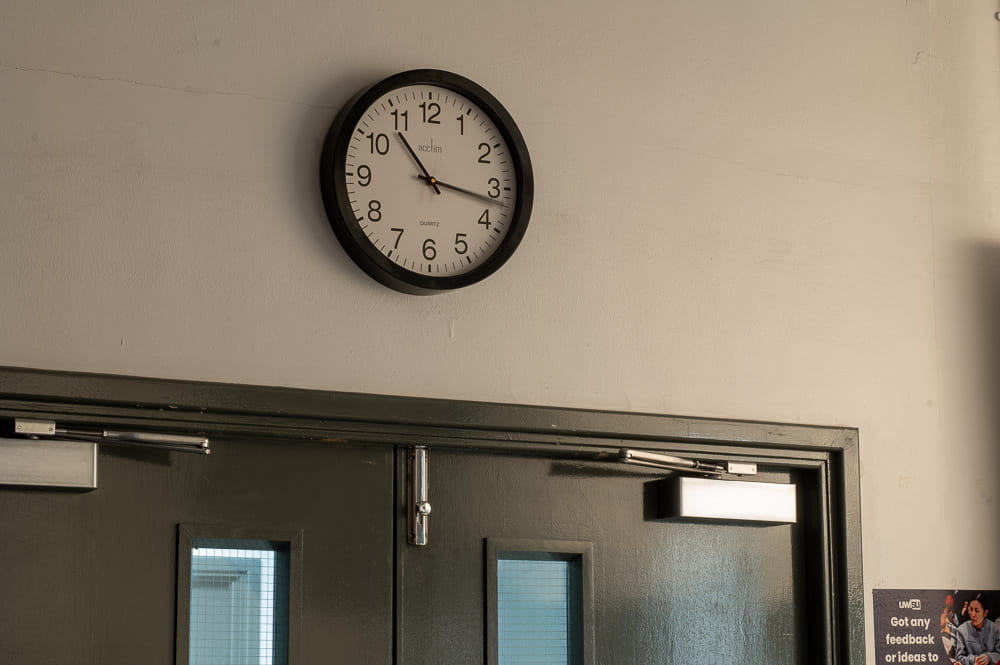
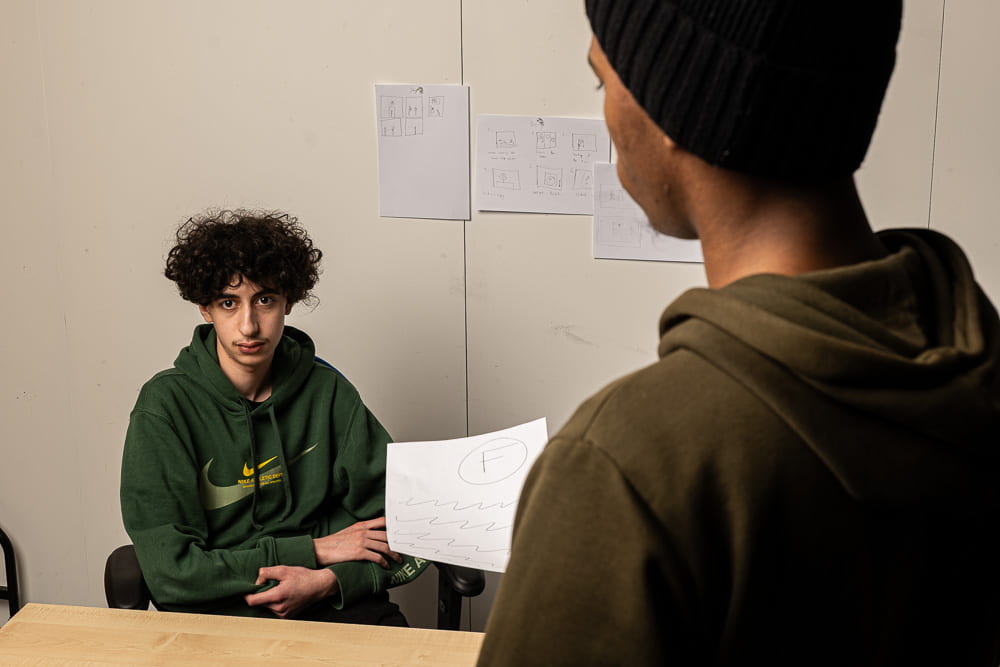
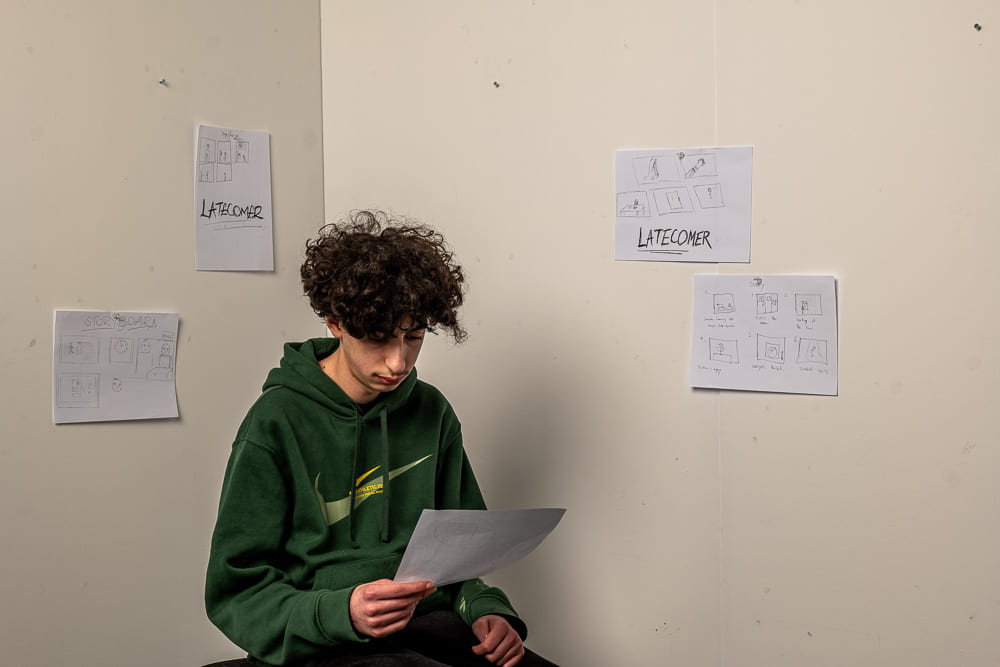
We used a variety of techniques to create the shoots.
End of week 5
Week 6: Visual story telling
For this lesson we will be looking at visual storytelling starting with the slides we have seen in class.
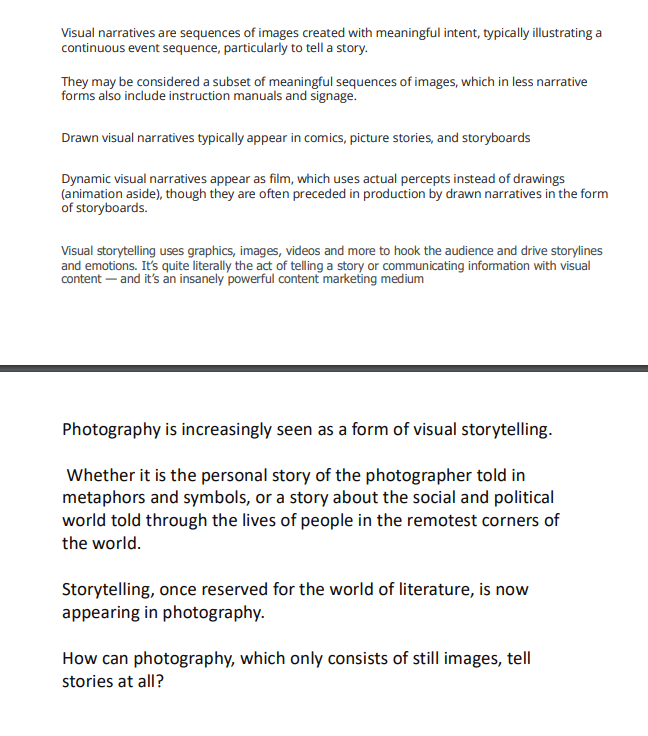
Here are some examples:
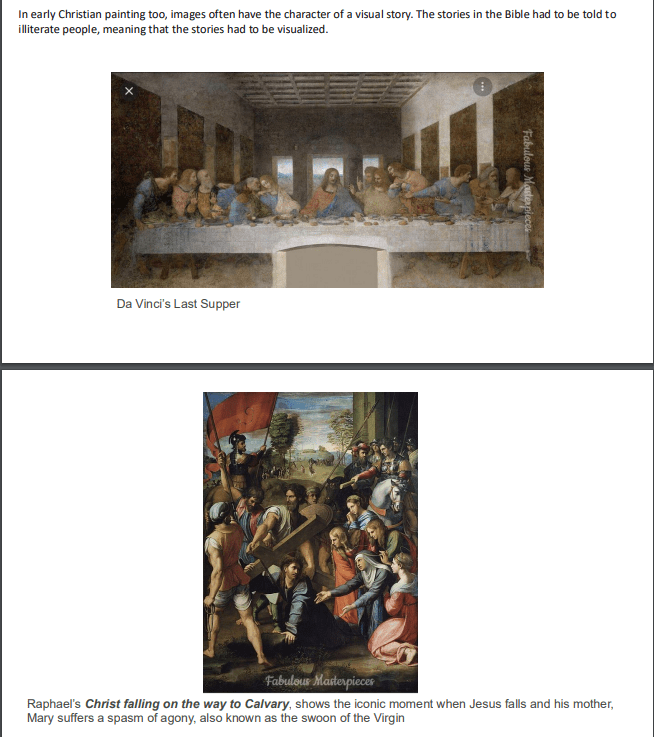
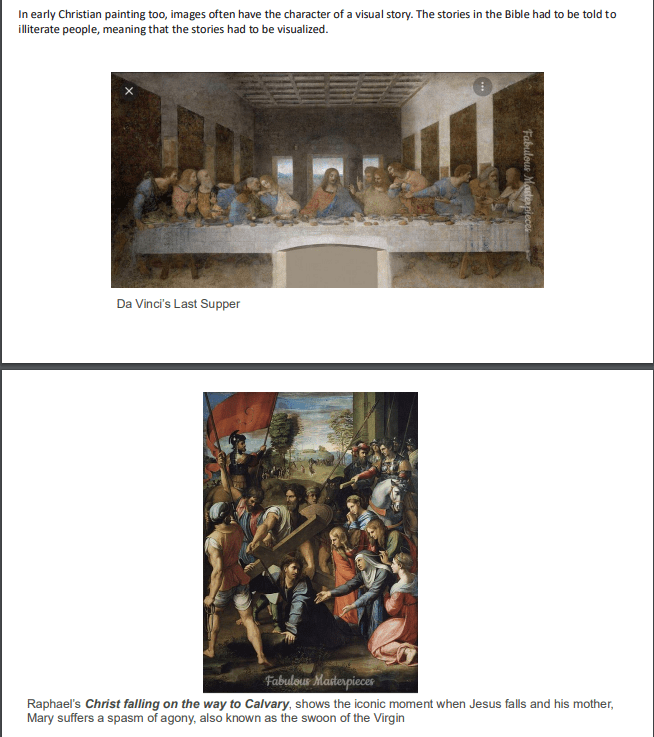
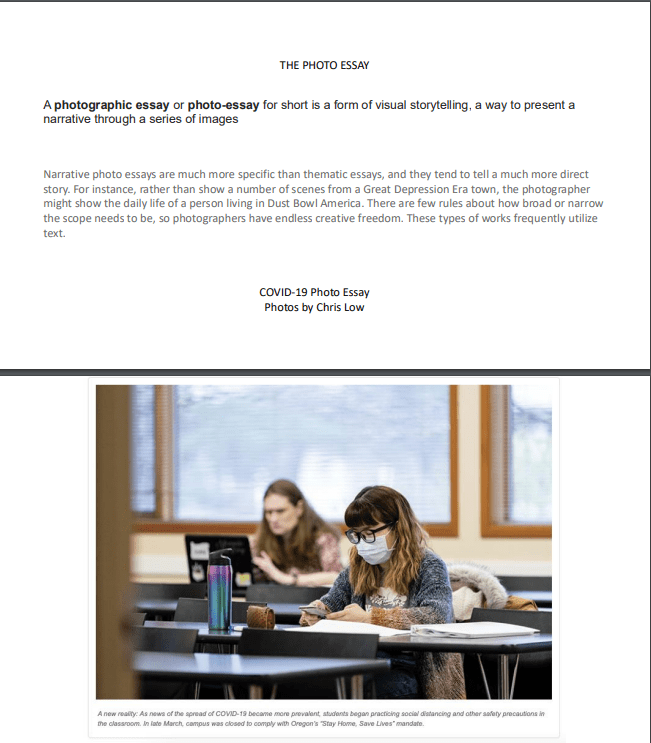
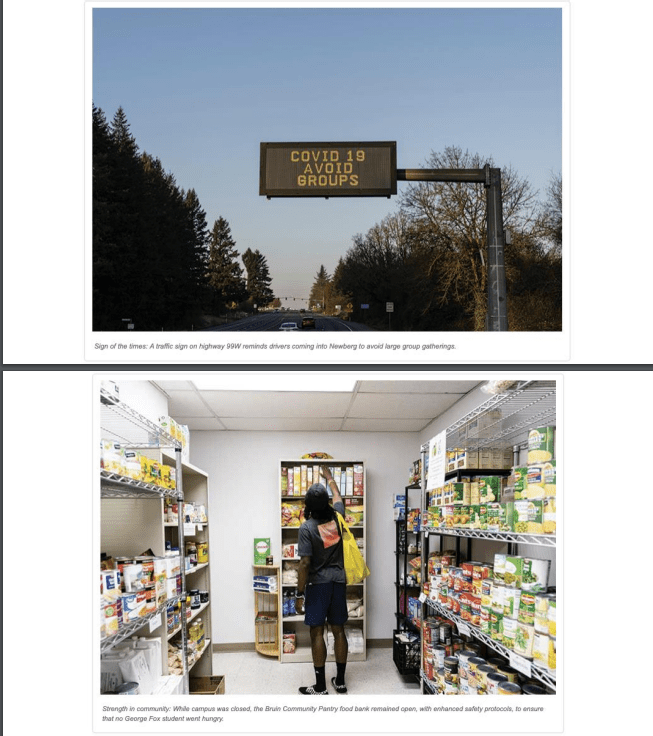
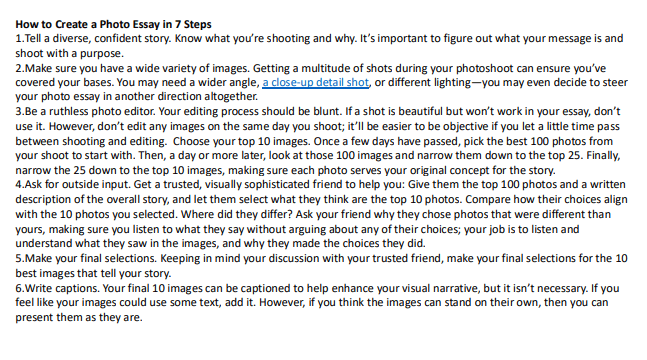
We are looking at this photo essay by Chris Low.
In this slide we see a 7 steps to create a proper photo essay.
Workshop week 6
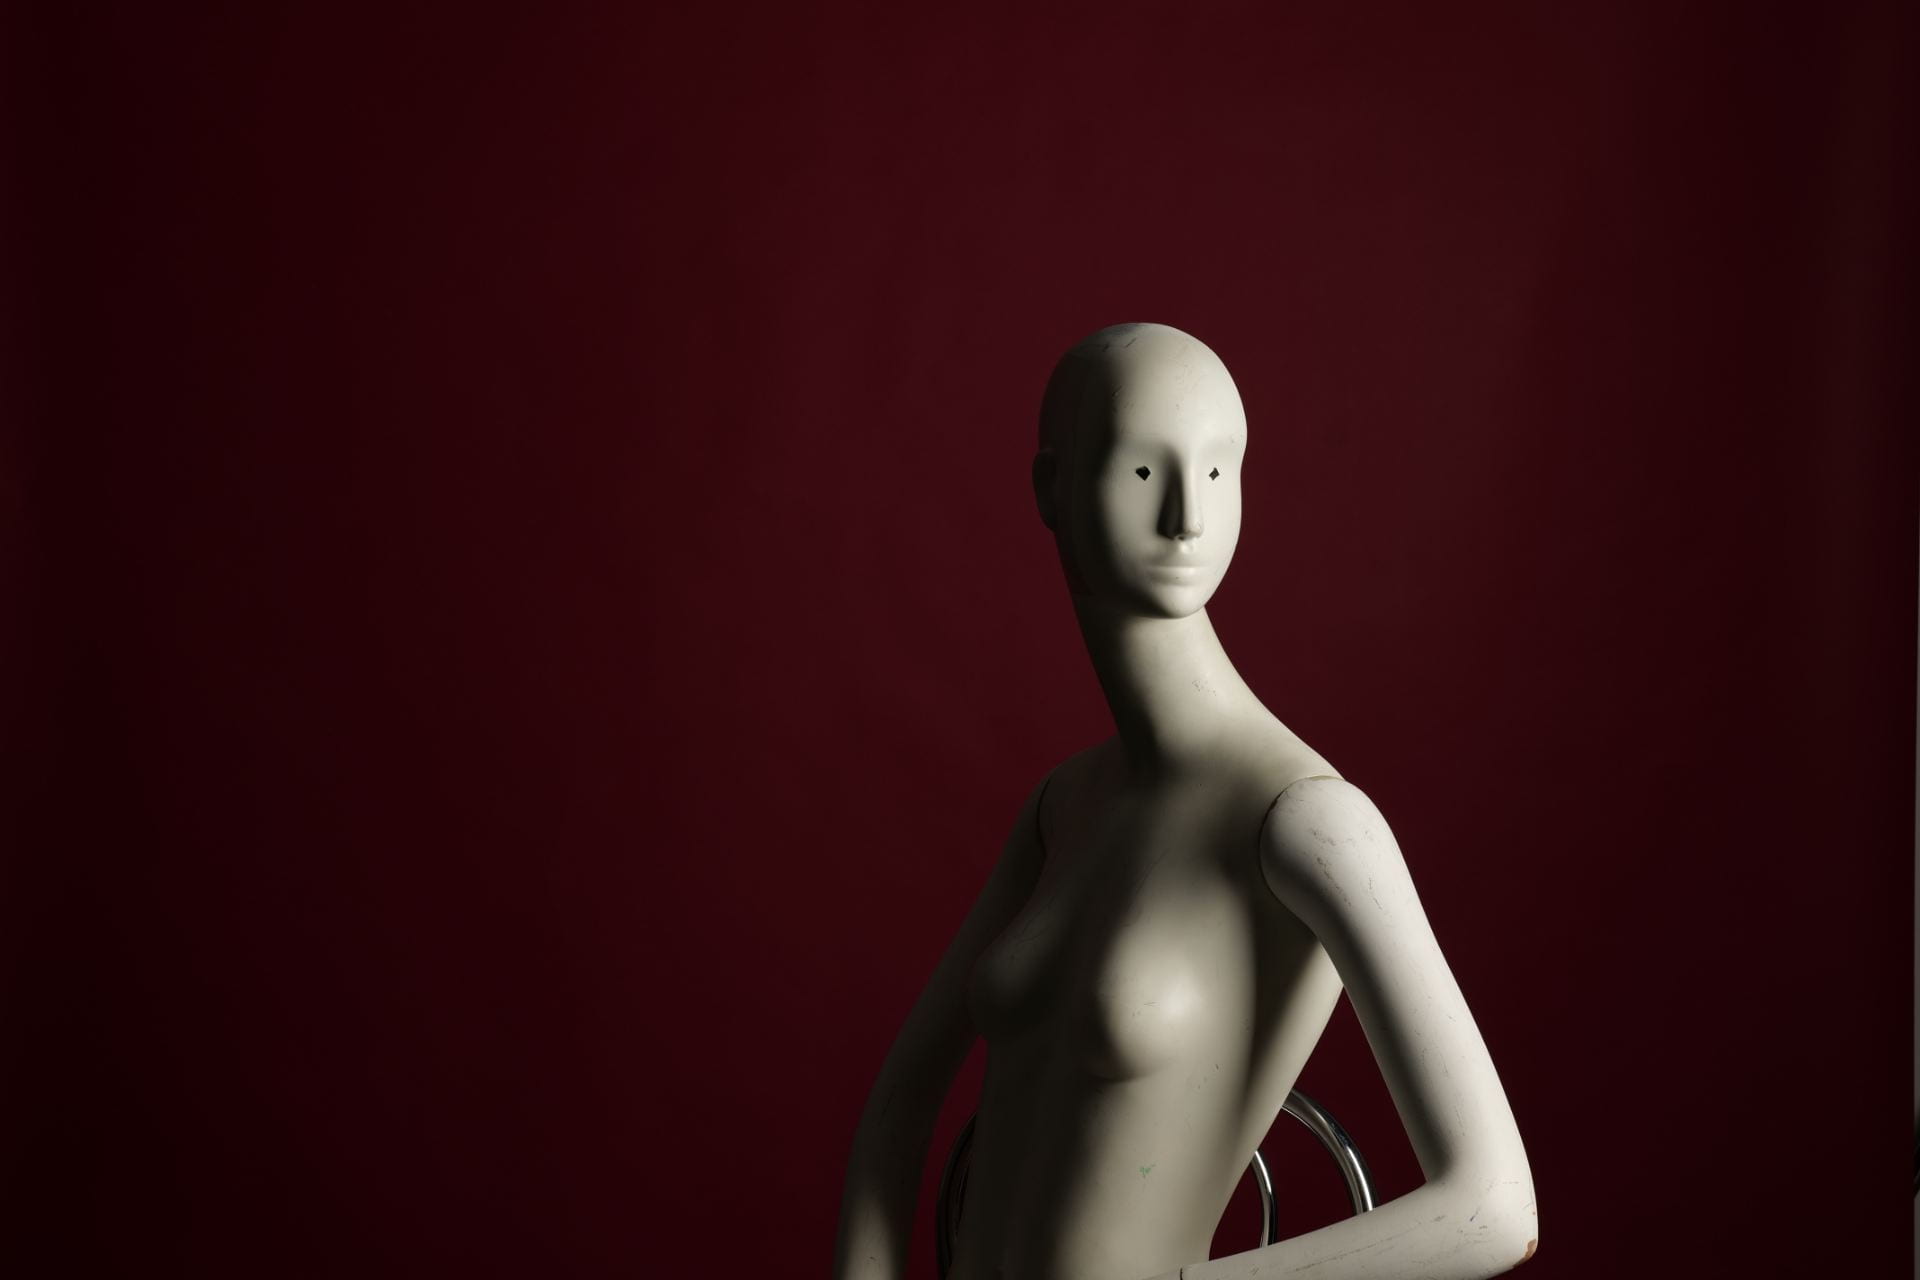
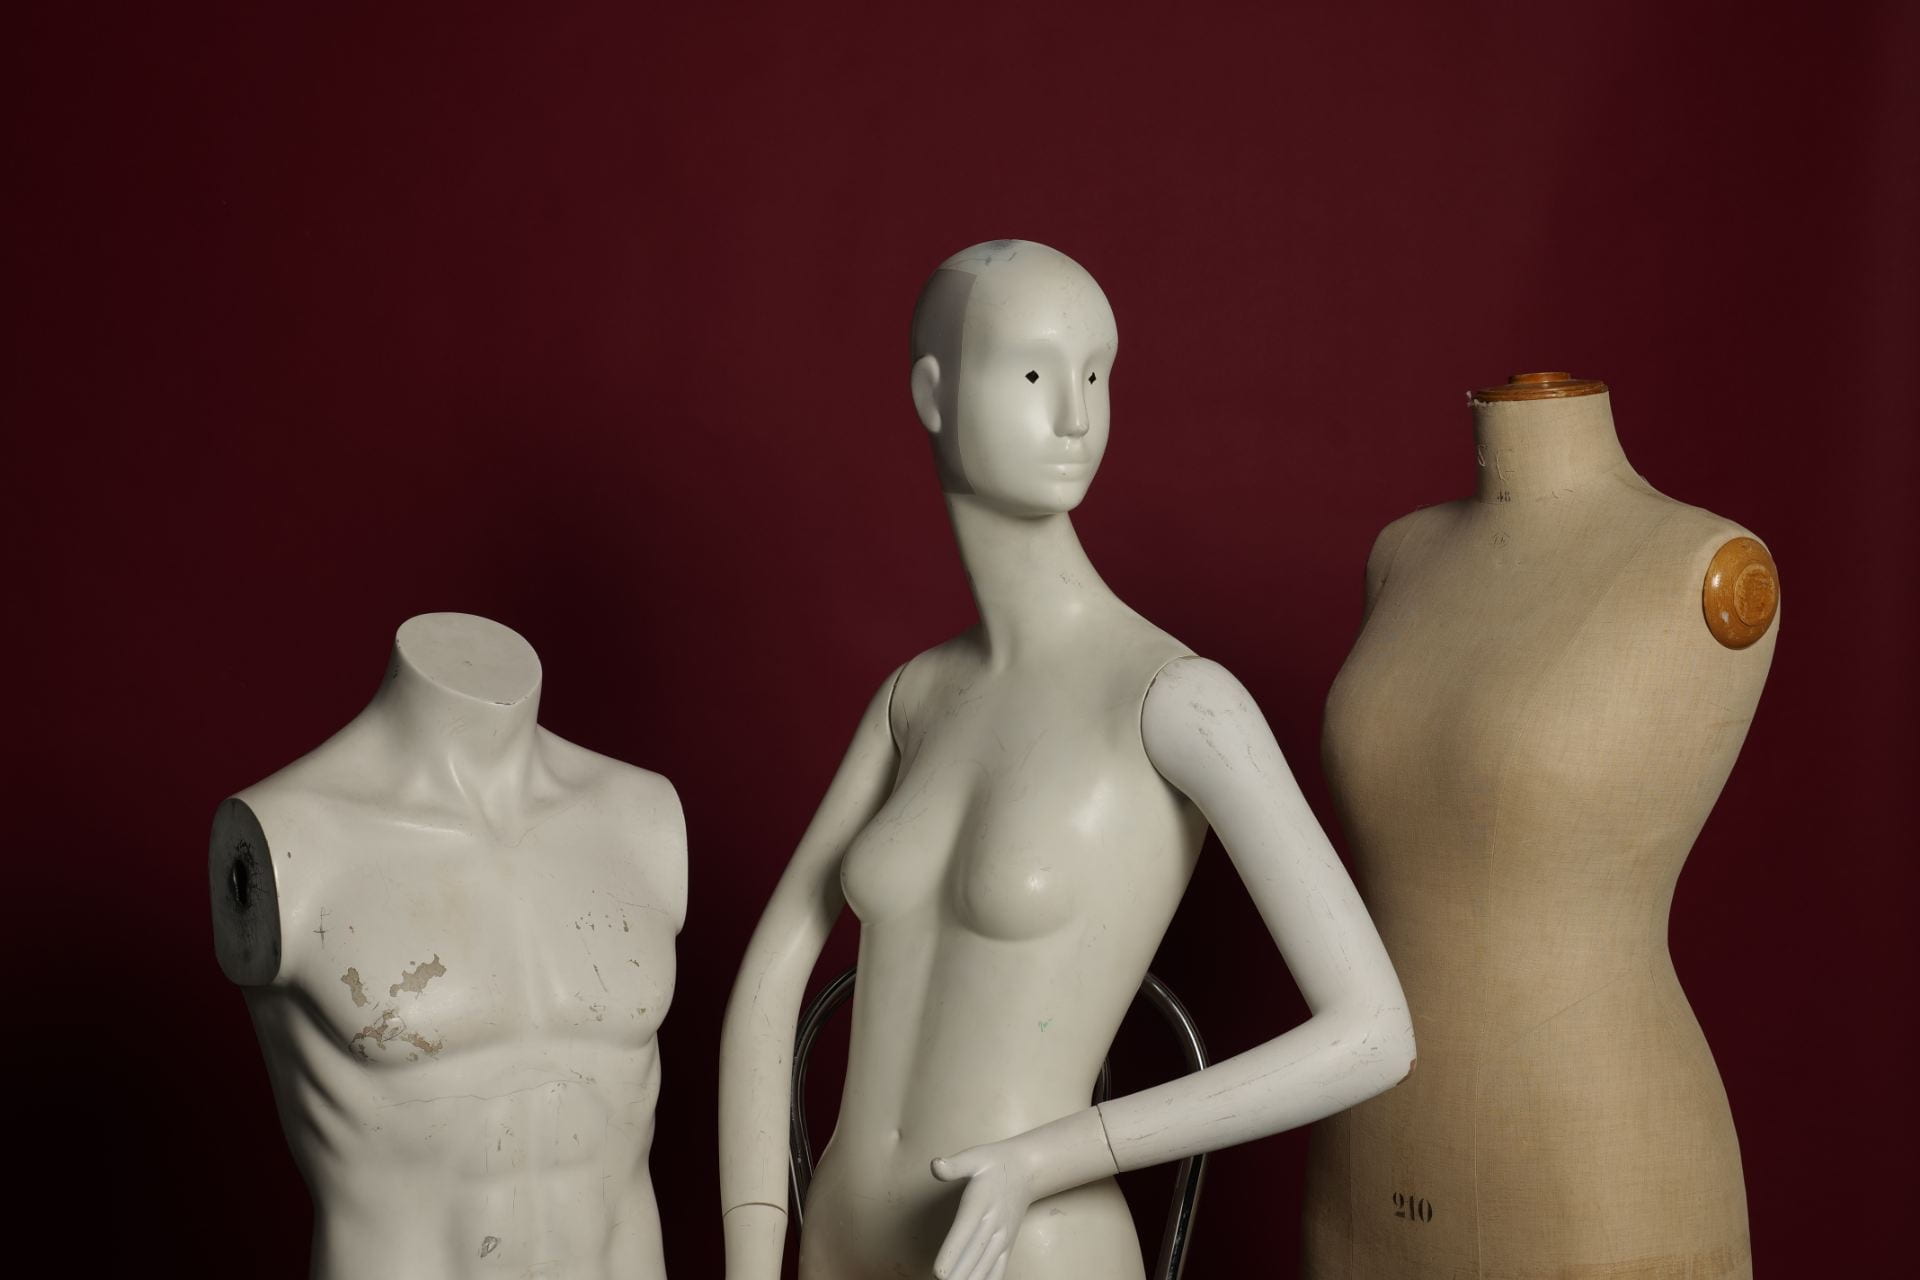
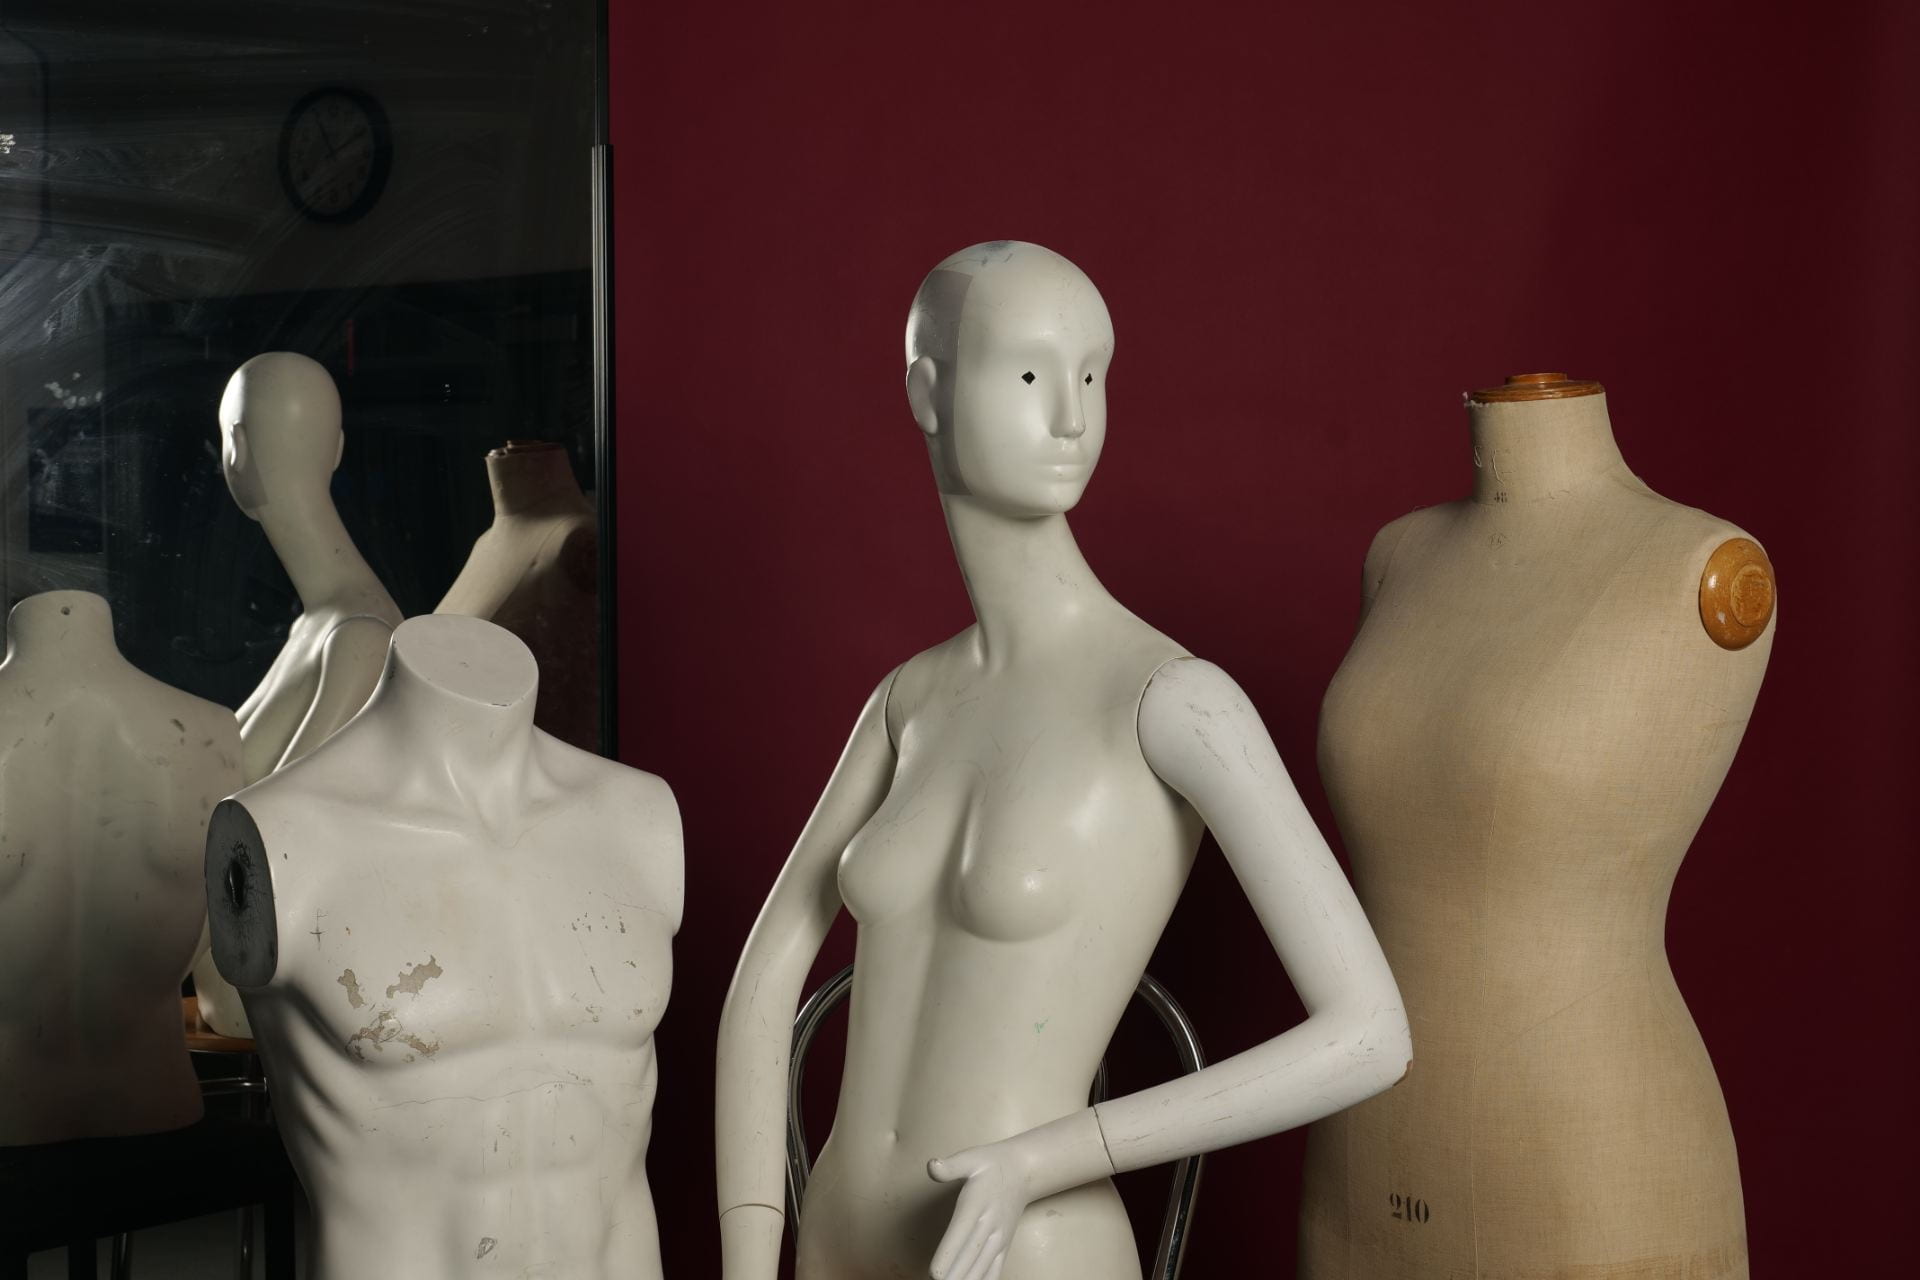
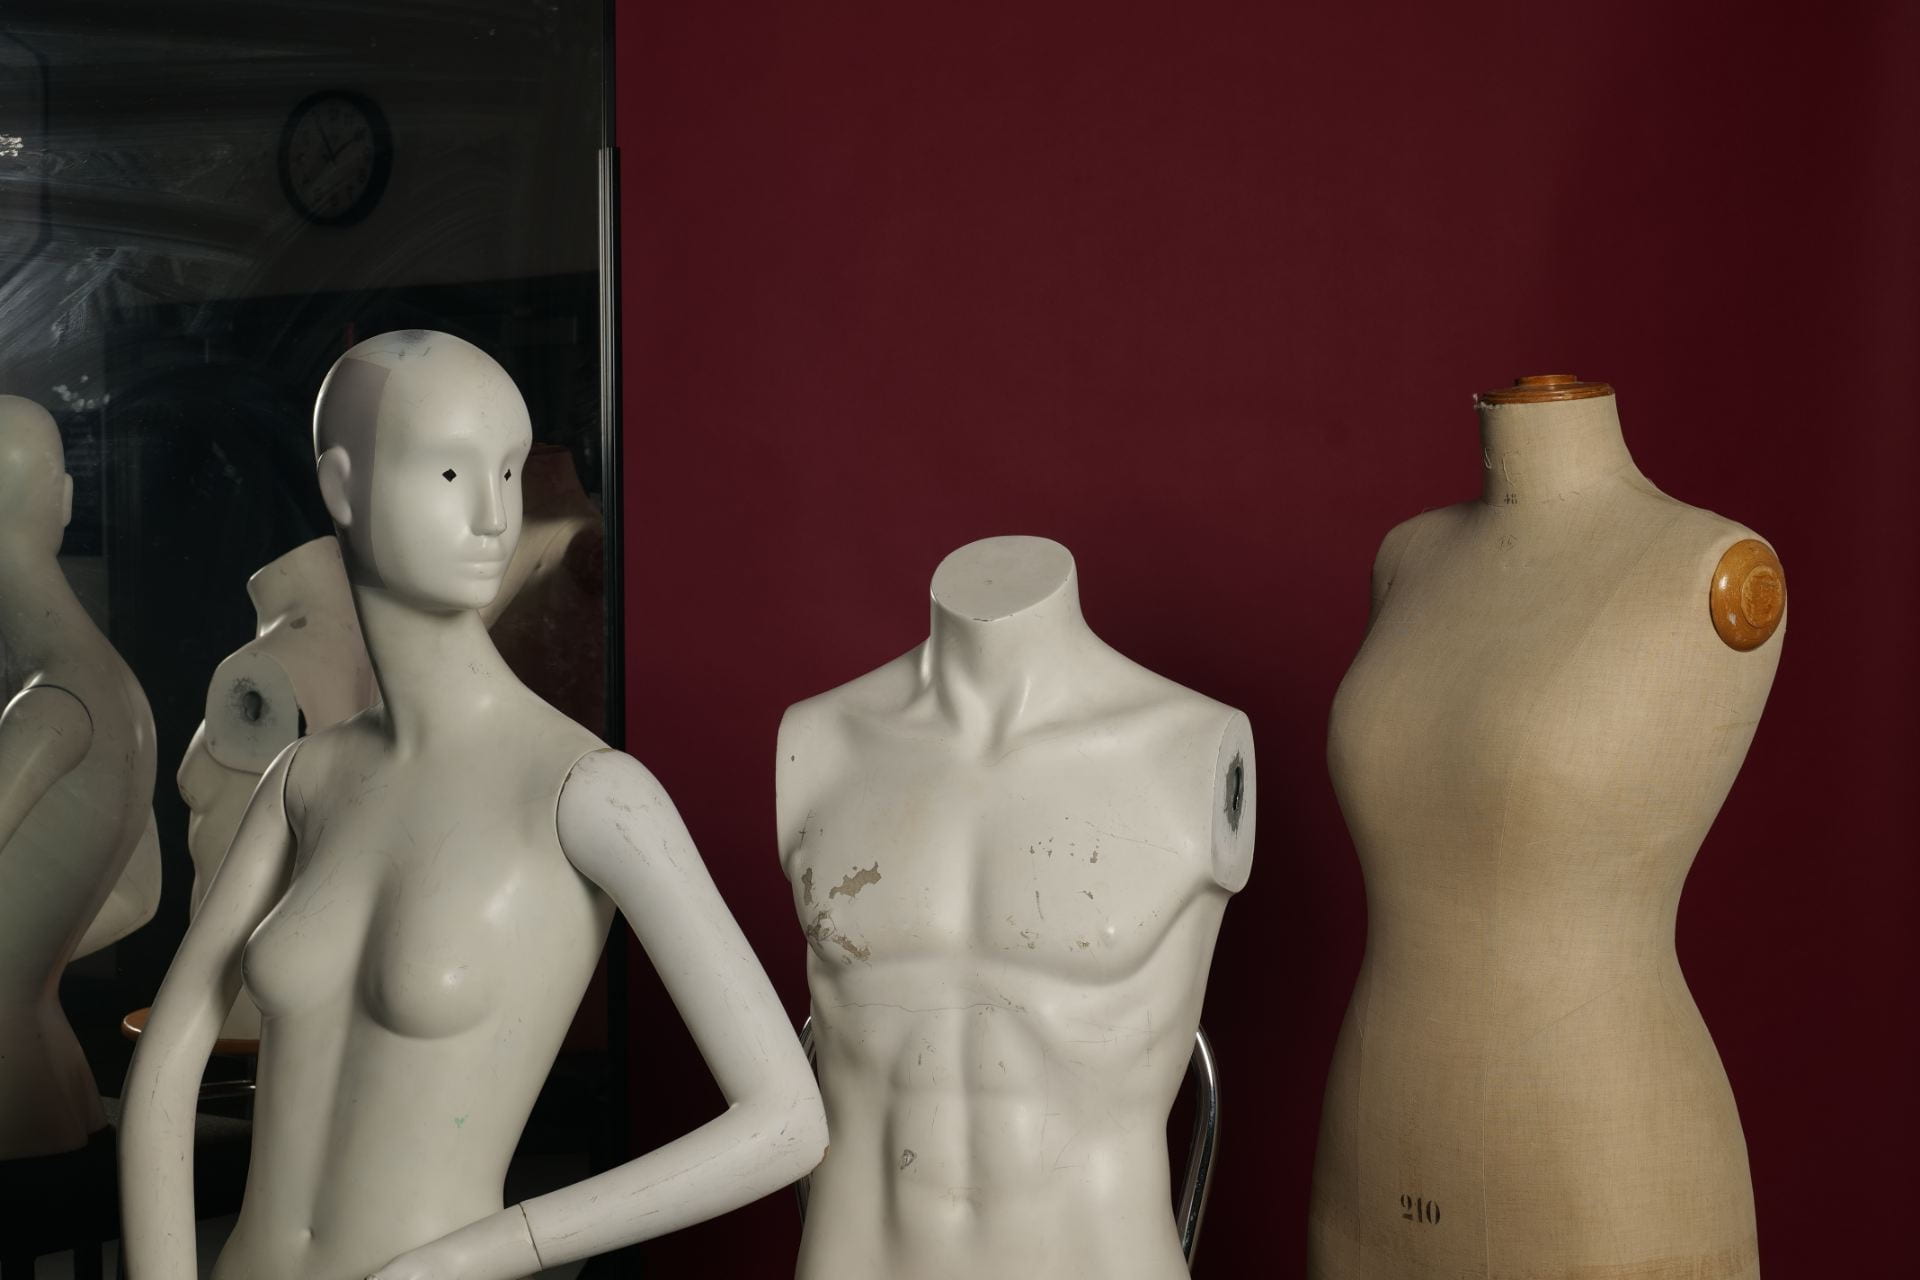
This is the work we made during our lesson:
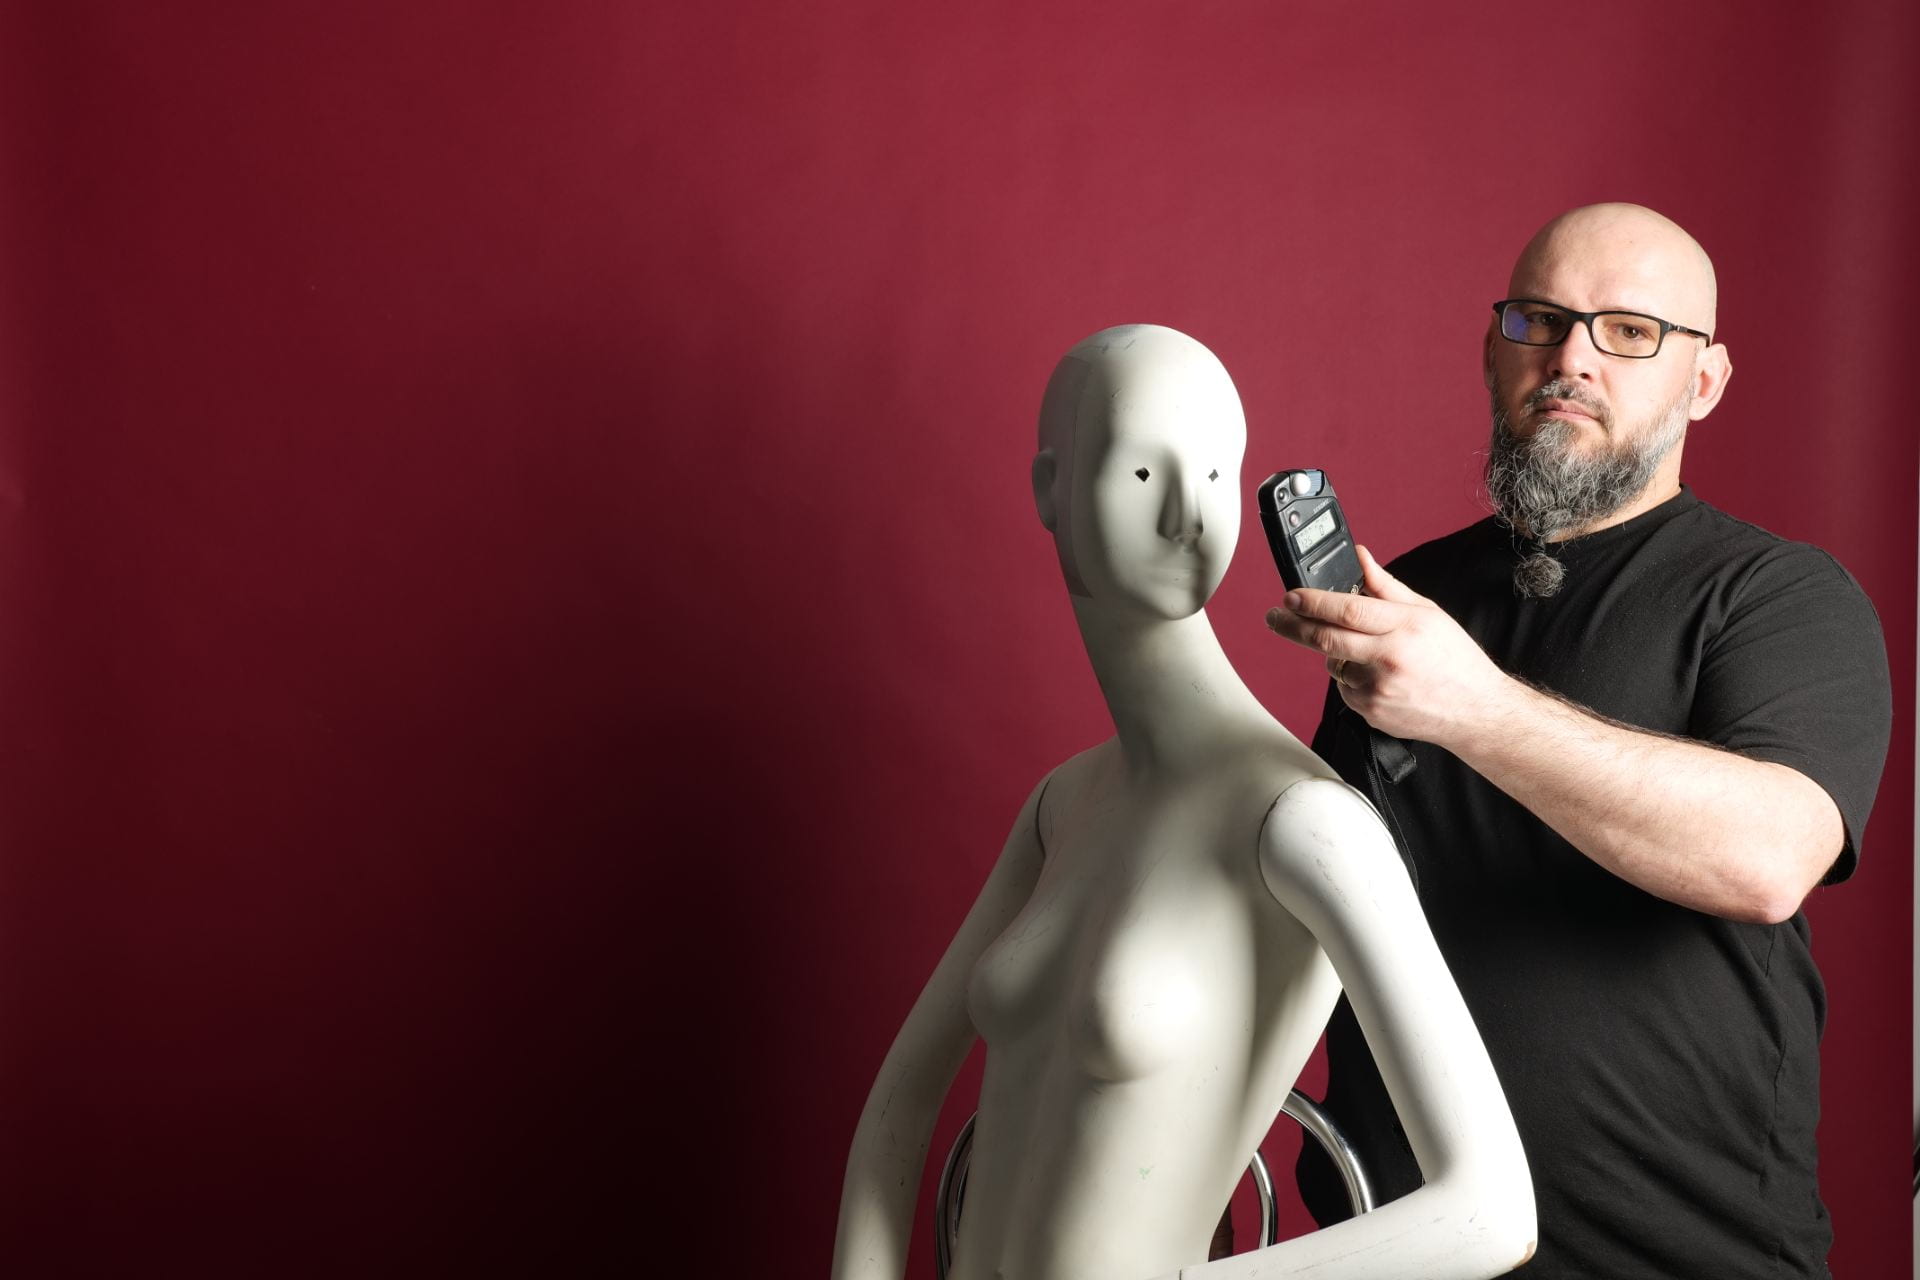
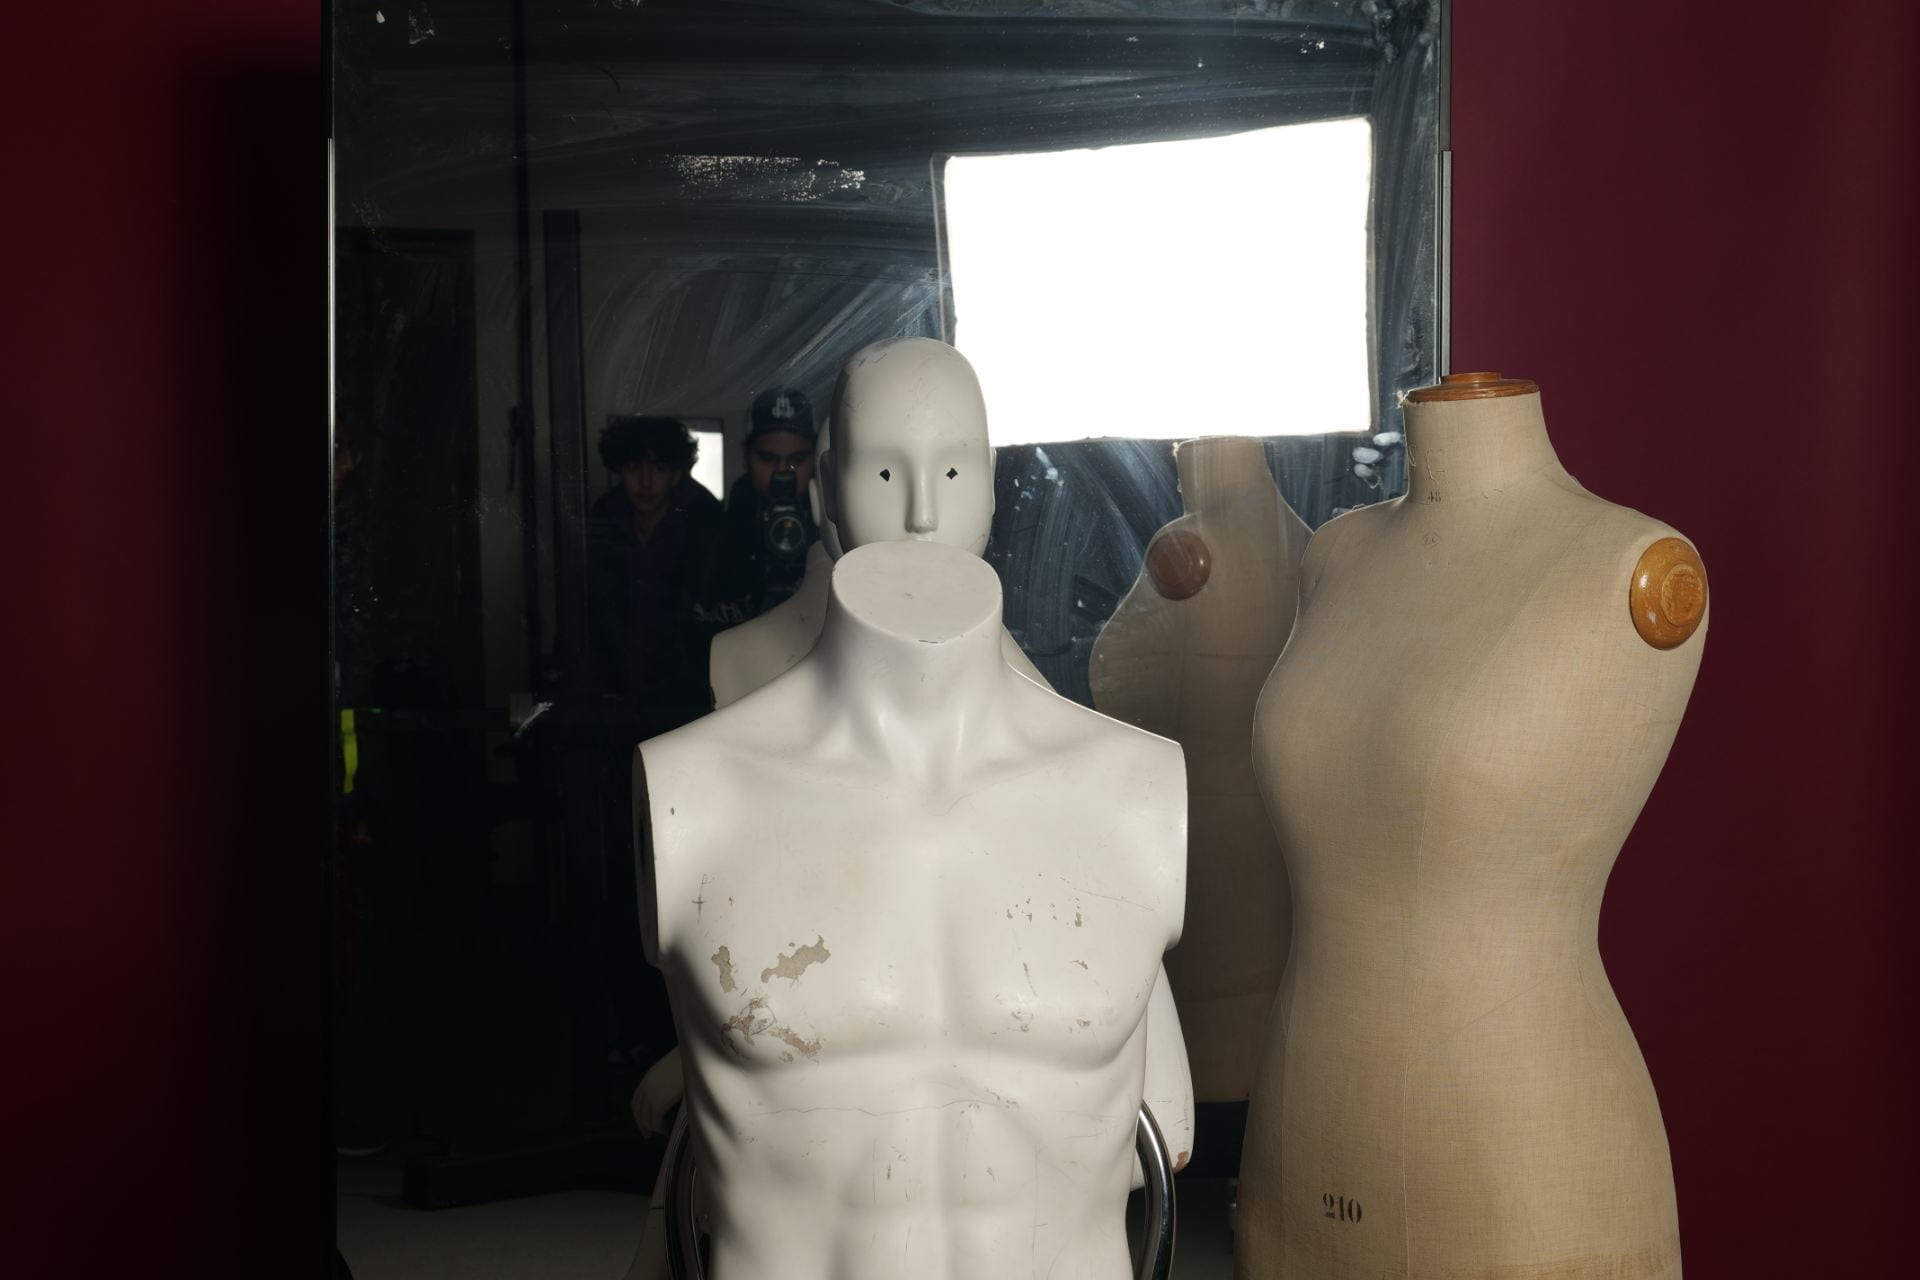
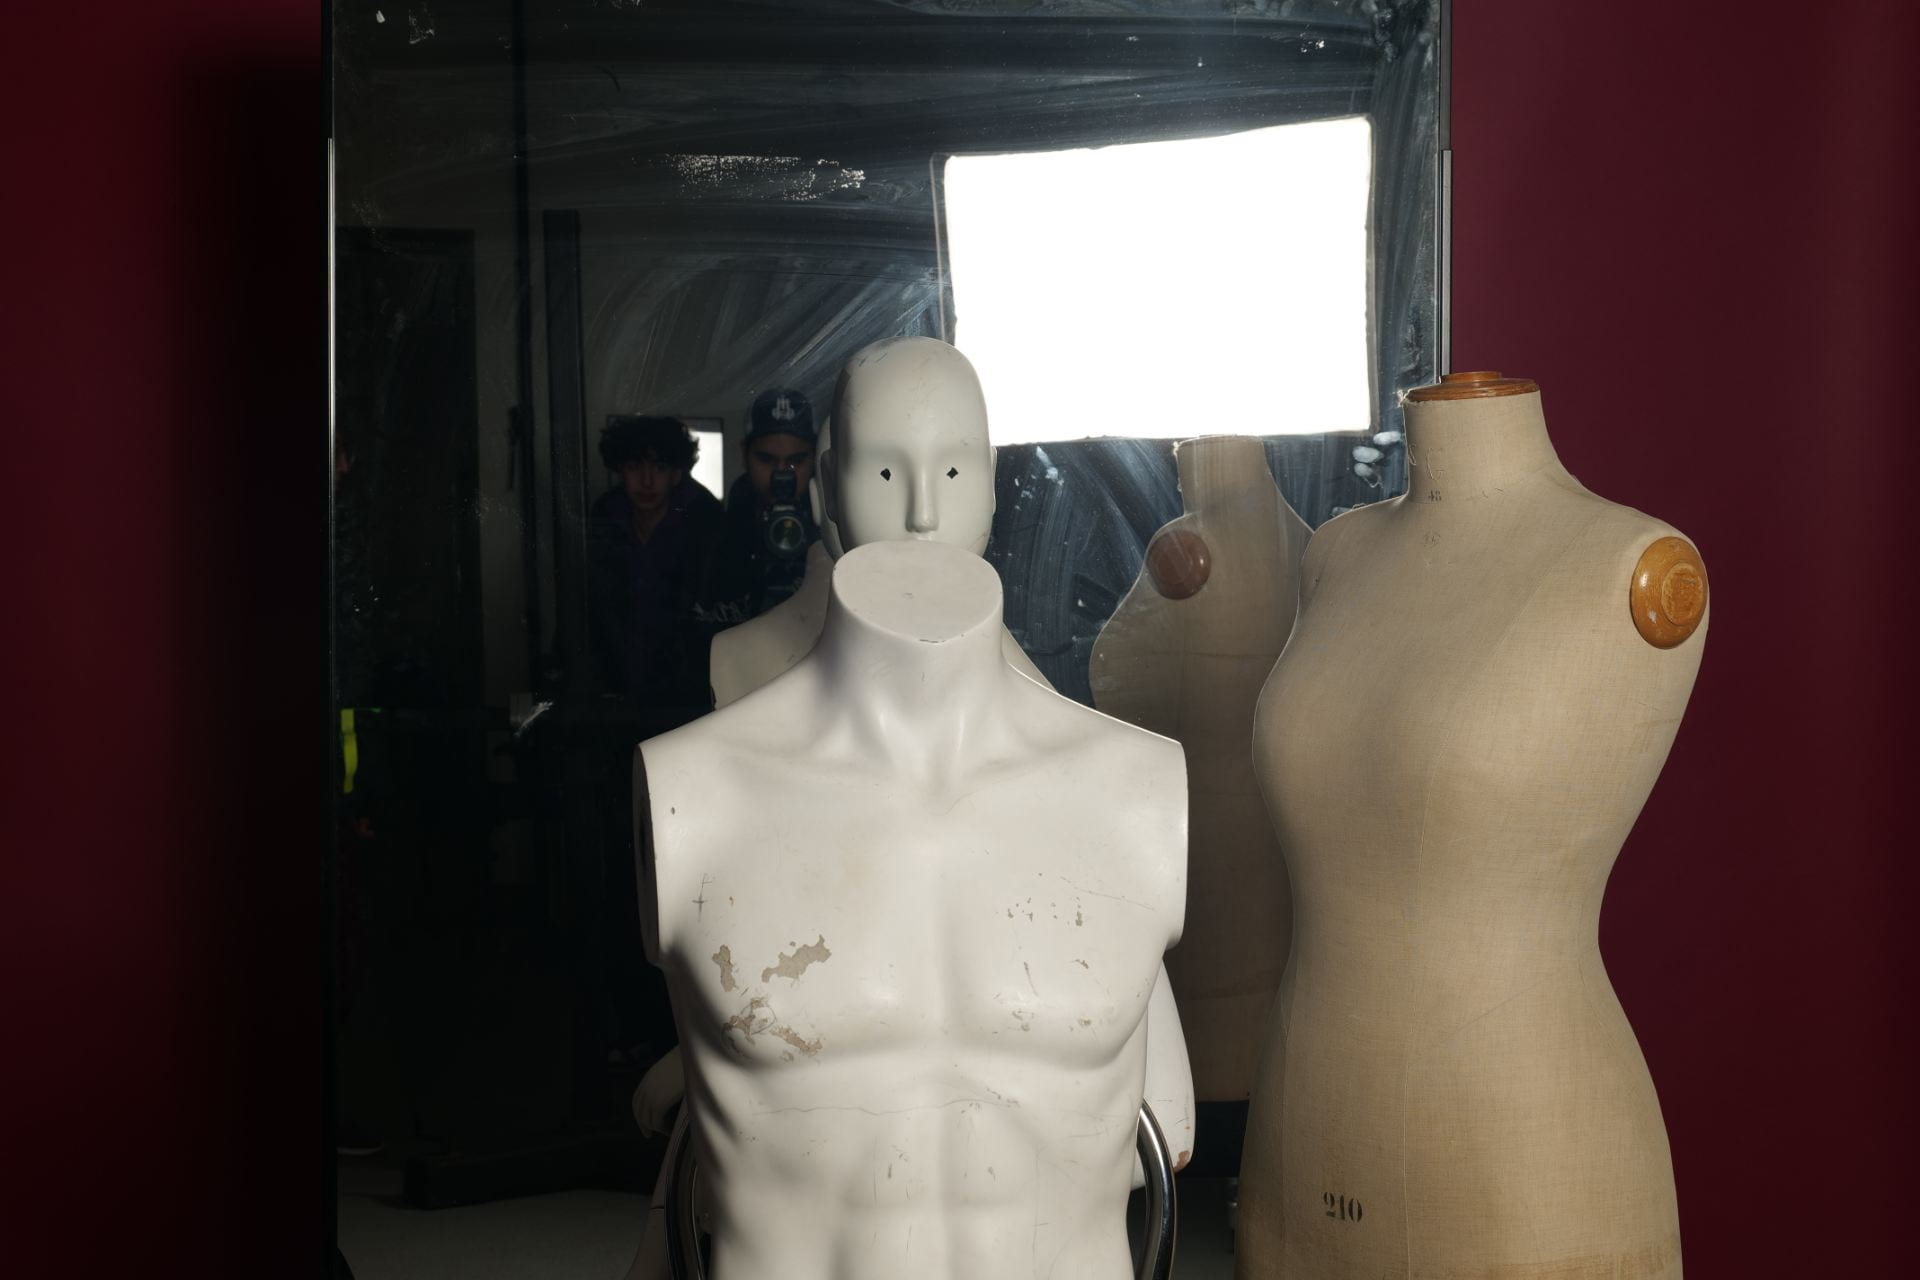
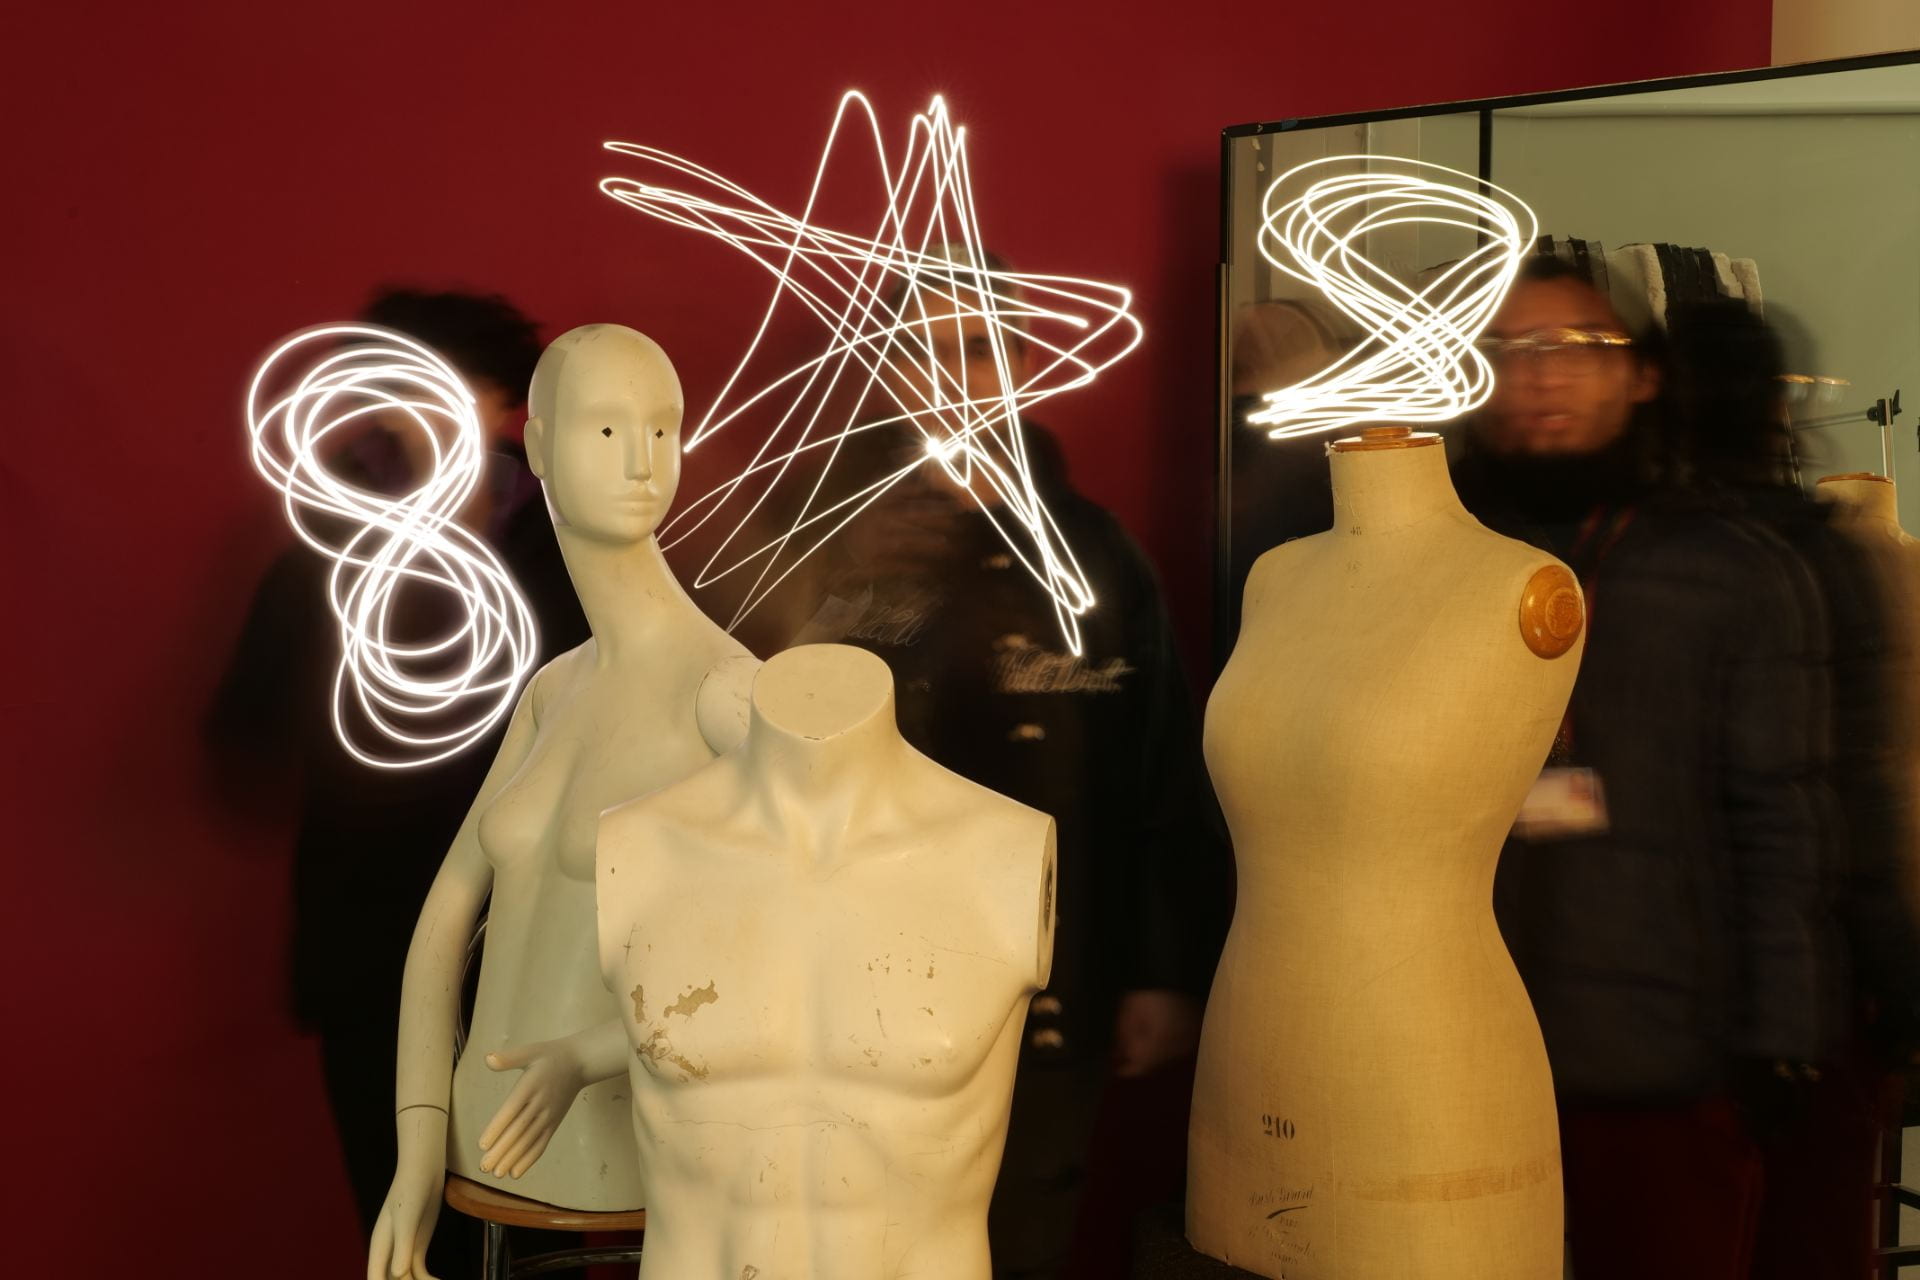
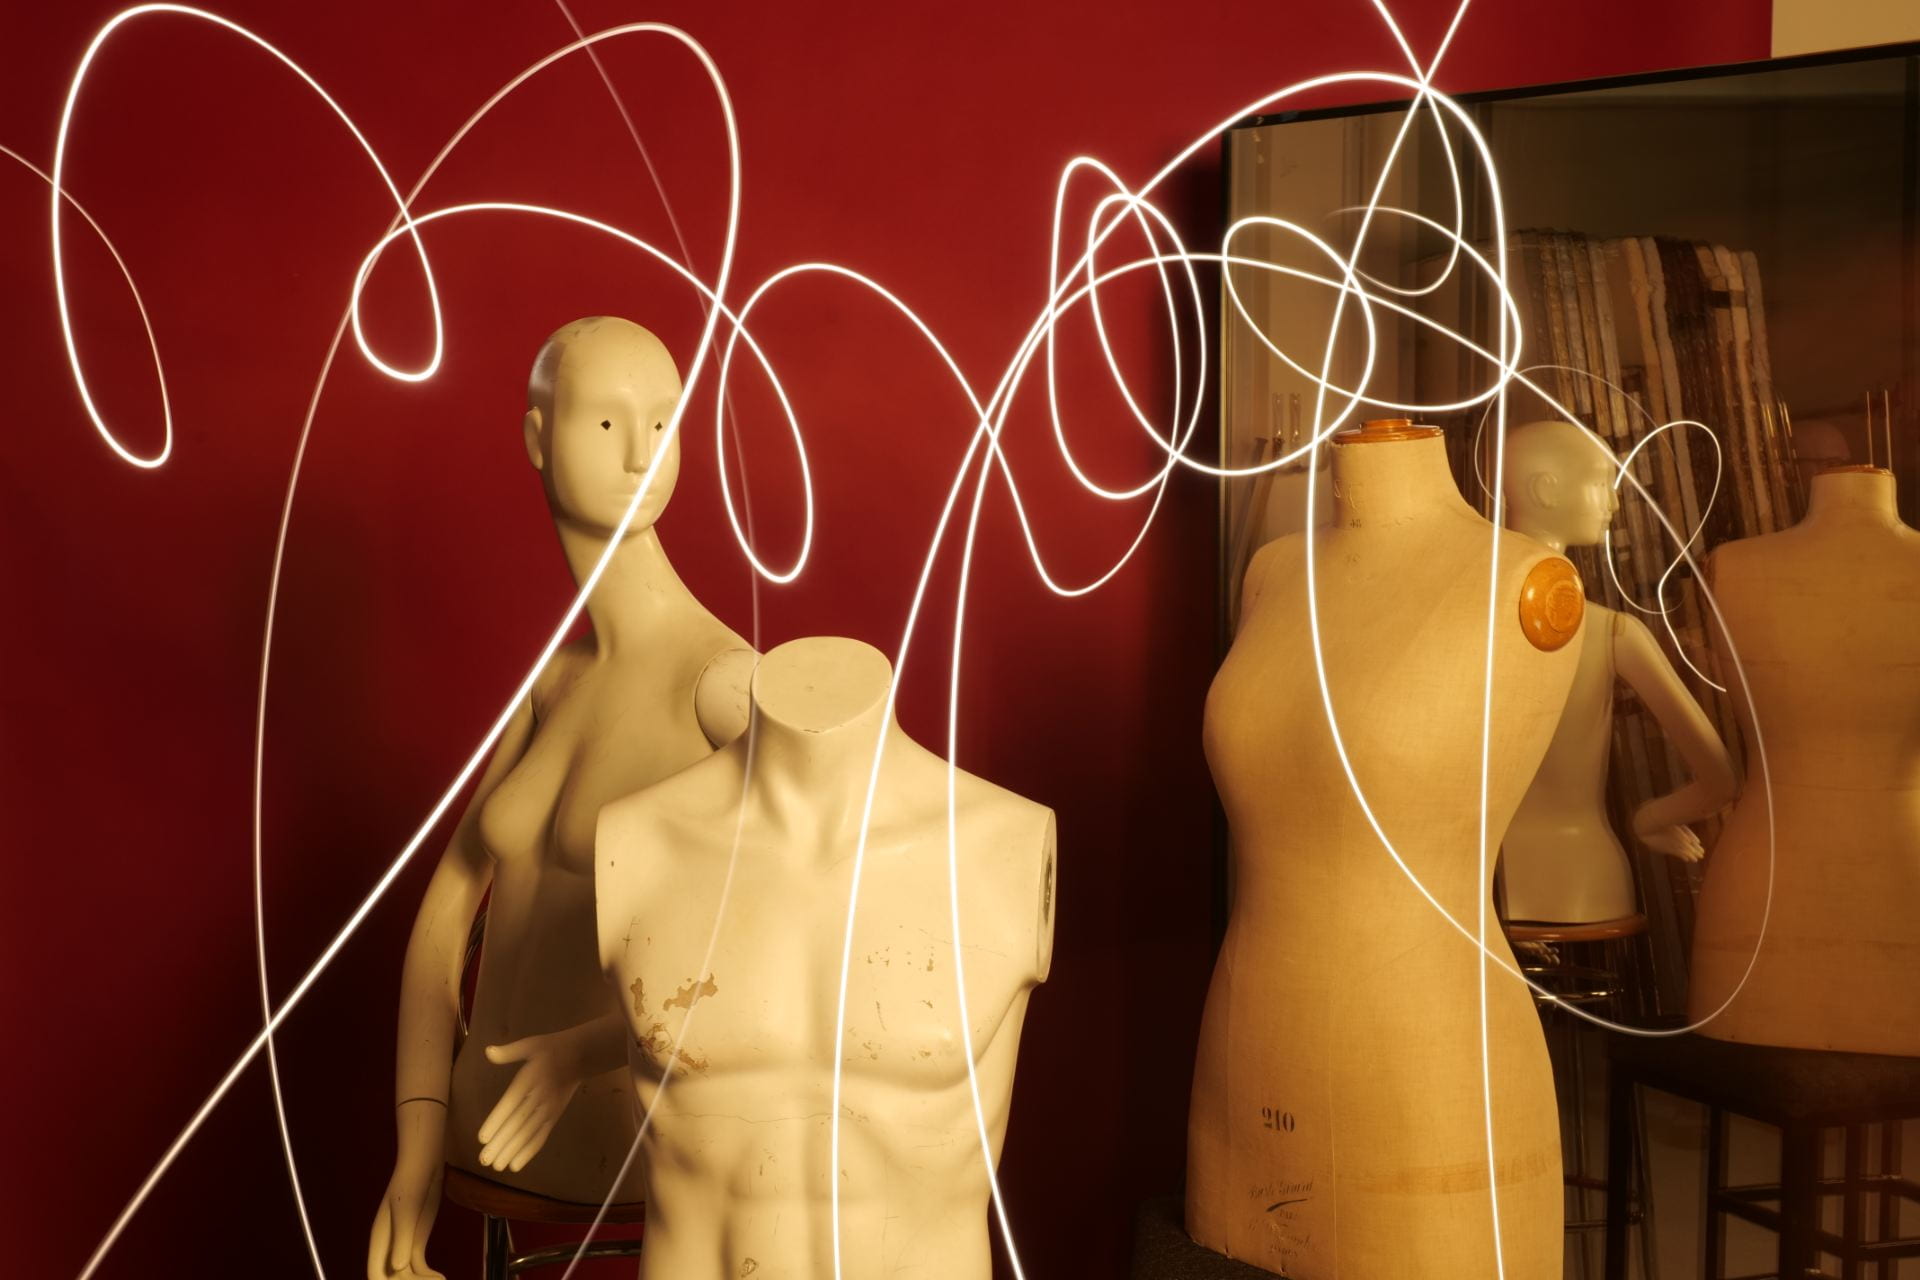
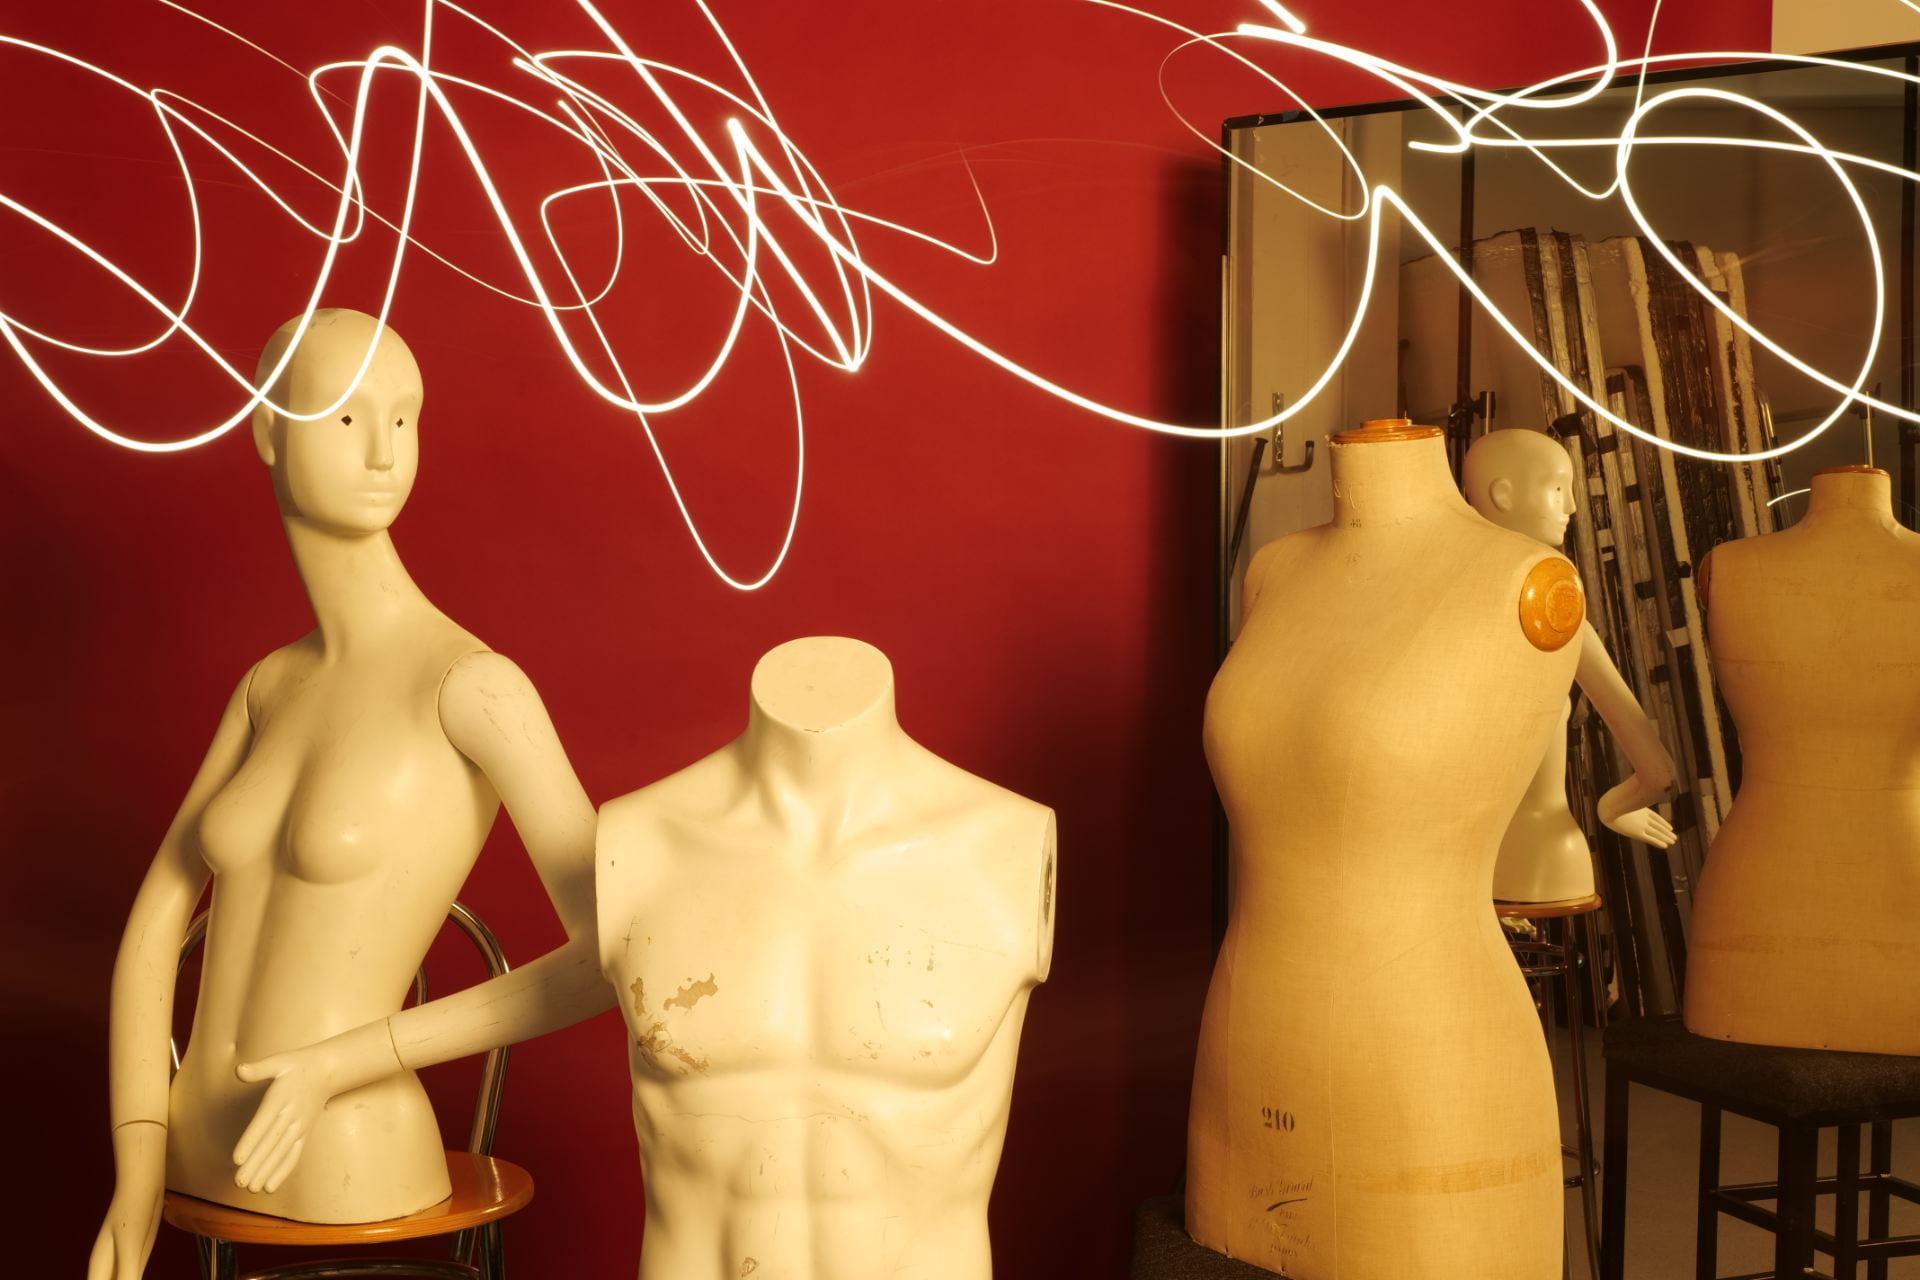
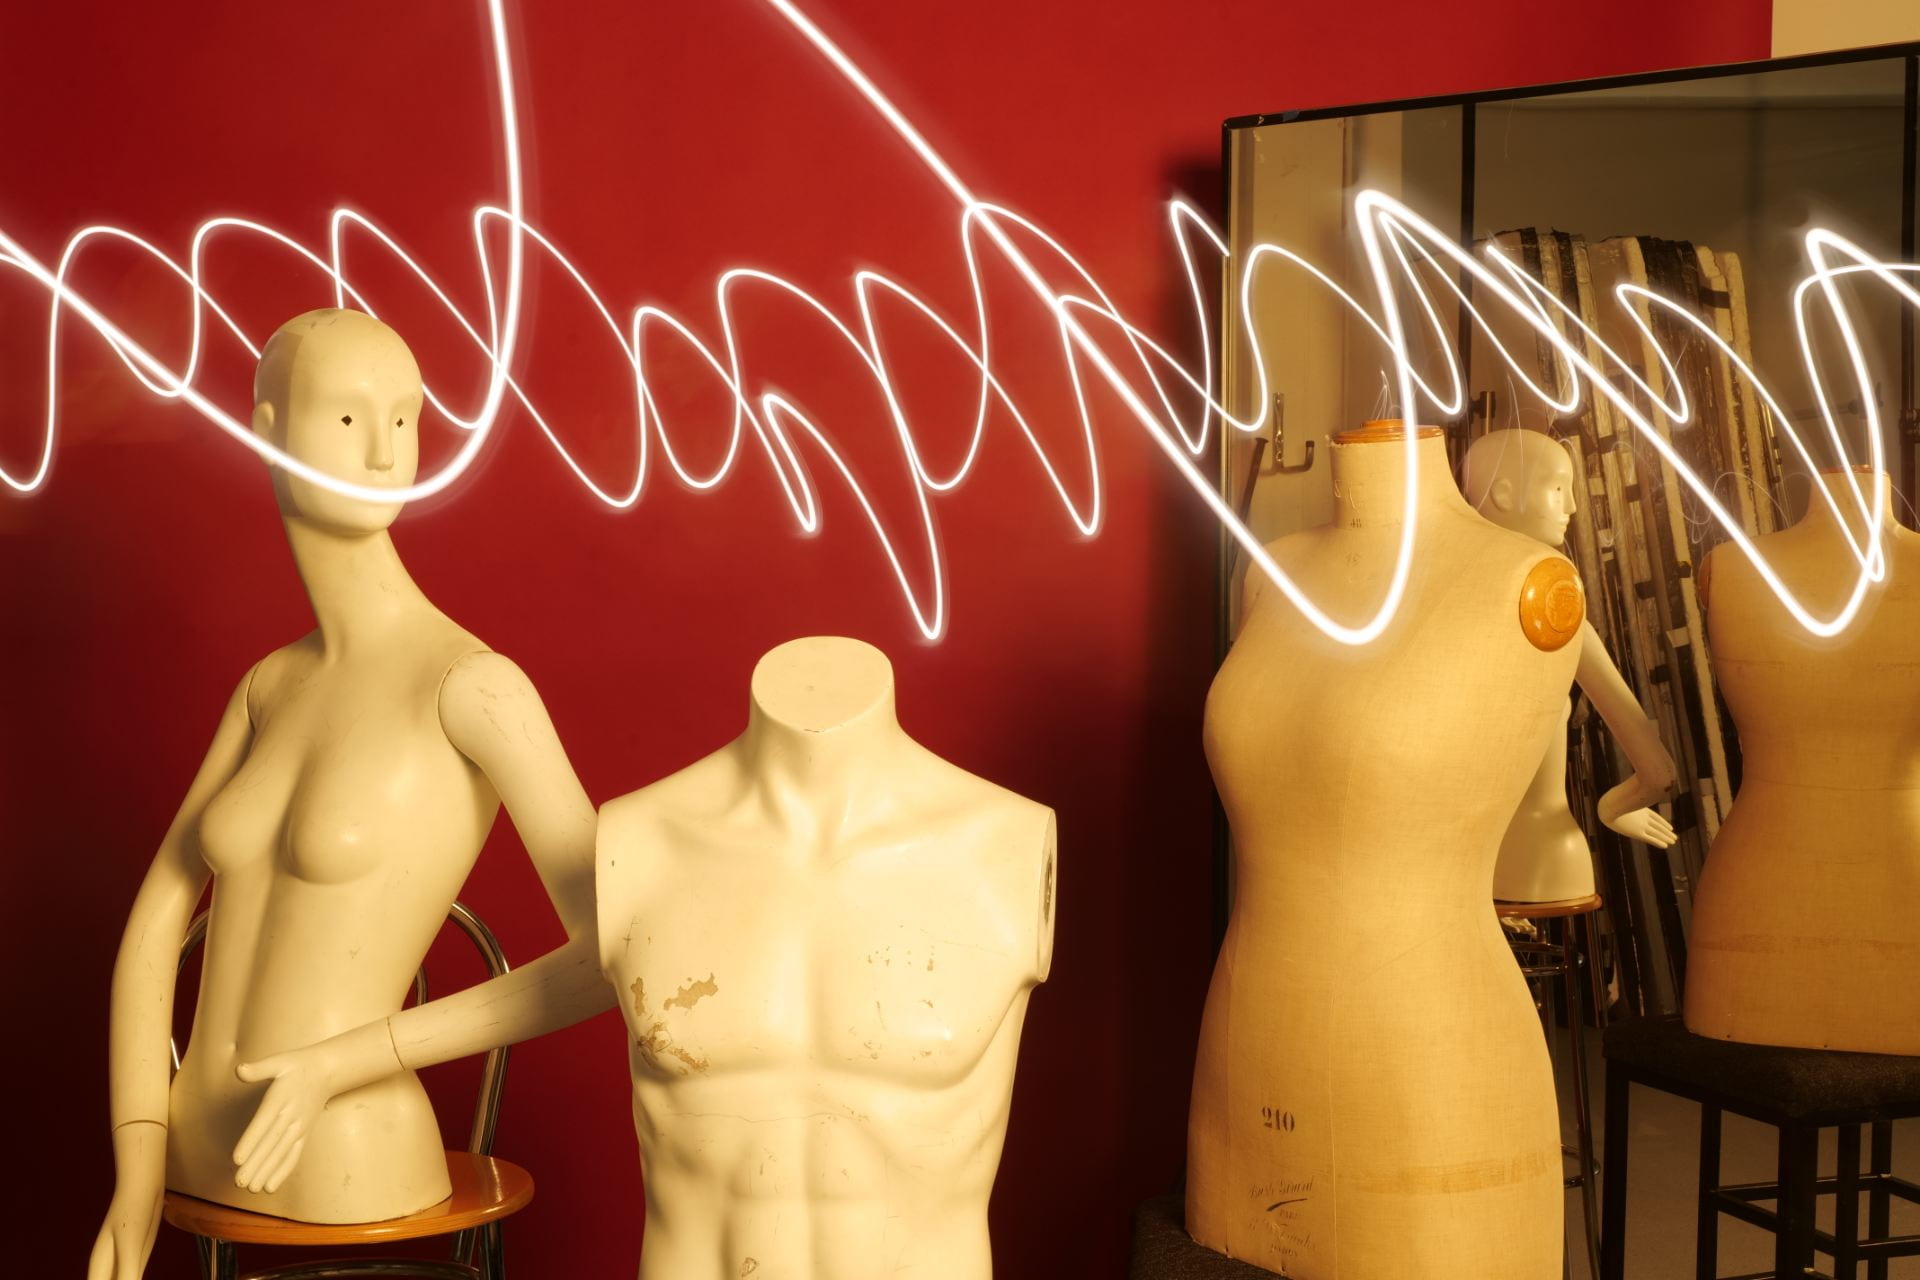
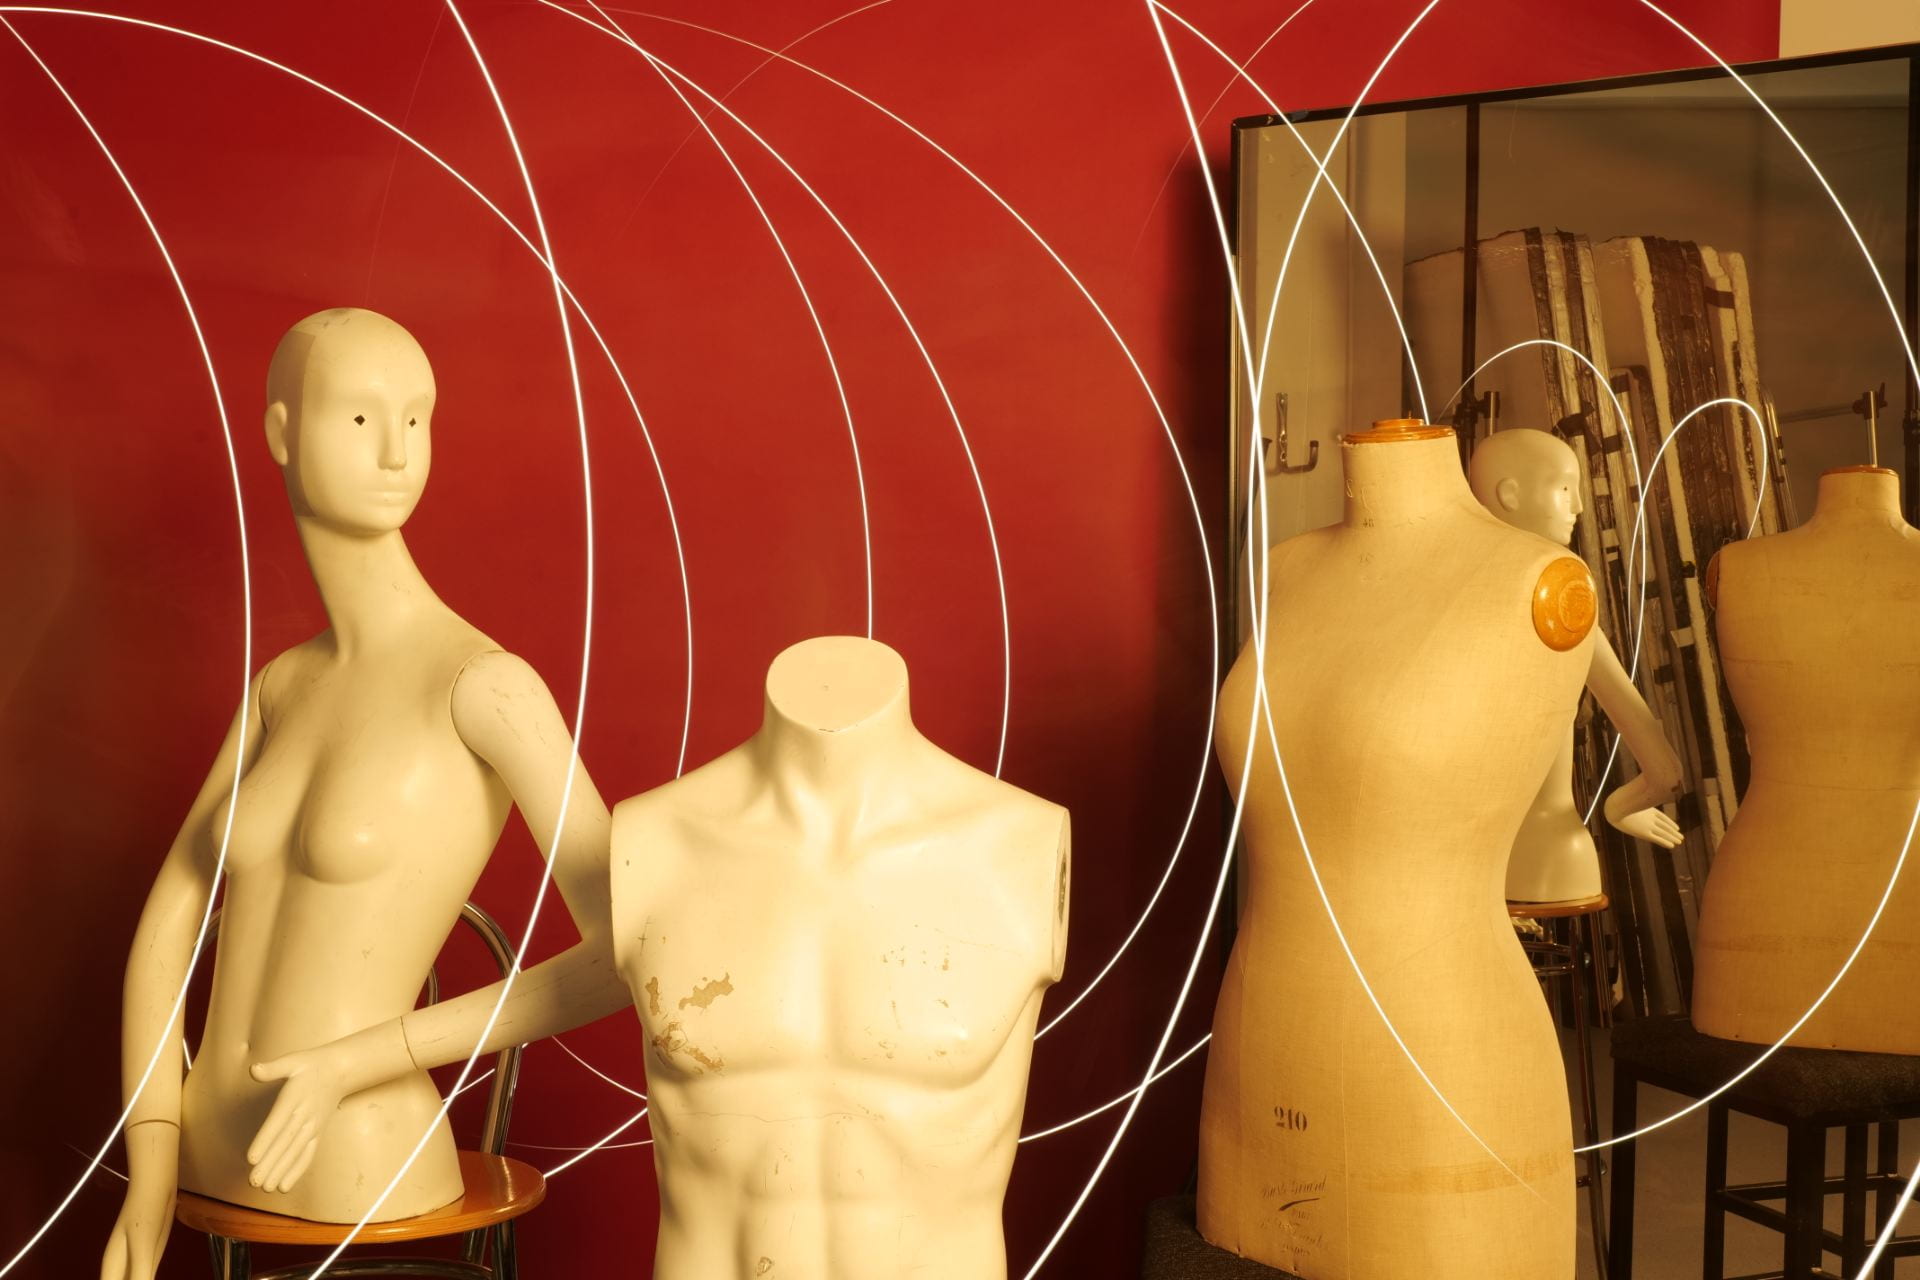
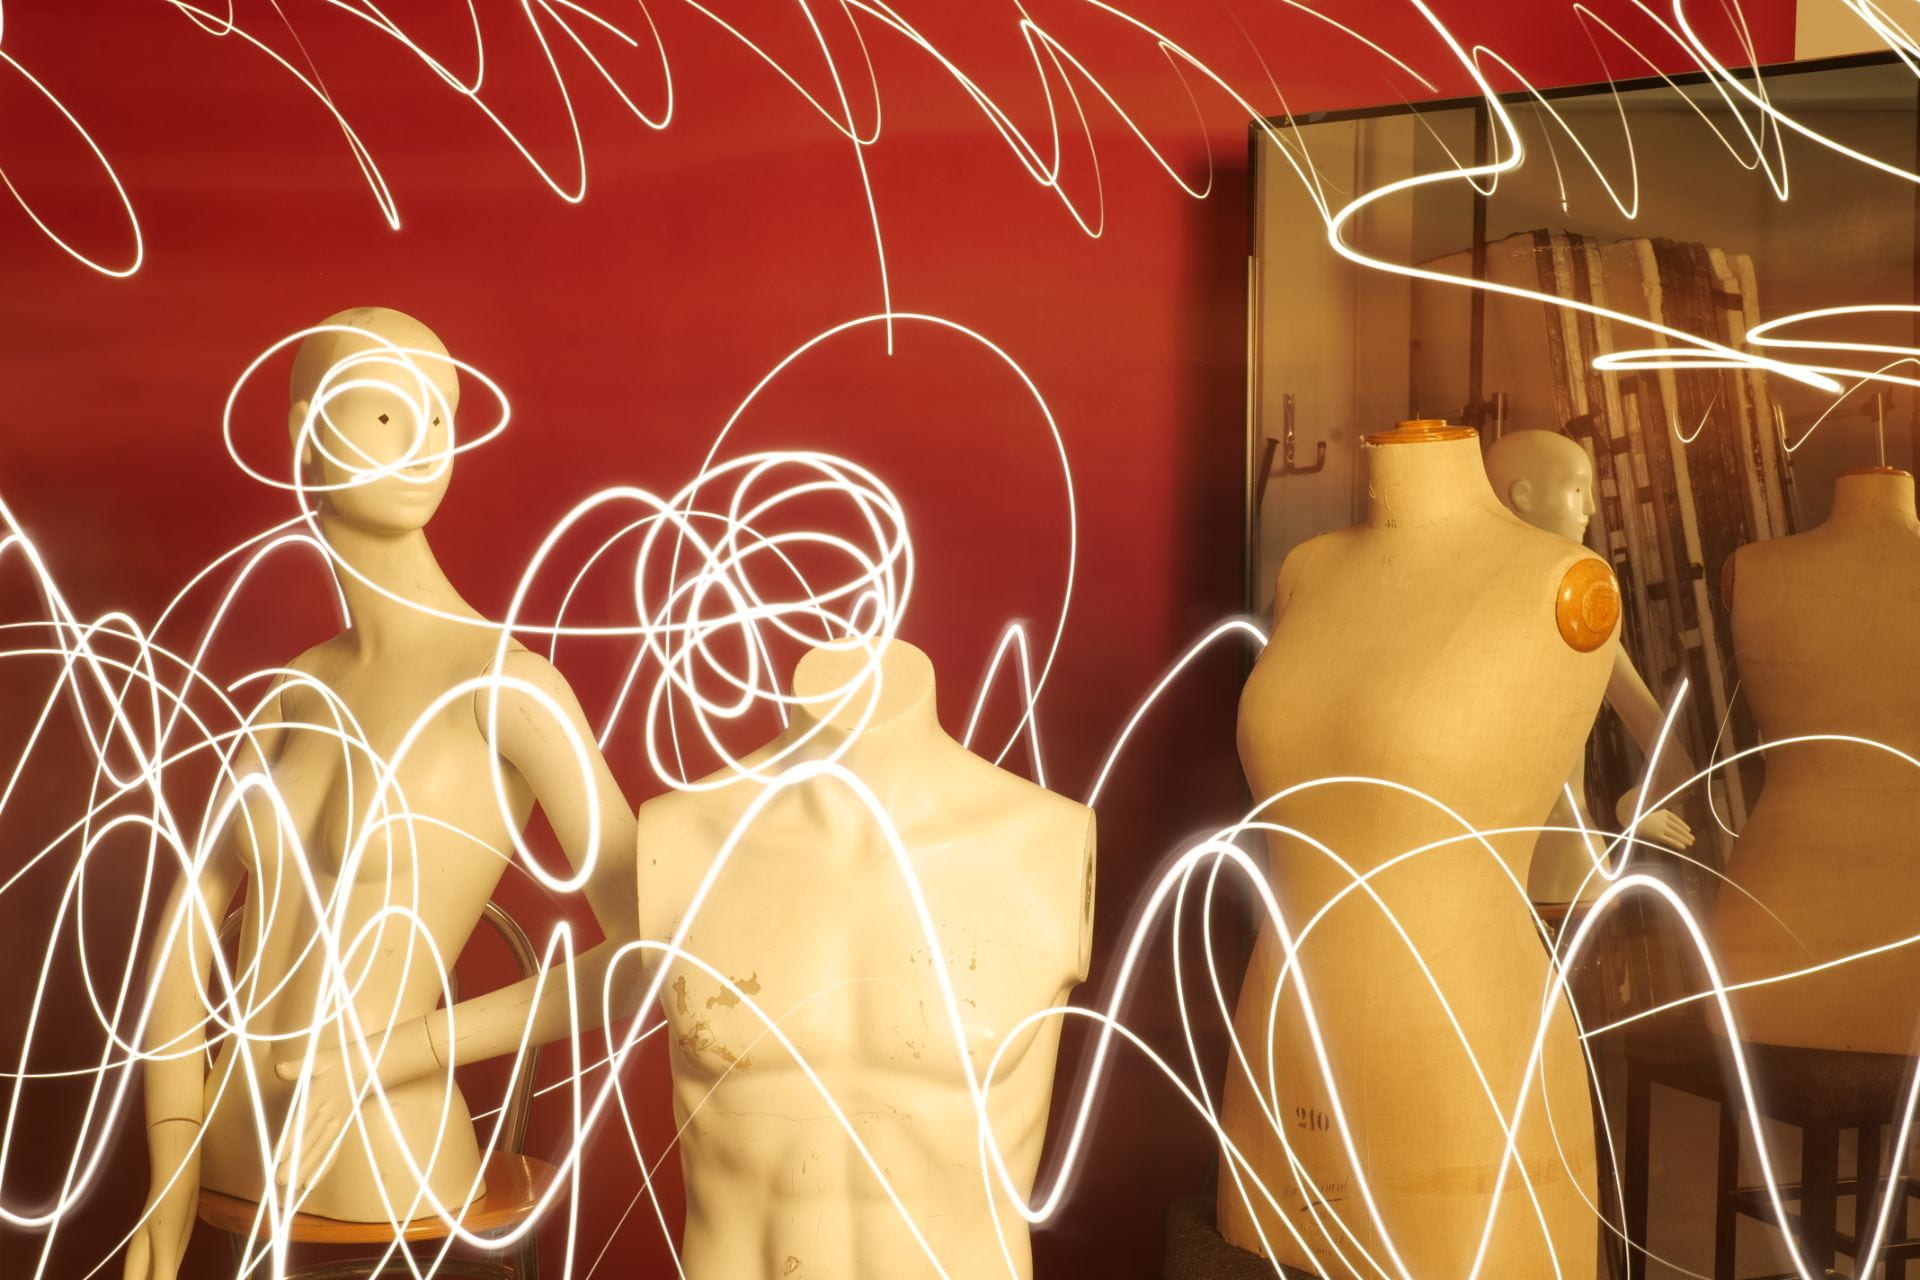
We used different mannequins to make a composition for our workshop
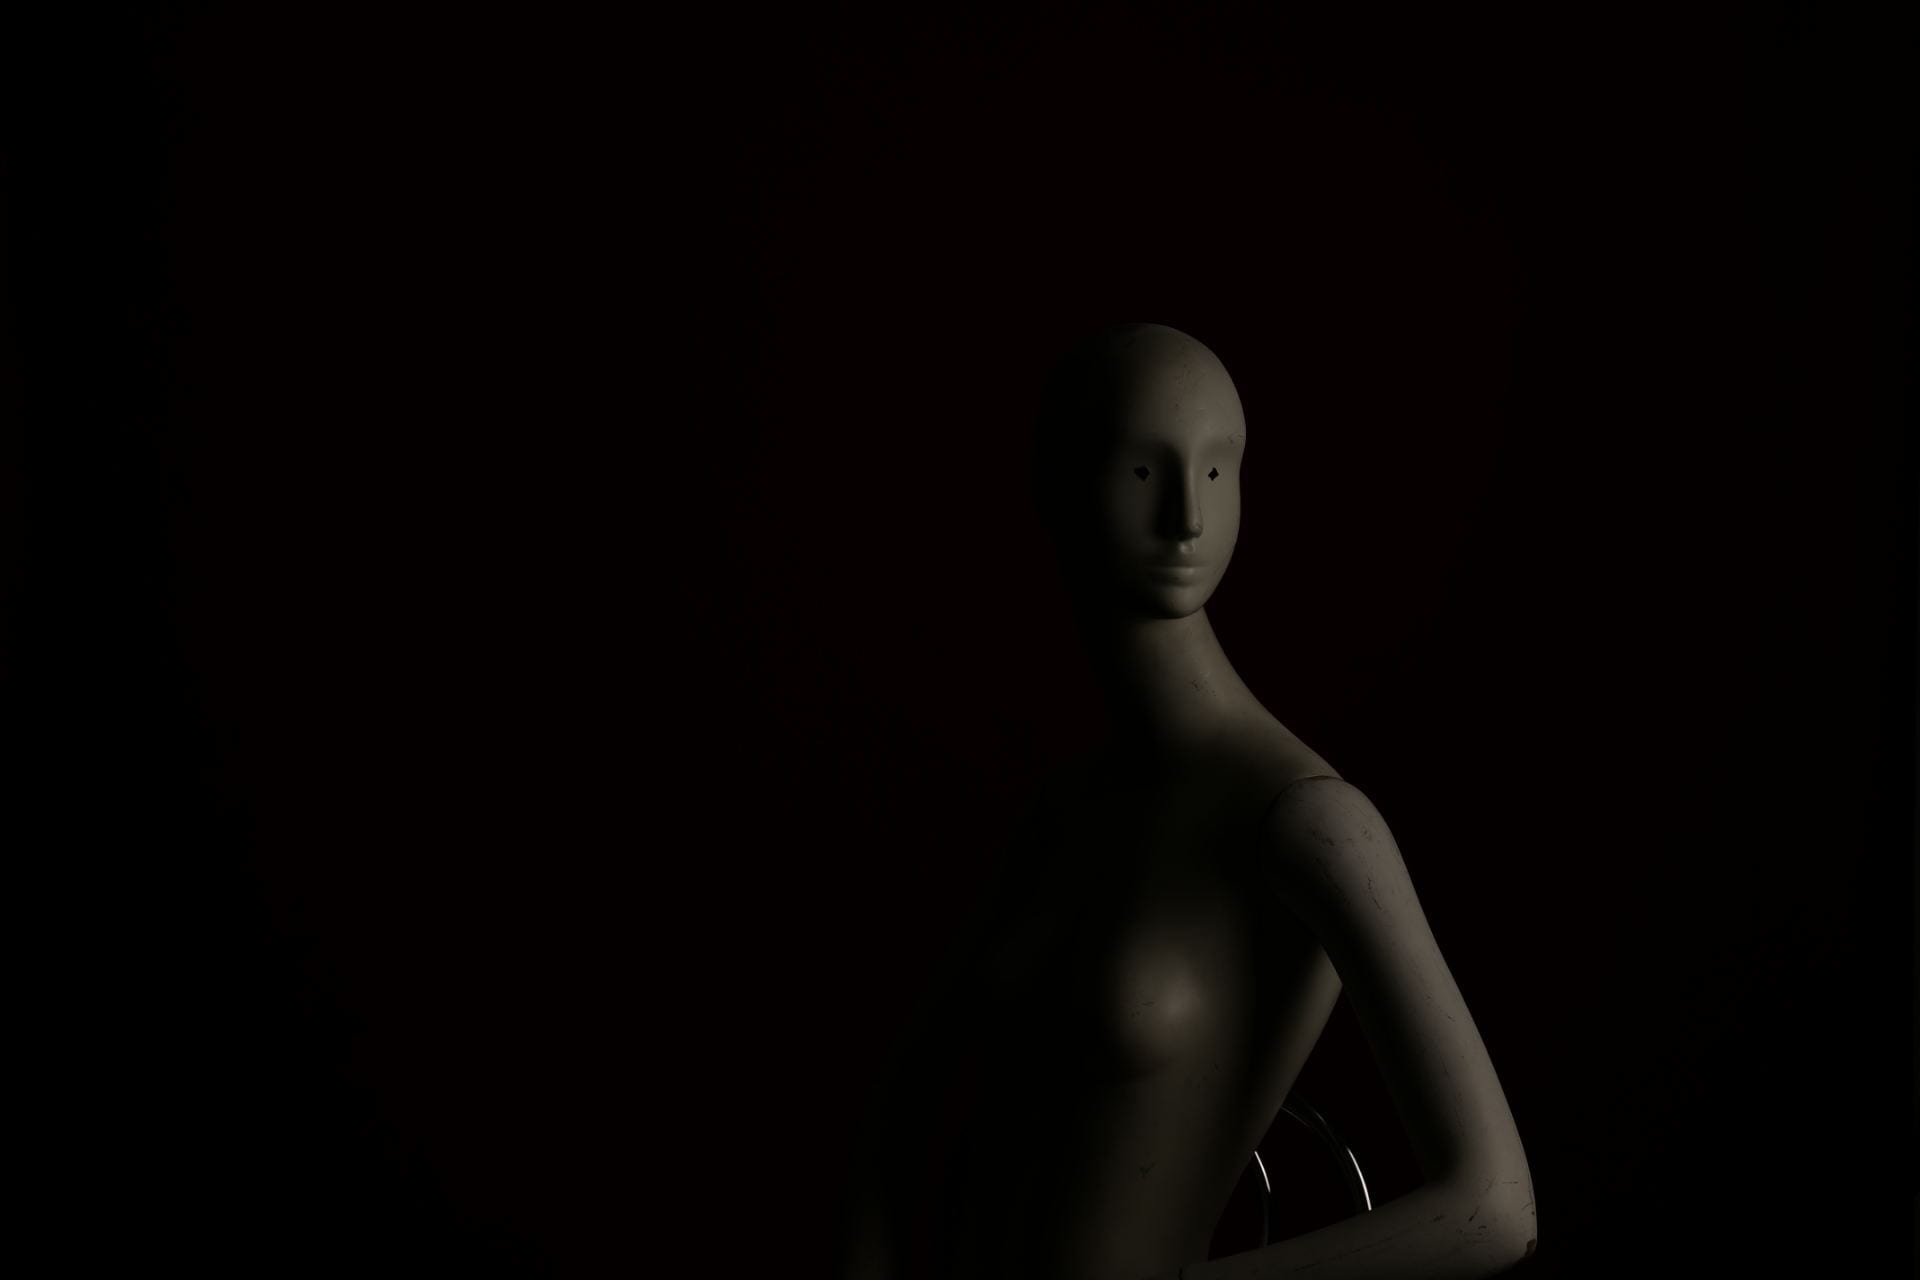
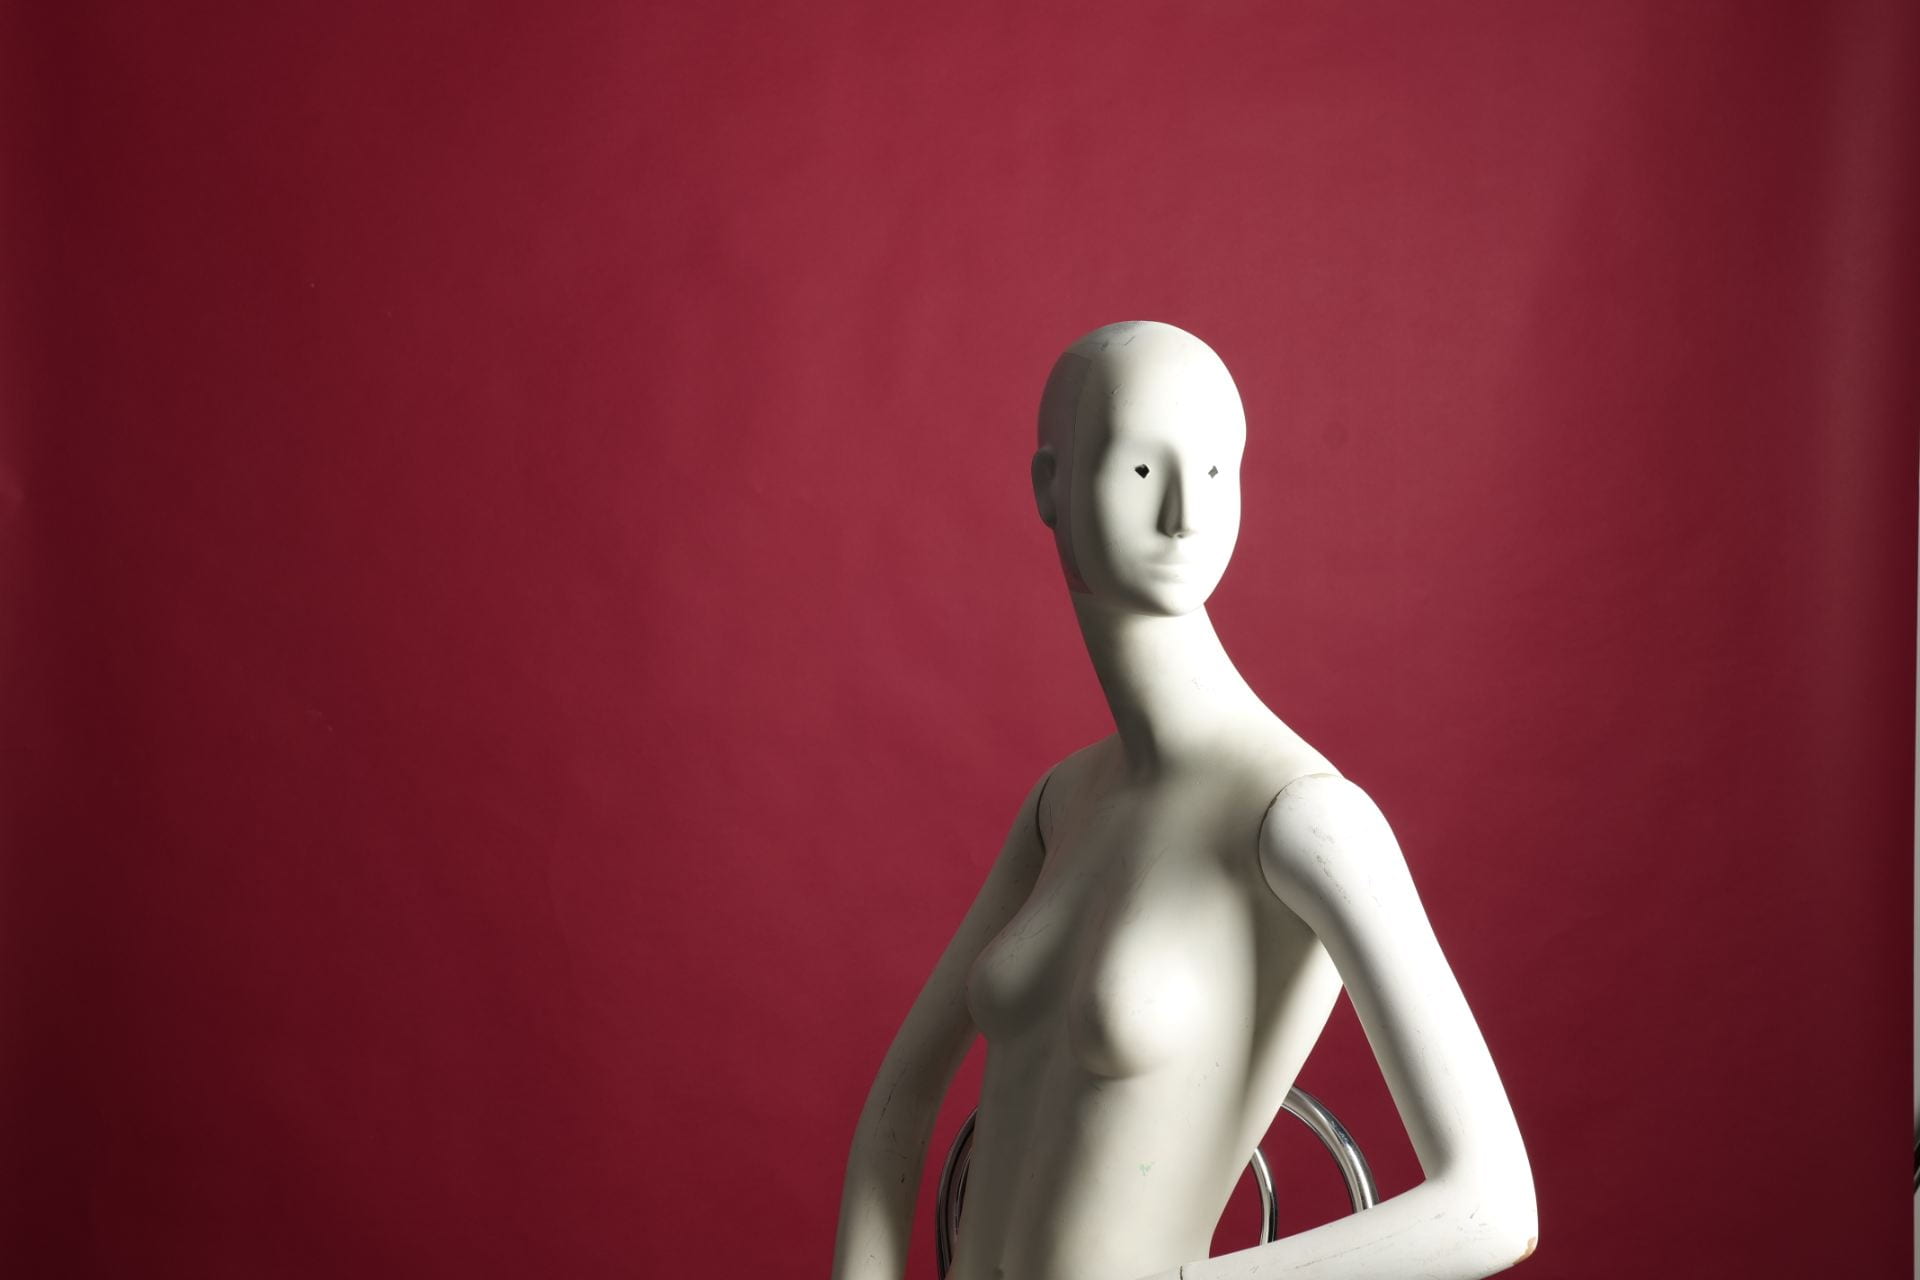
Here we use a light metering tool to use proper setting for exposure in the camera.
End of workshop week 6
End of week 6
Week 7: Portraits
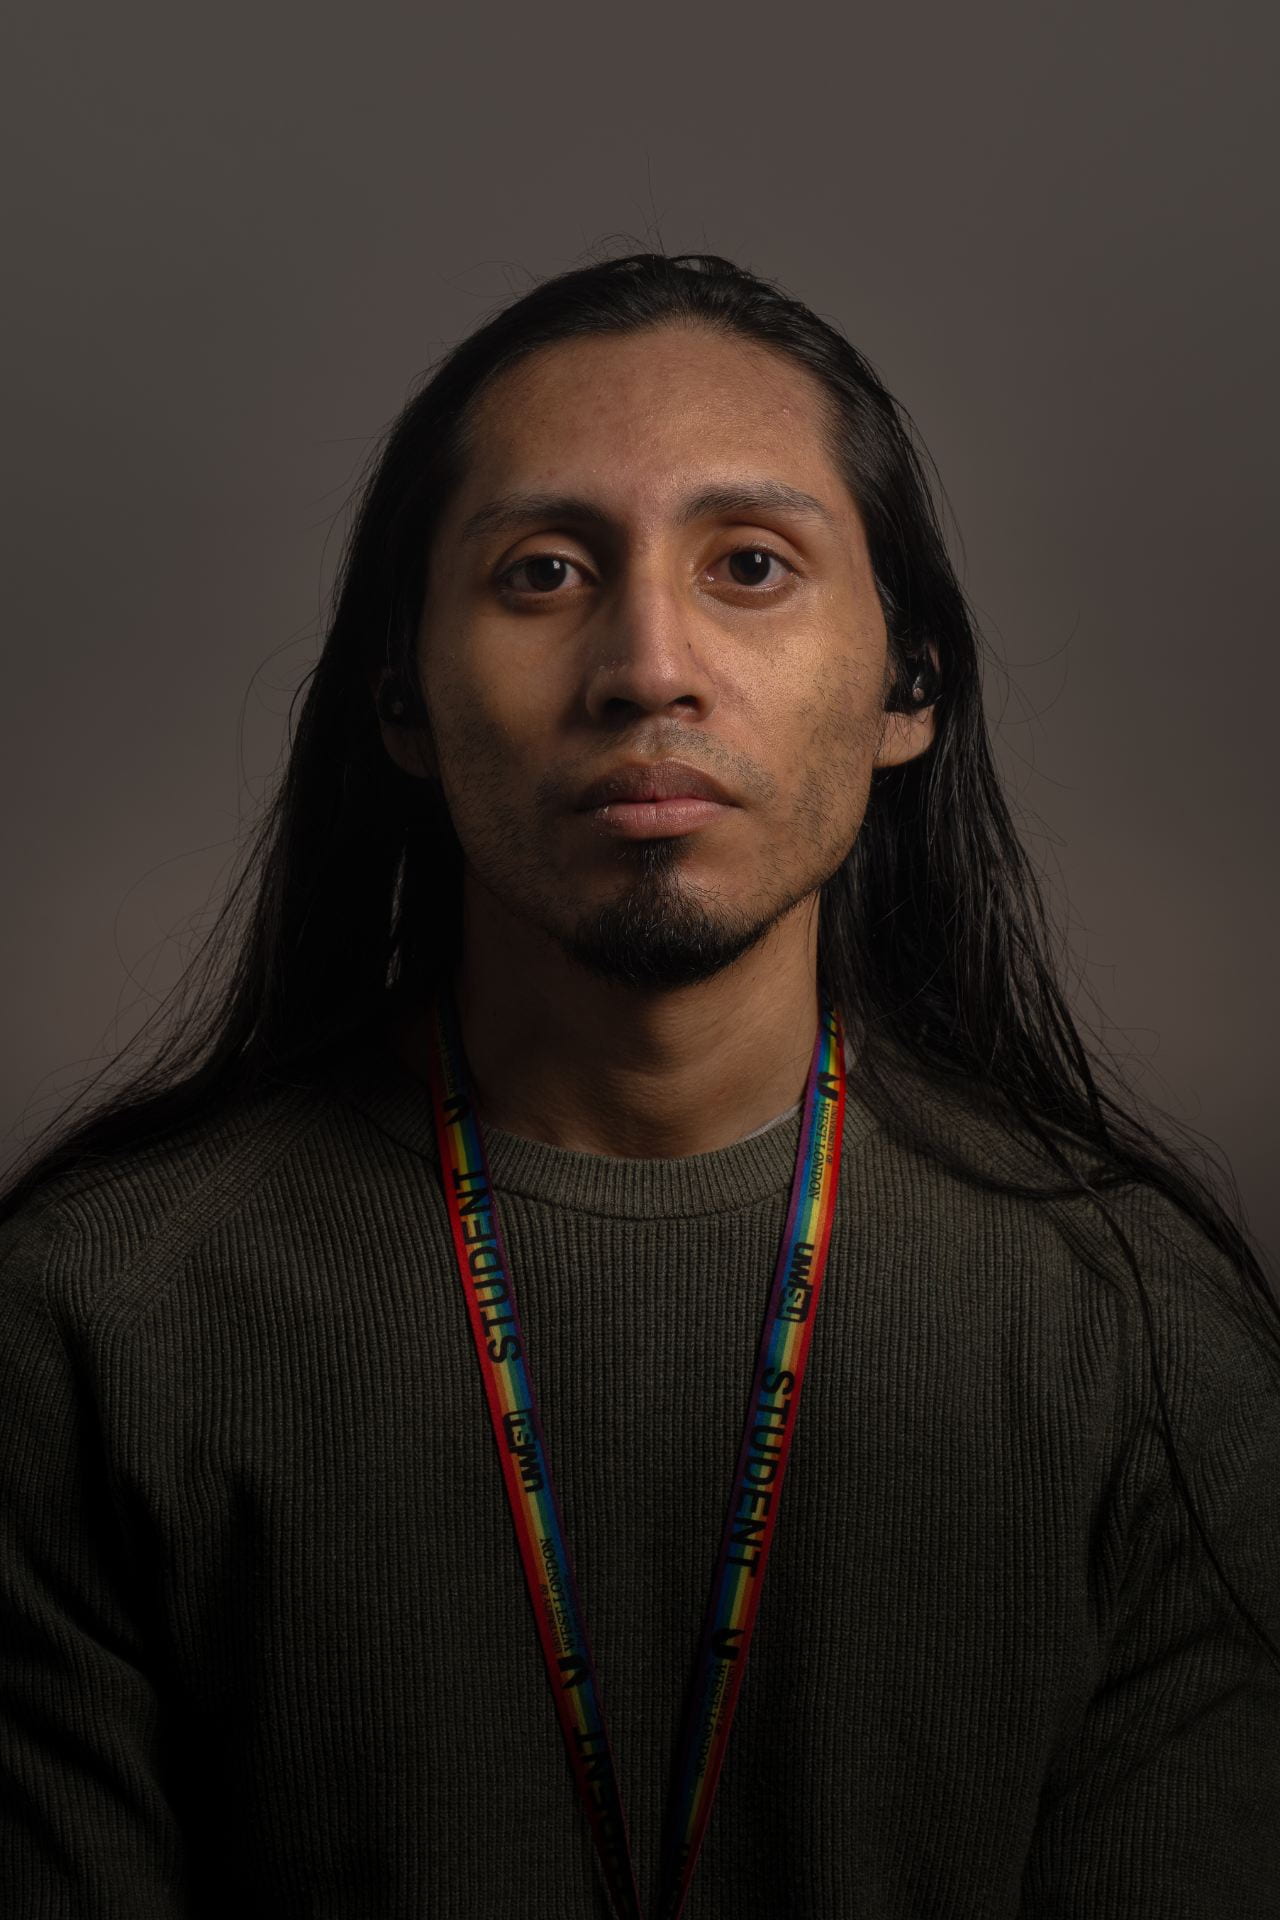
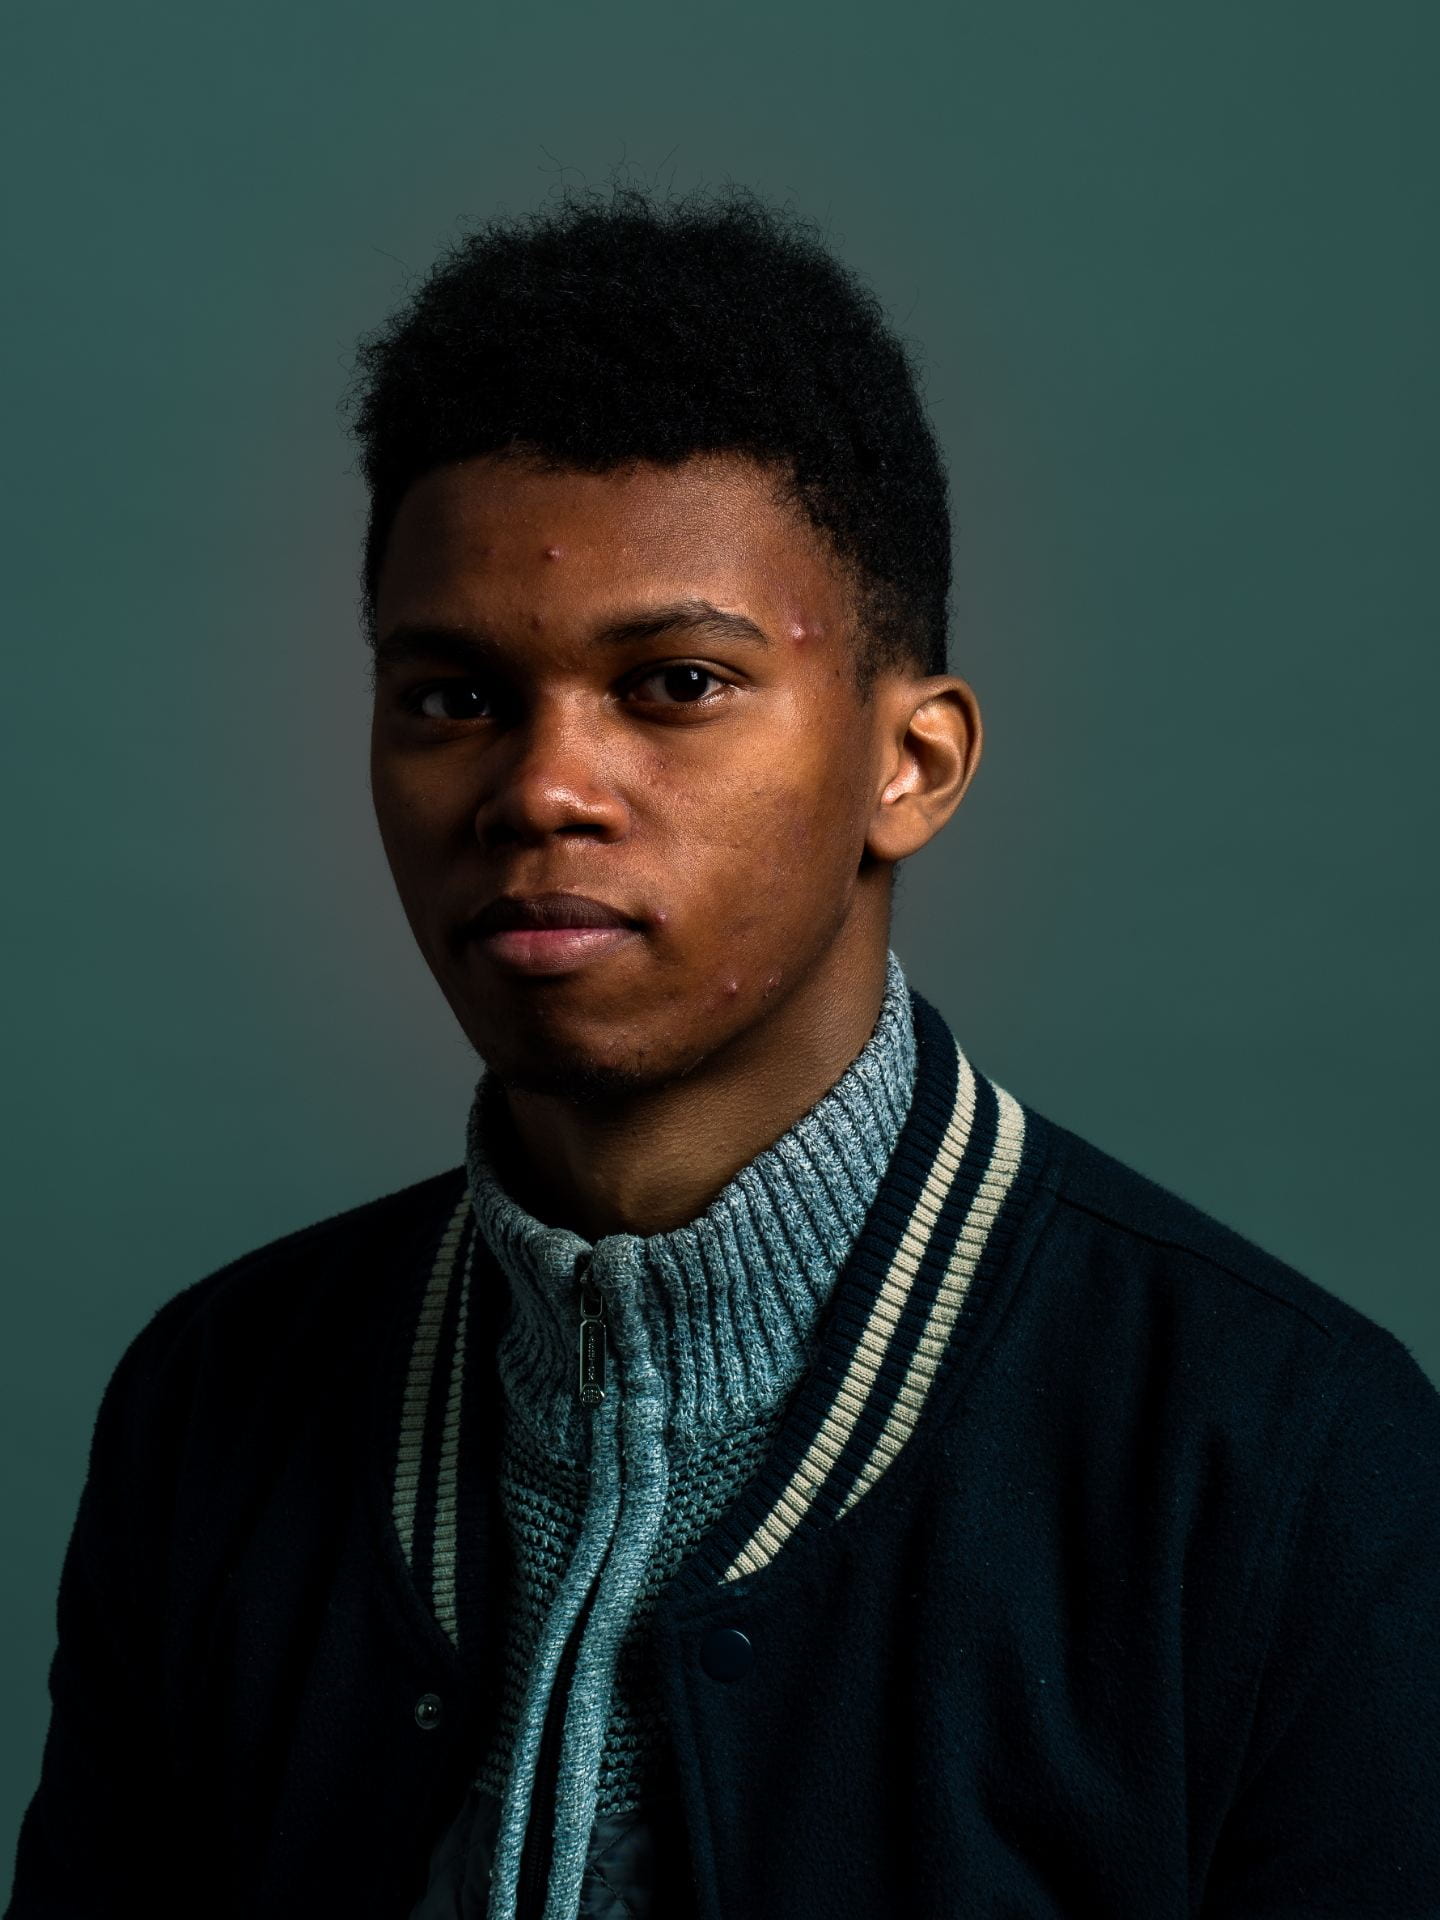
Here they are some portrait we took during the week 7 lesson testing different light setups types.
I edited the ones I liked the most in Lightroom.

End of week 7
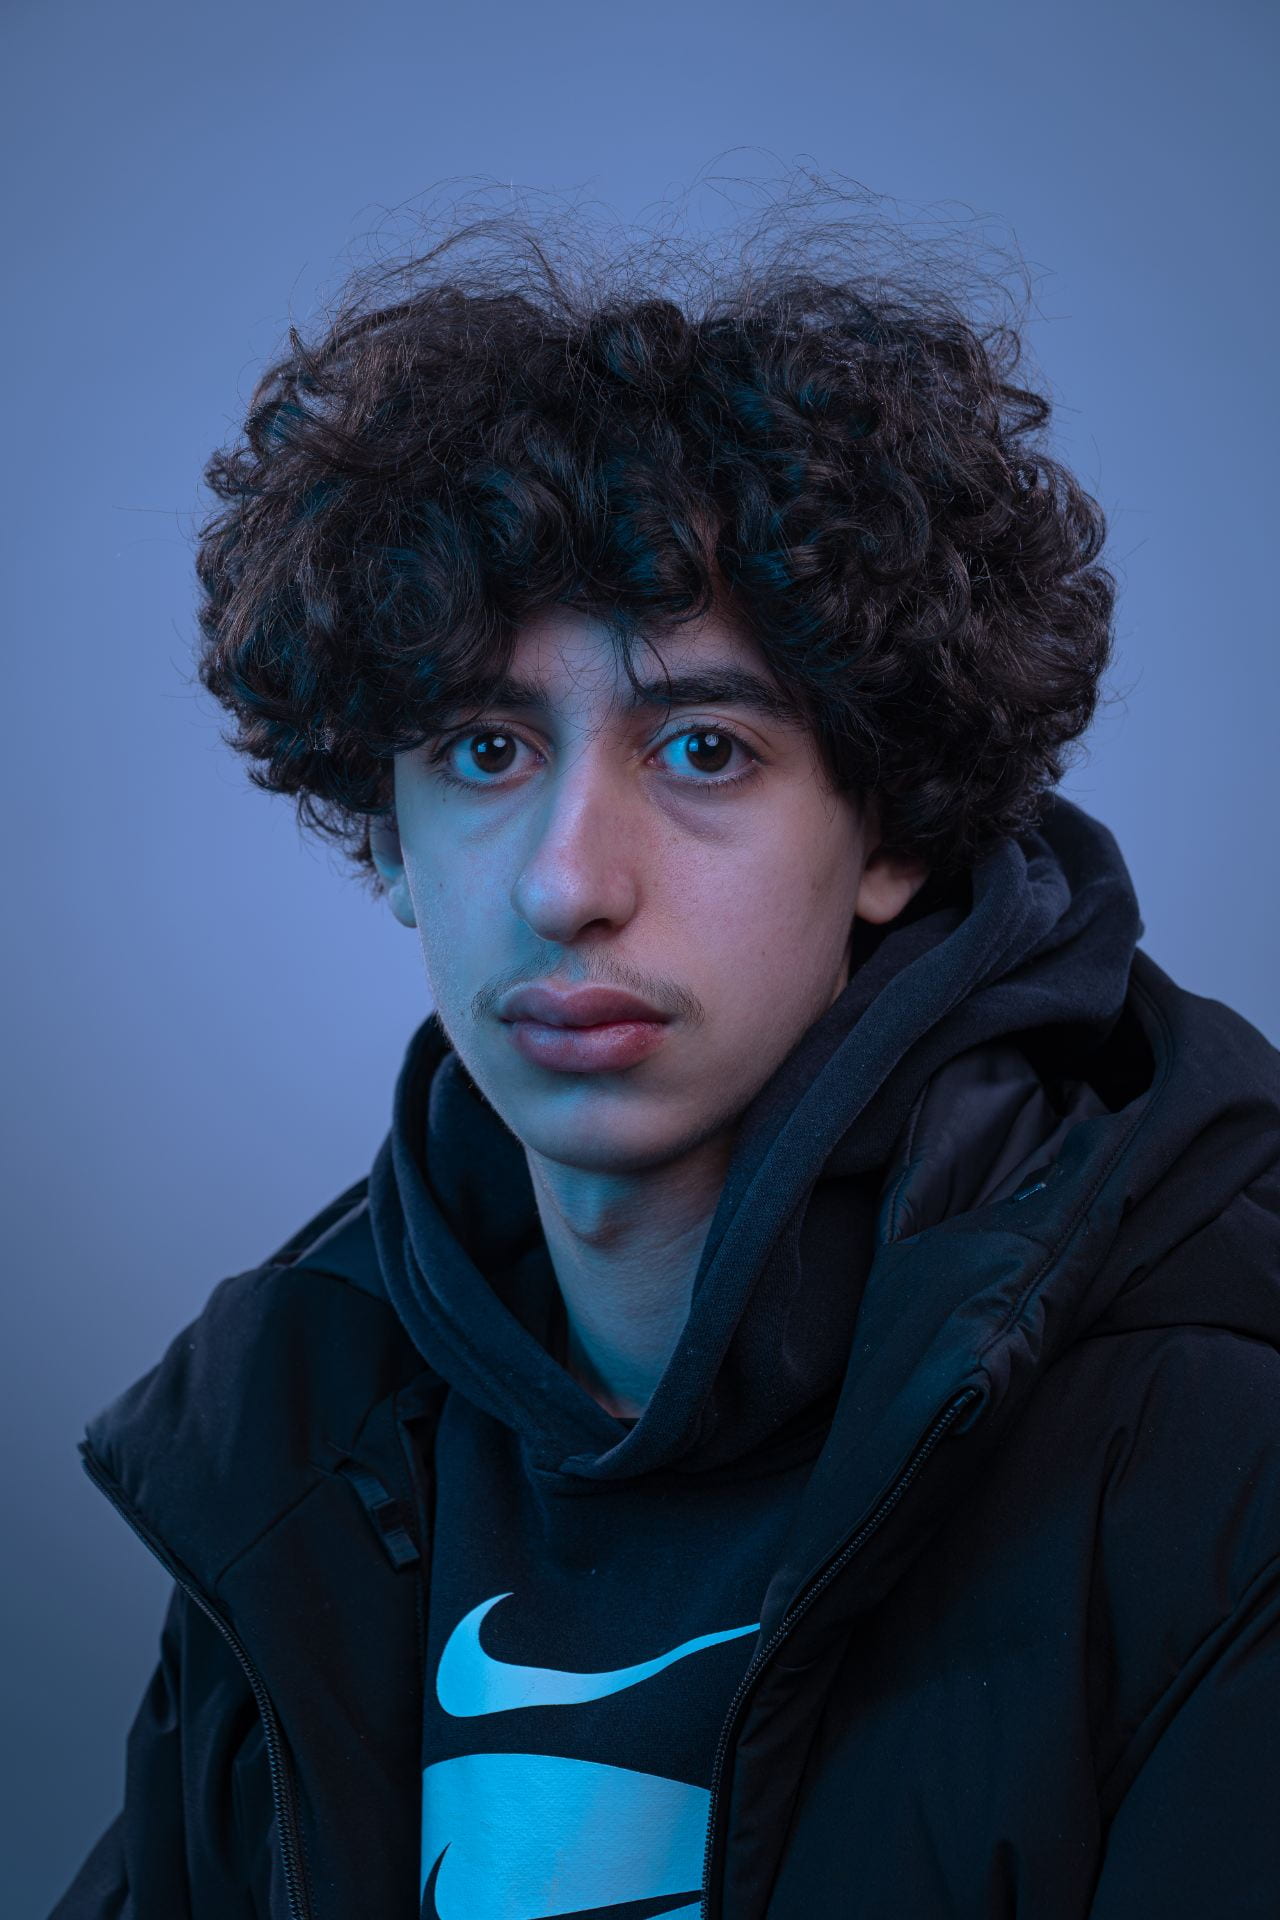
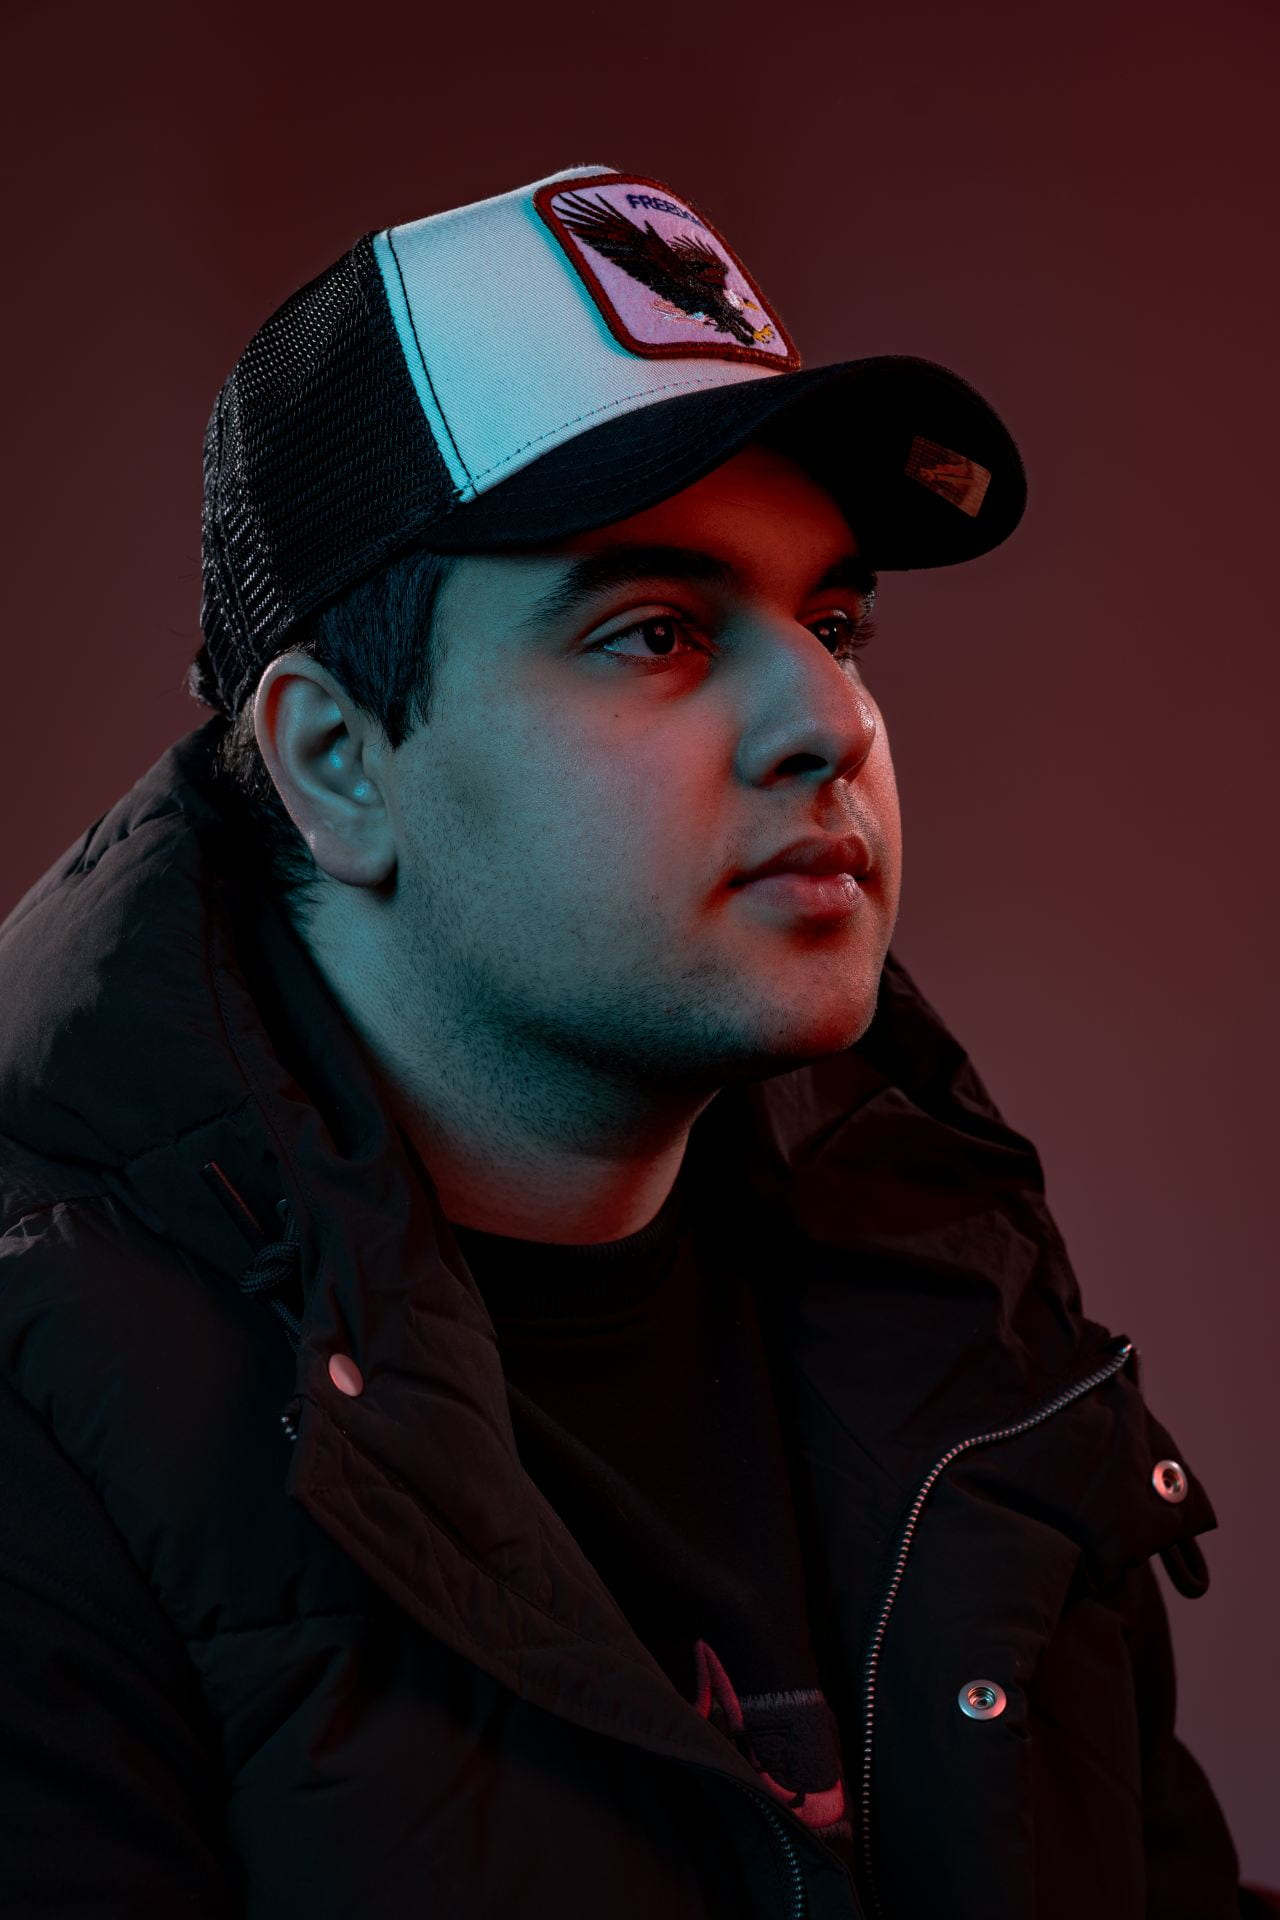
Week 8: studio lighting portrait session
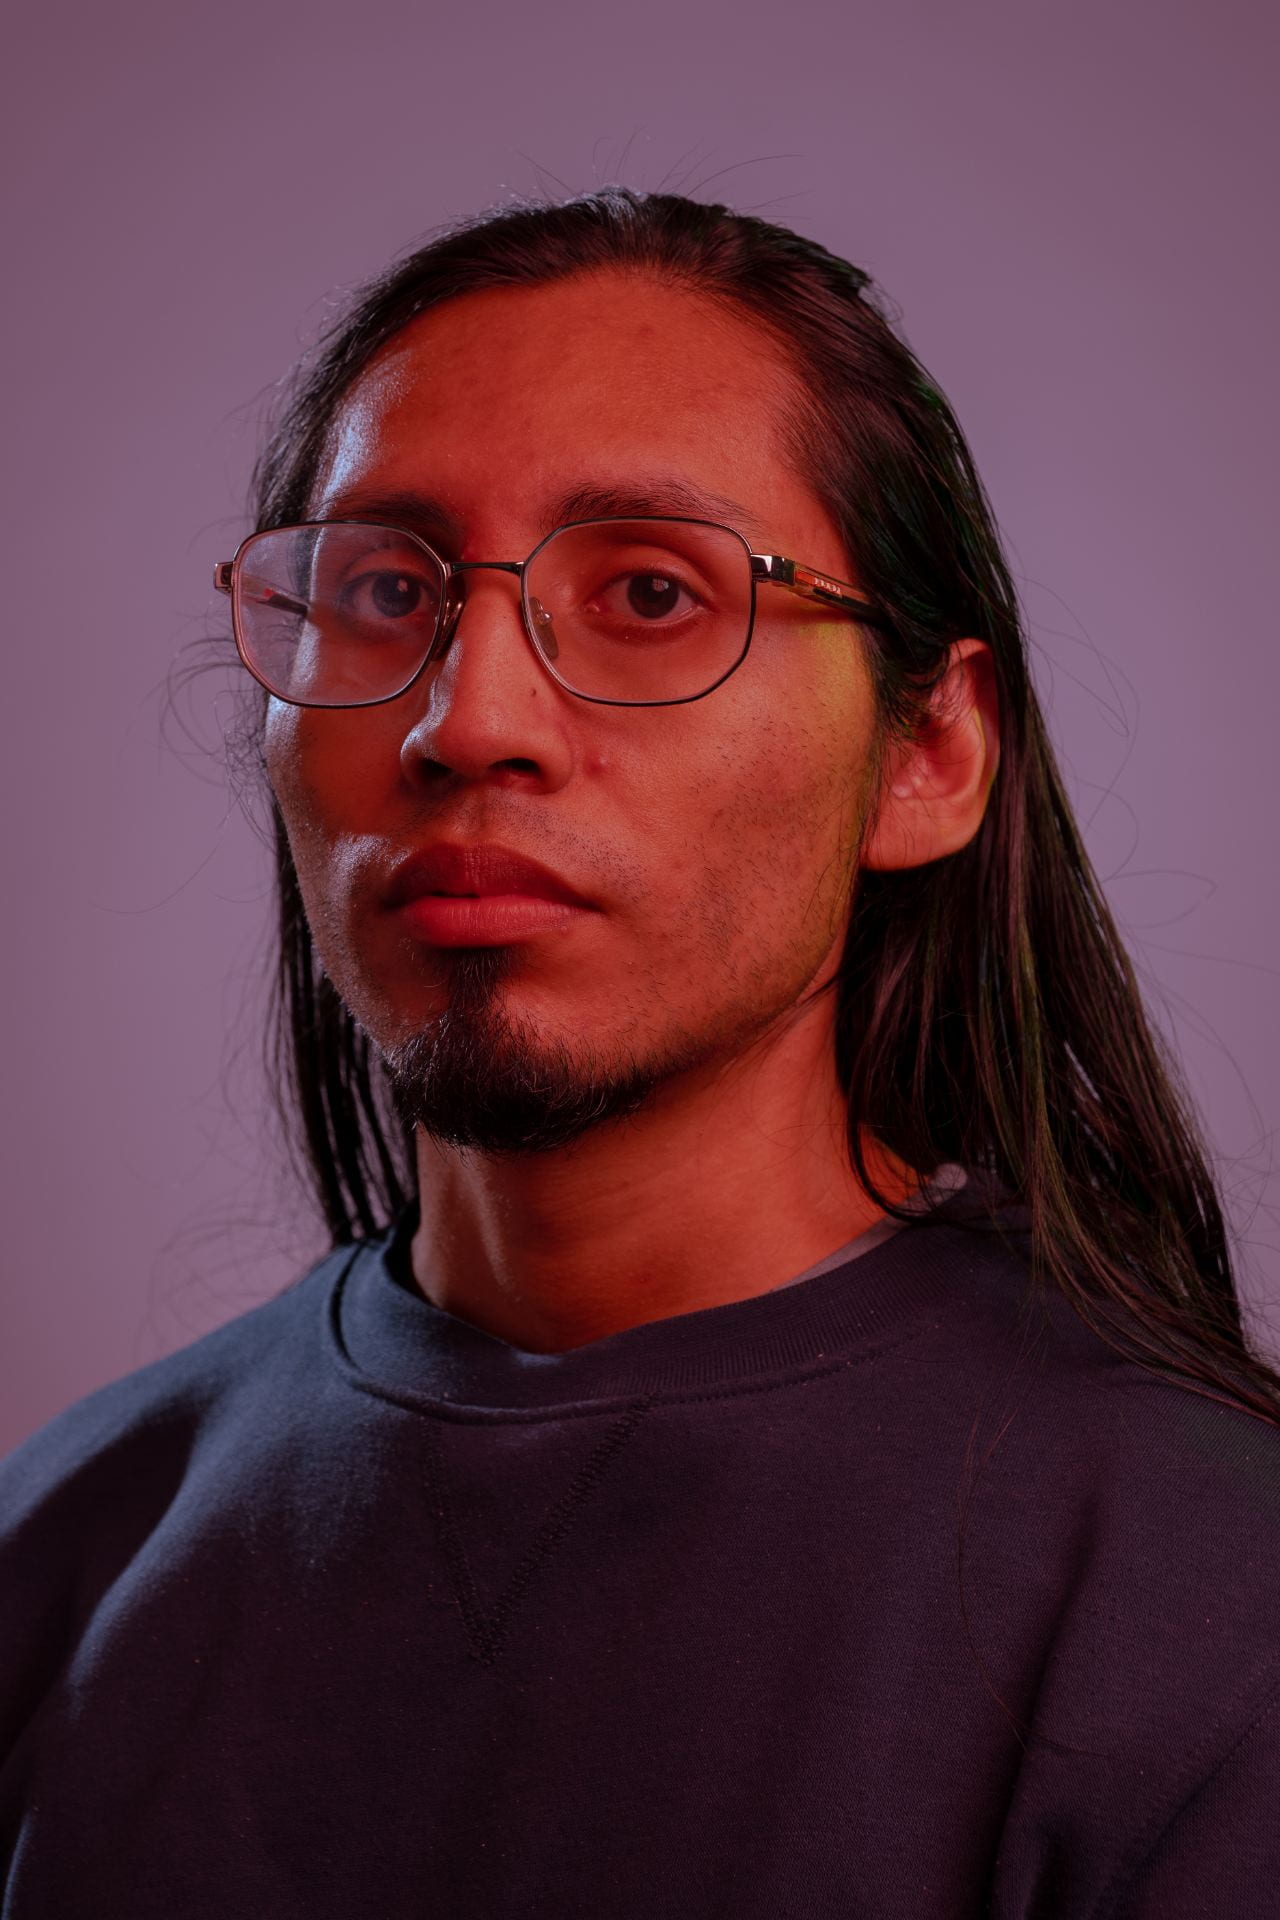
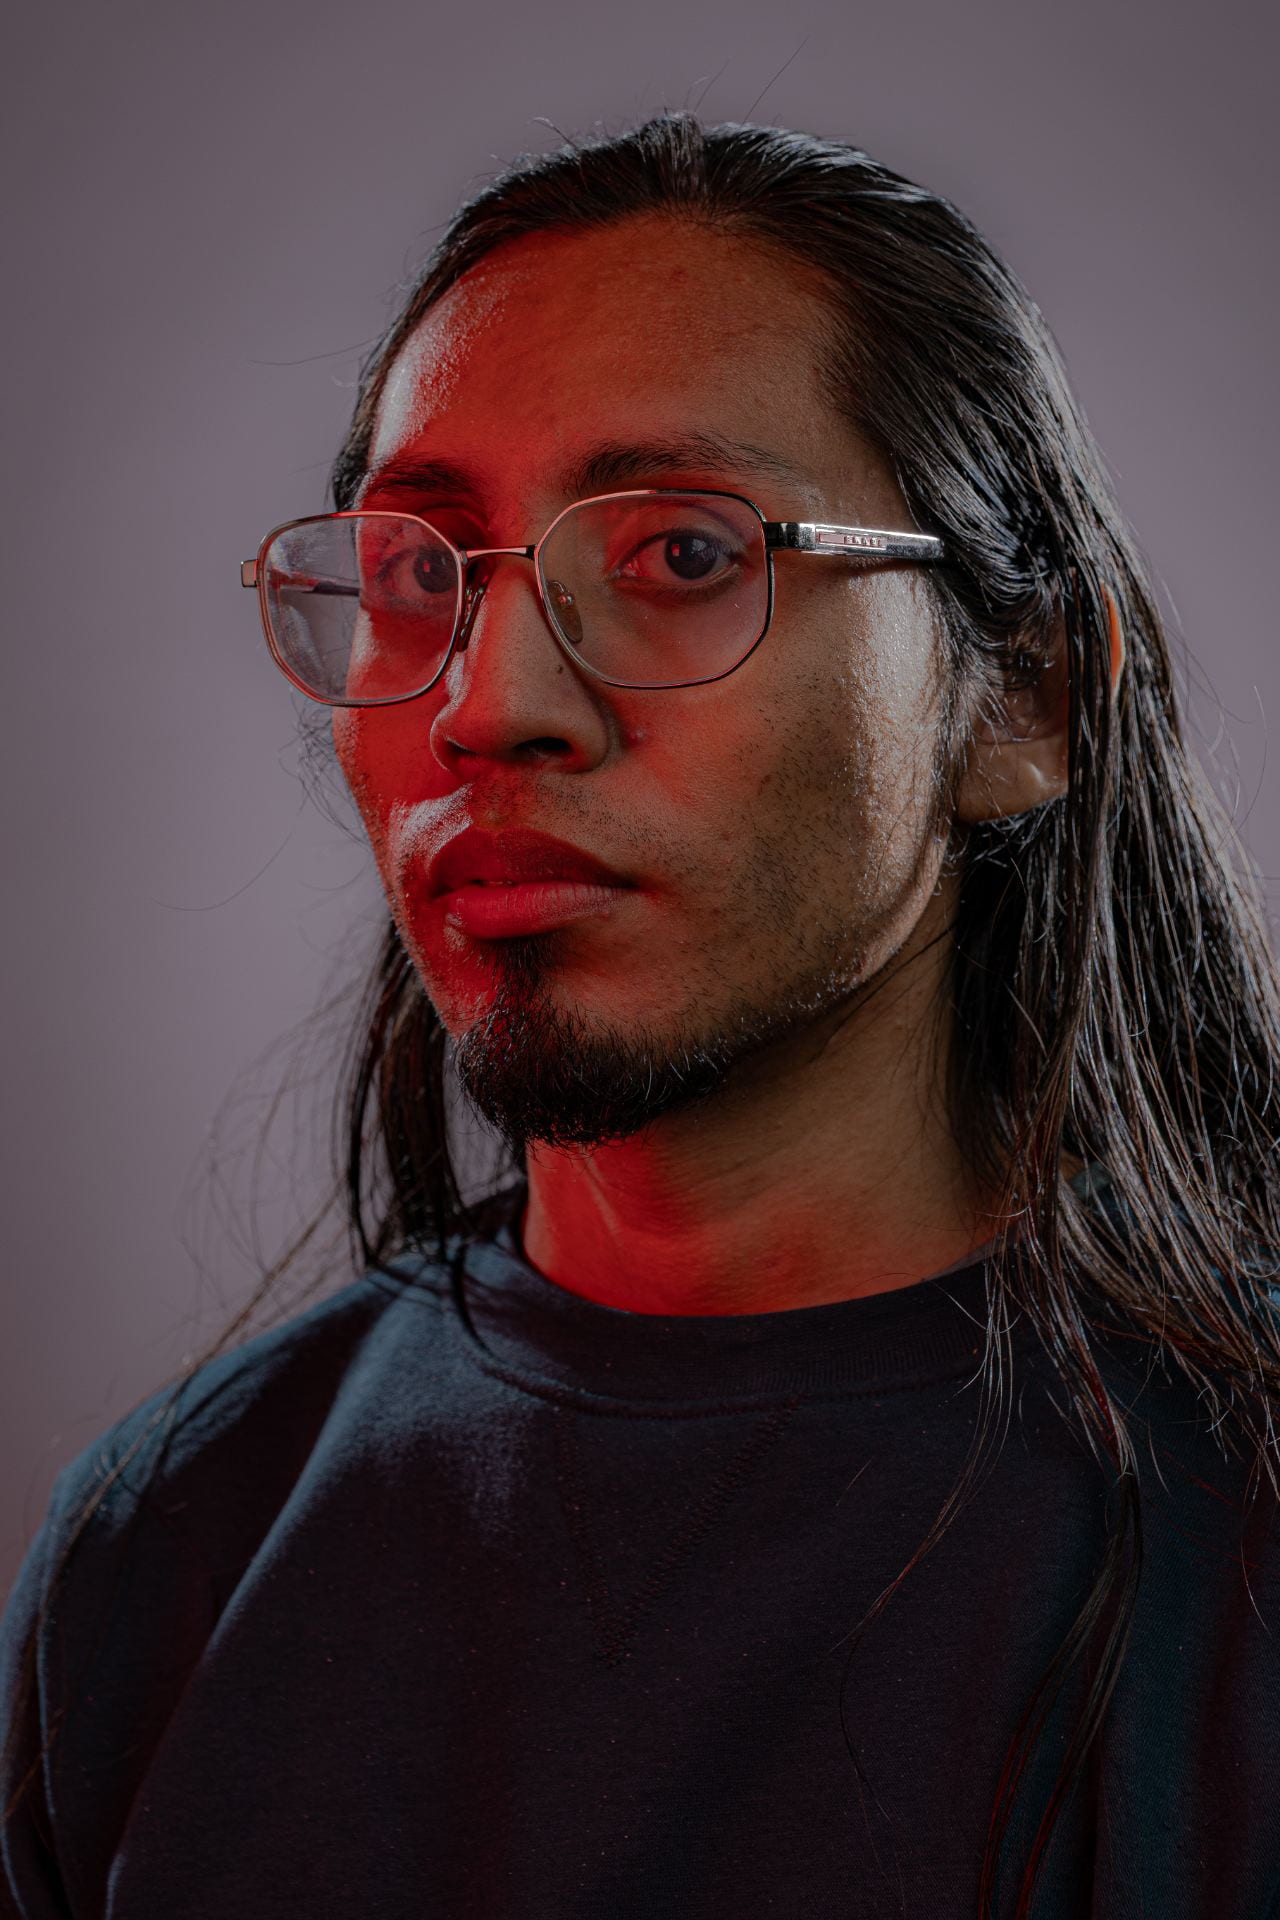
This week we continue with the LinkedIn portraits but adding different colour key lights.
I have edited some photos from the workshop in Lightroom to show my progress.



End of week 8
Week 9: Singular image
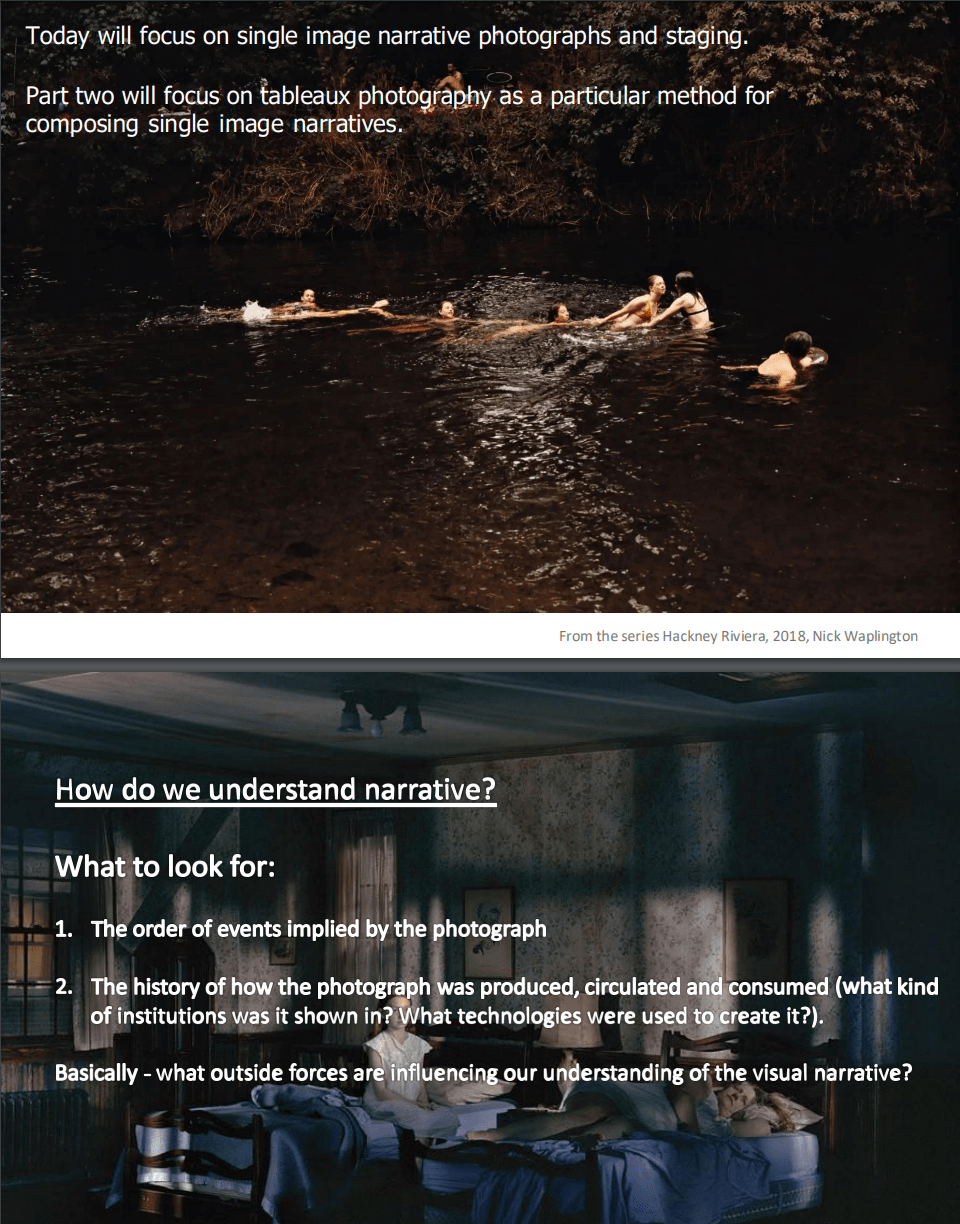
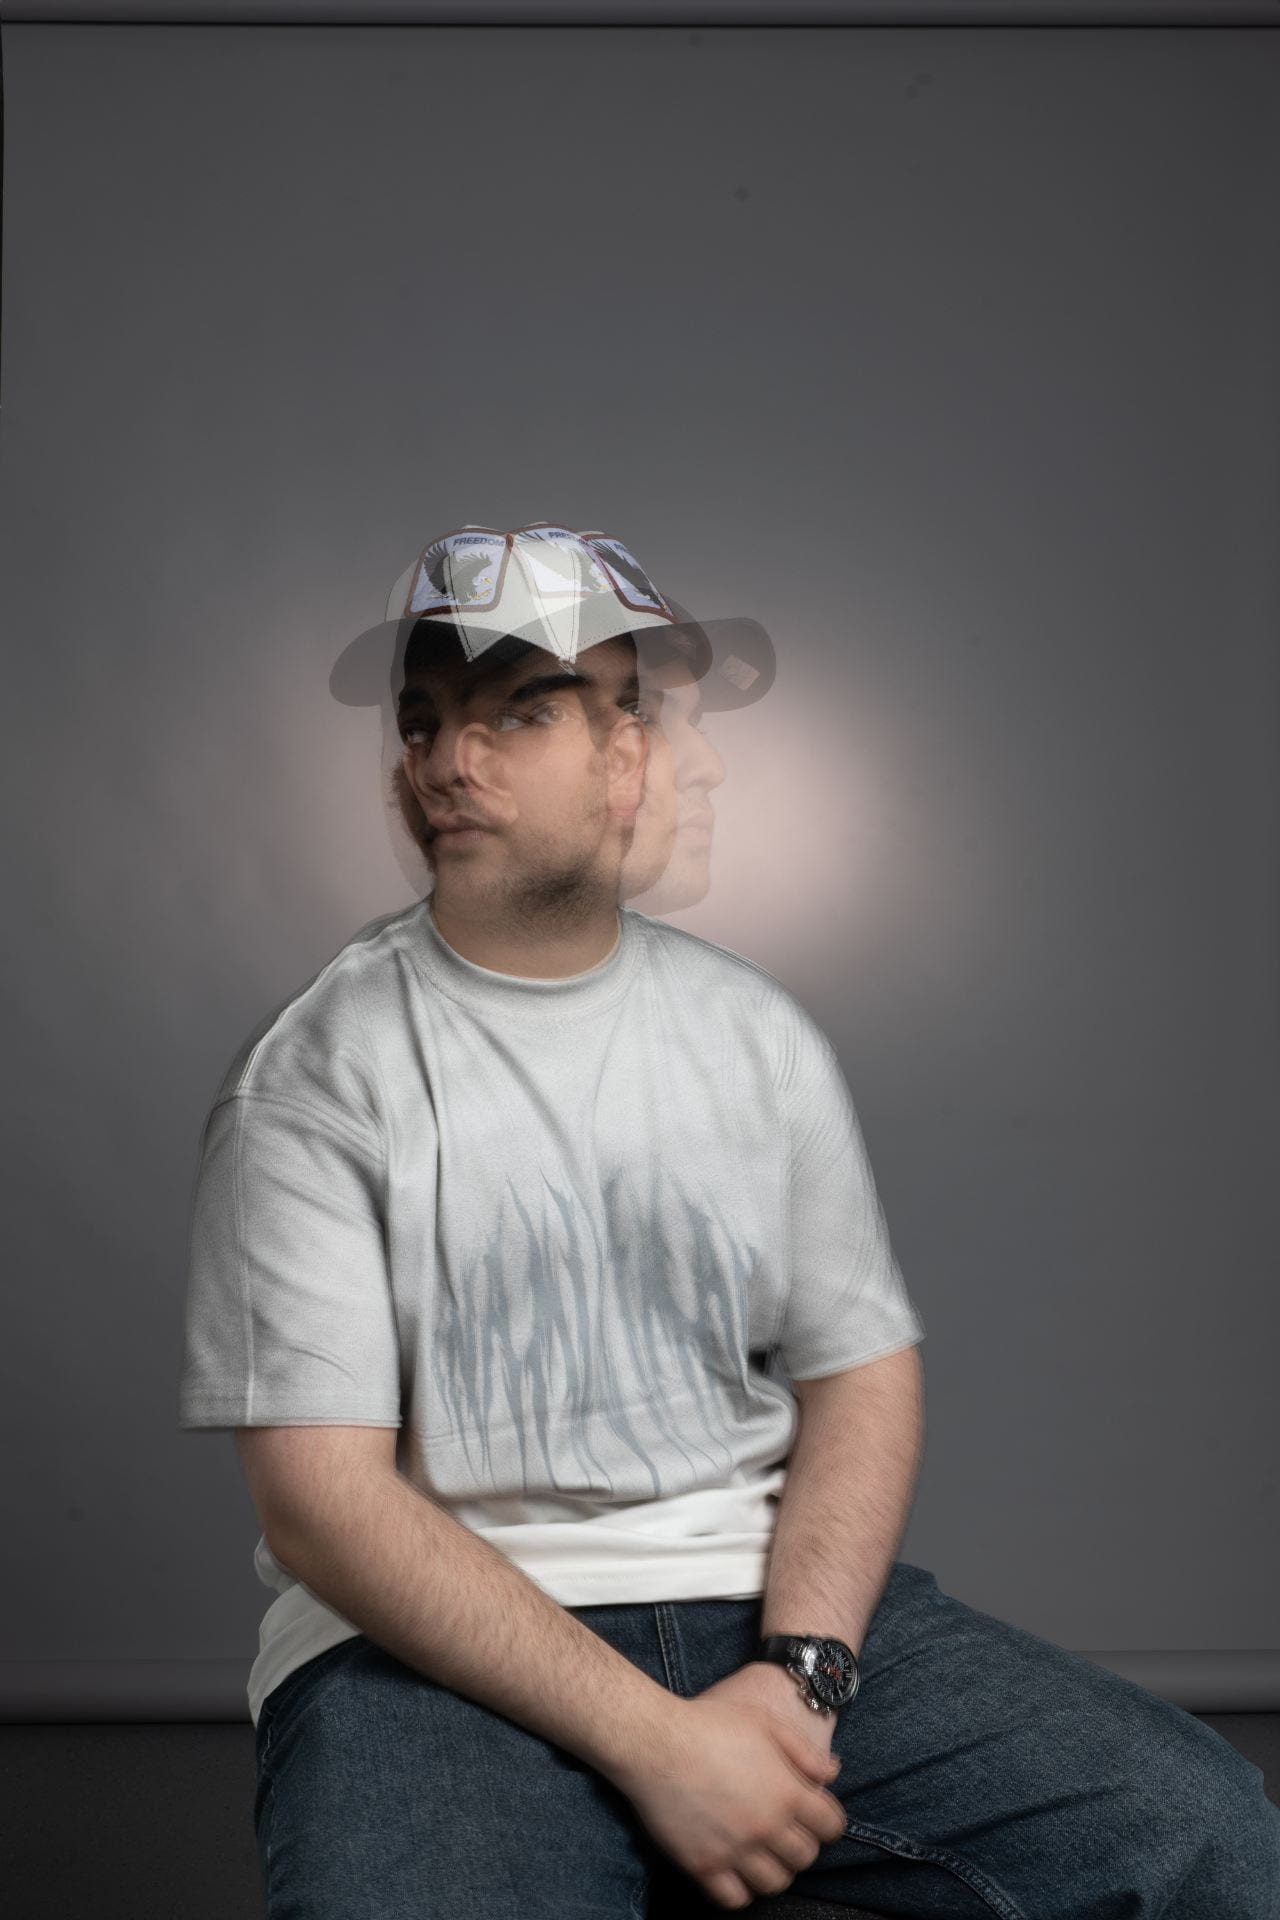
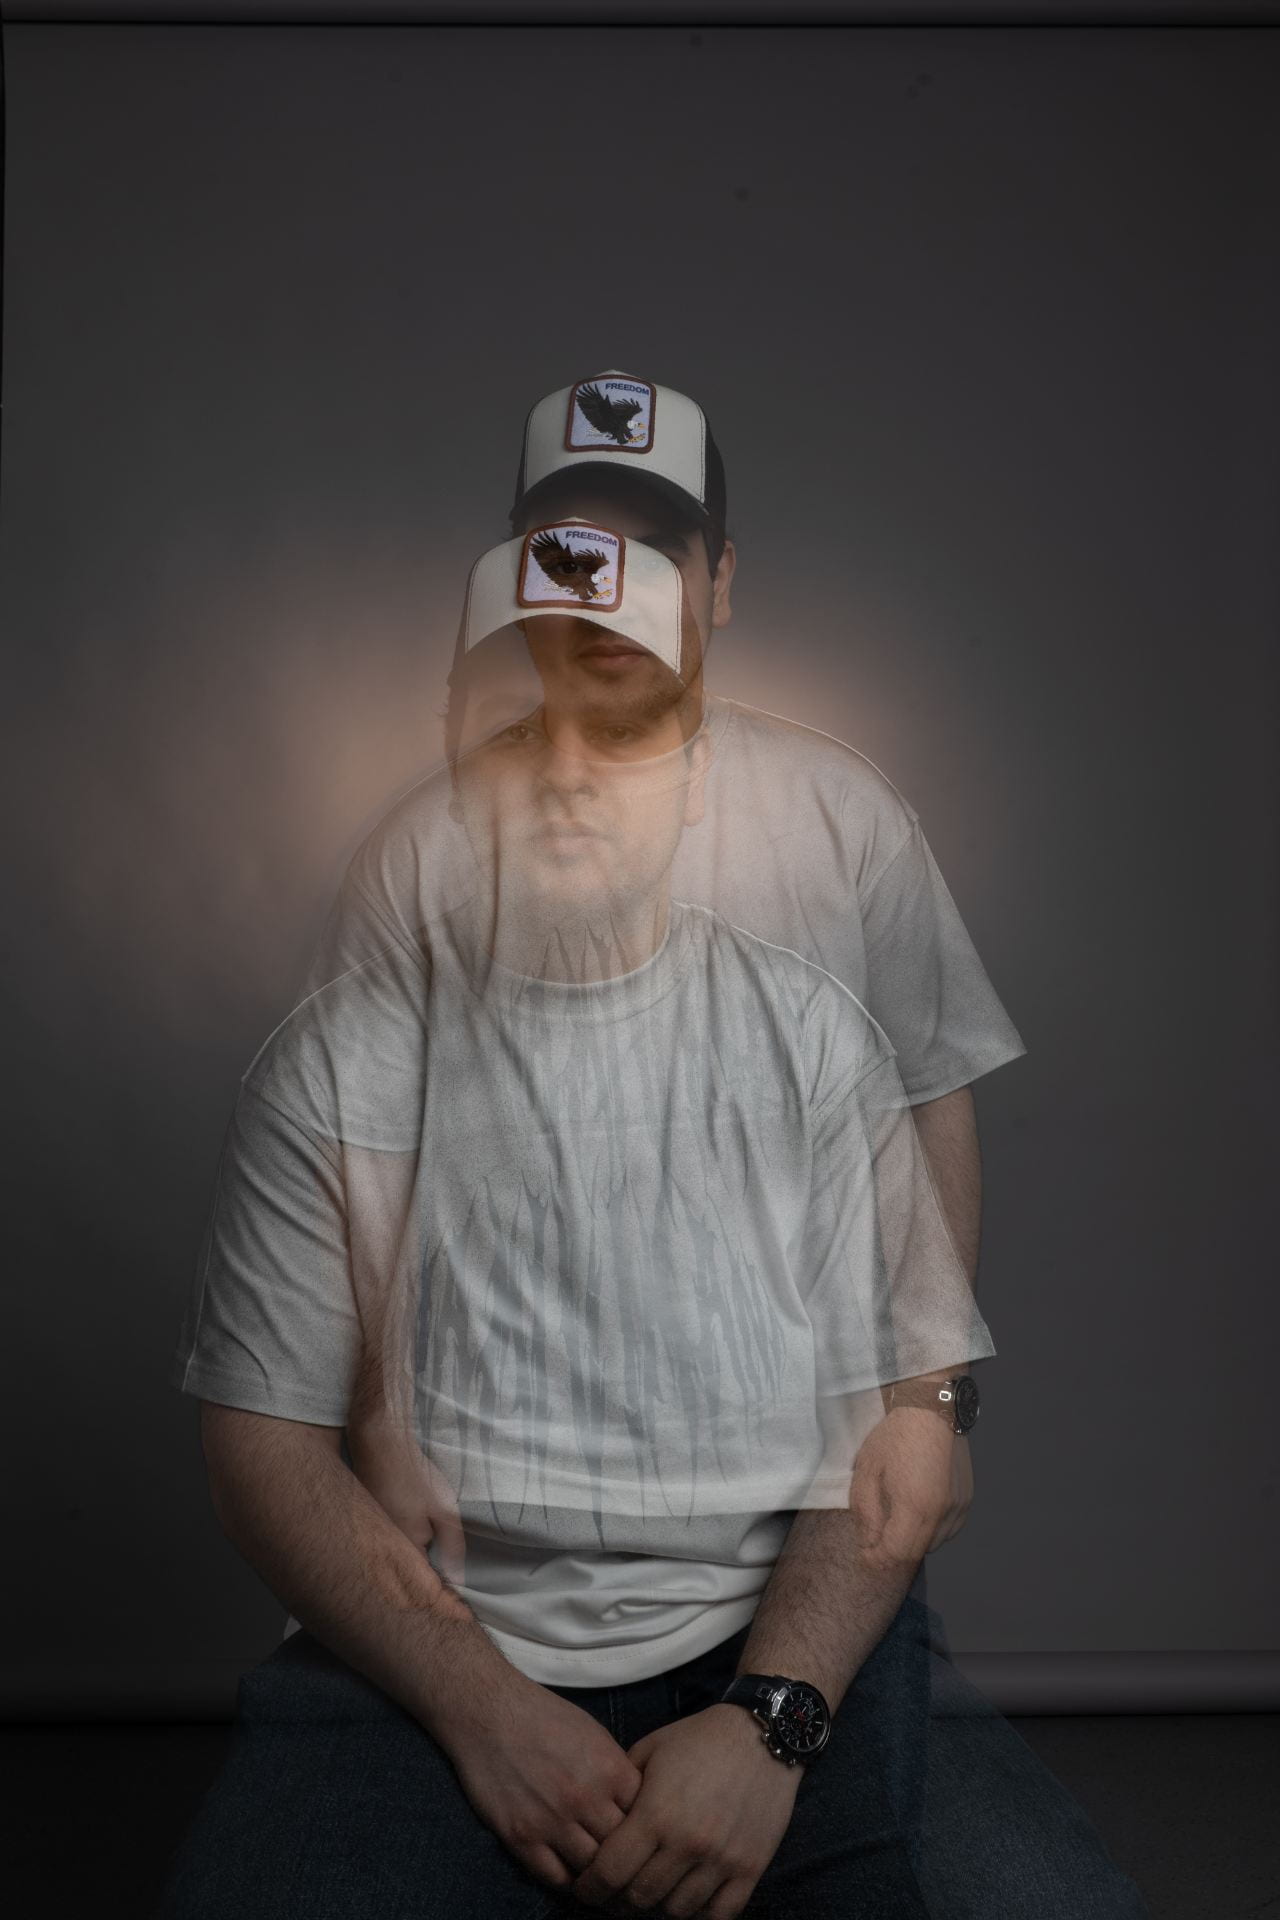
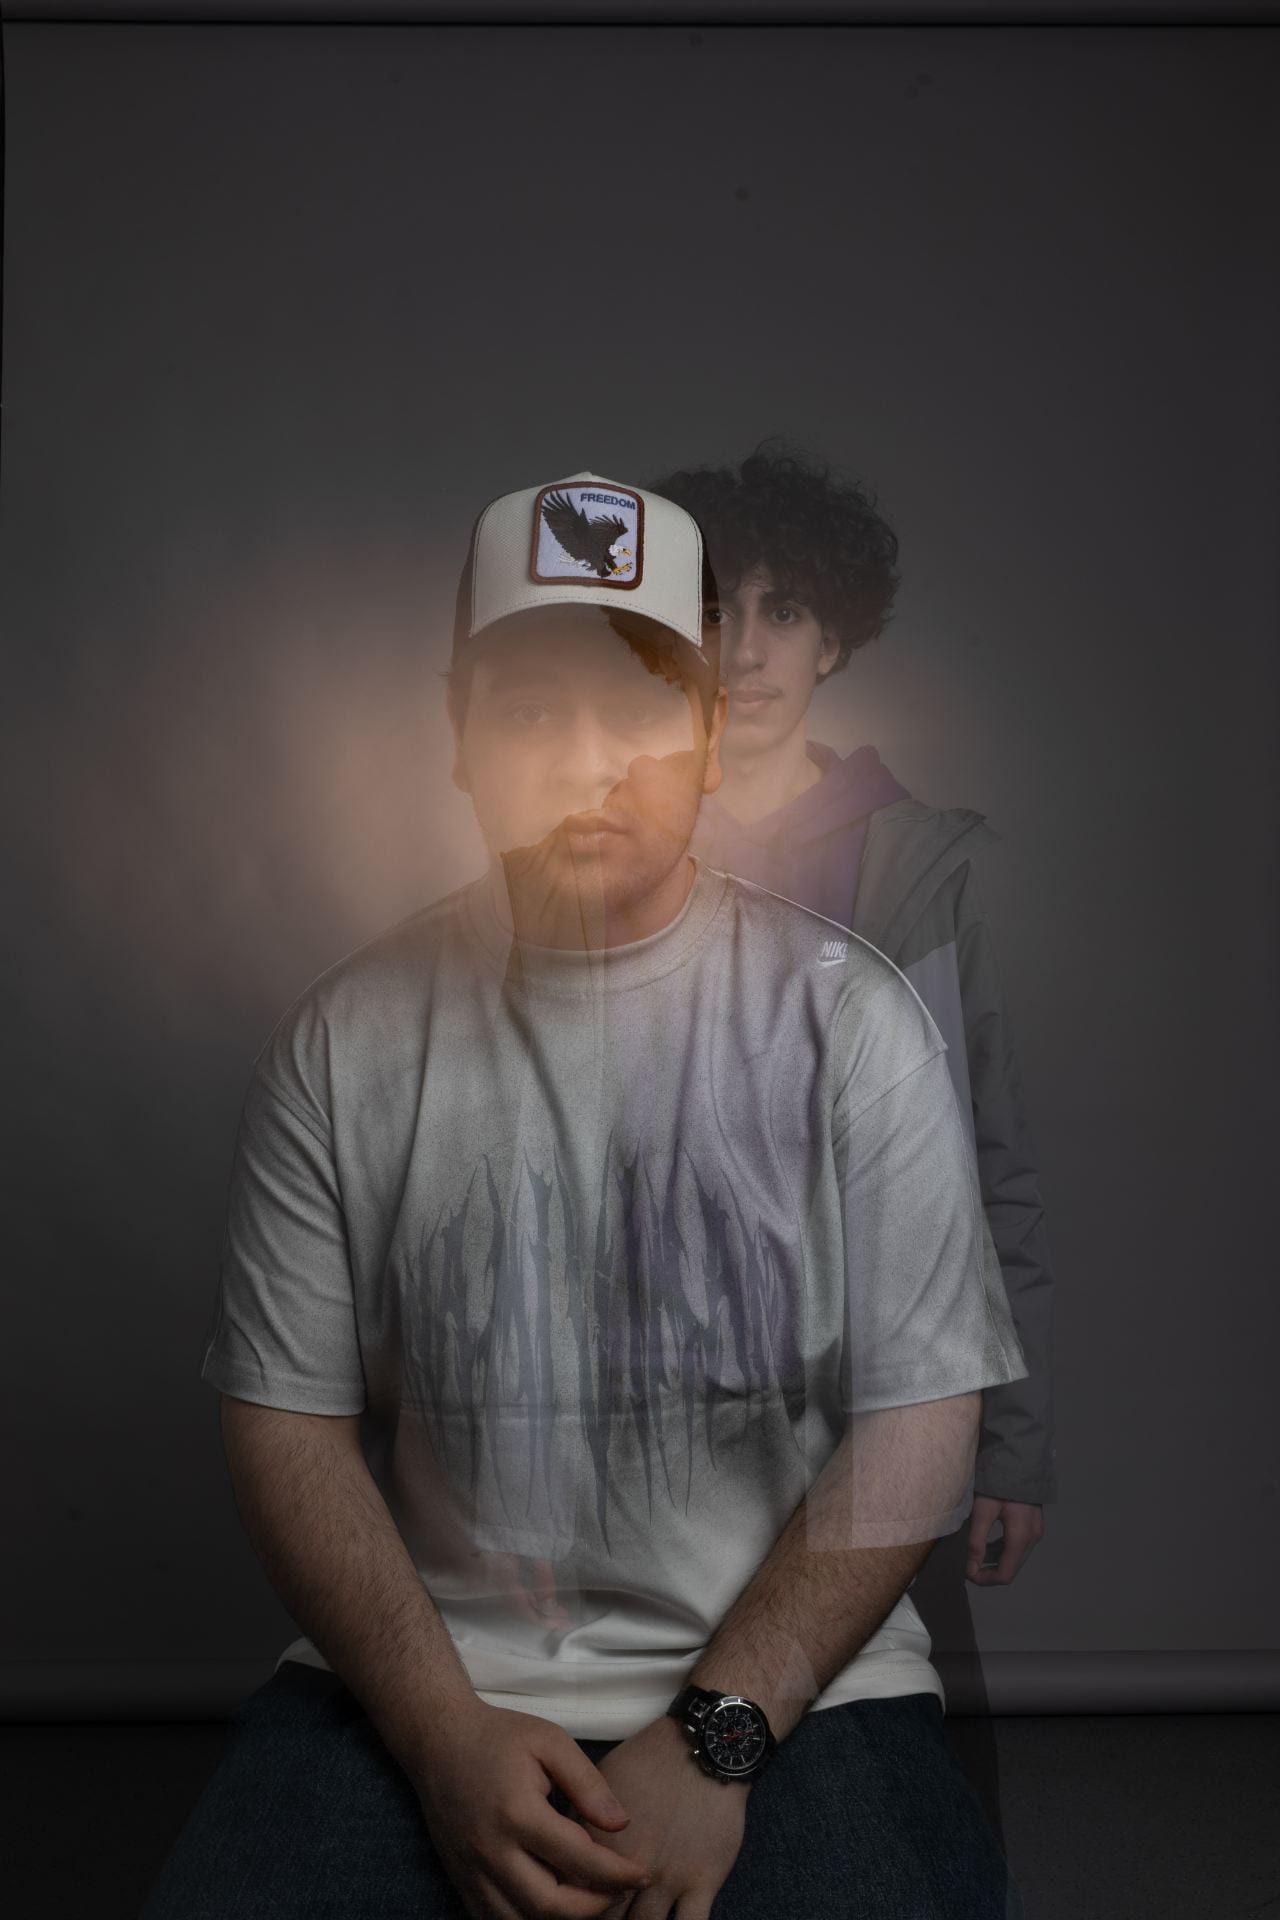
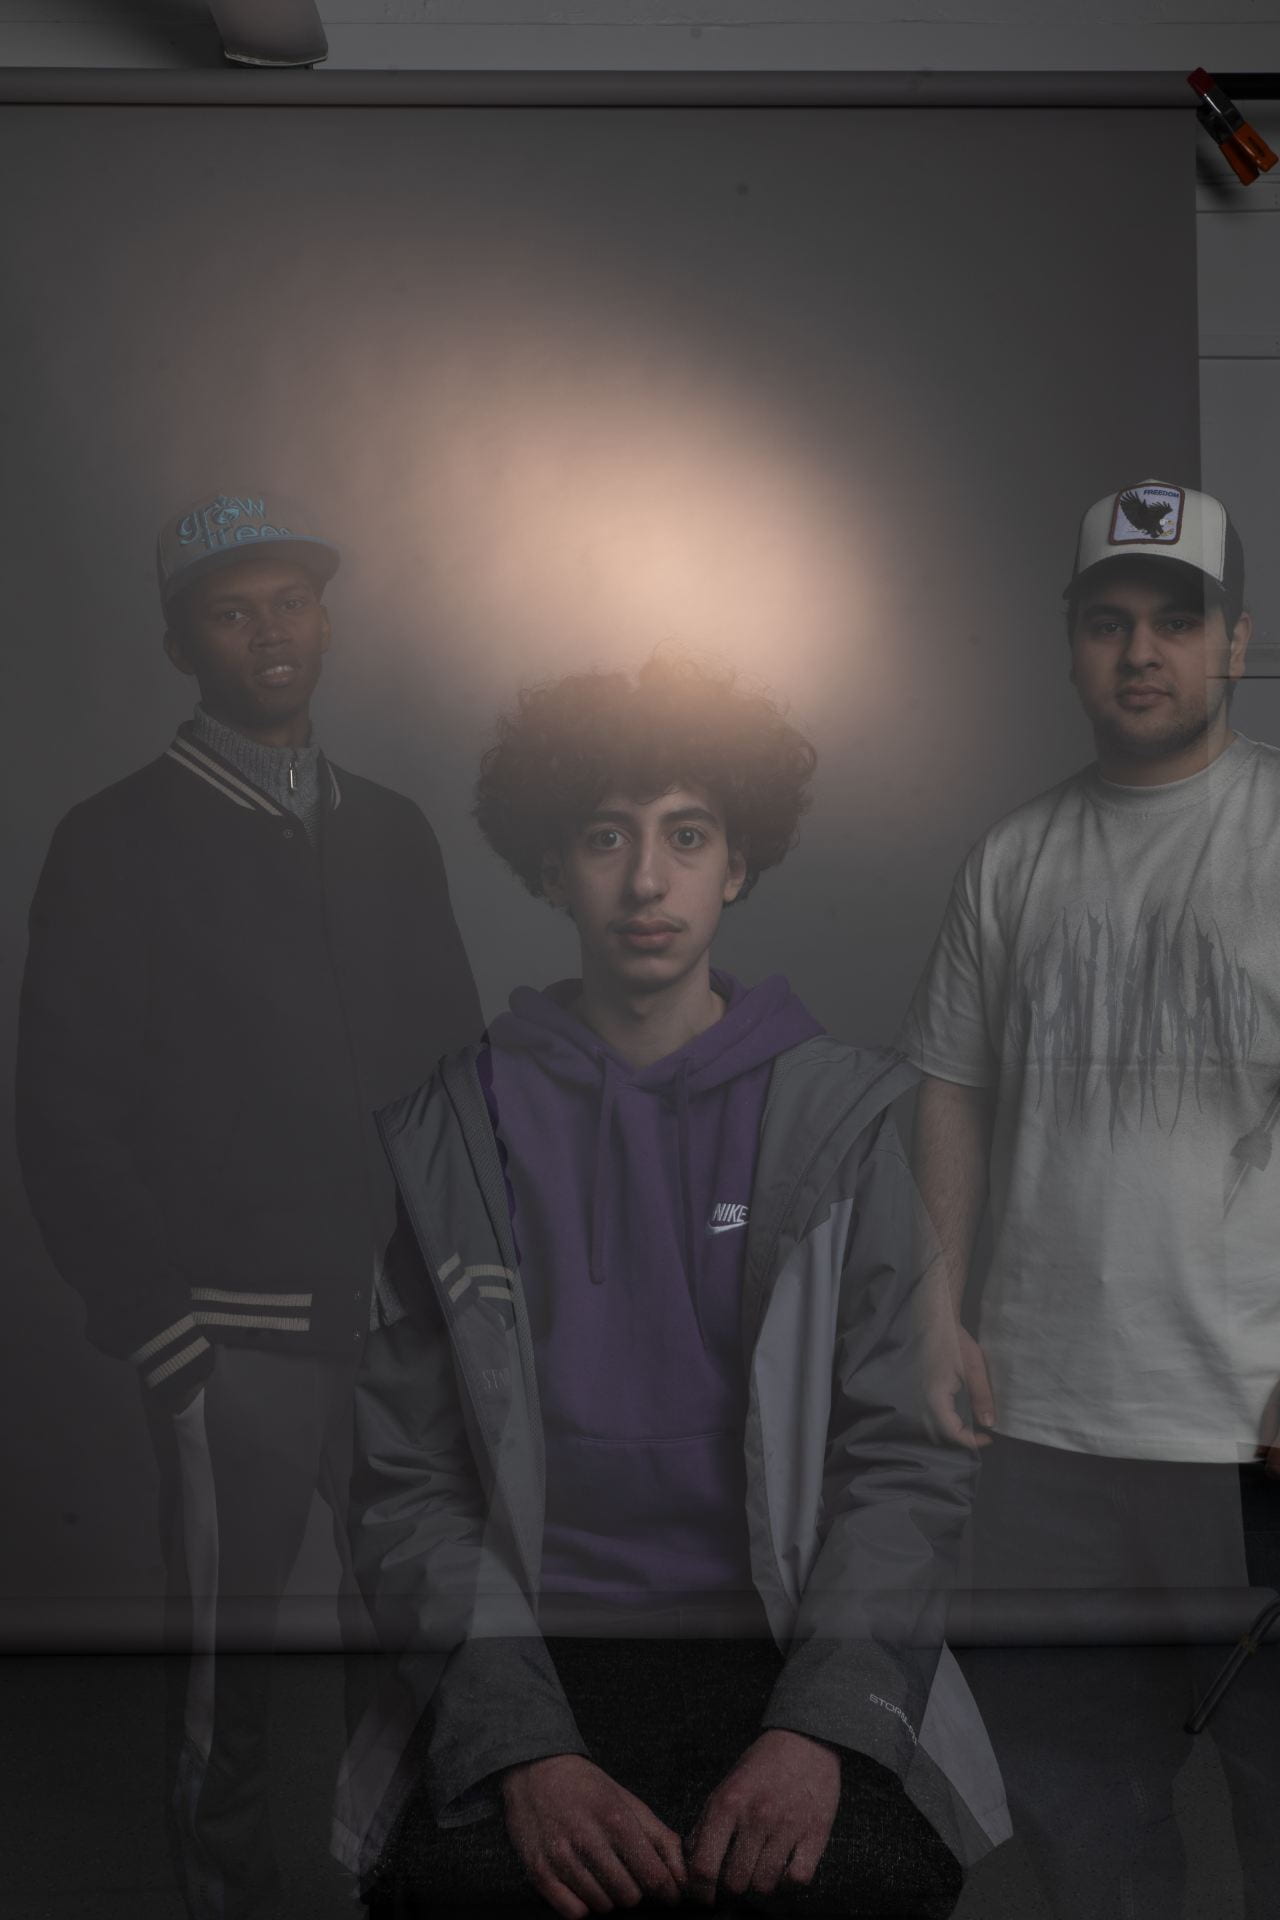
This week we are looking at singular camera narrative and we will be looking at examples from other artists.
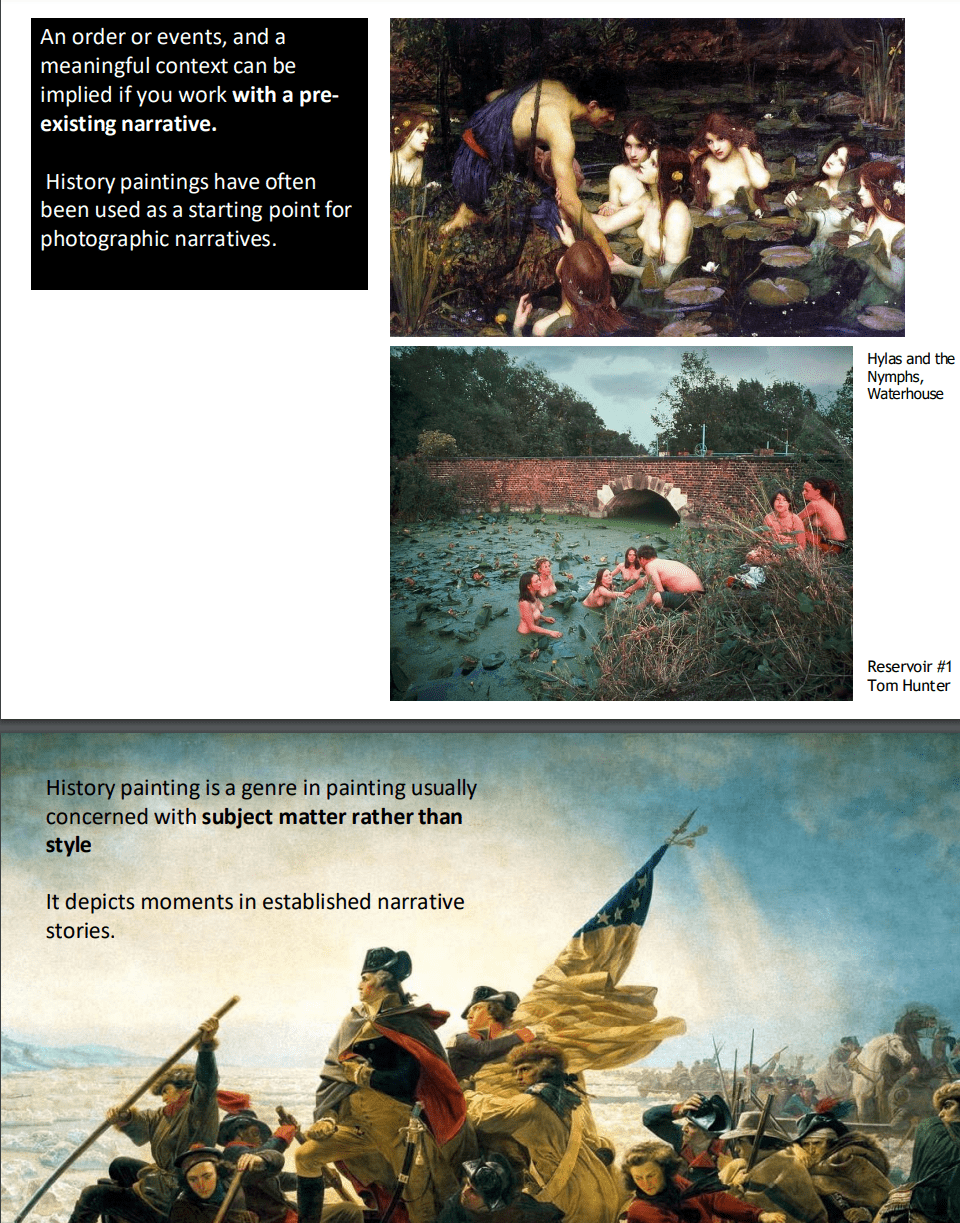
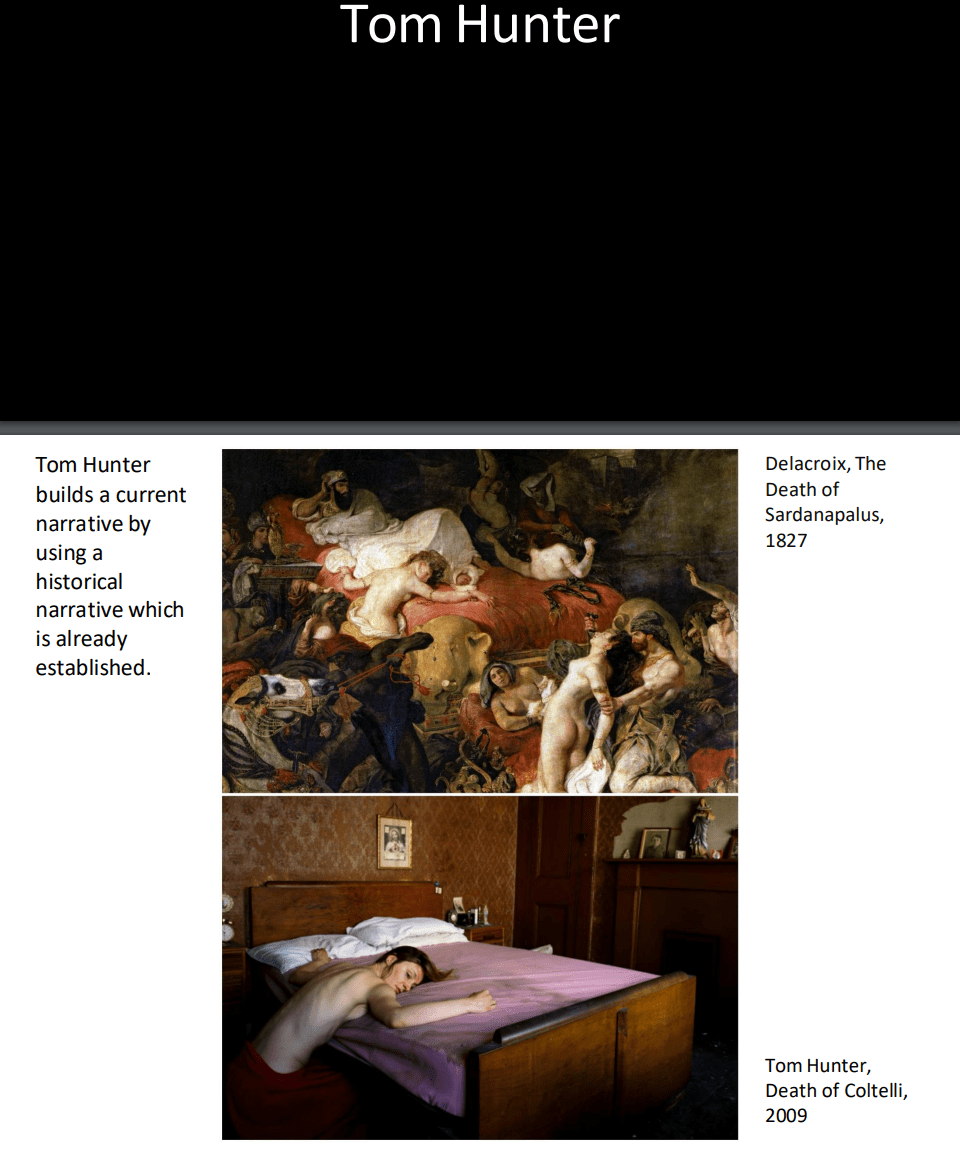
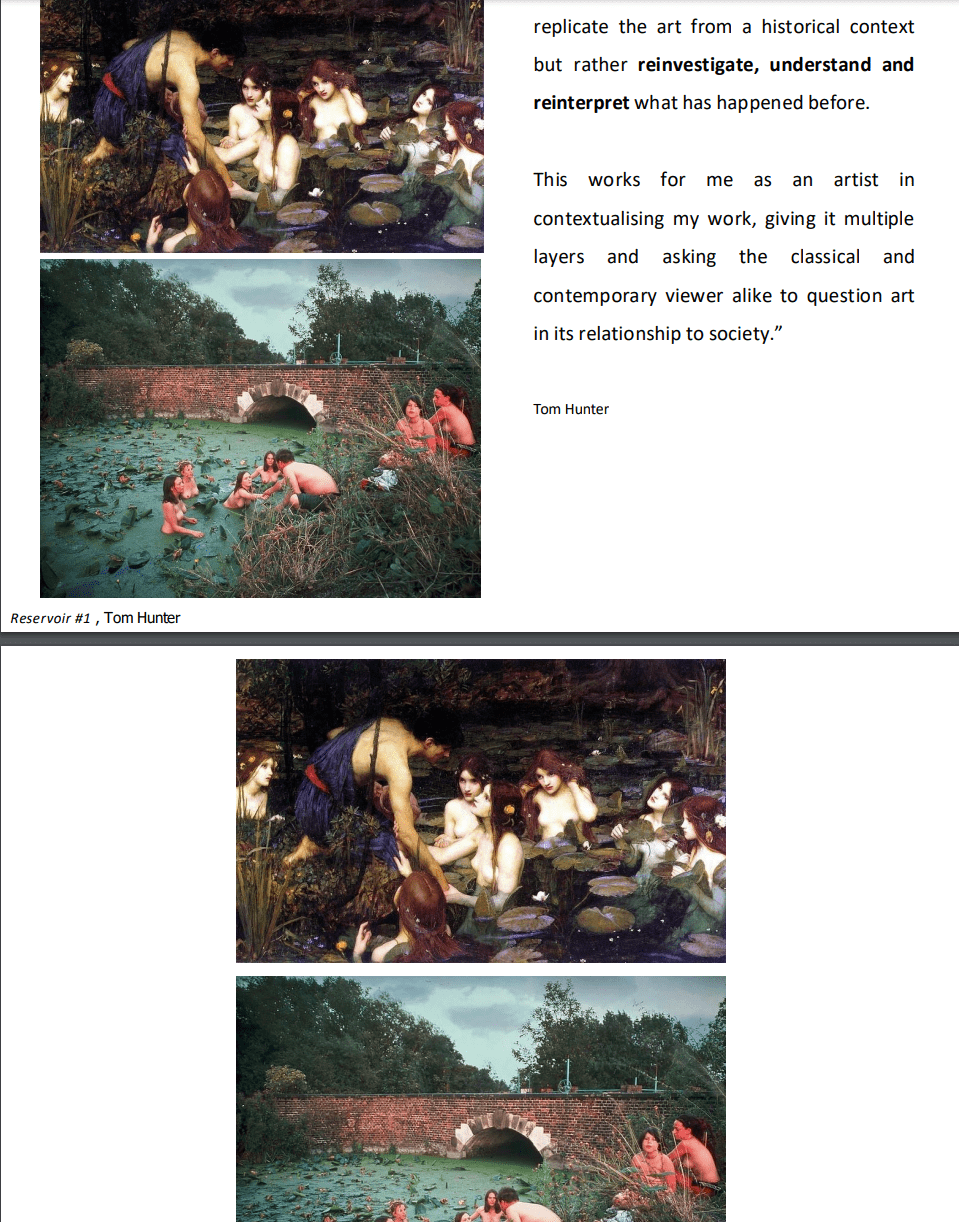
Here we have some more examples of single narrative images.
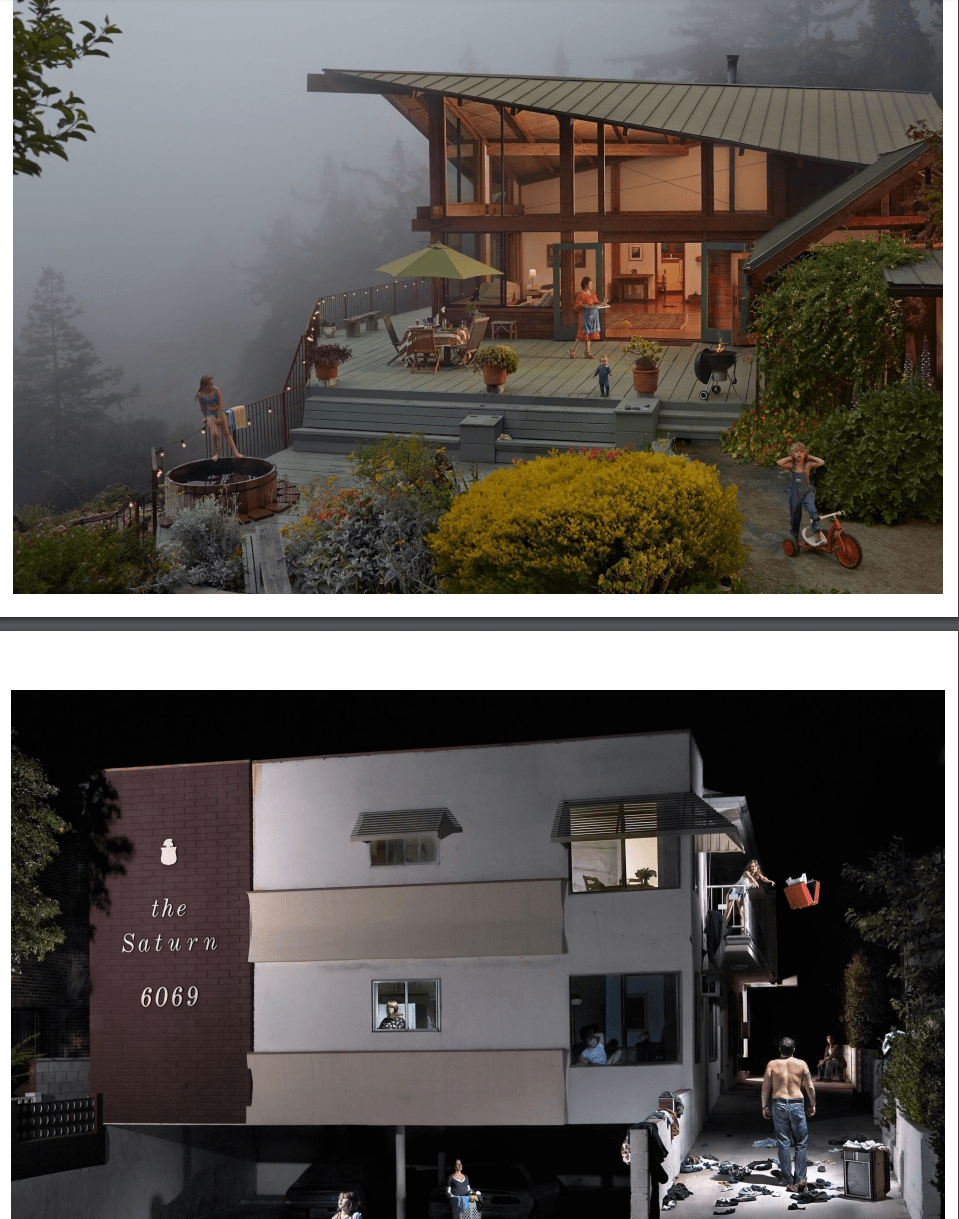
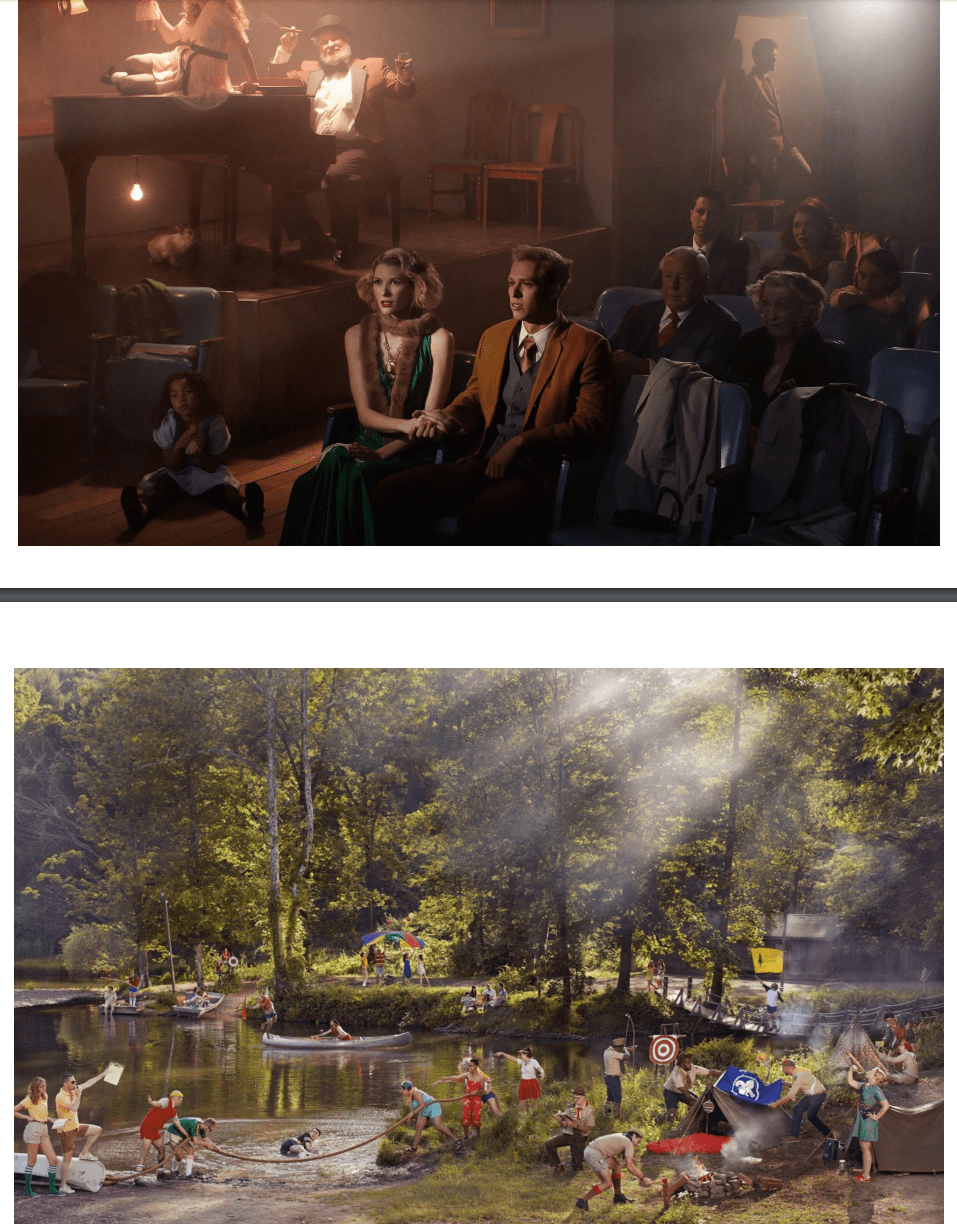
Workshop activity:
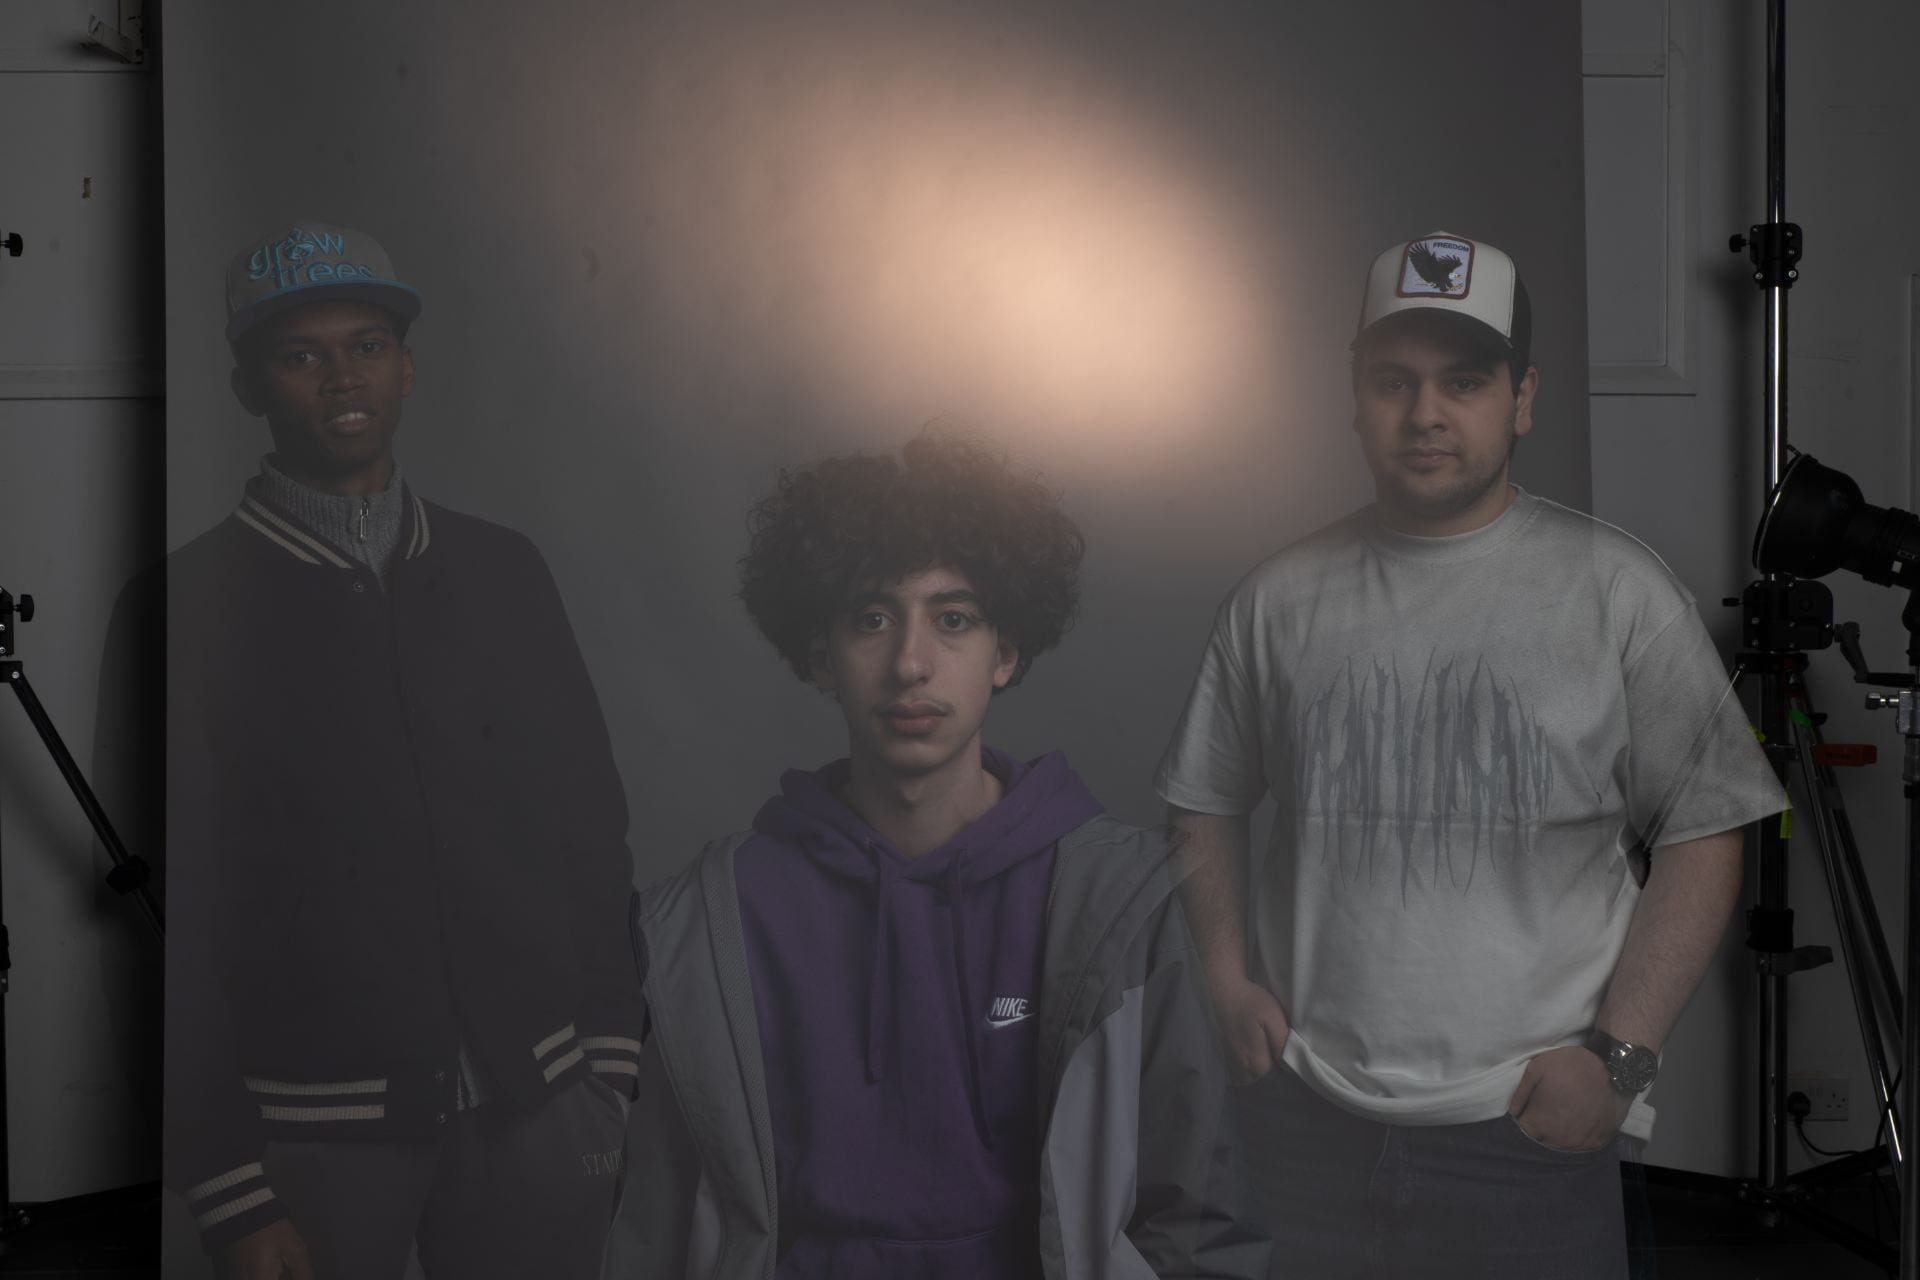
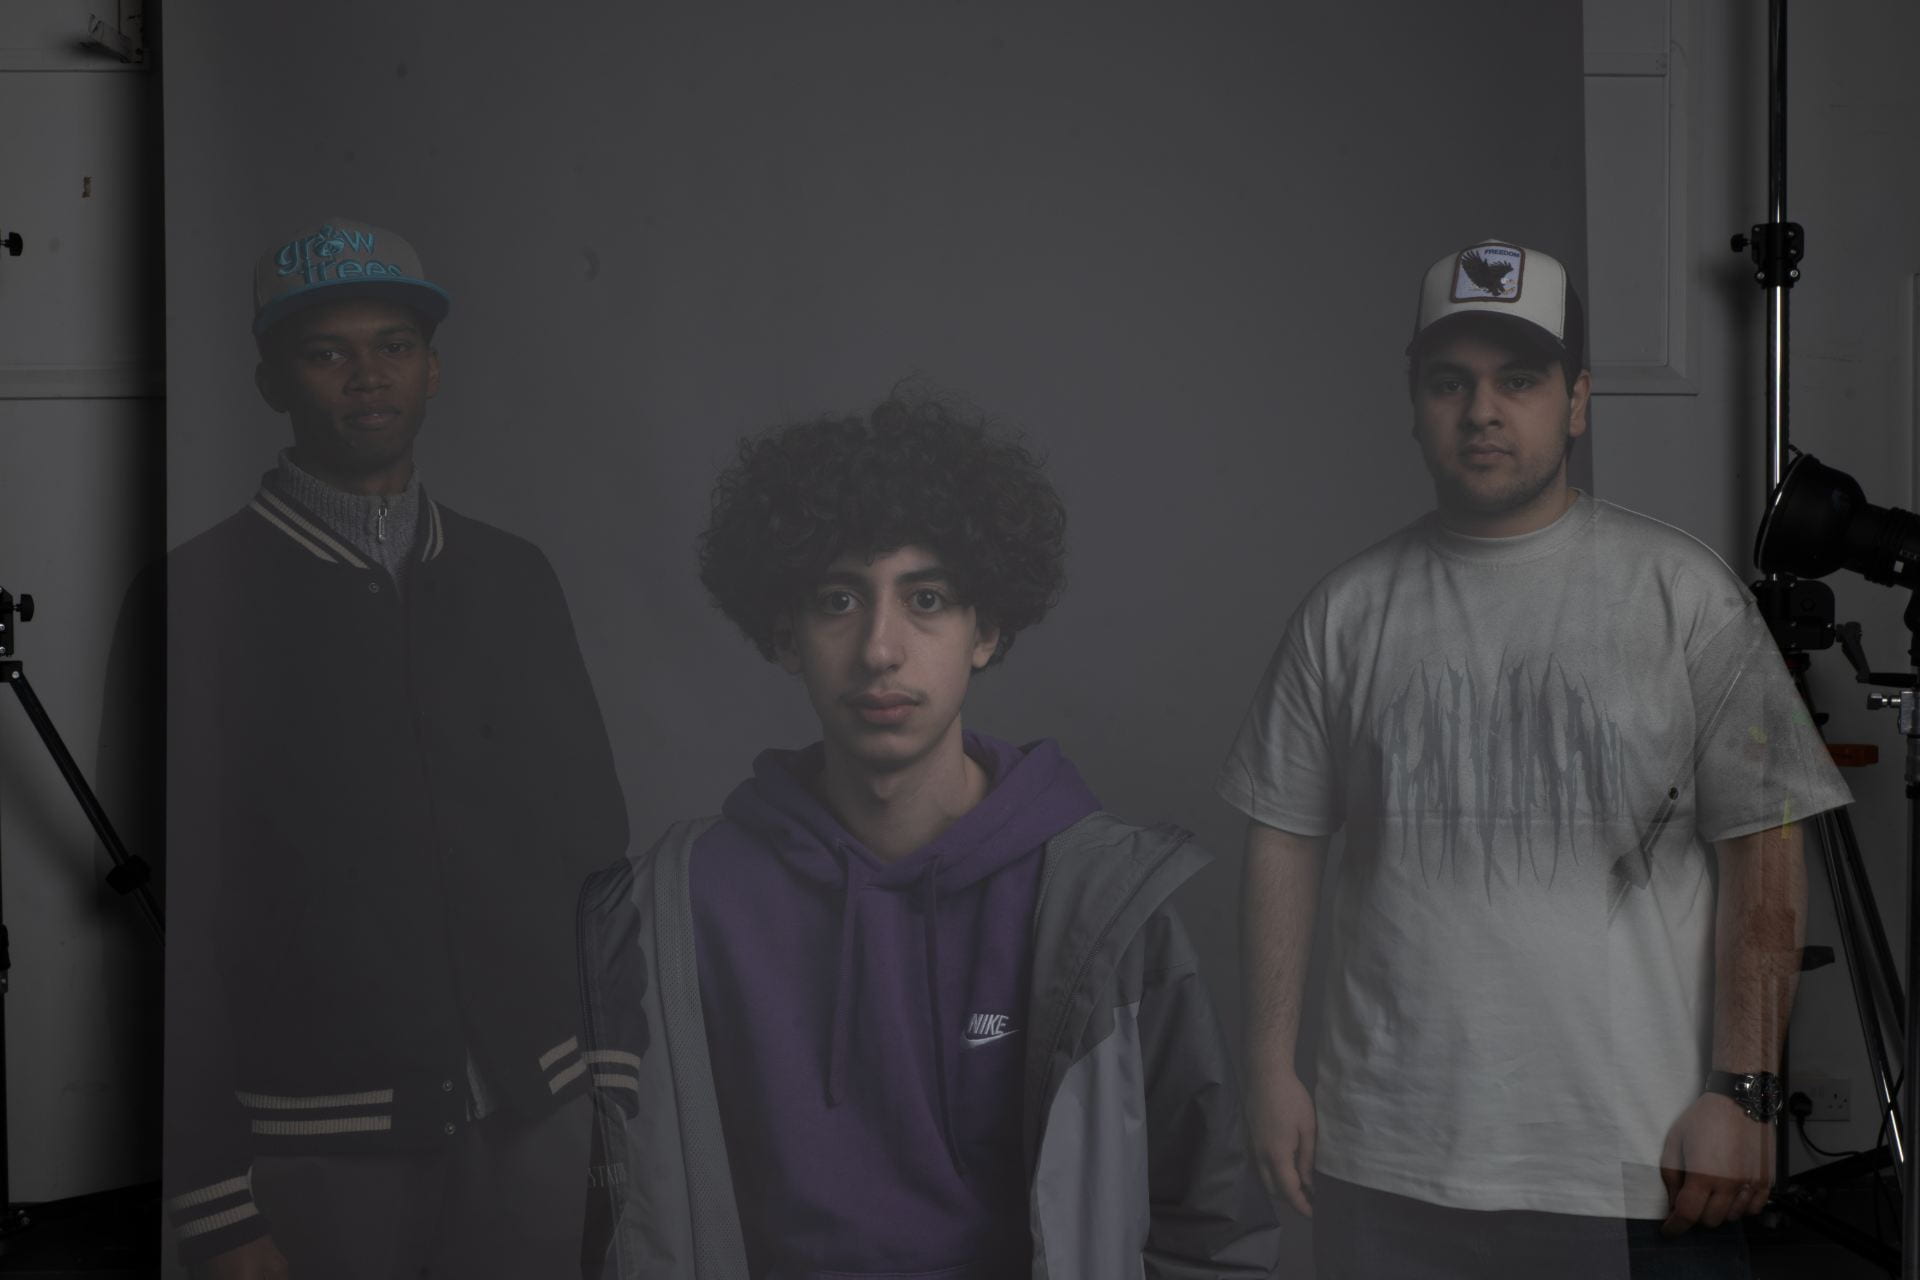
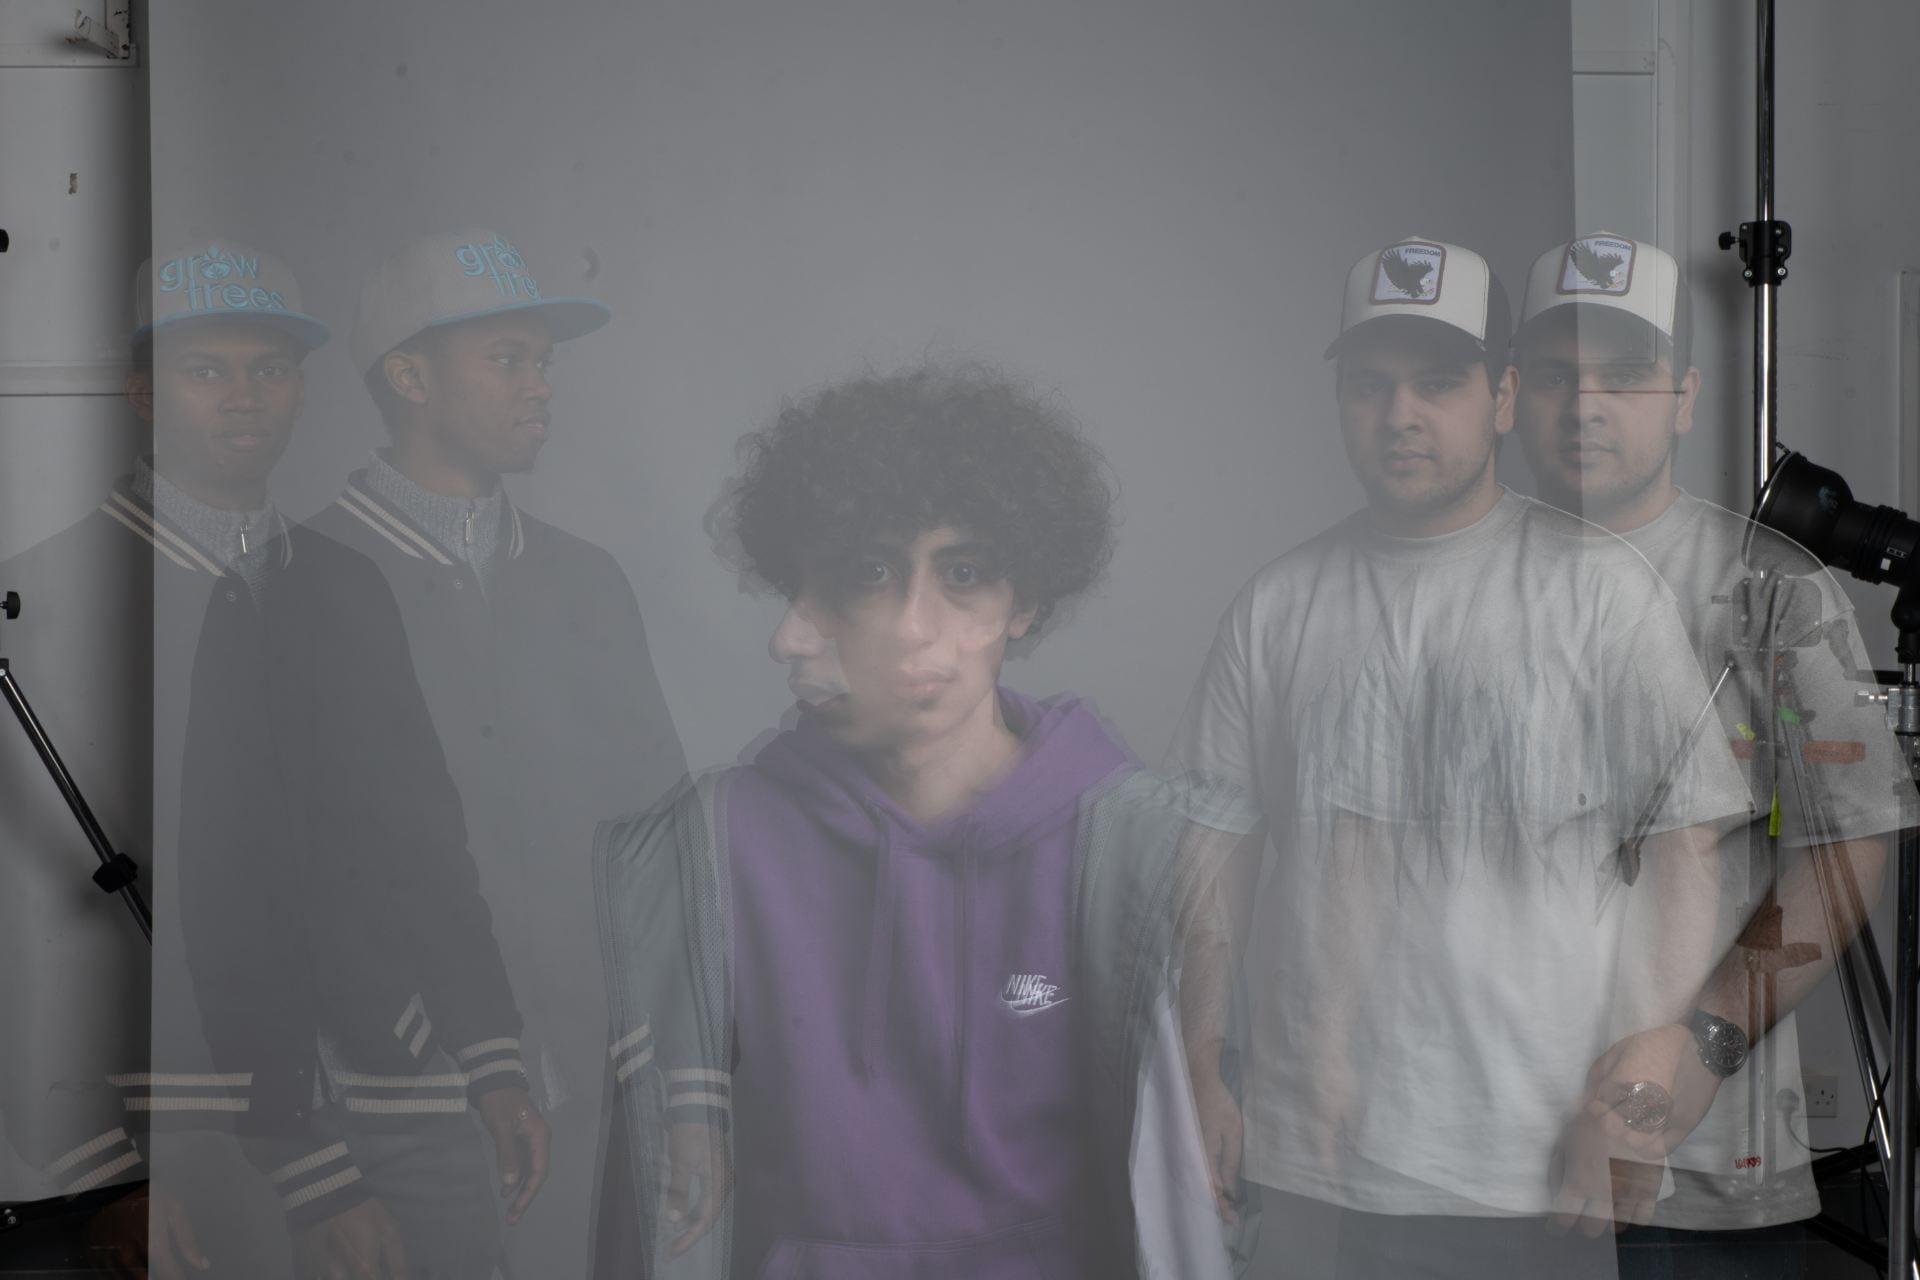
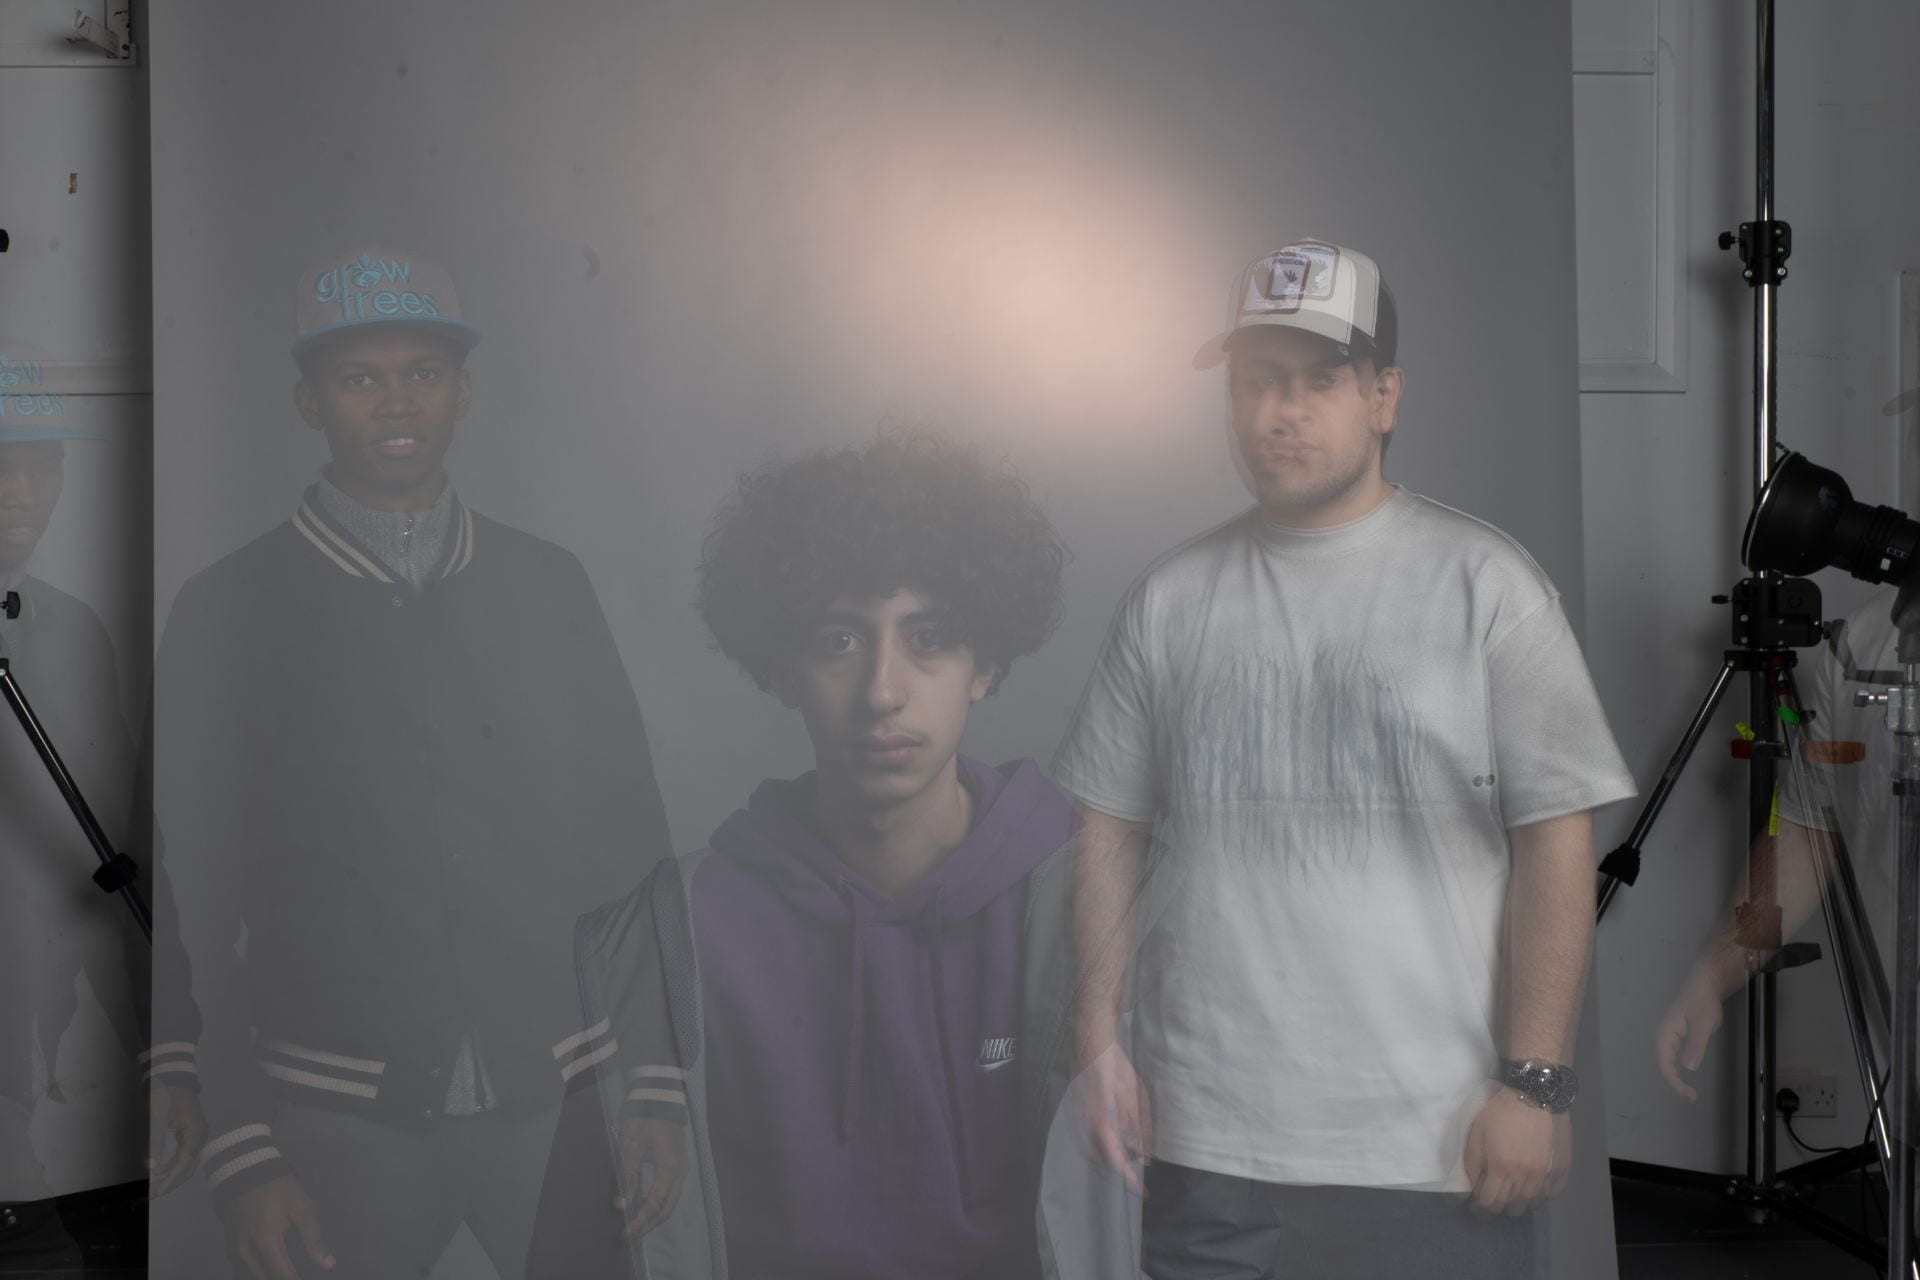
End of workshop
End of Week 9
Assignment 1 progress
Storyboards:
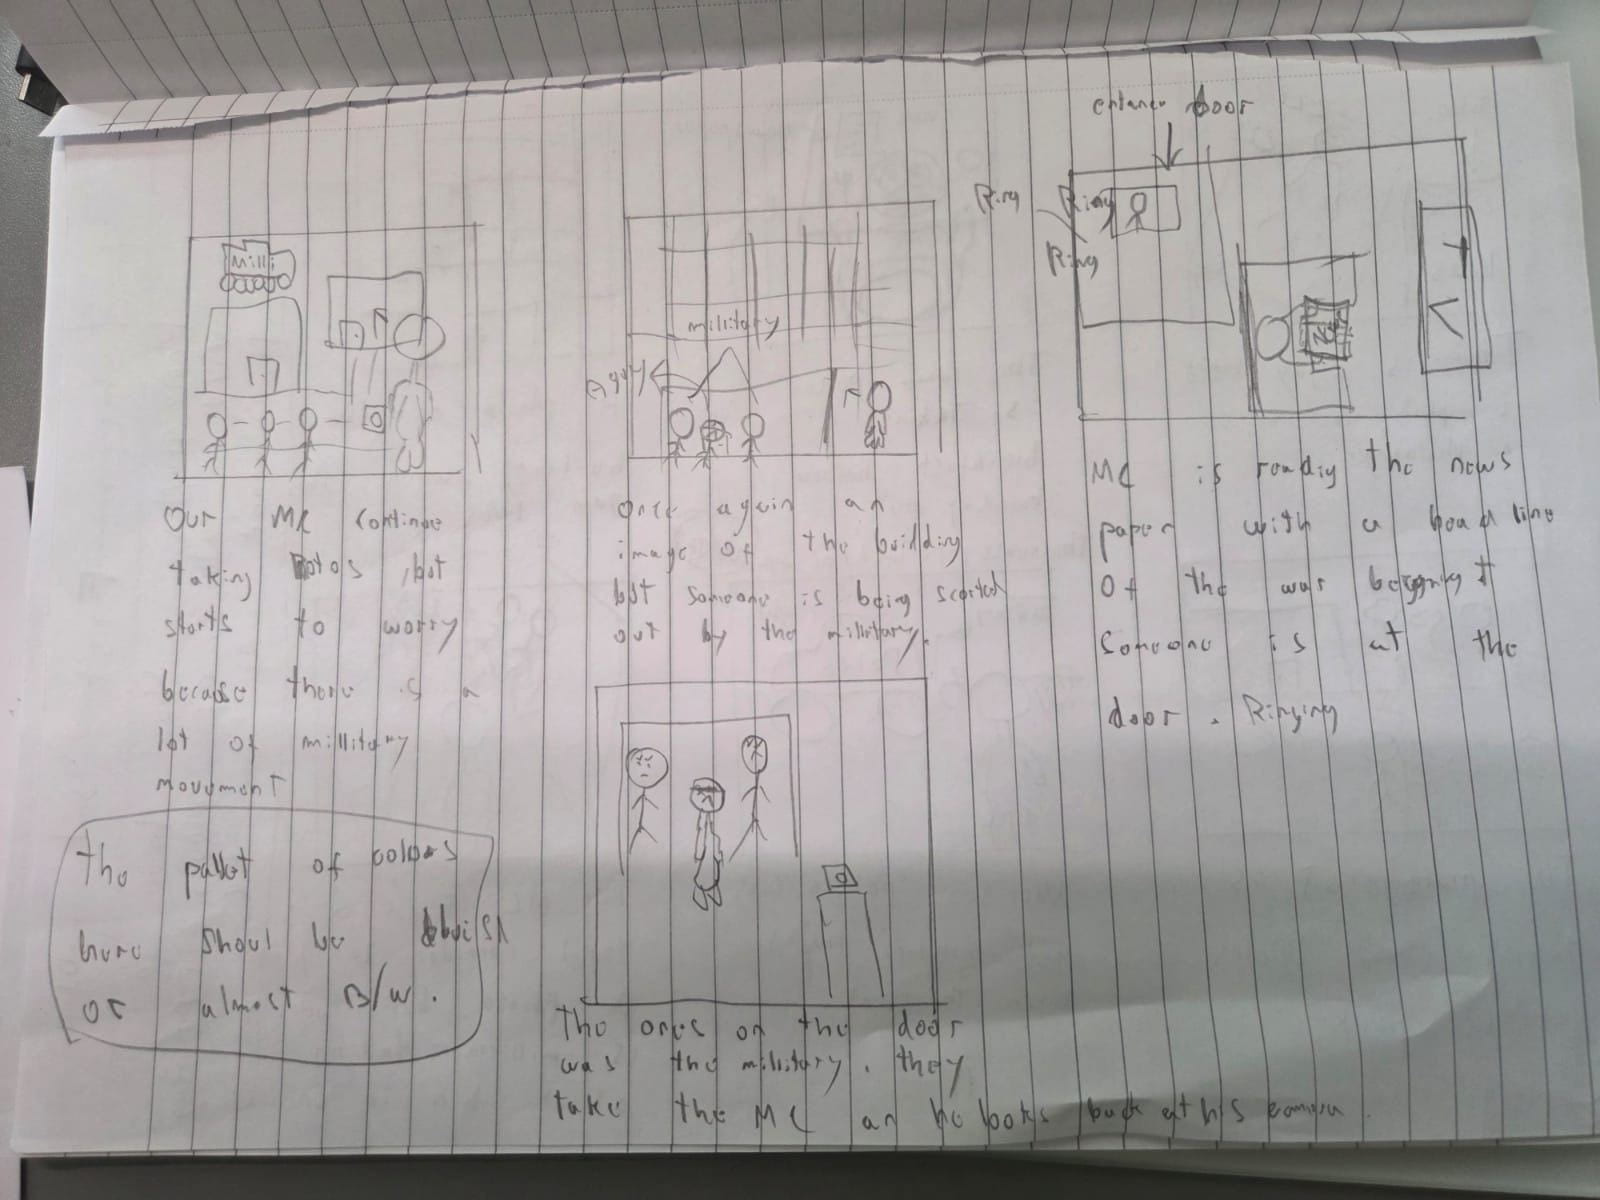
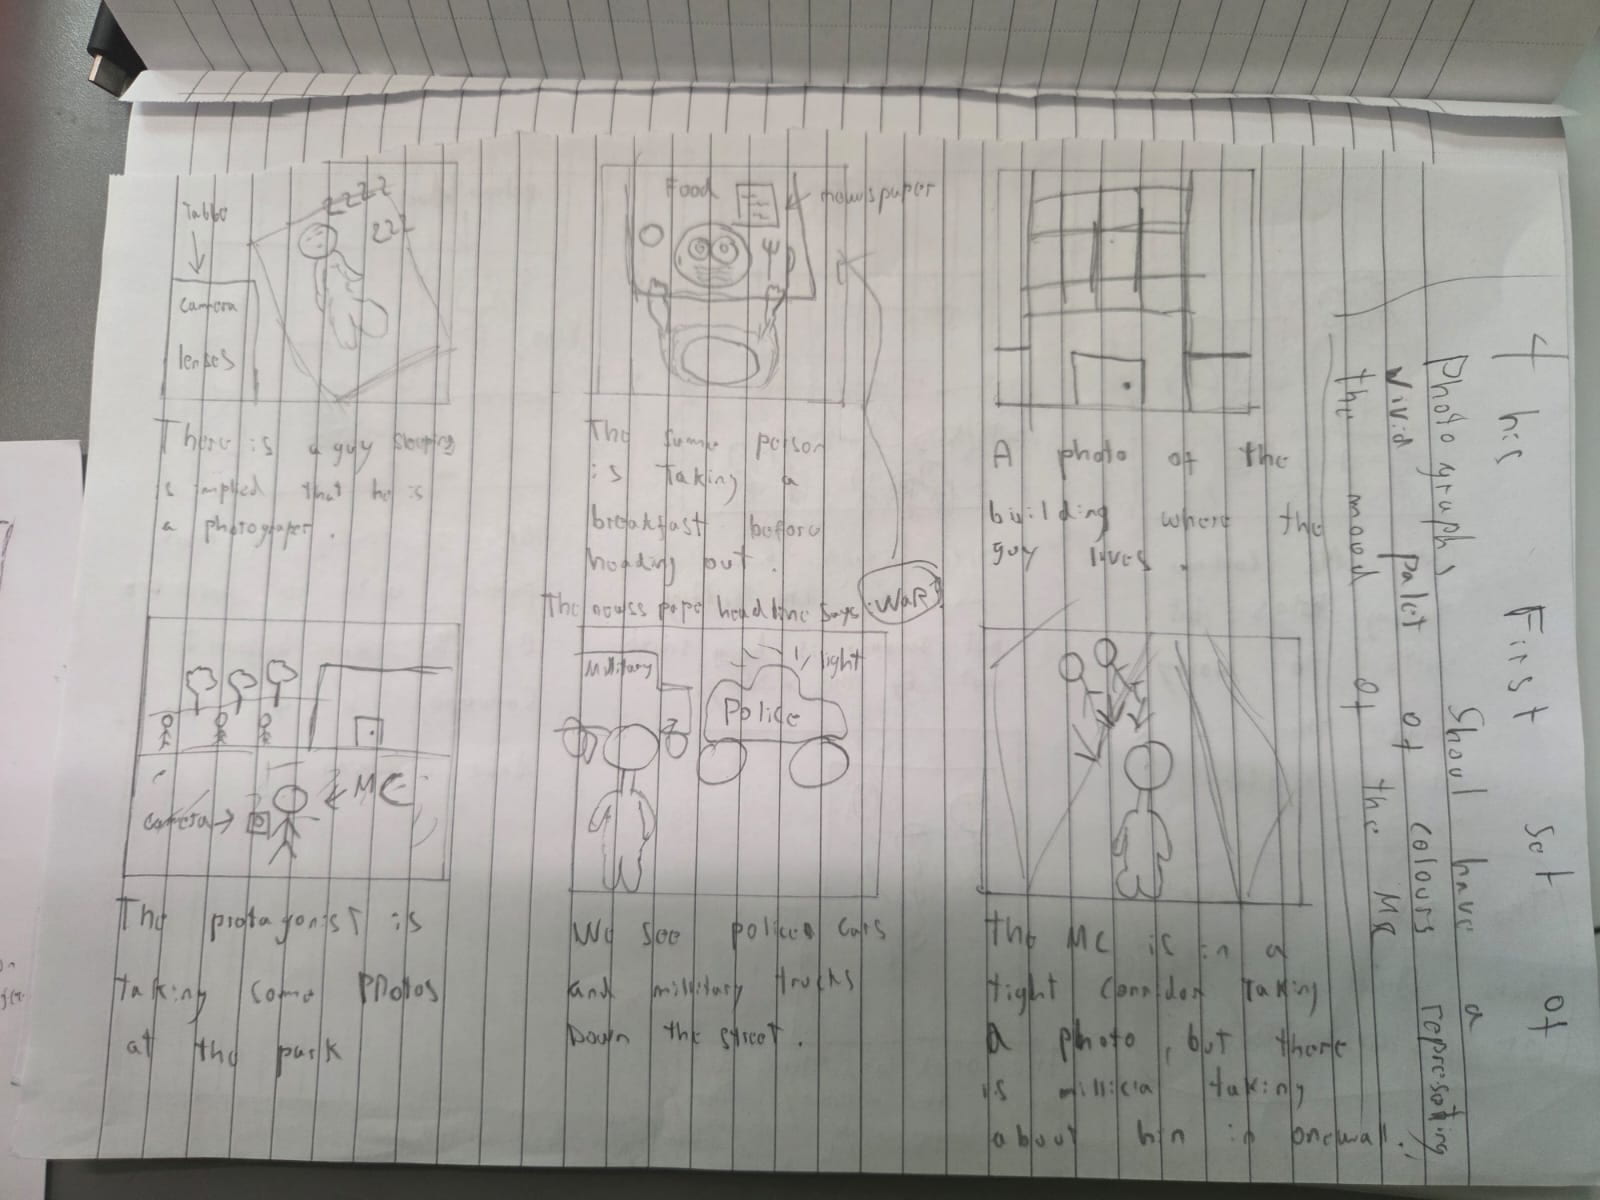
Here we find the two ideas that I had, the fist storyboard was about a photographer who loved his job, but sadly for him the war in his country arrived suddenly, we could find some signs of it as the story progressed, and at the end he had to face the hard reality of being recruited and leave behind everything he loved.
I liked the first story but I had to change my idea because, it was to pretentious, I had all the locations in mind, even friends to act, but the cars and military clothes were a little to much for me. Maybe I could use photoshop for them, but I wanted to keep it natural.
The second story was more simple but follows the same pattern, a person who loves photography as a hobby and uses it to scape from his reality or boresome when he is at home. We follow the story of this person chasing the perfect photo on the street, but sadly returning home at night, and prepare himself for another day tomorrow, a cycle that never ends.
Story board 1:
Final story board:
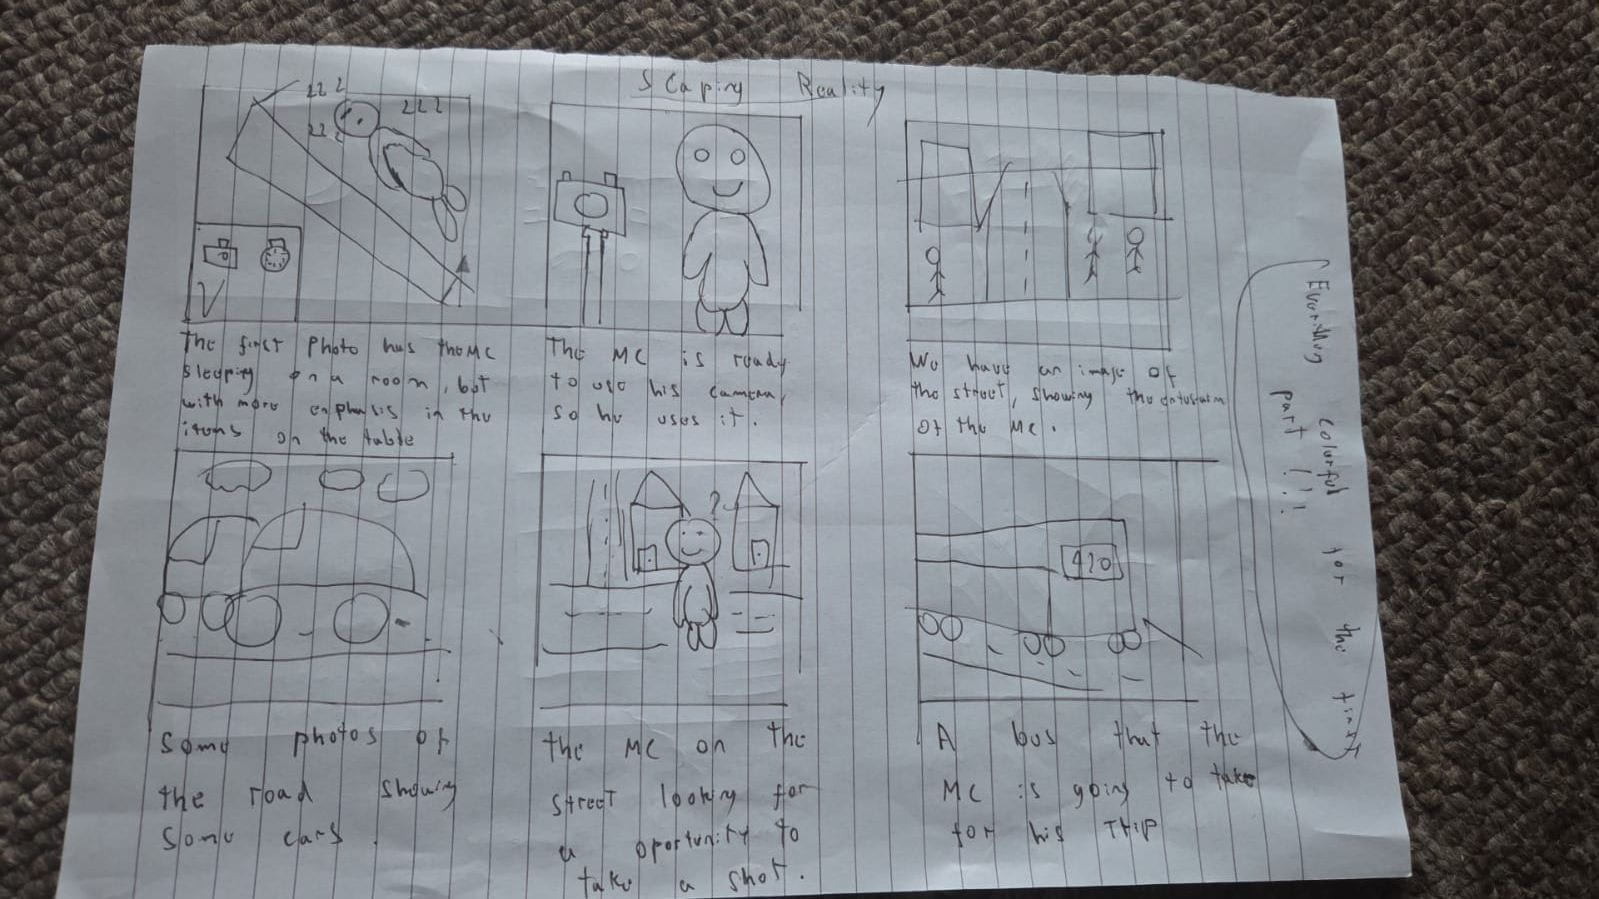
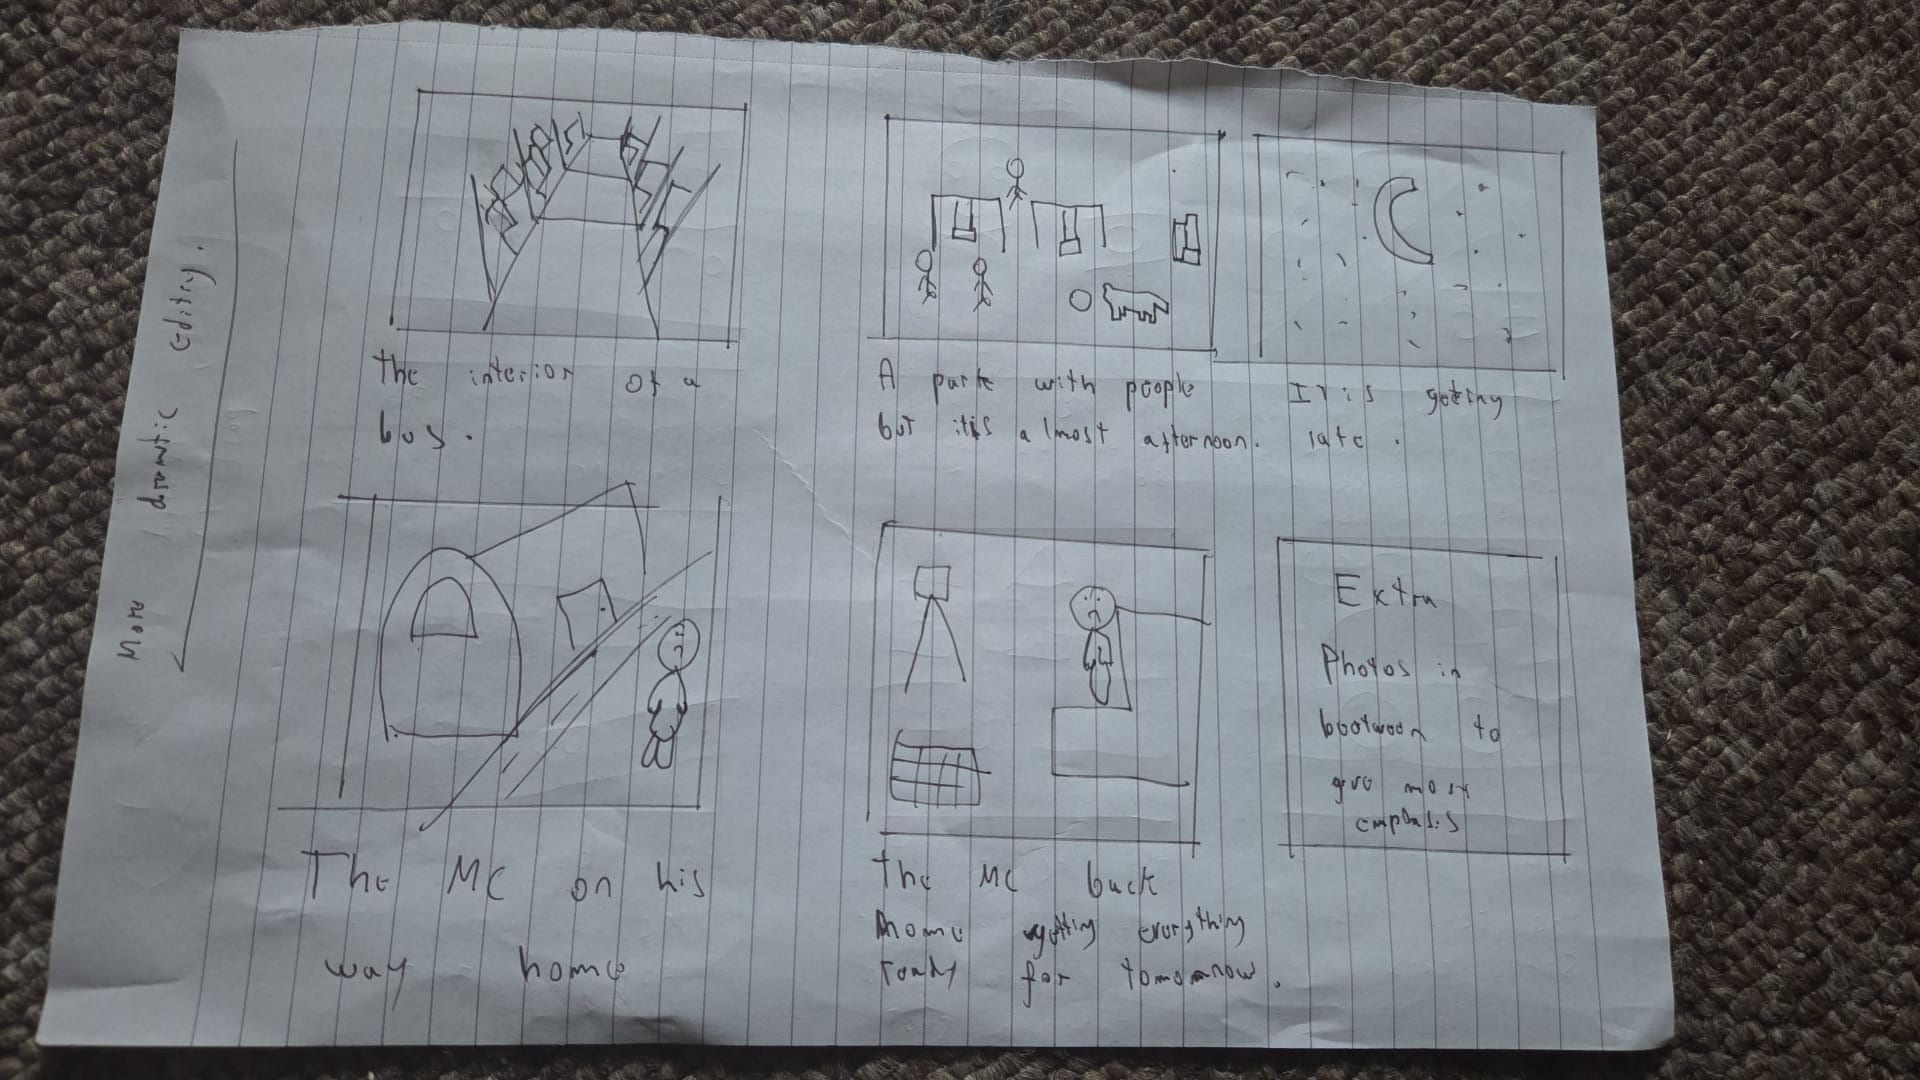
Photo research:
These are all the pictures I took during the making of my assignment 1
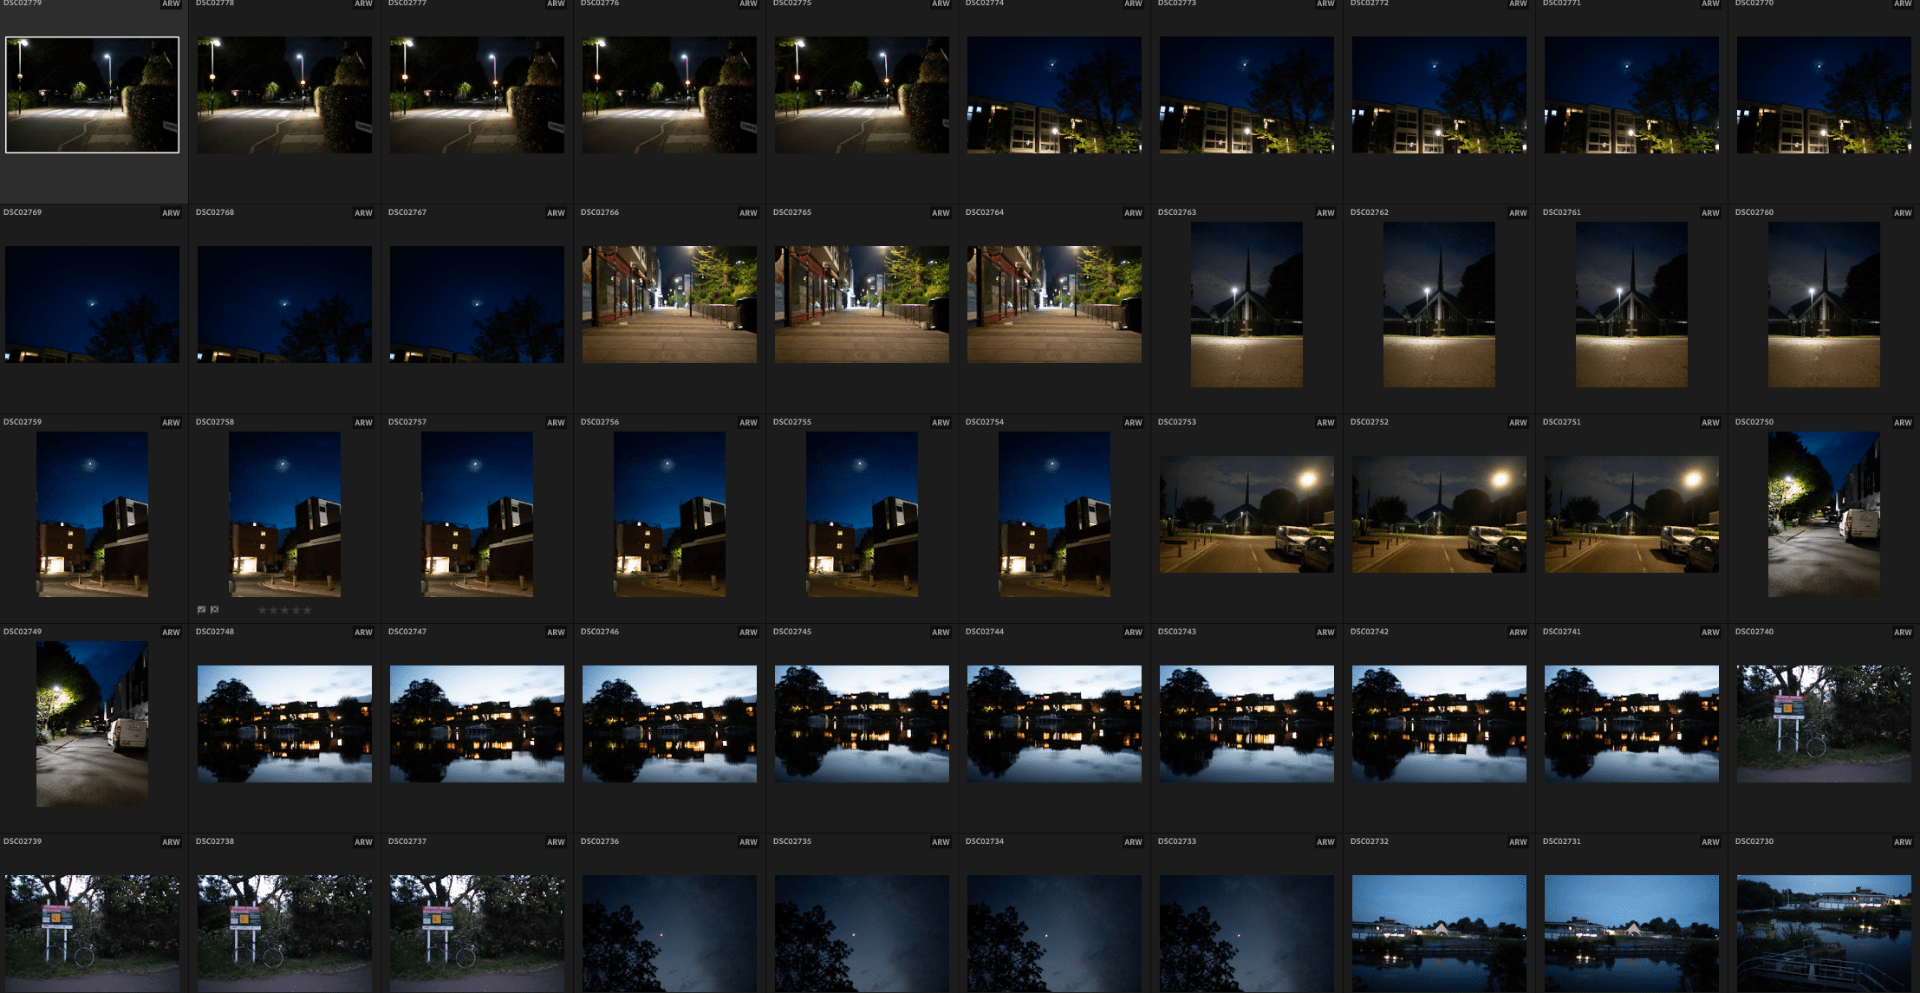
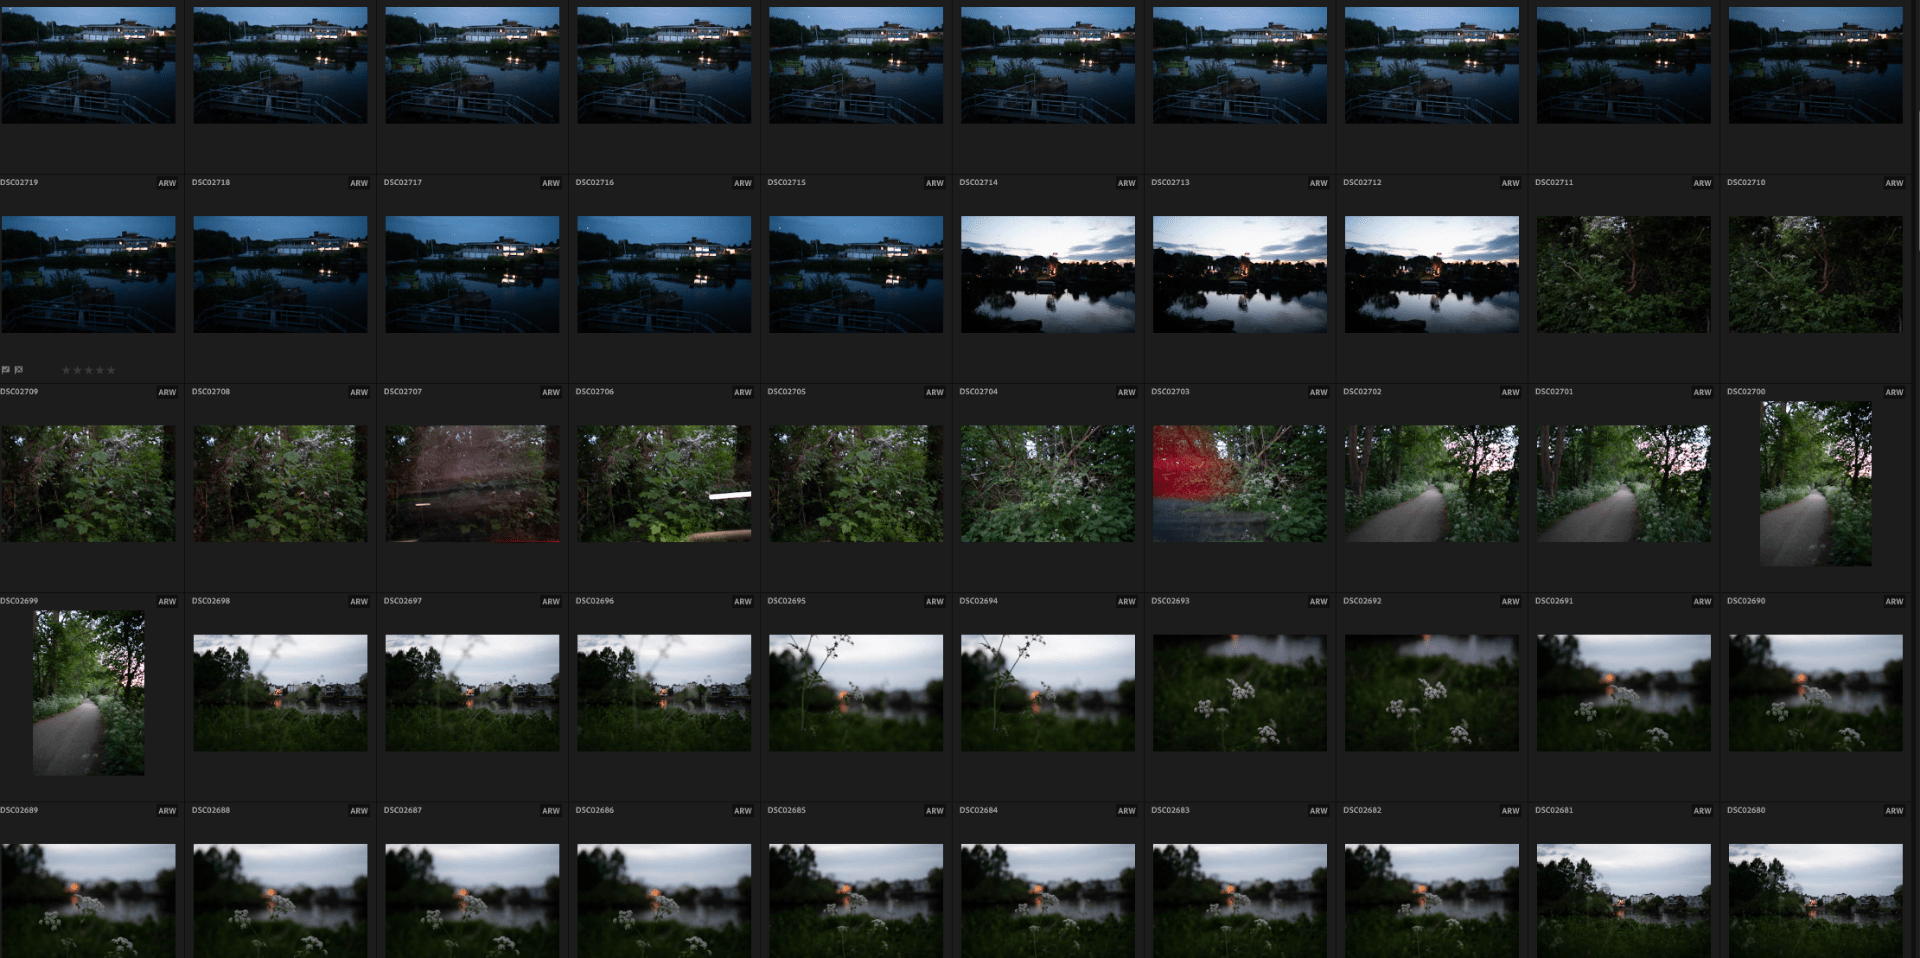
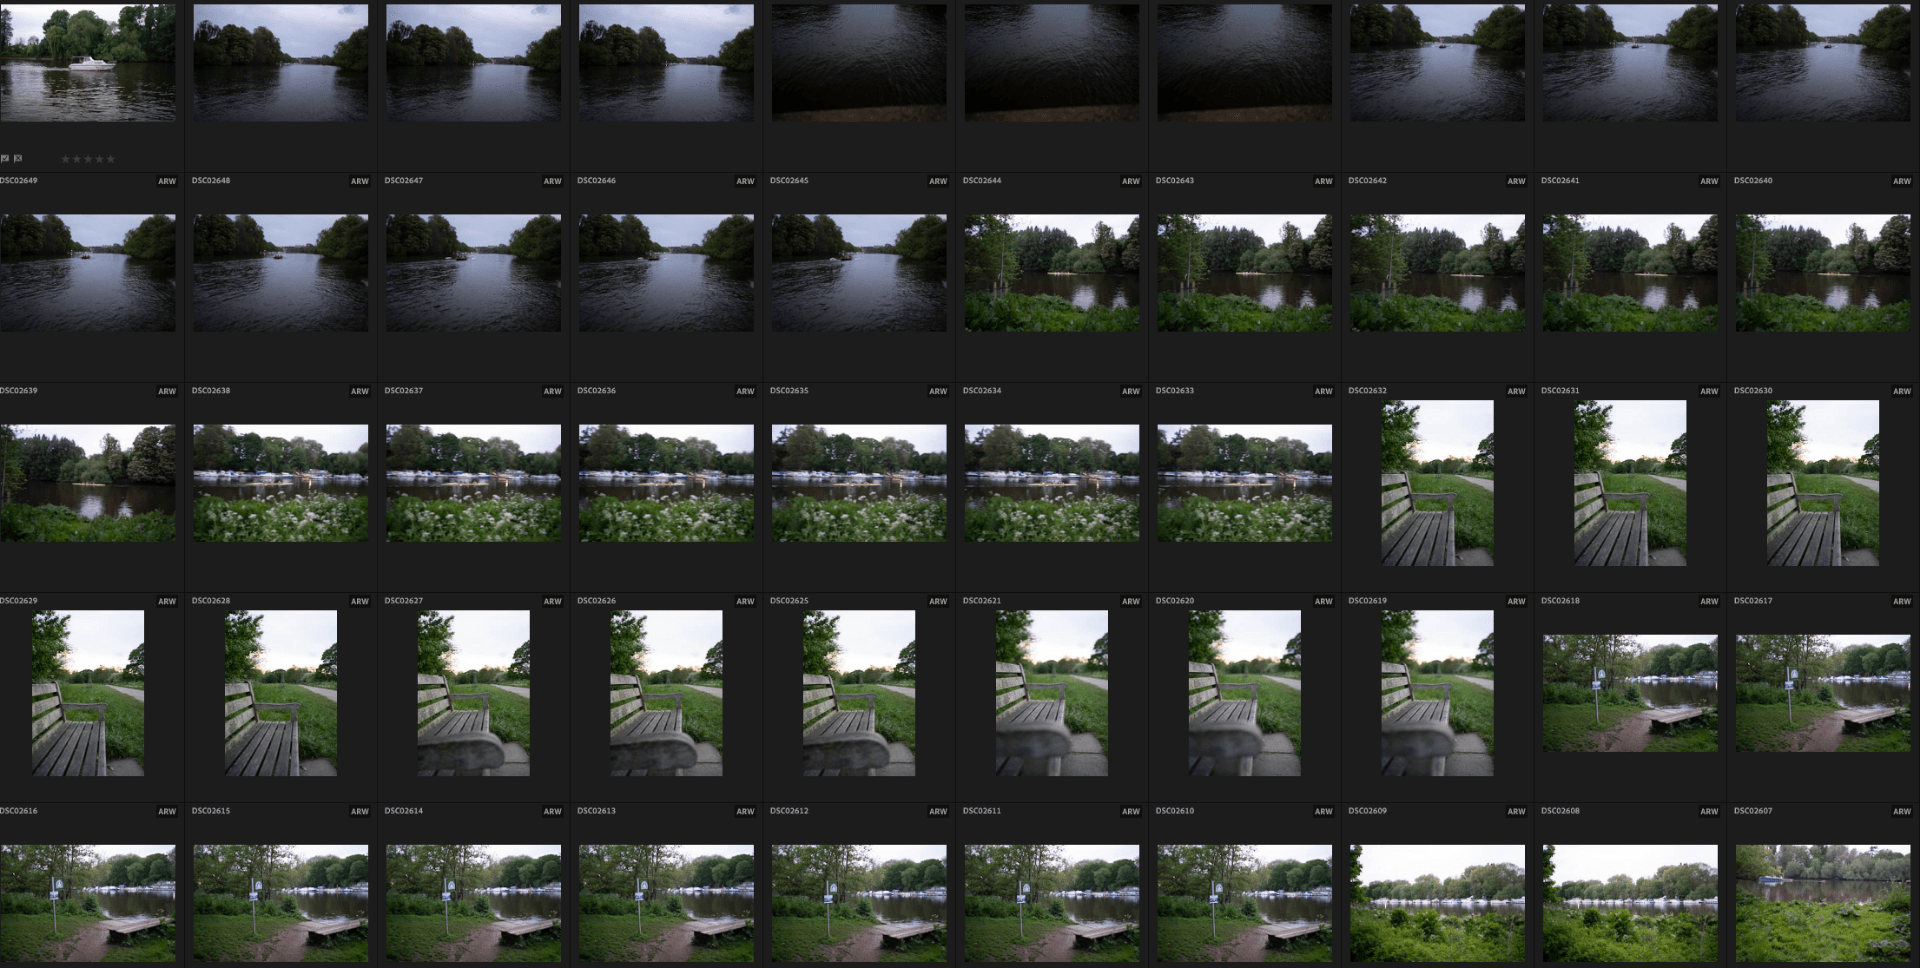
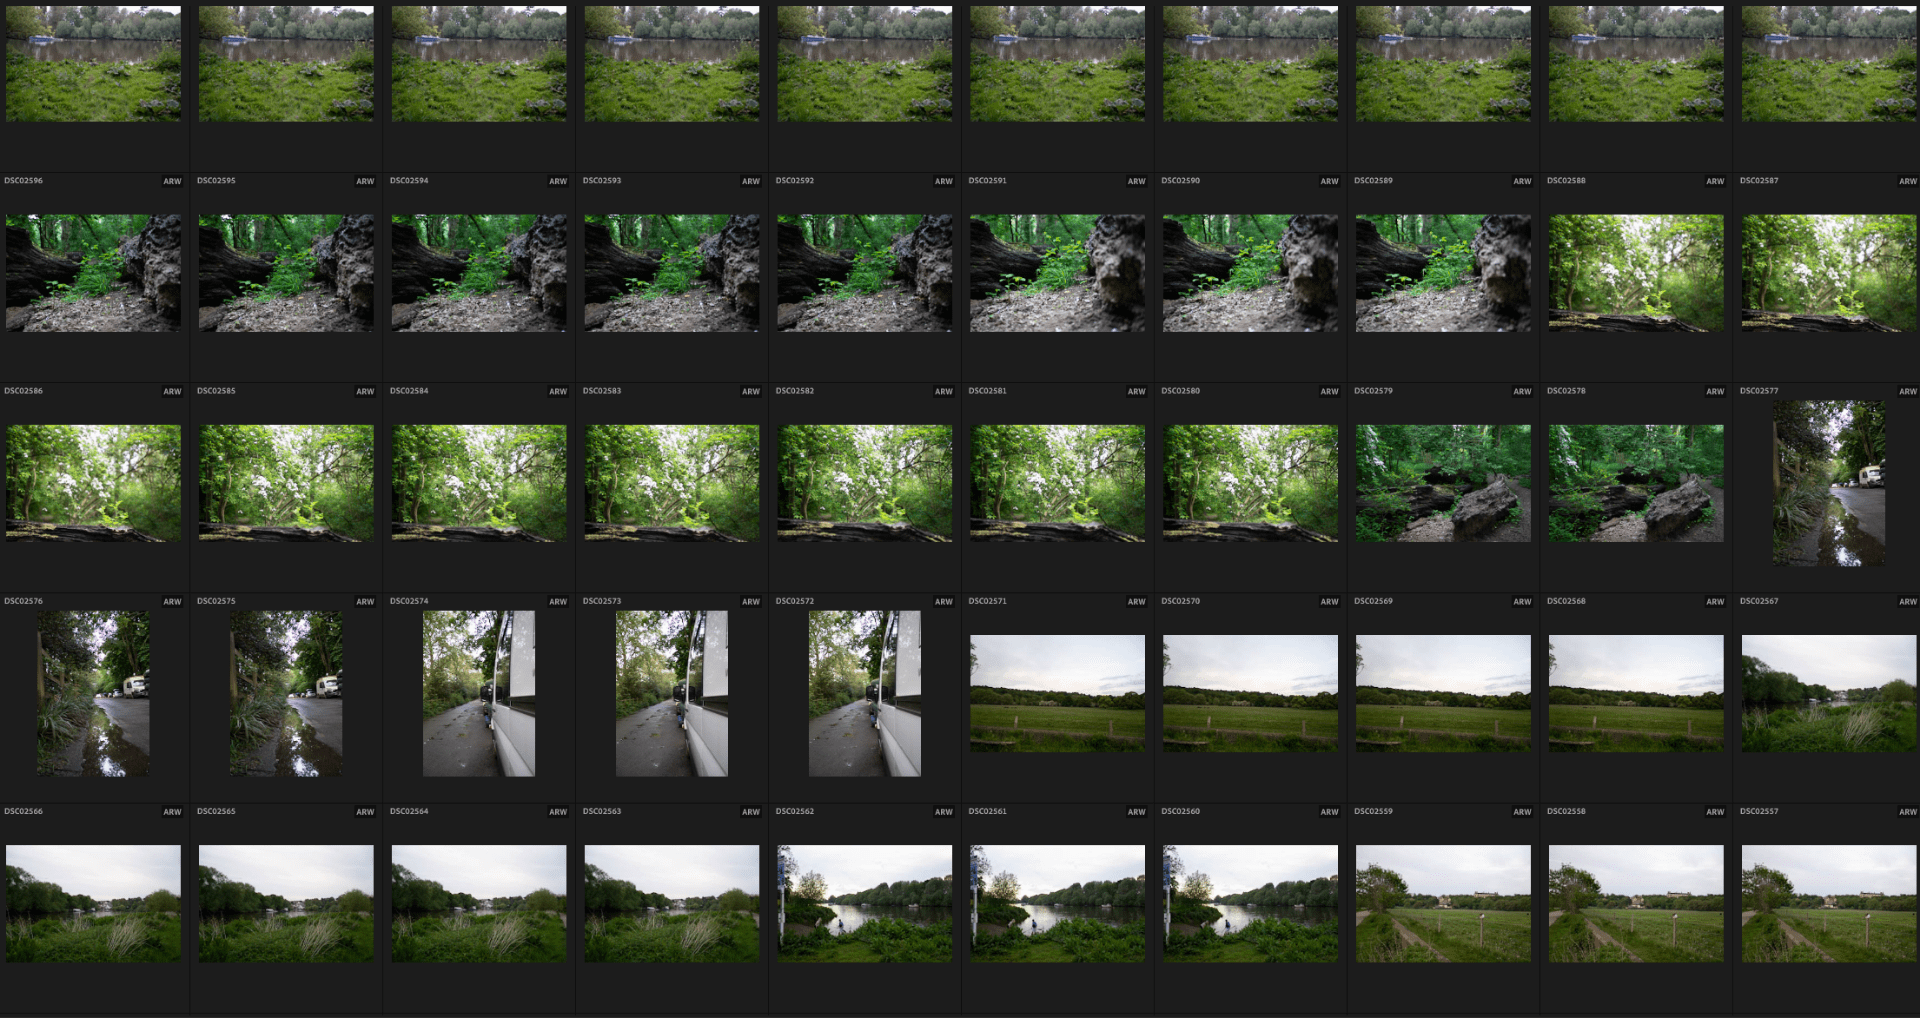
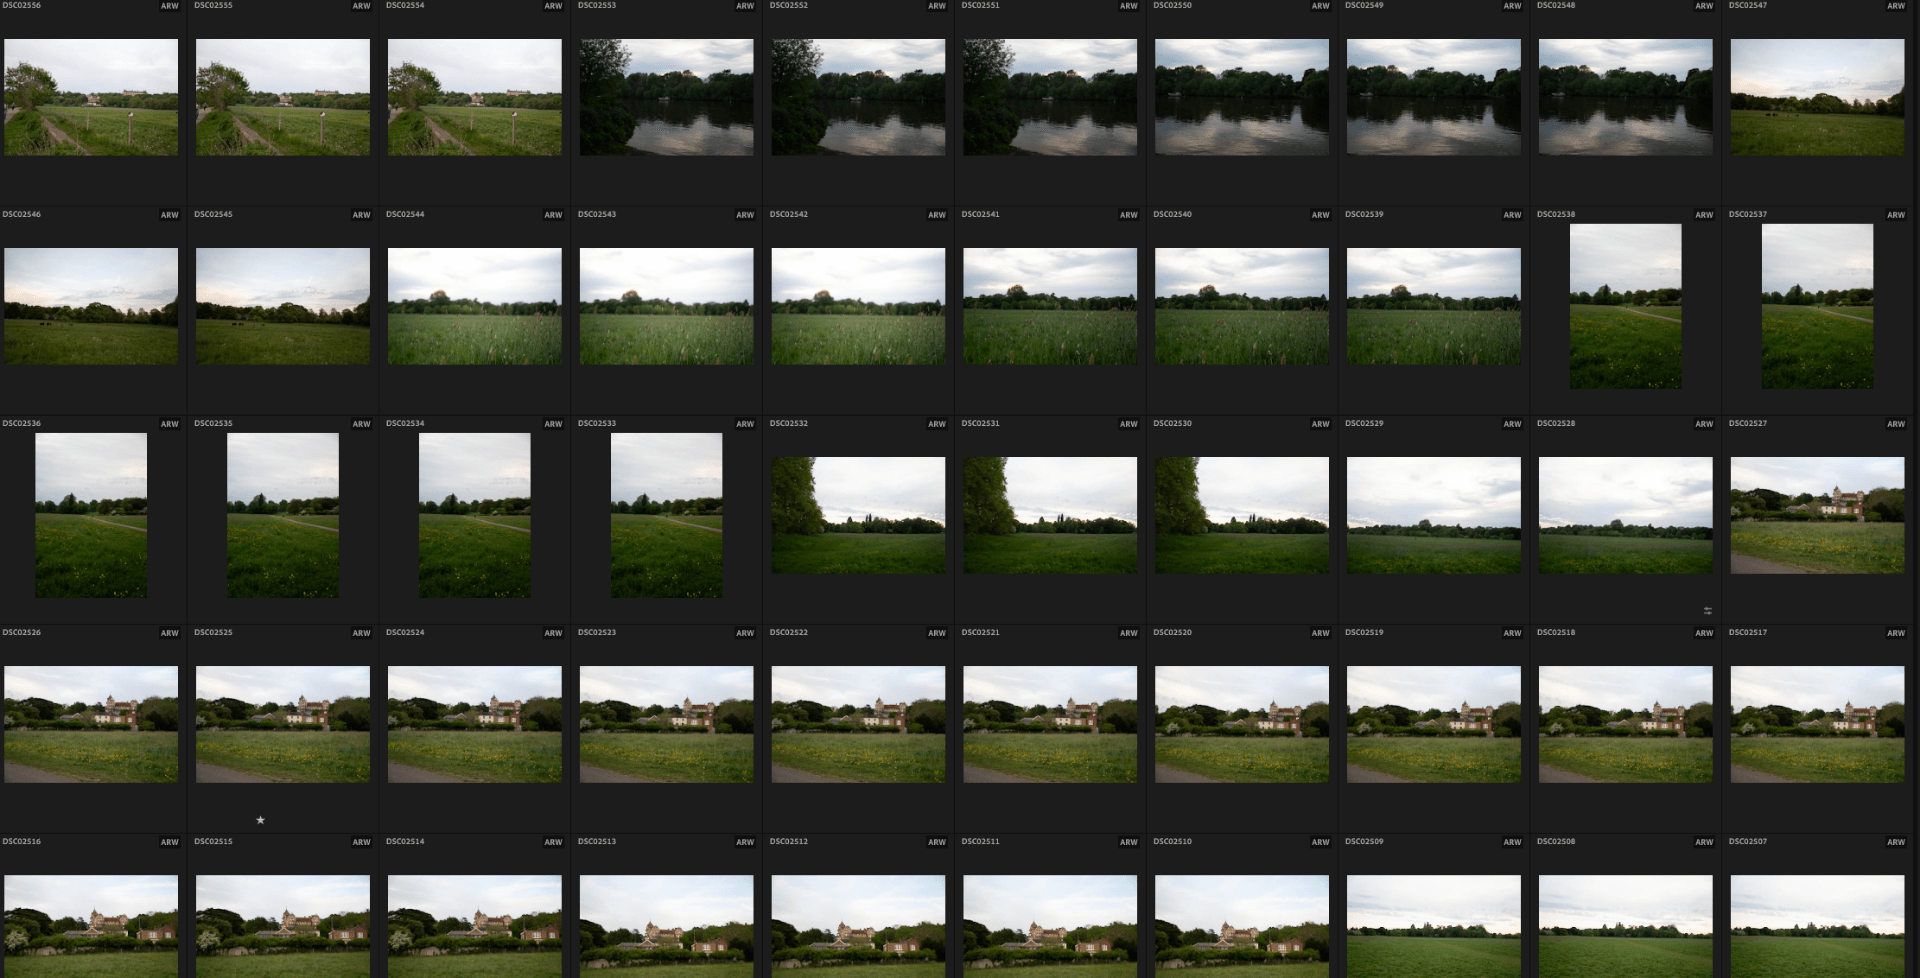
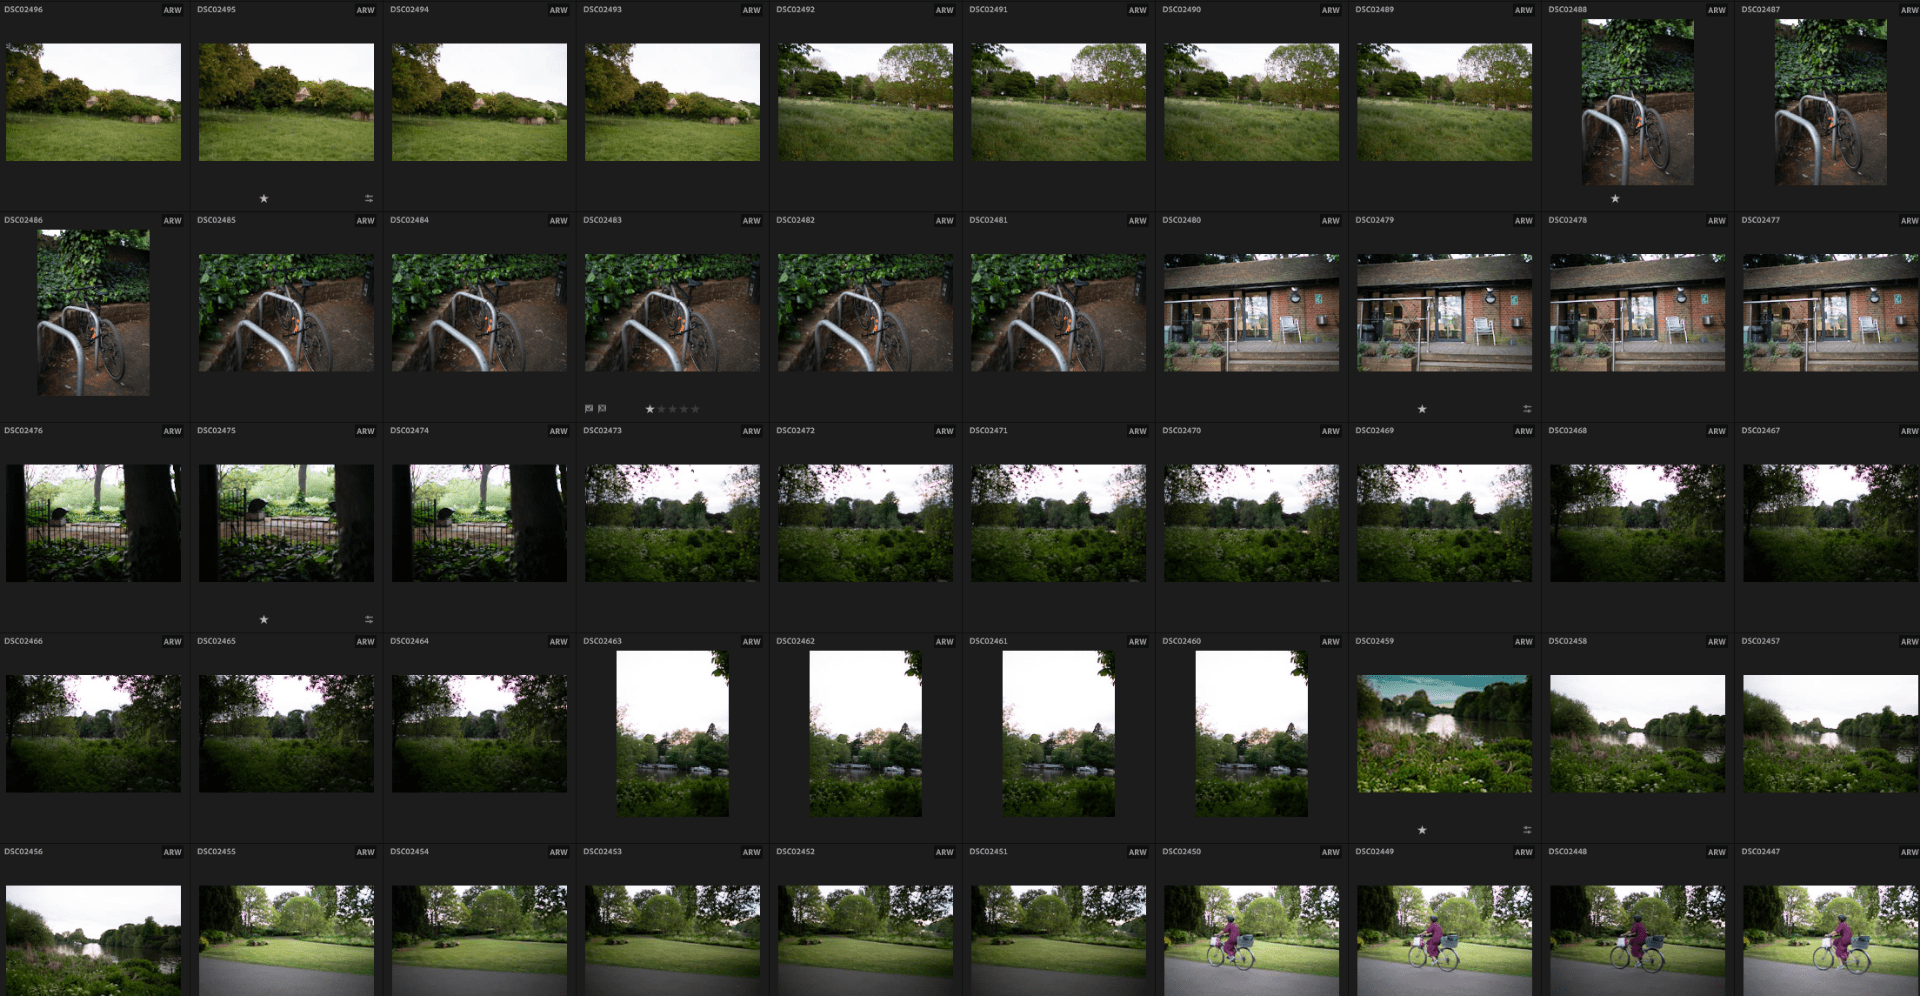
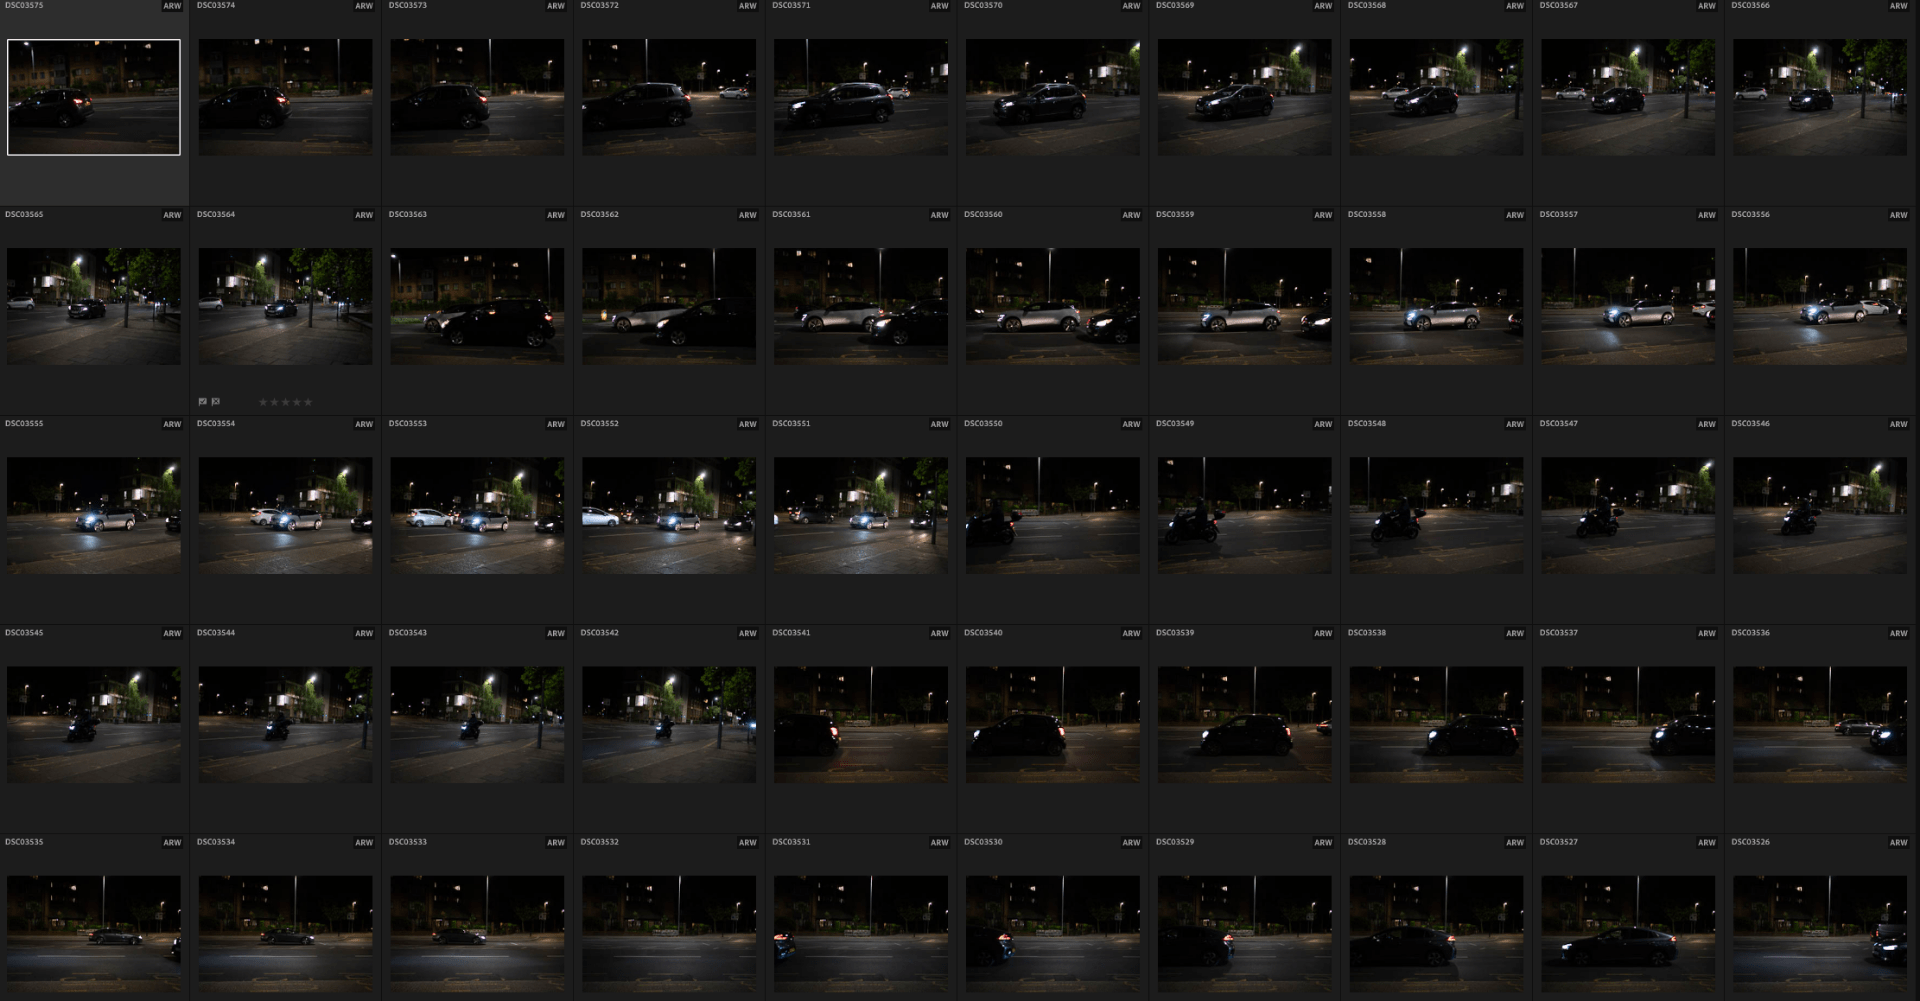
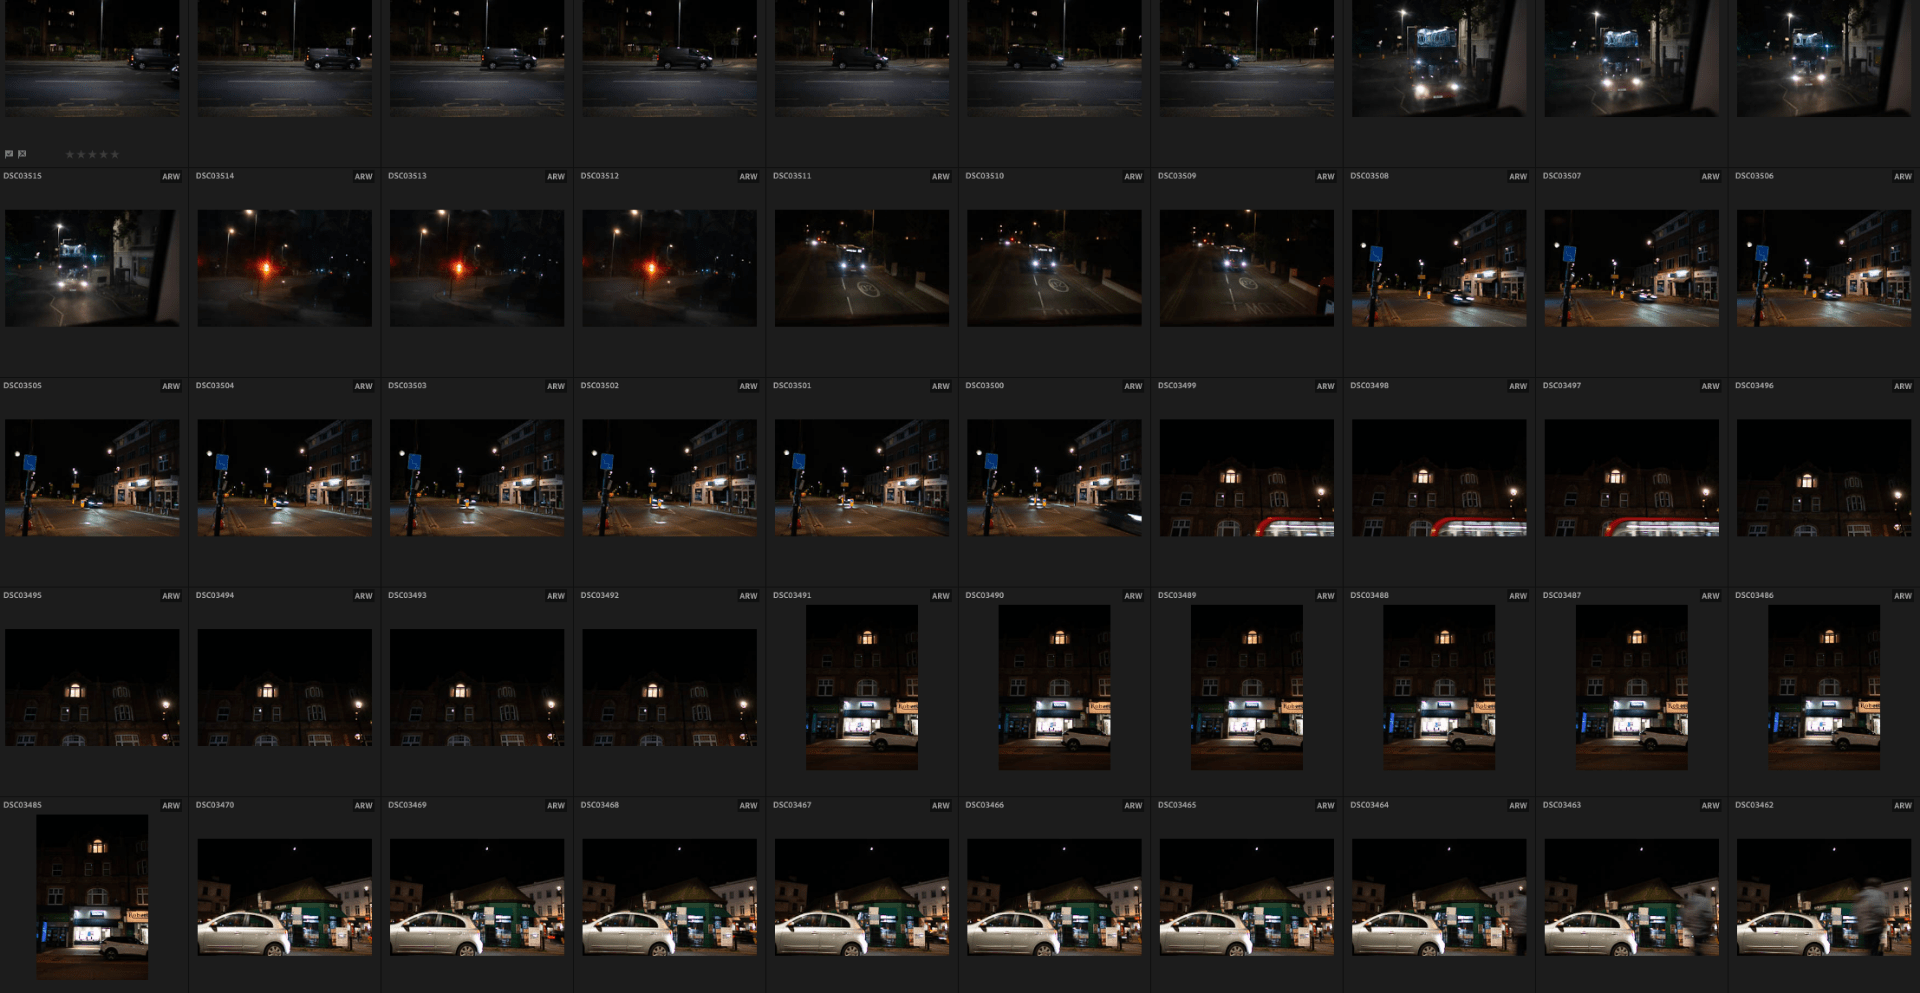
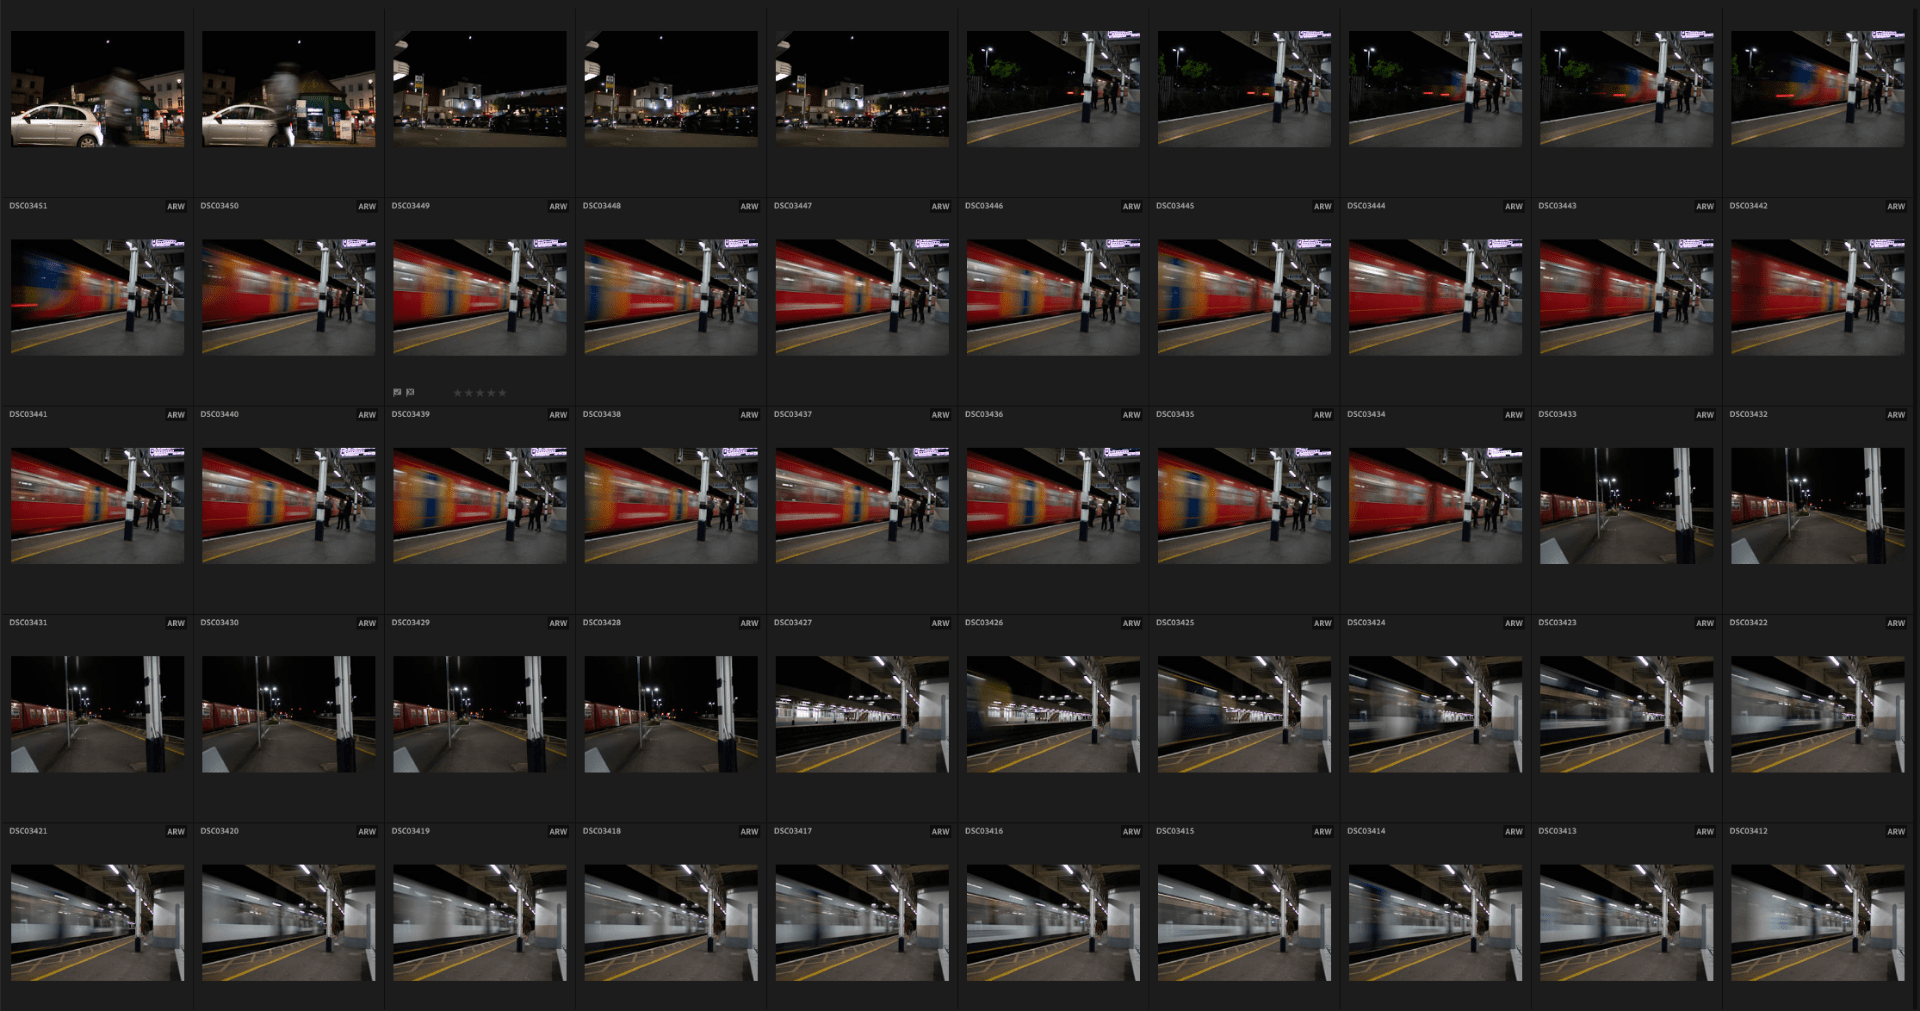
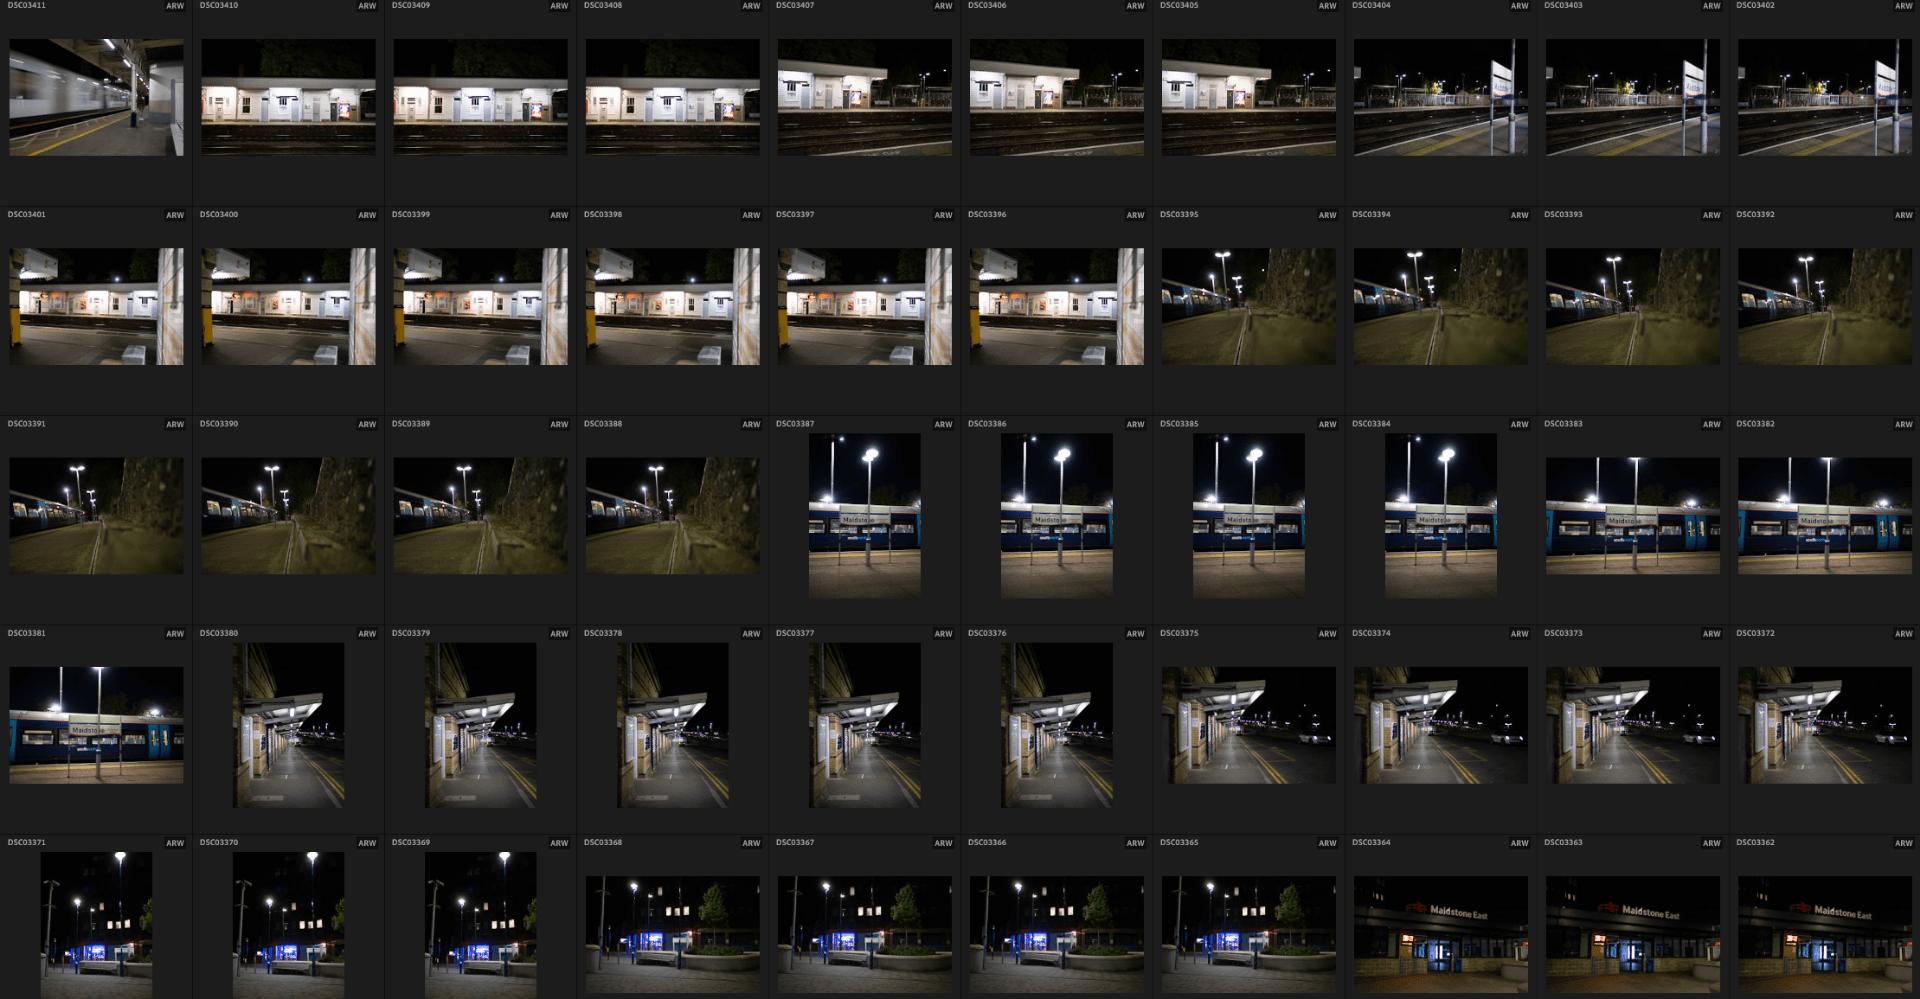
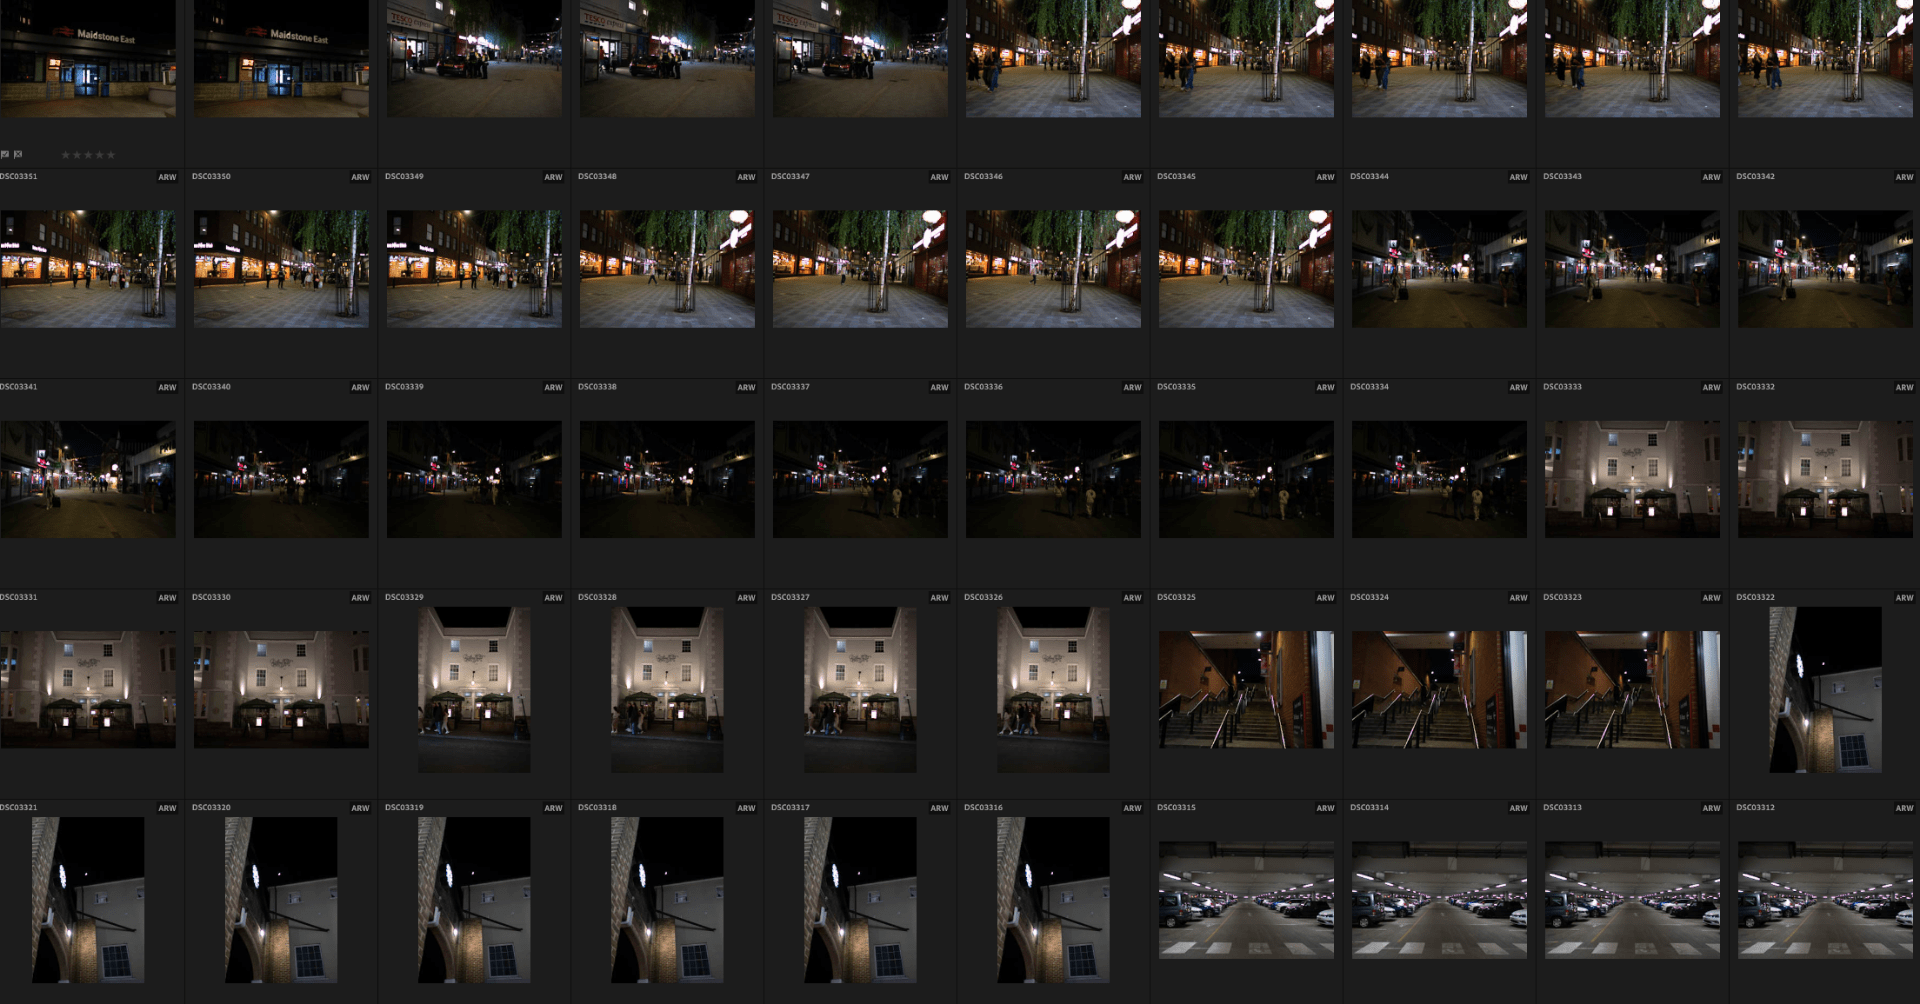
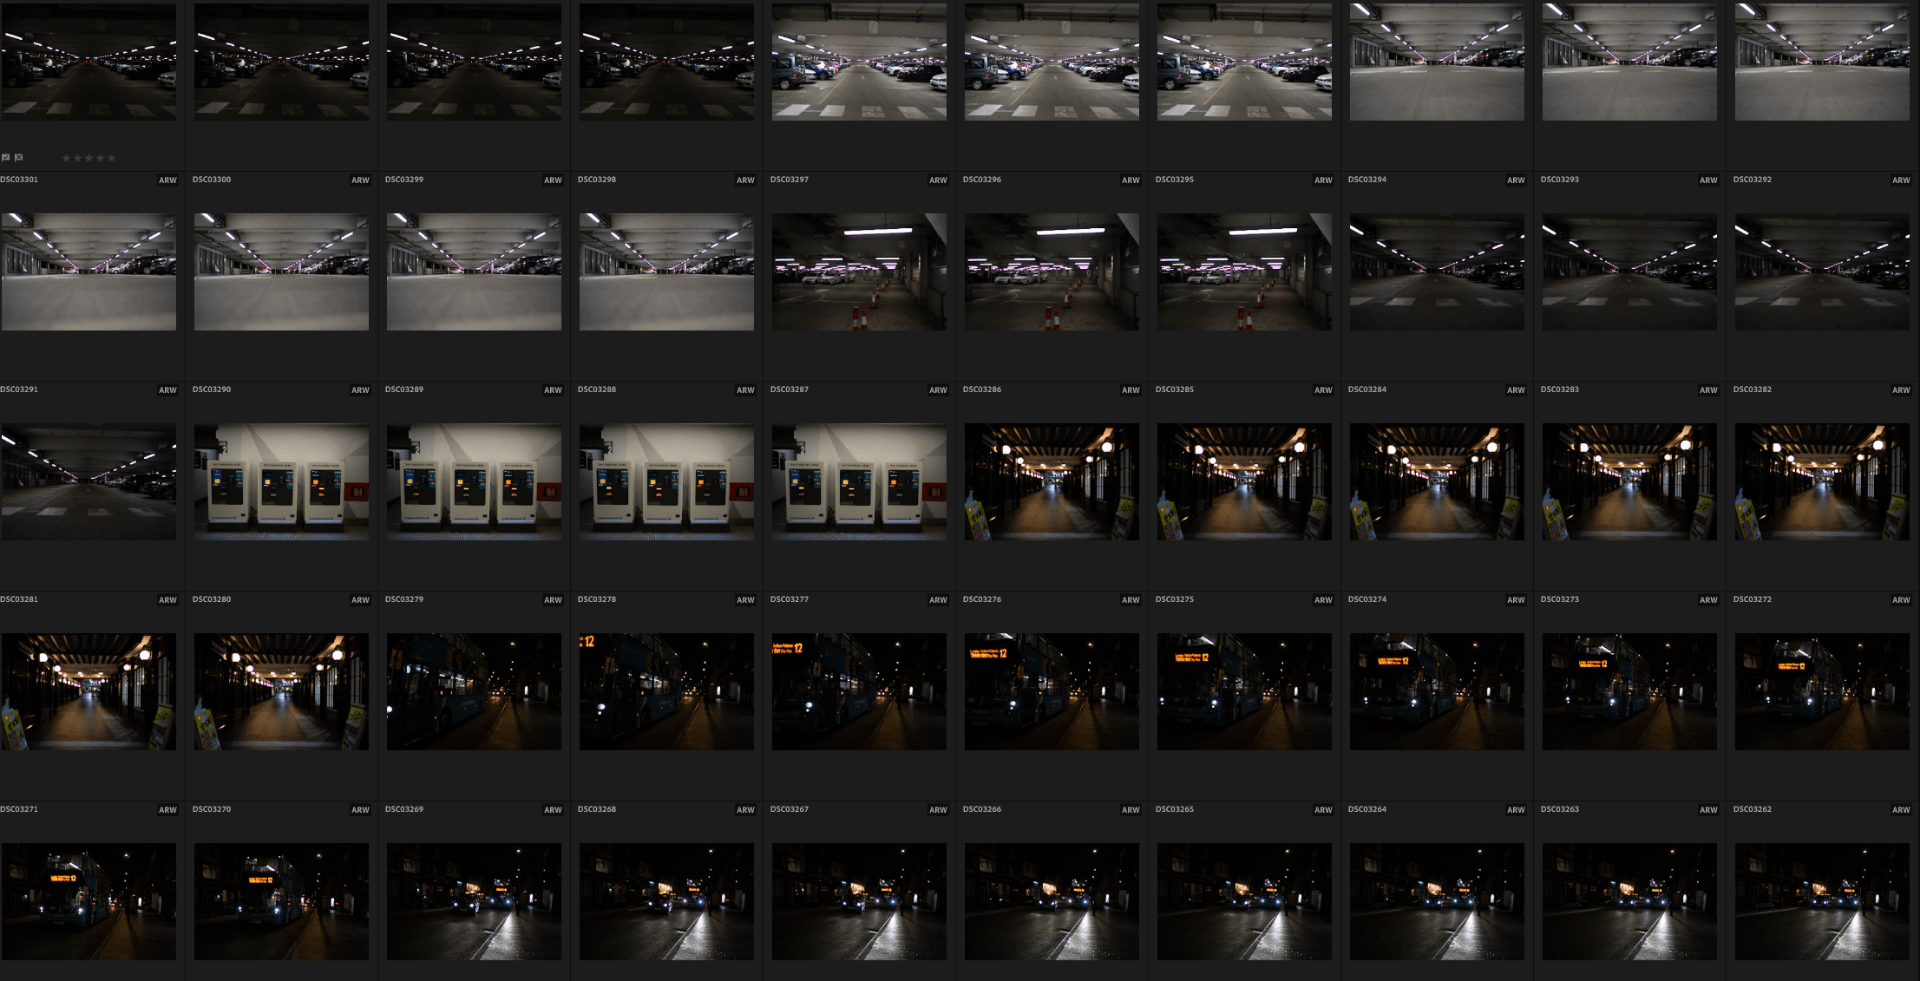
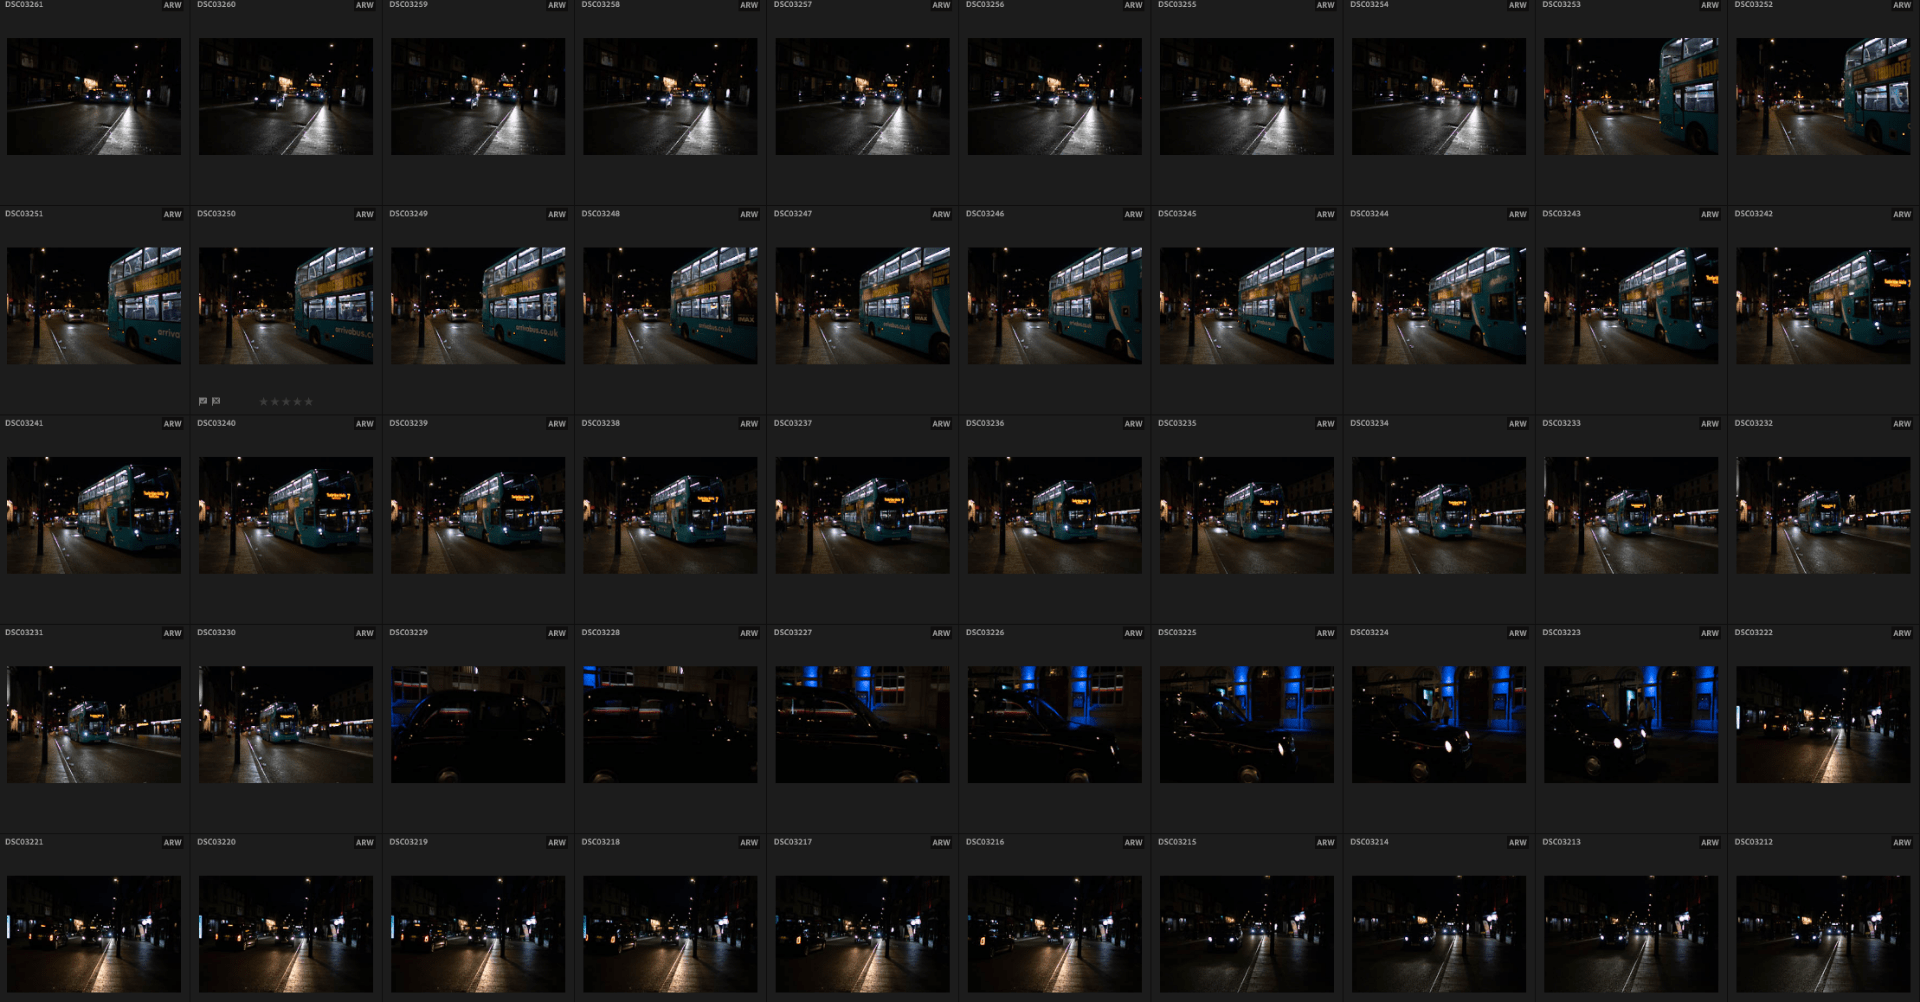
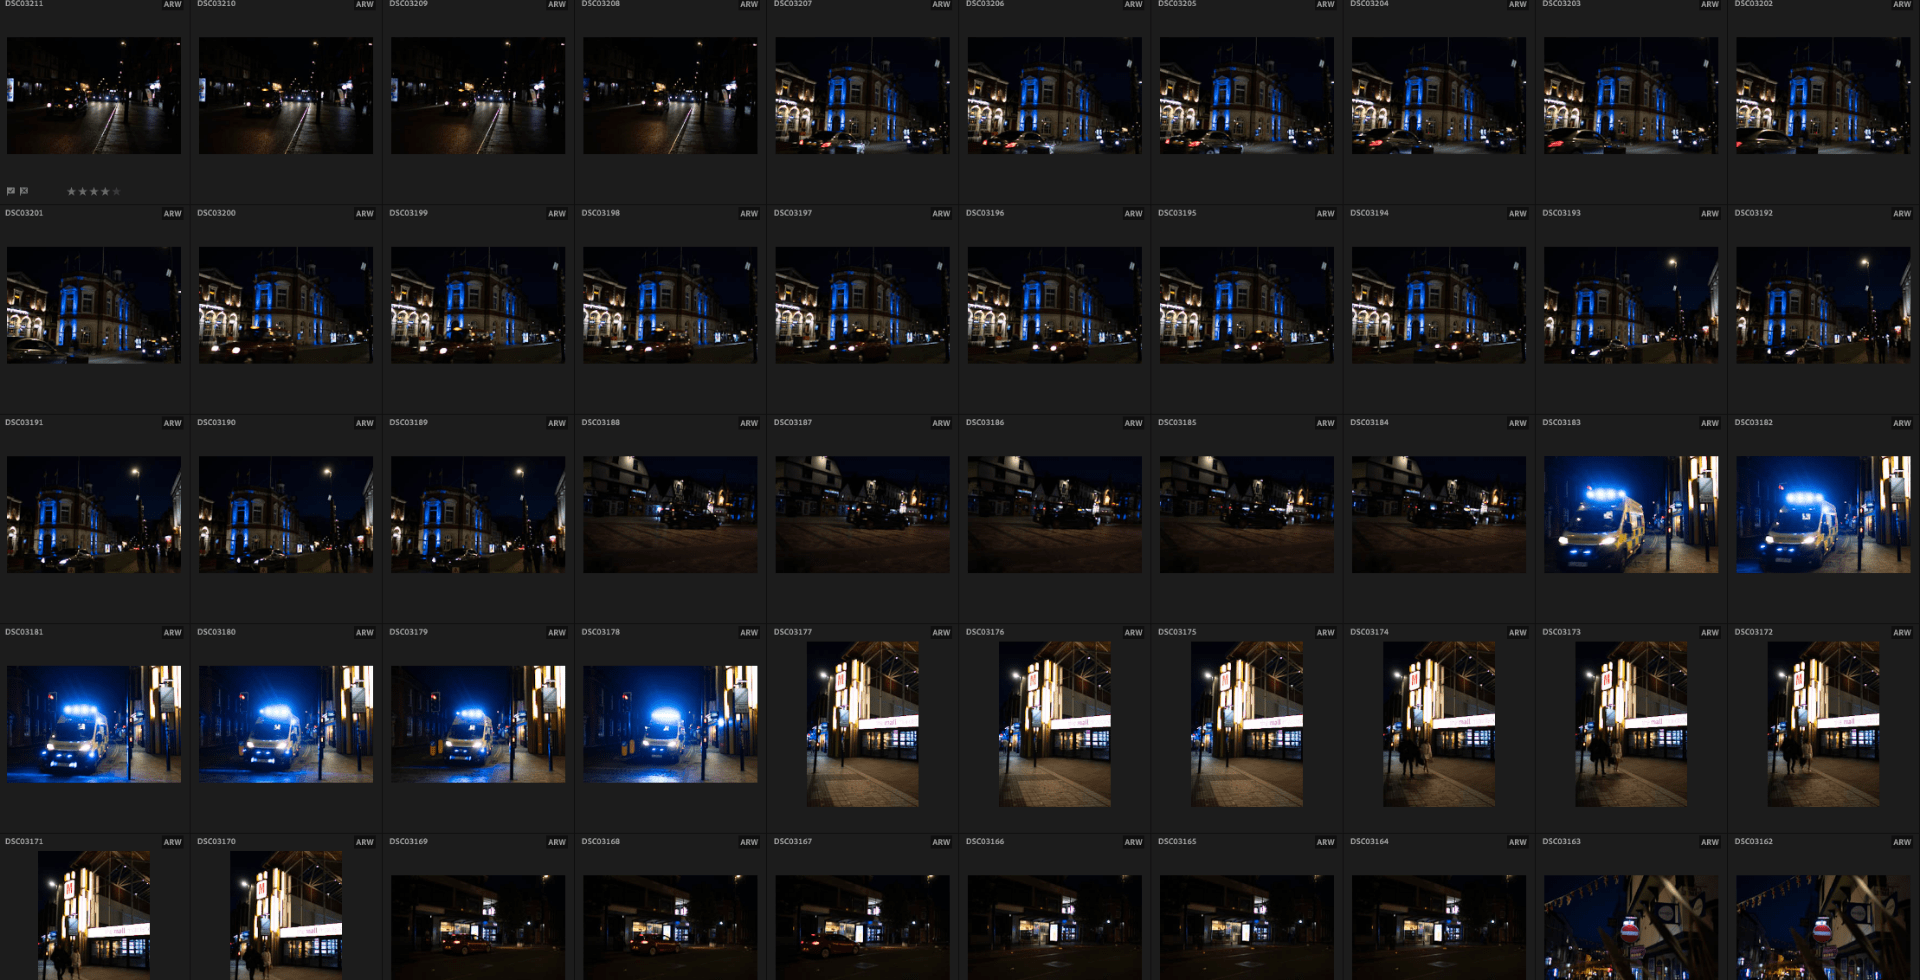
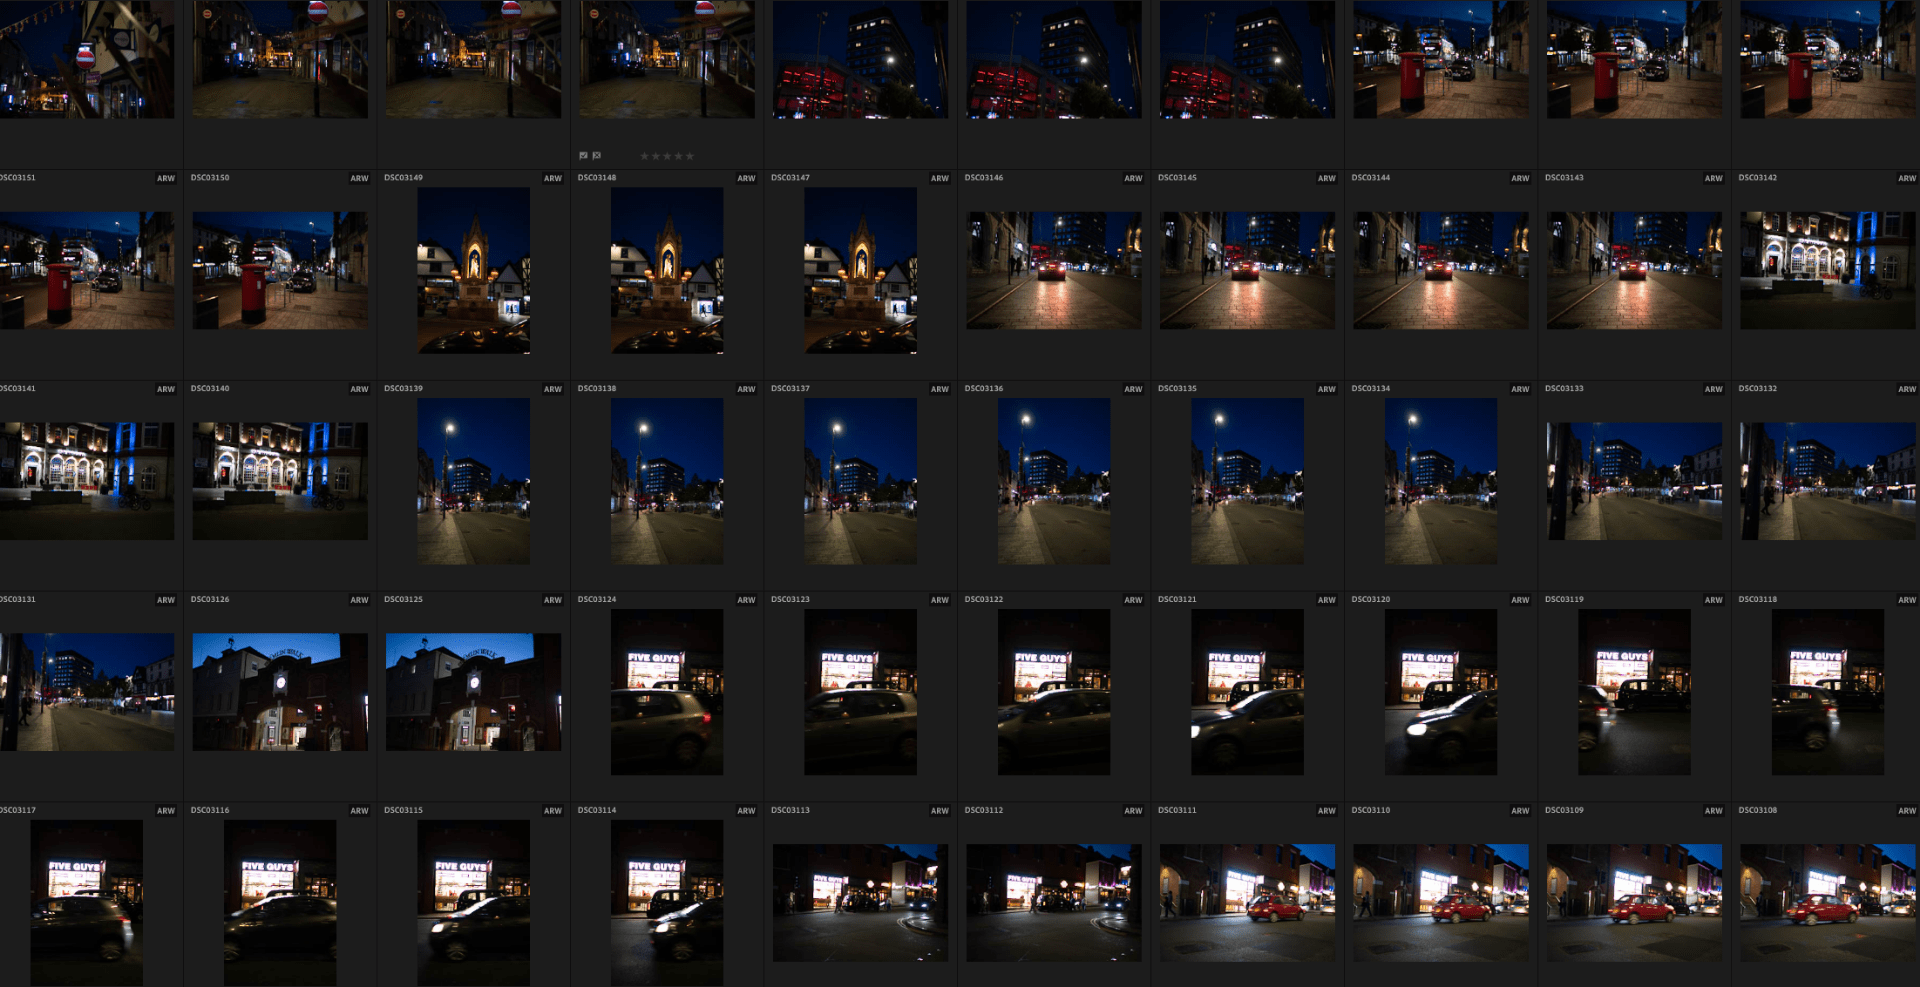
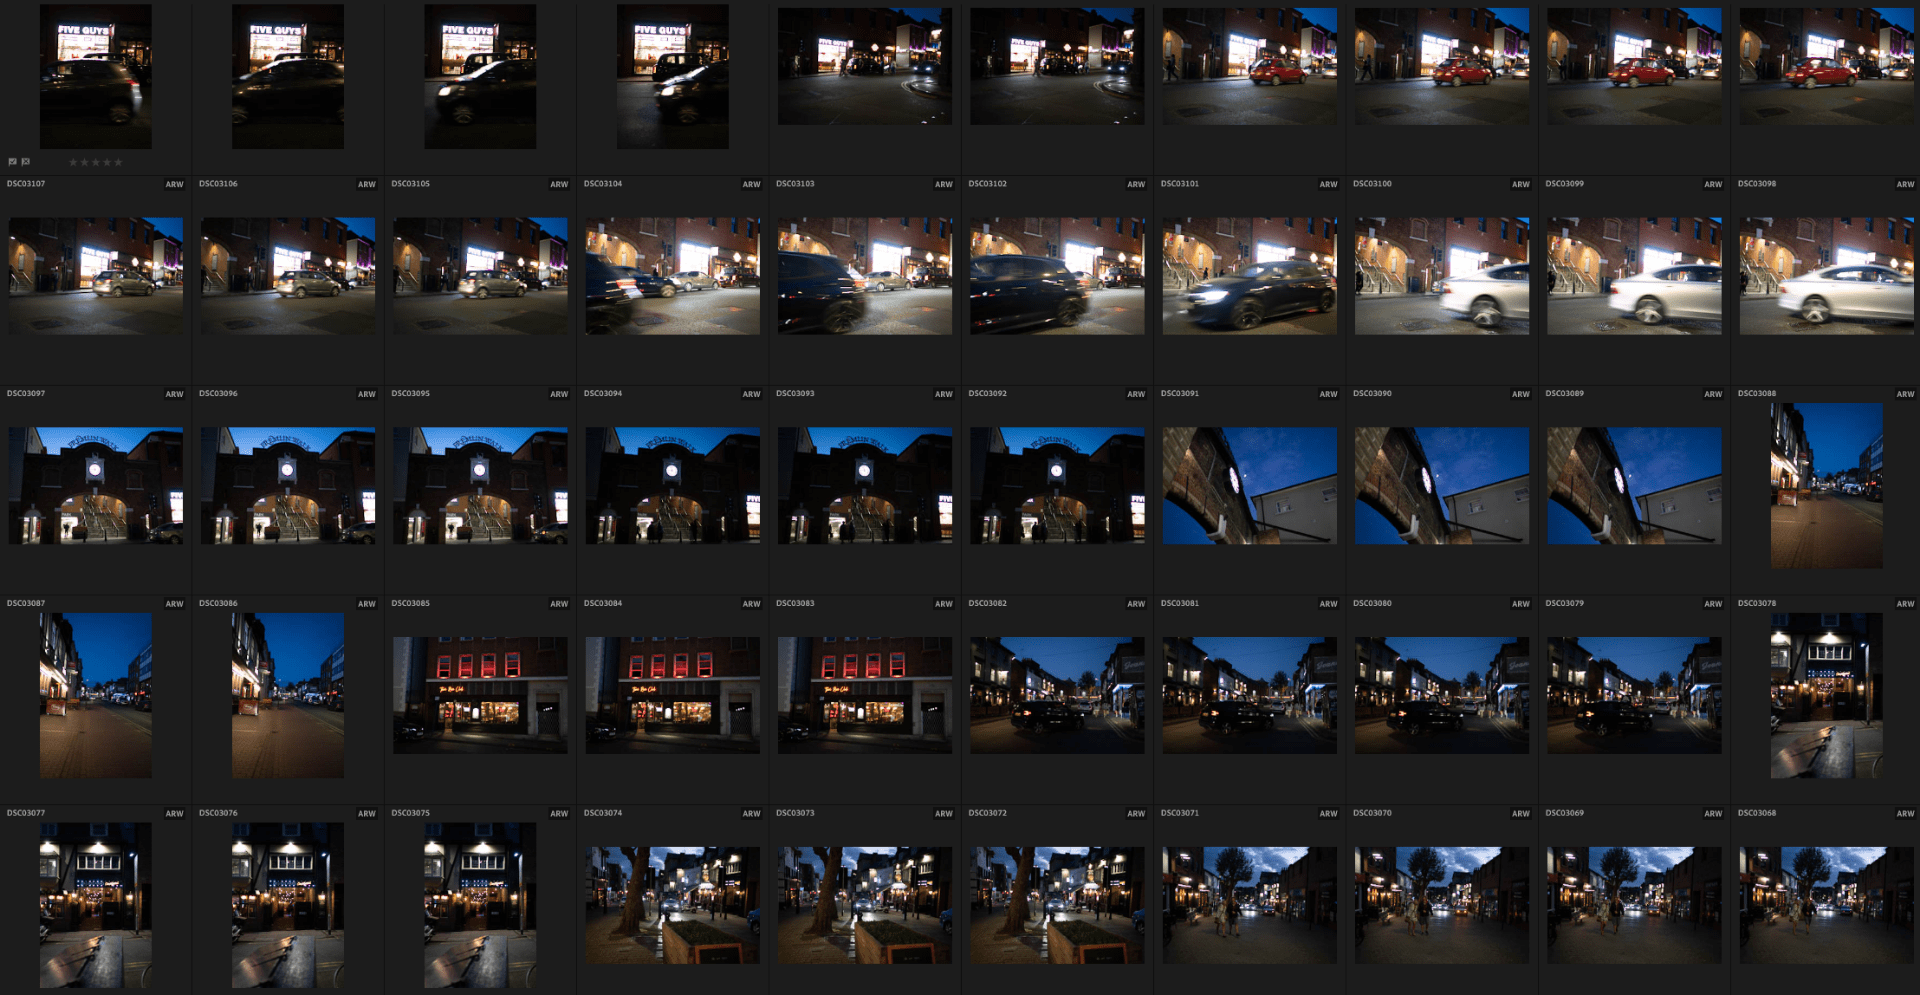
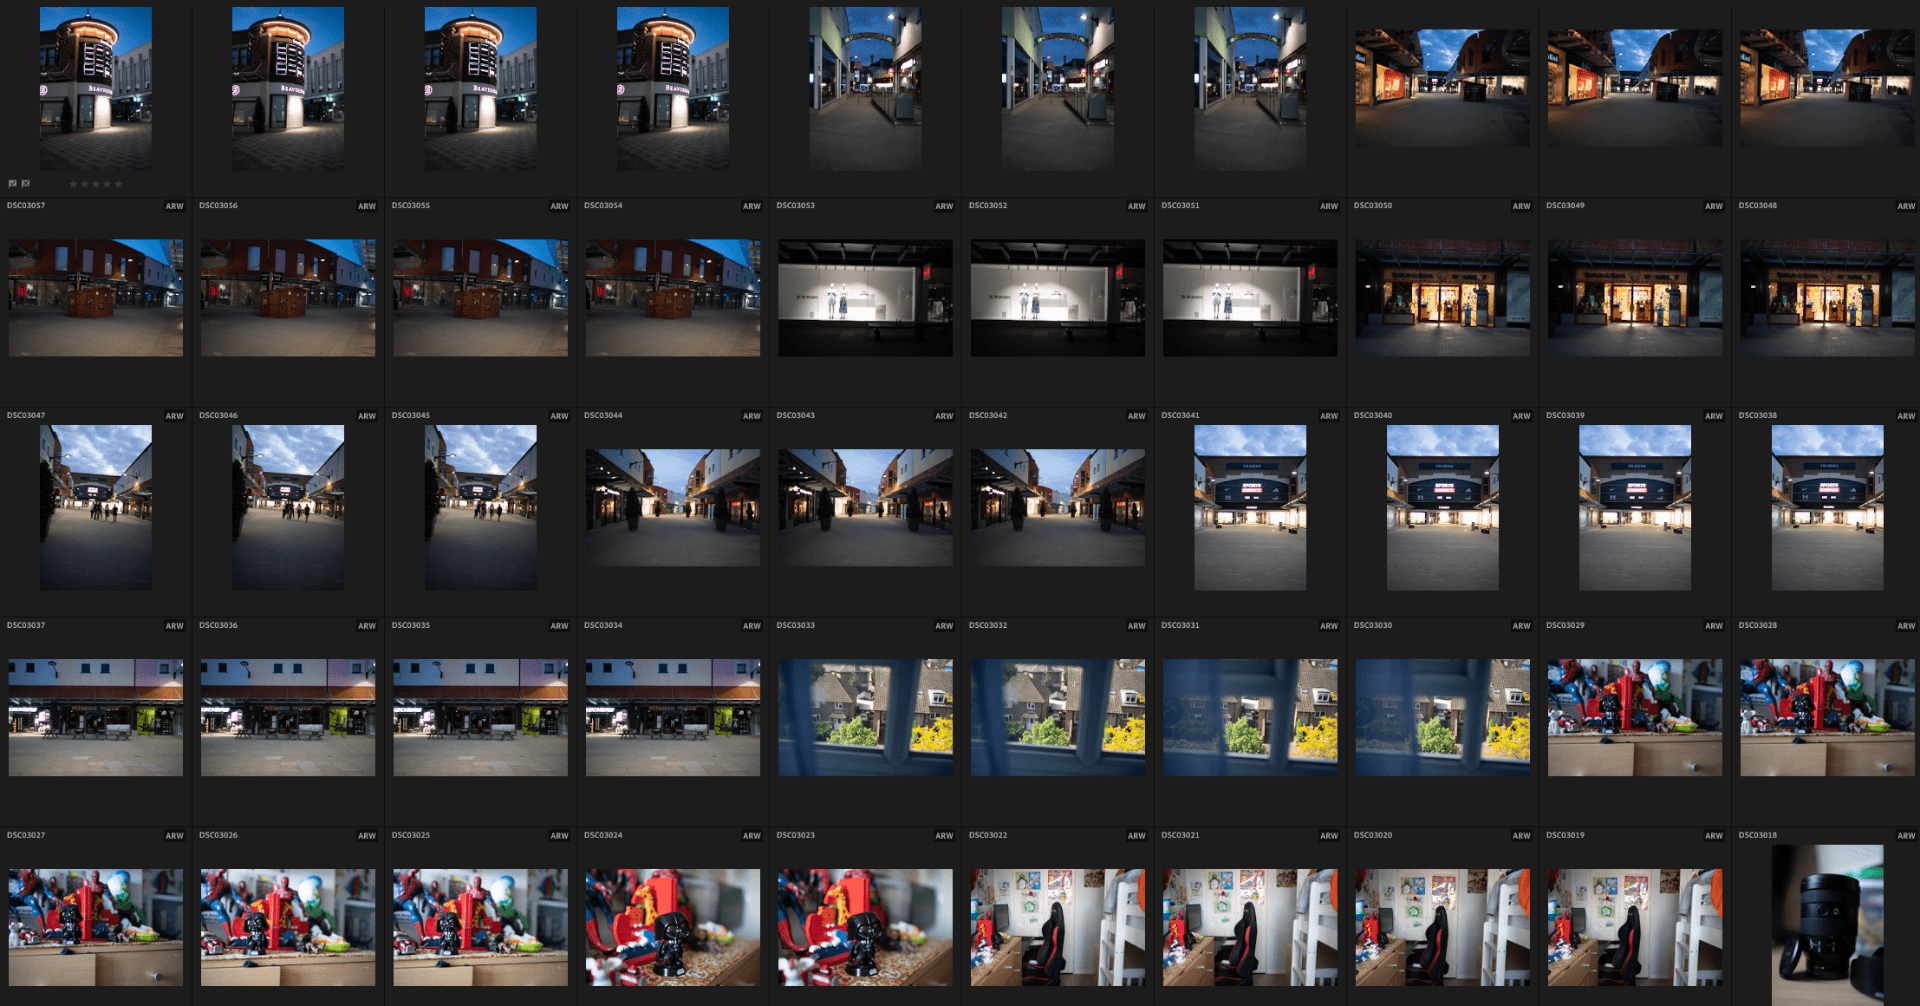
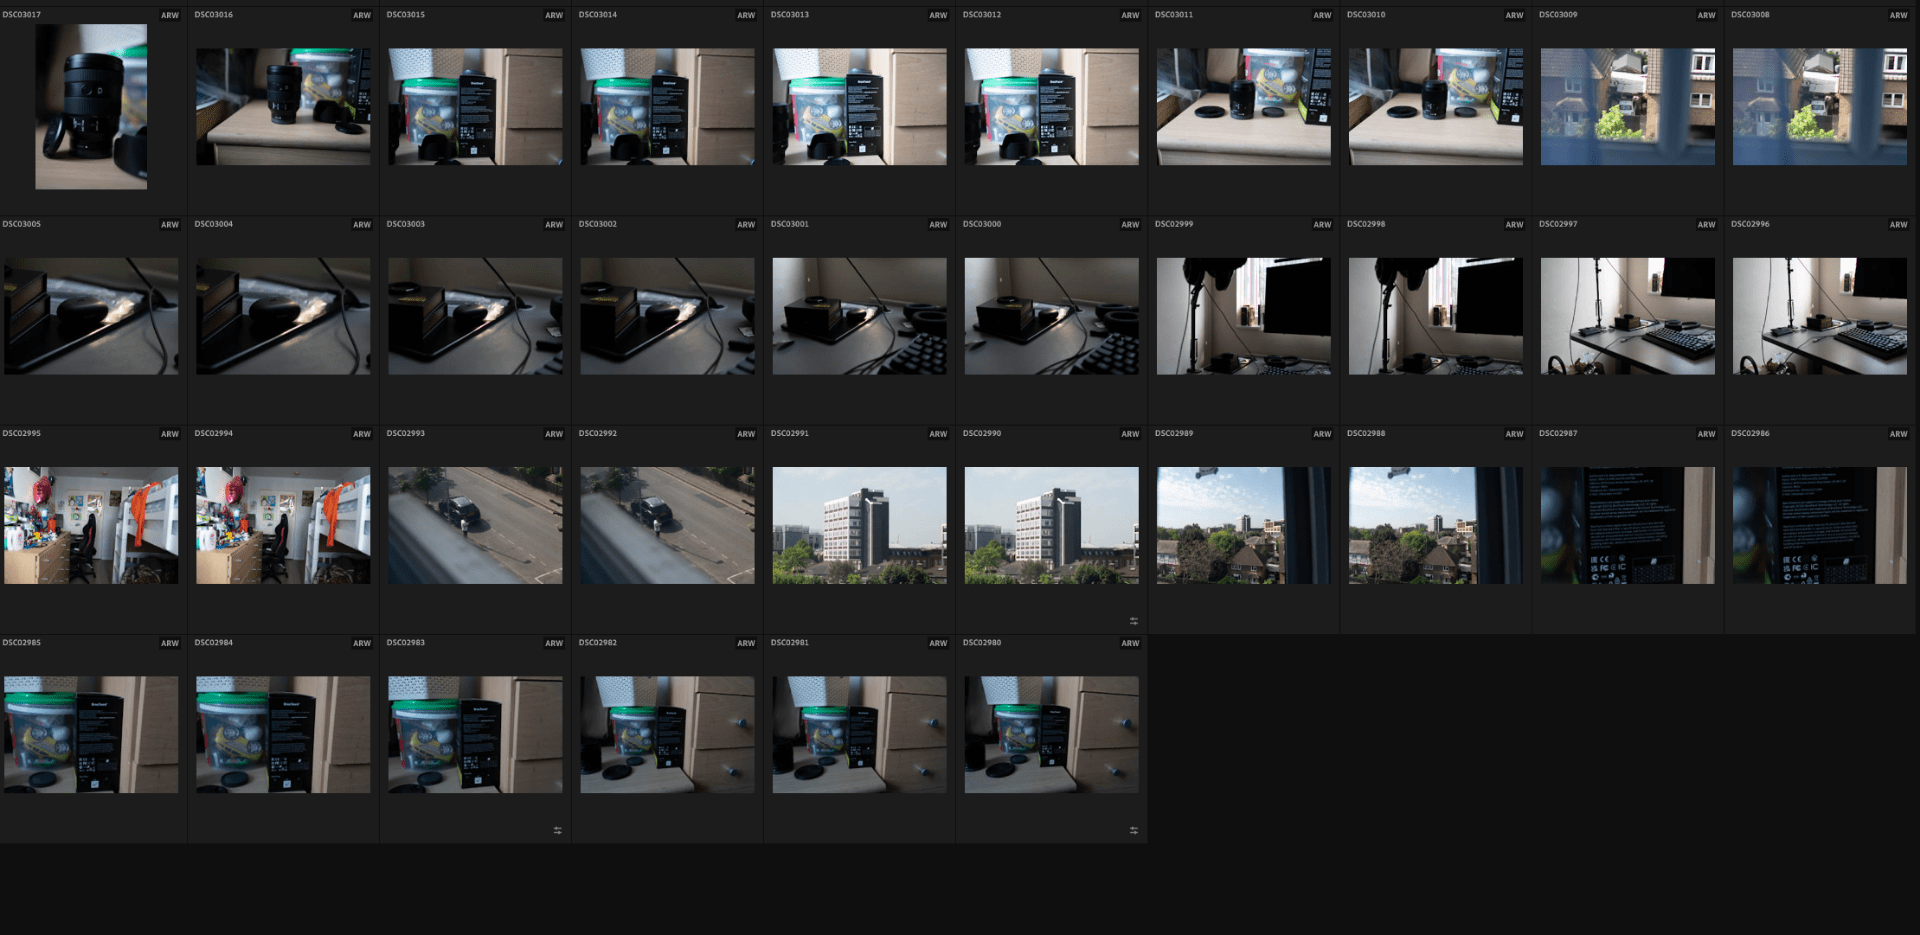
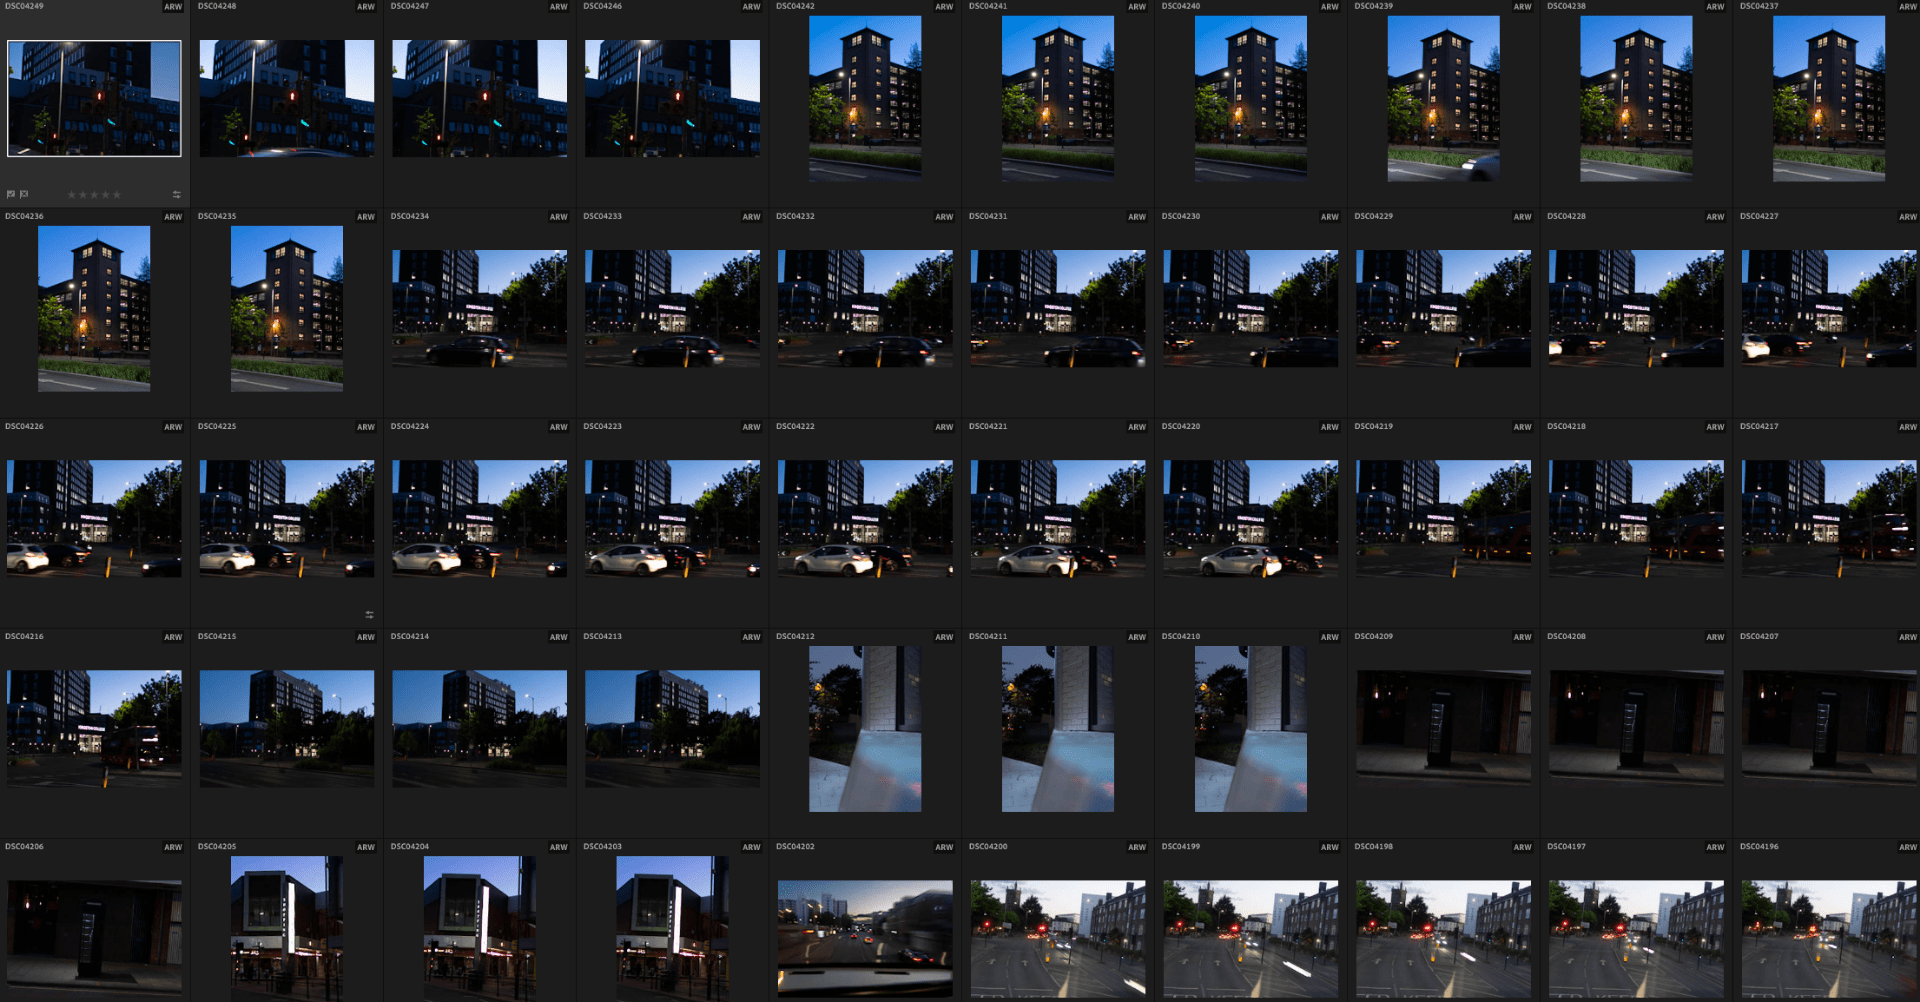
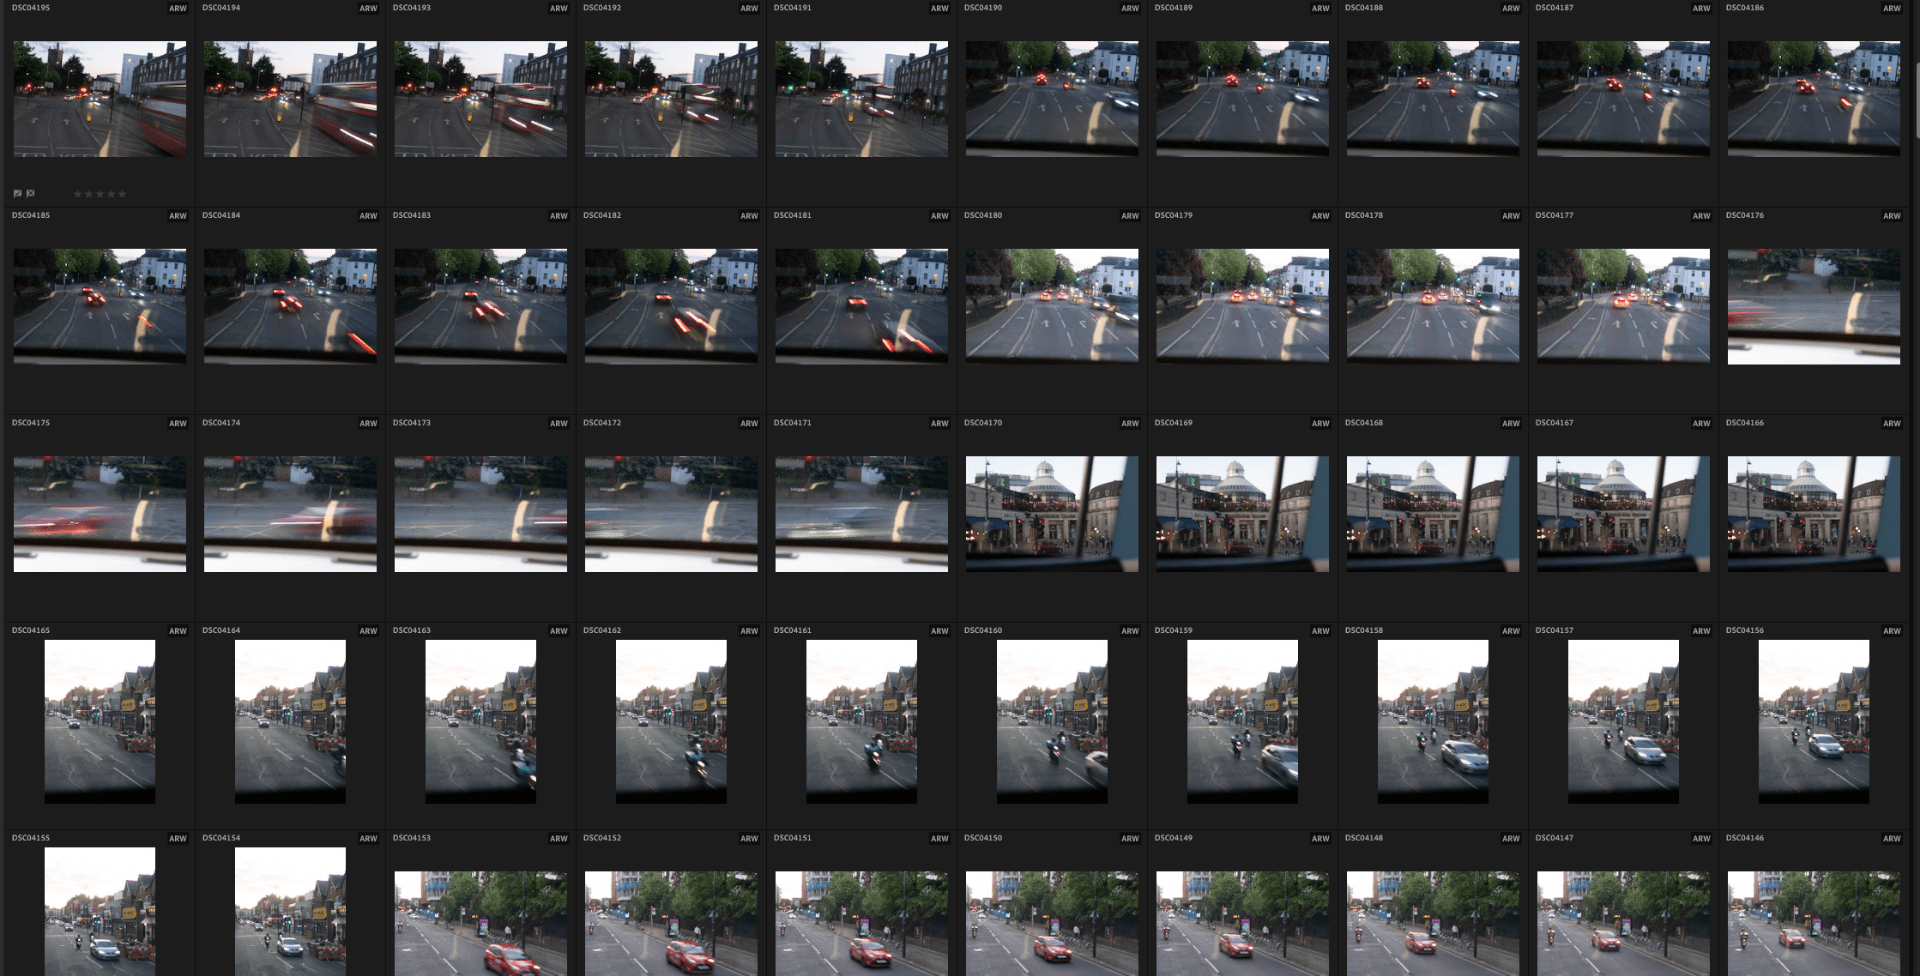
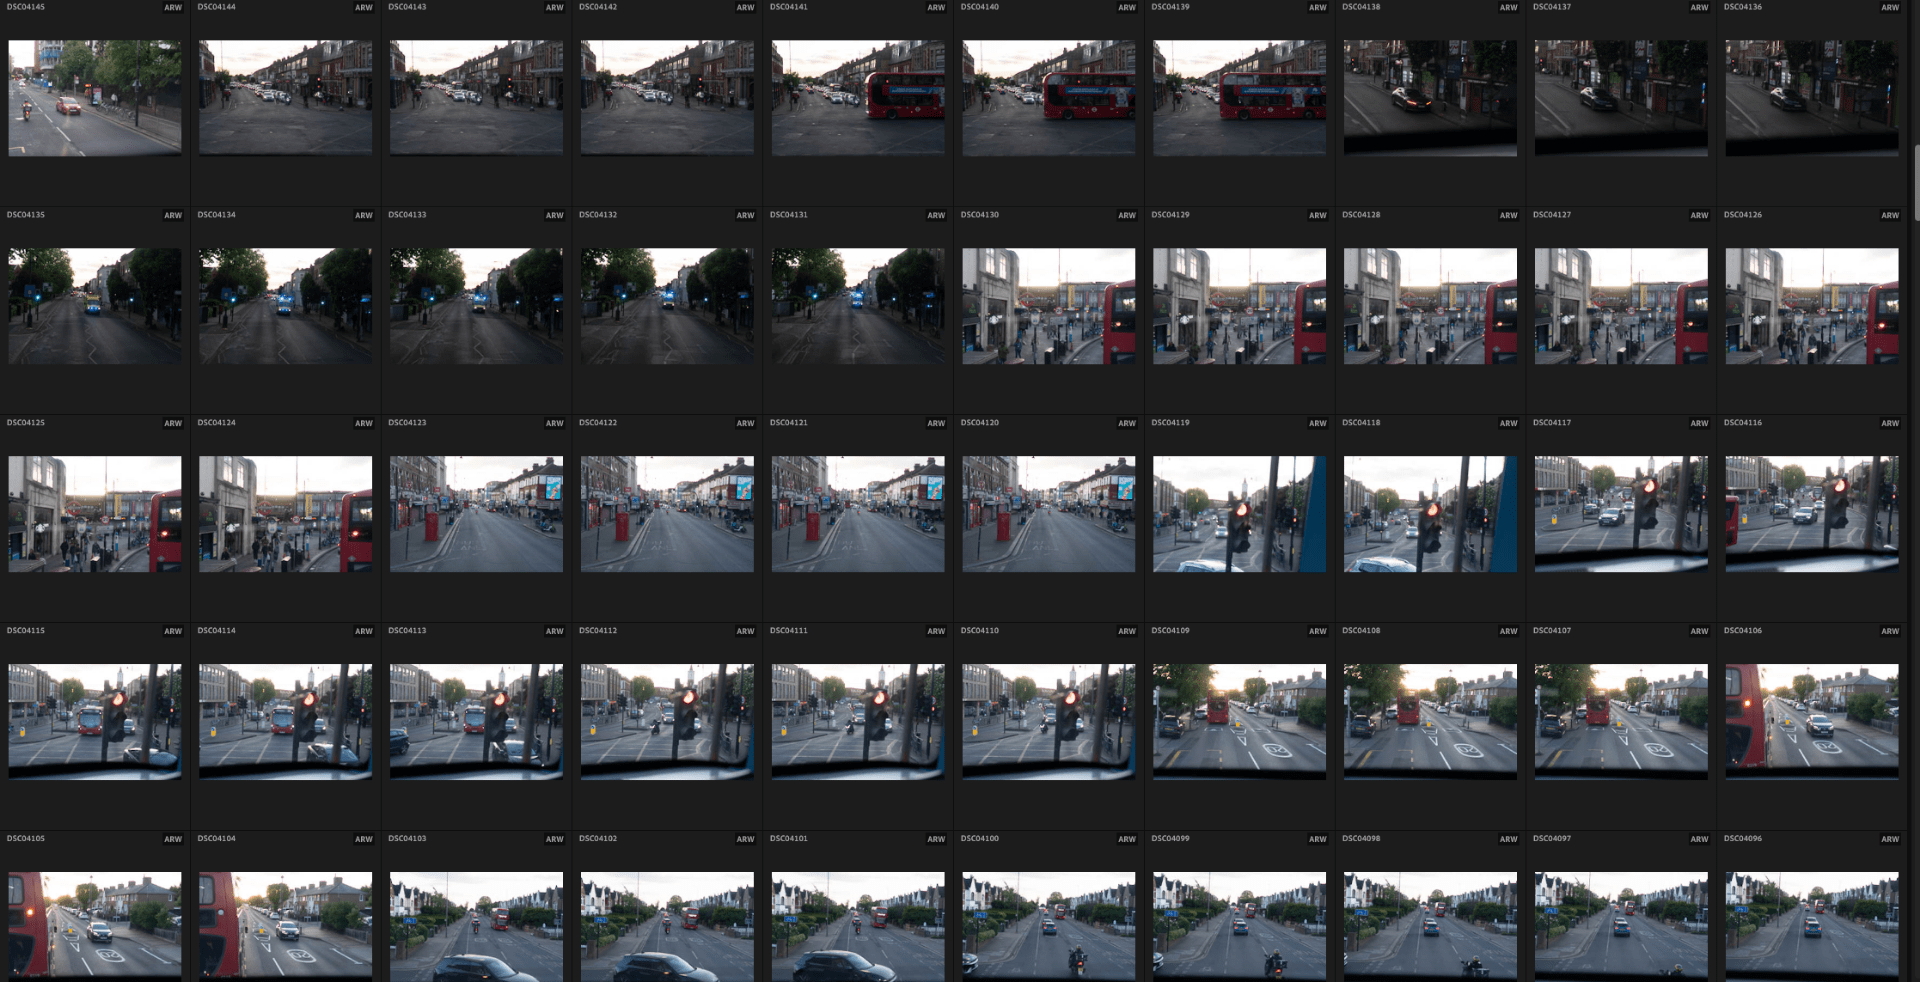
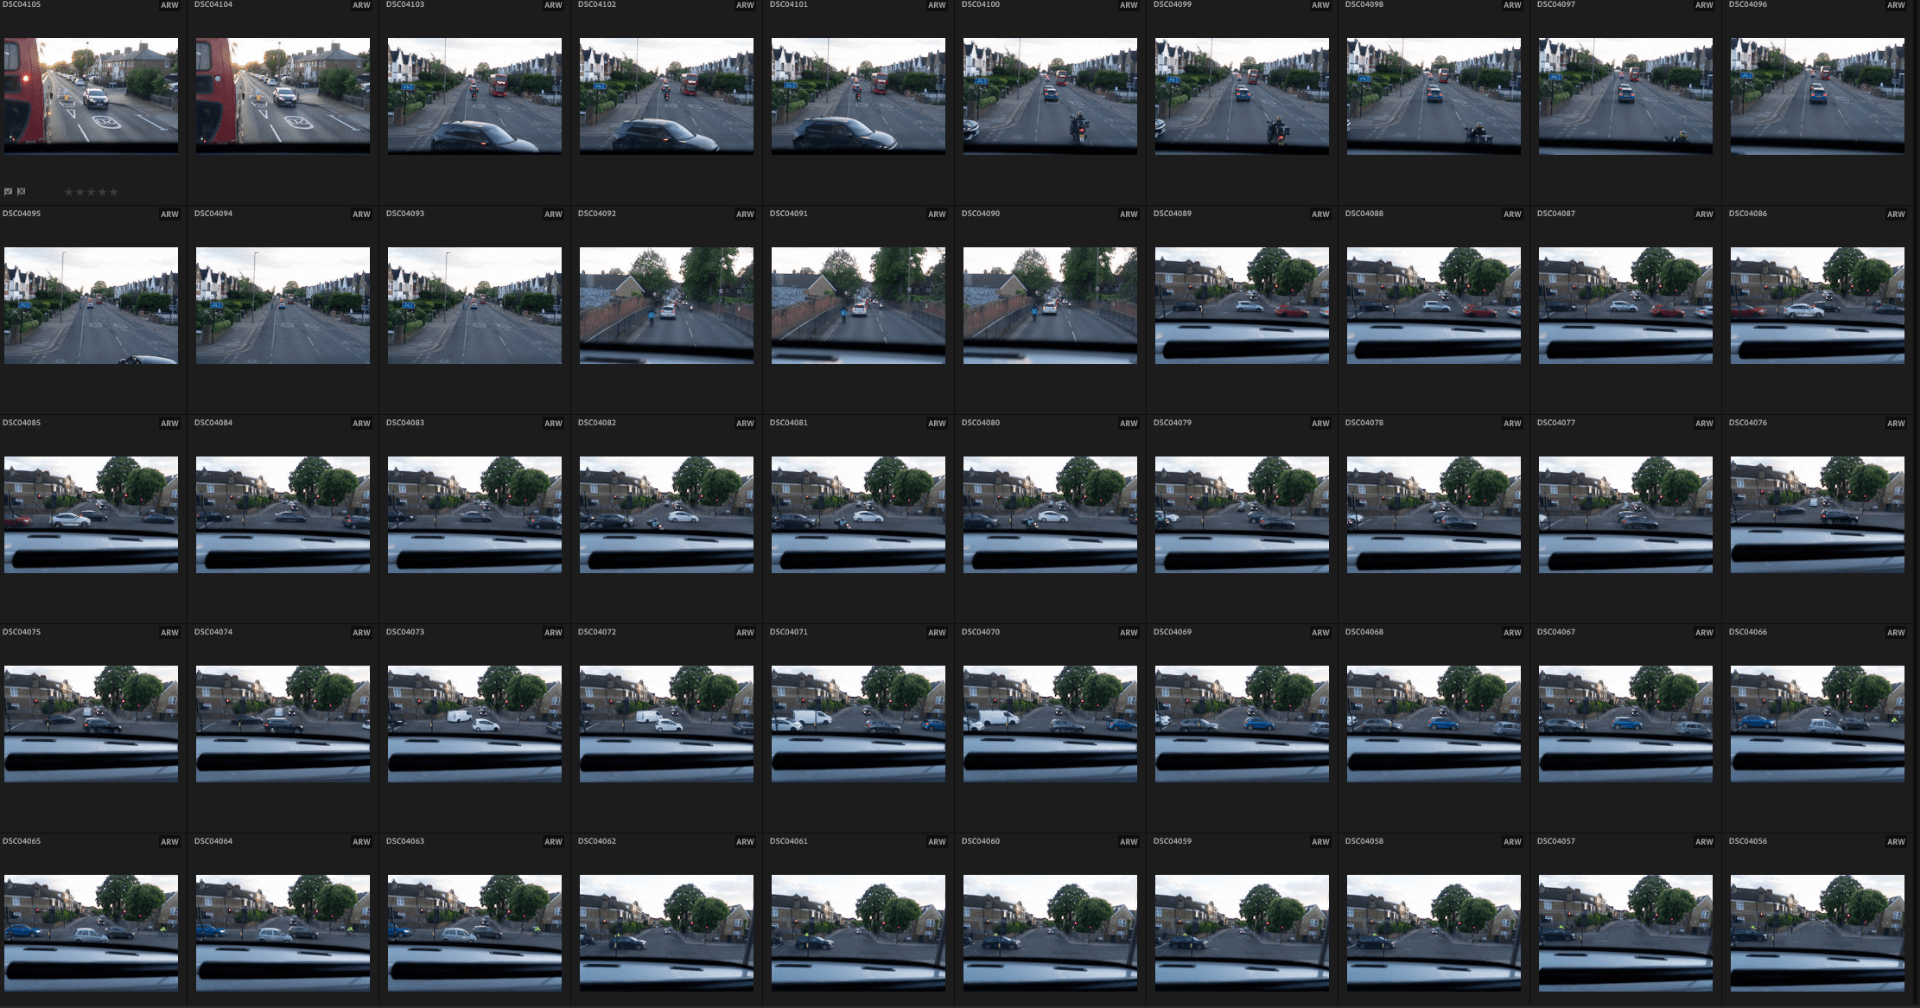
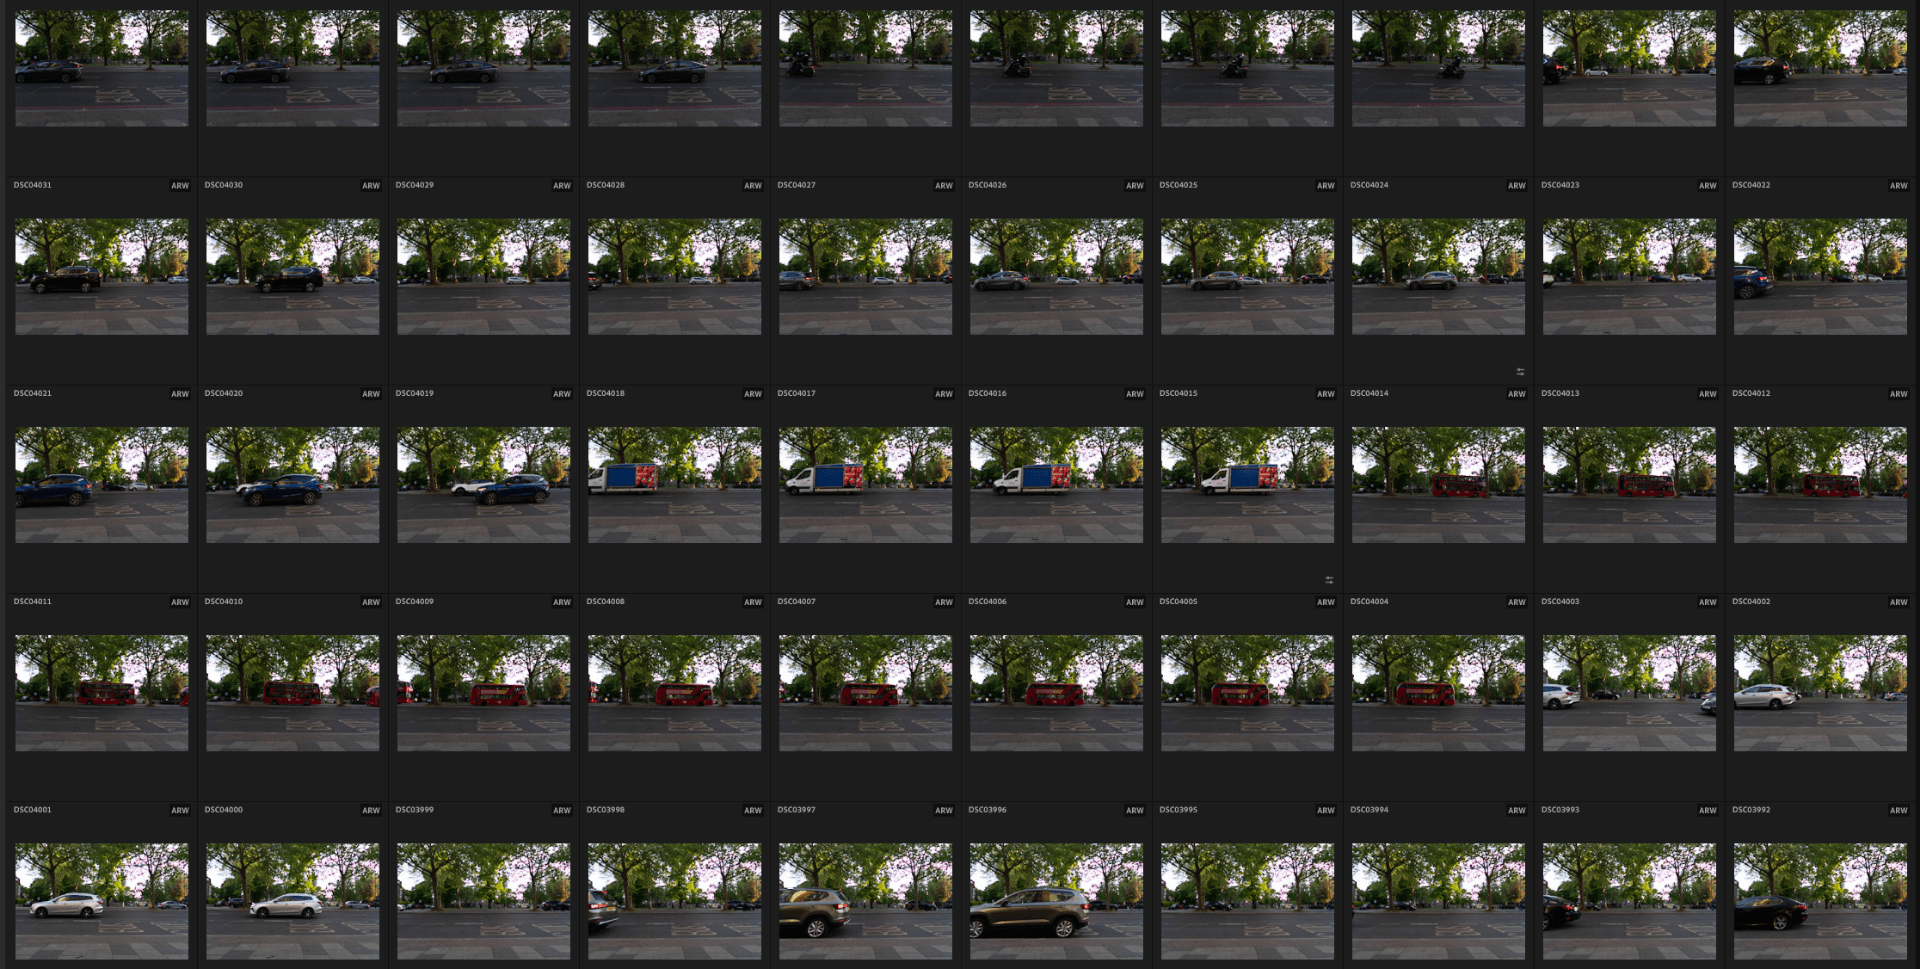
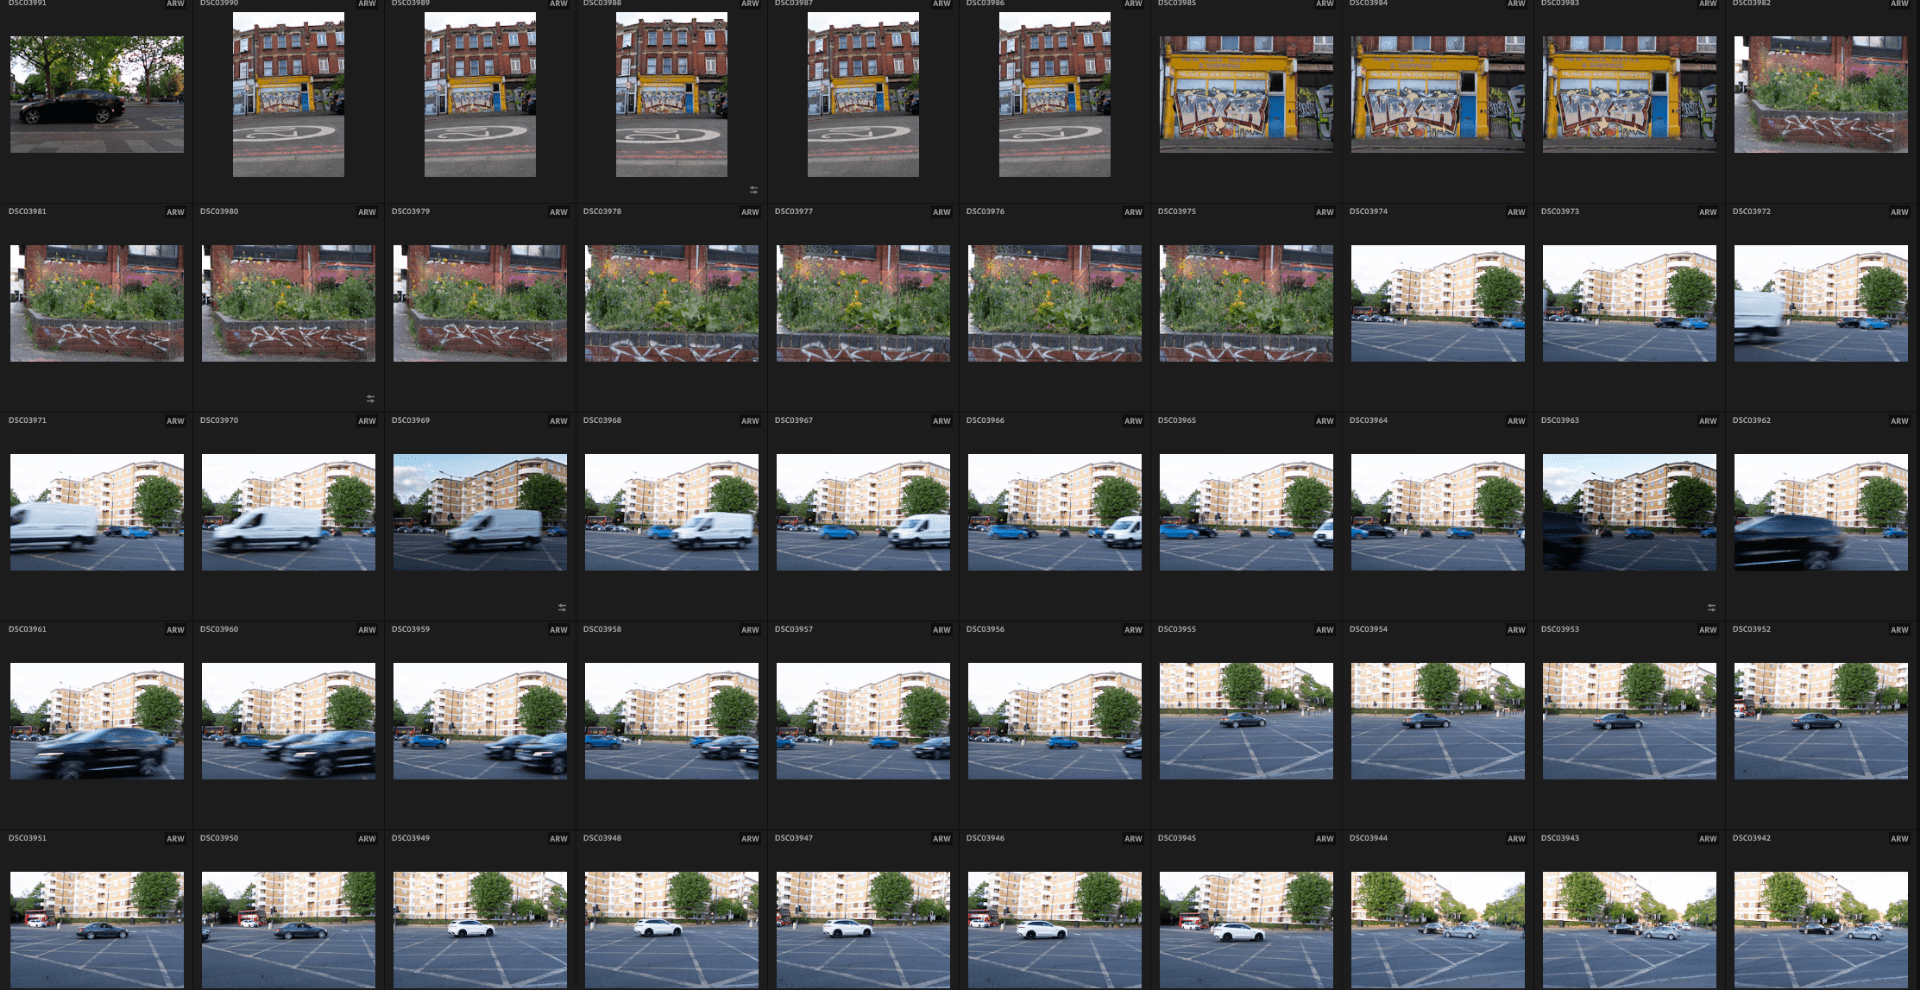
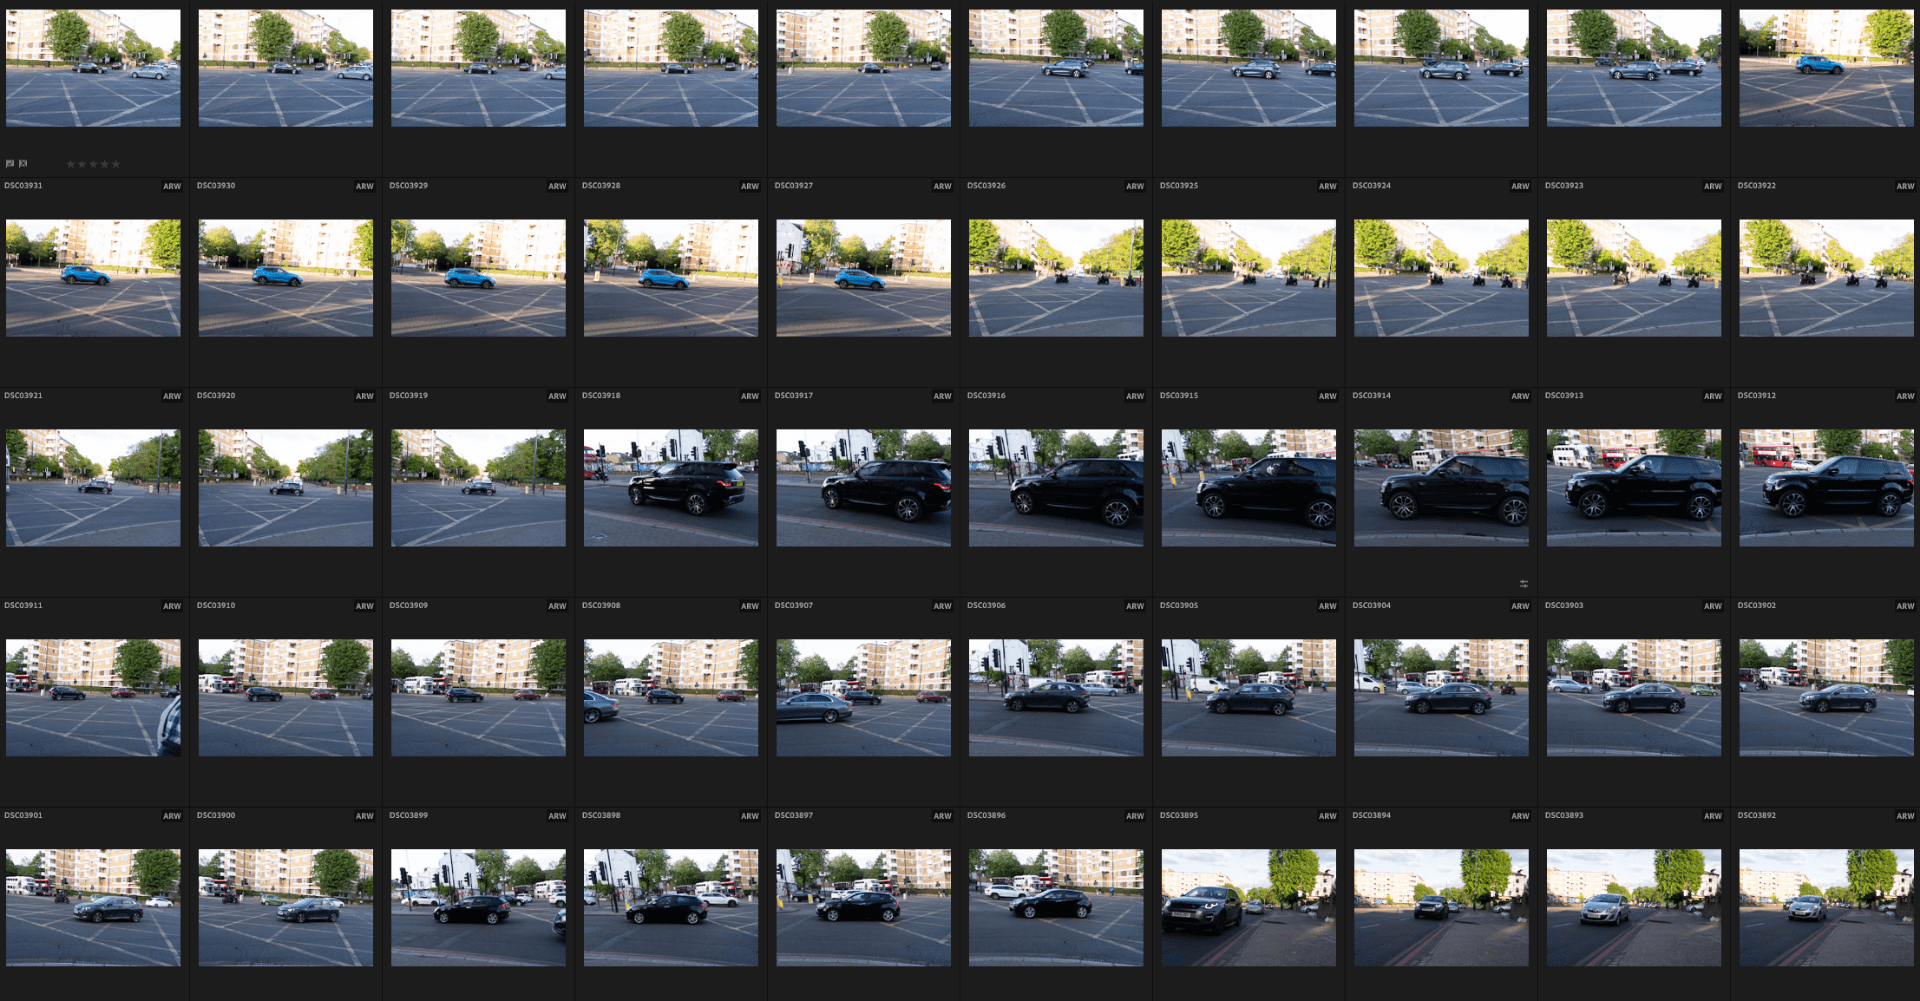
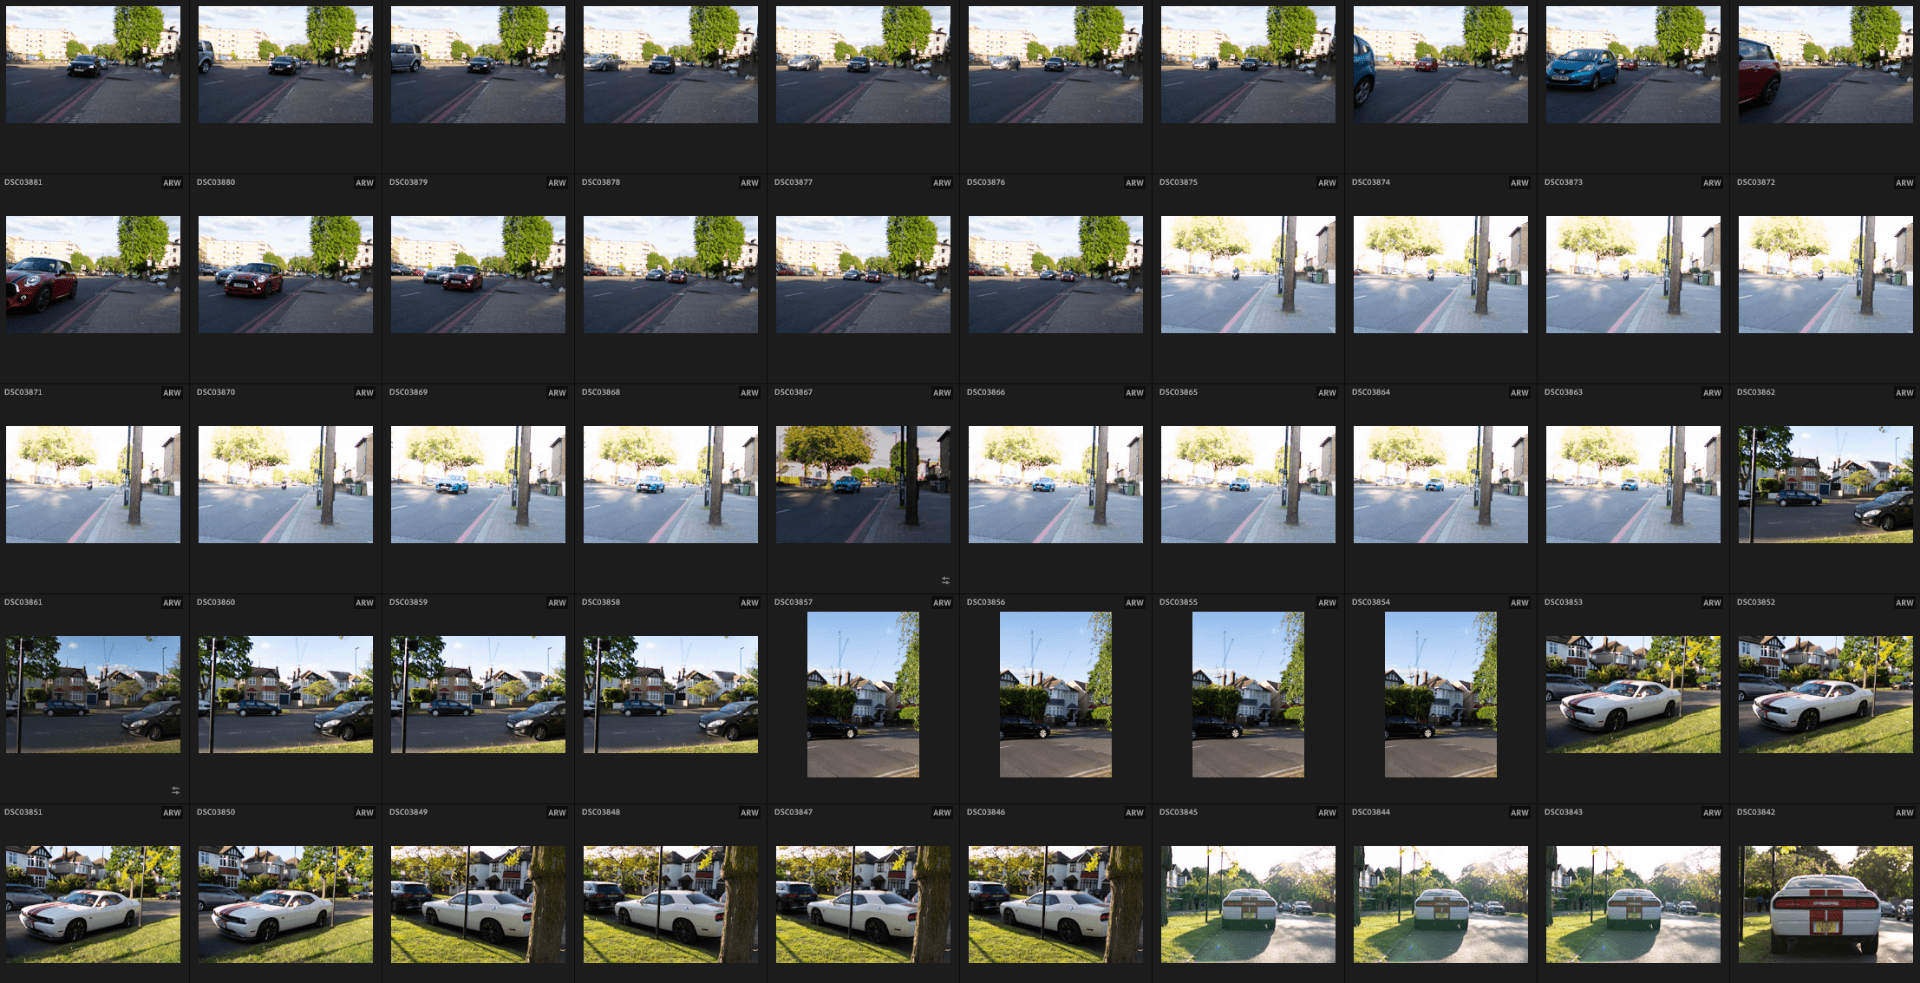
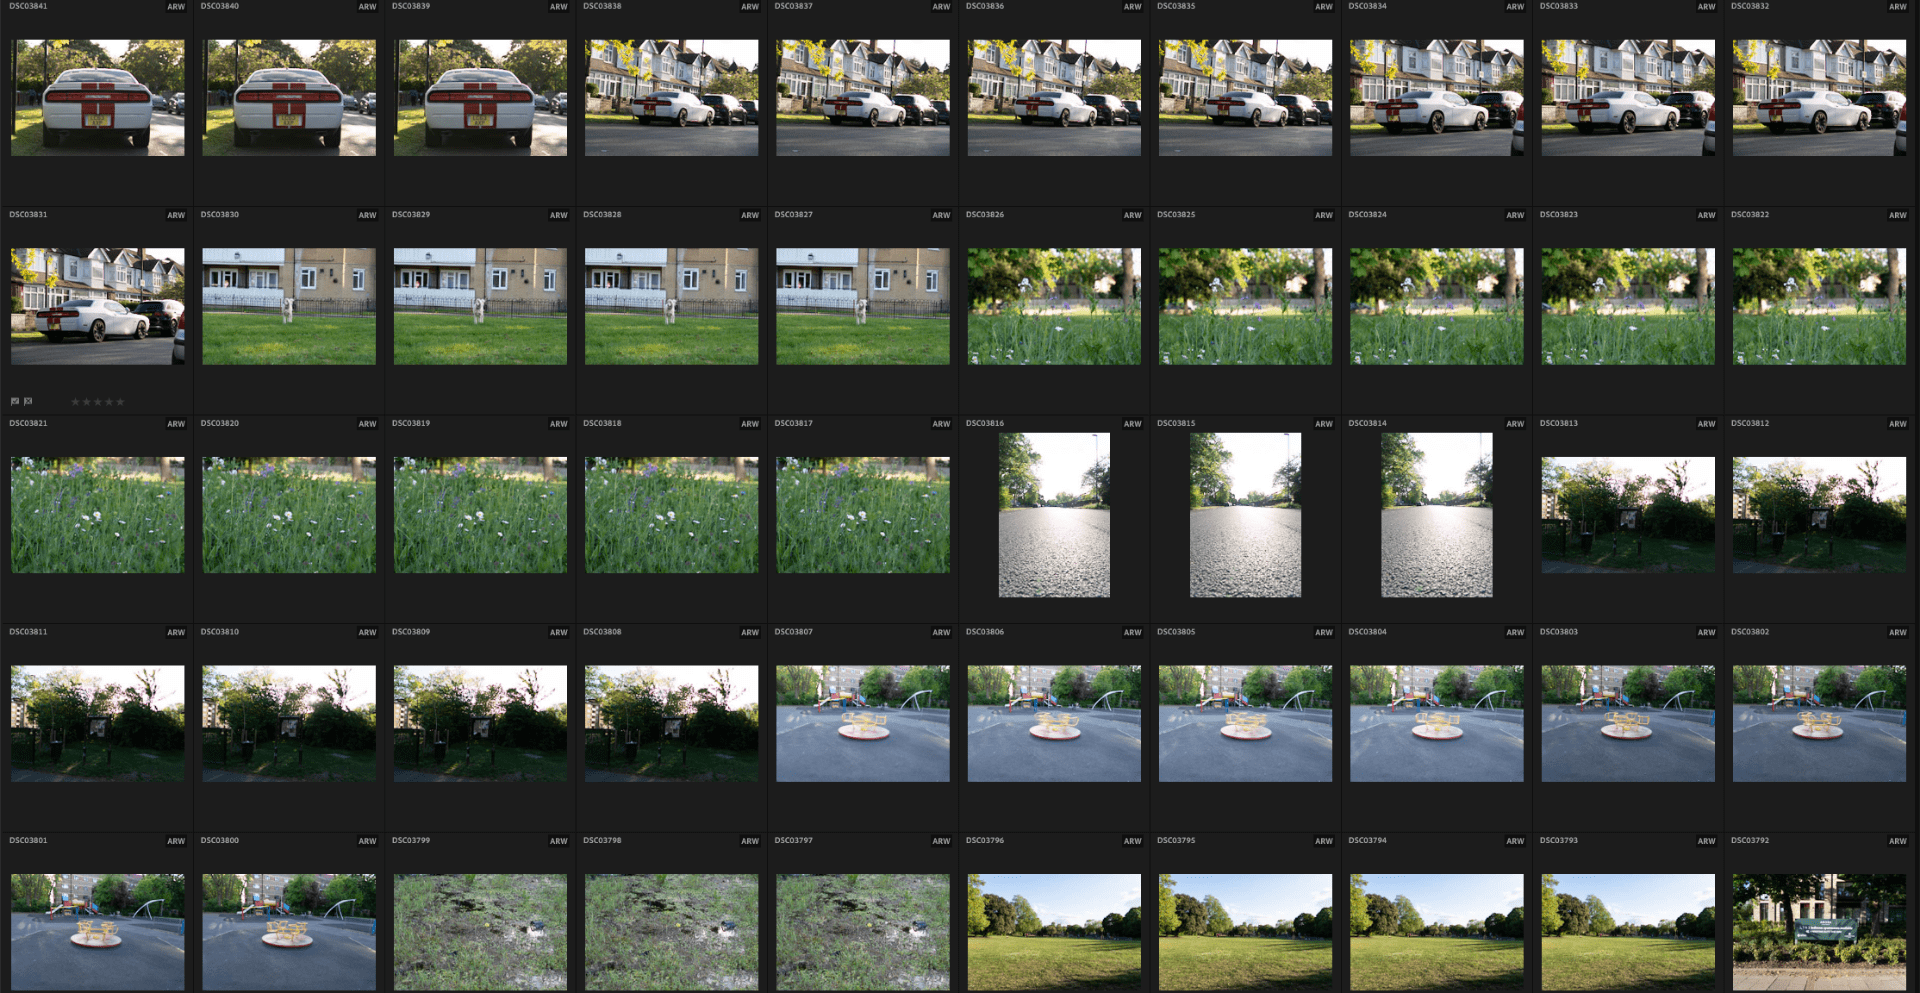
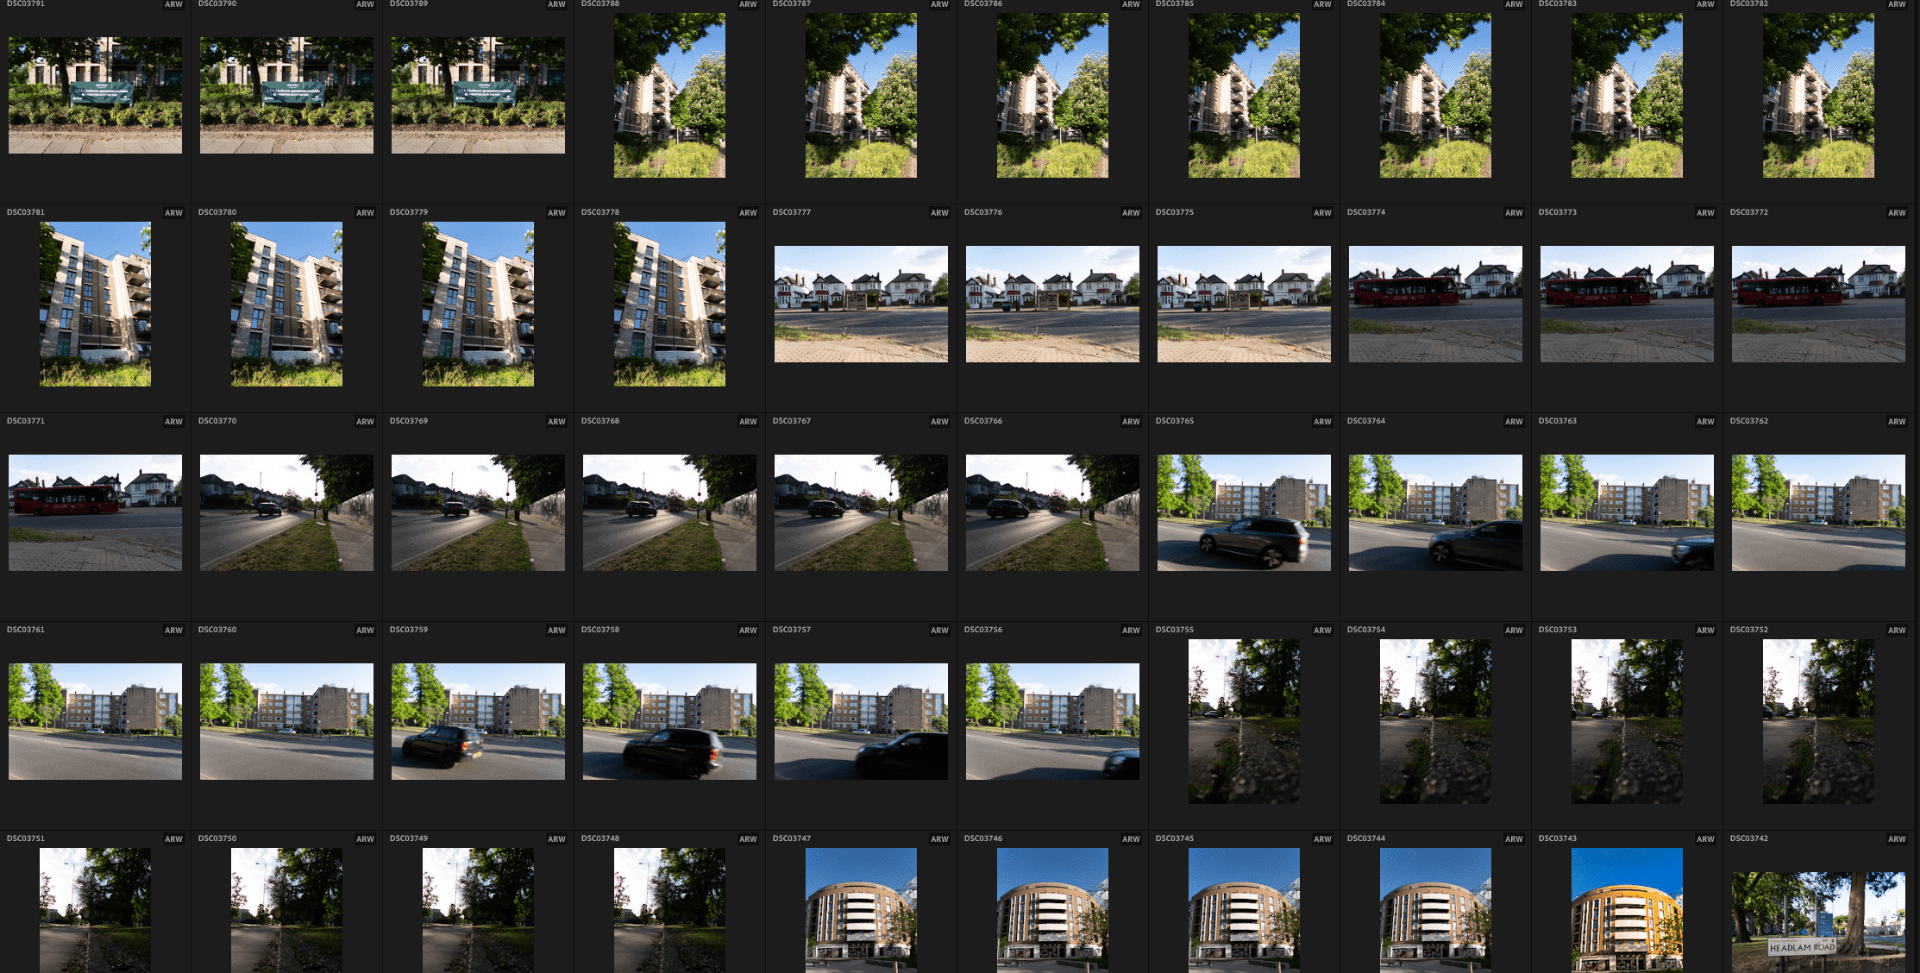
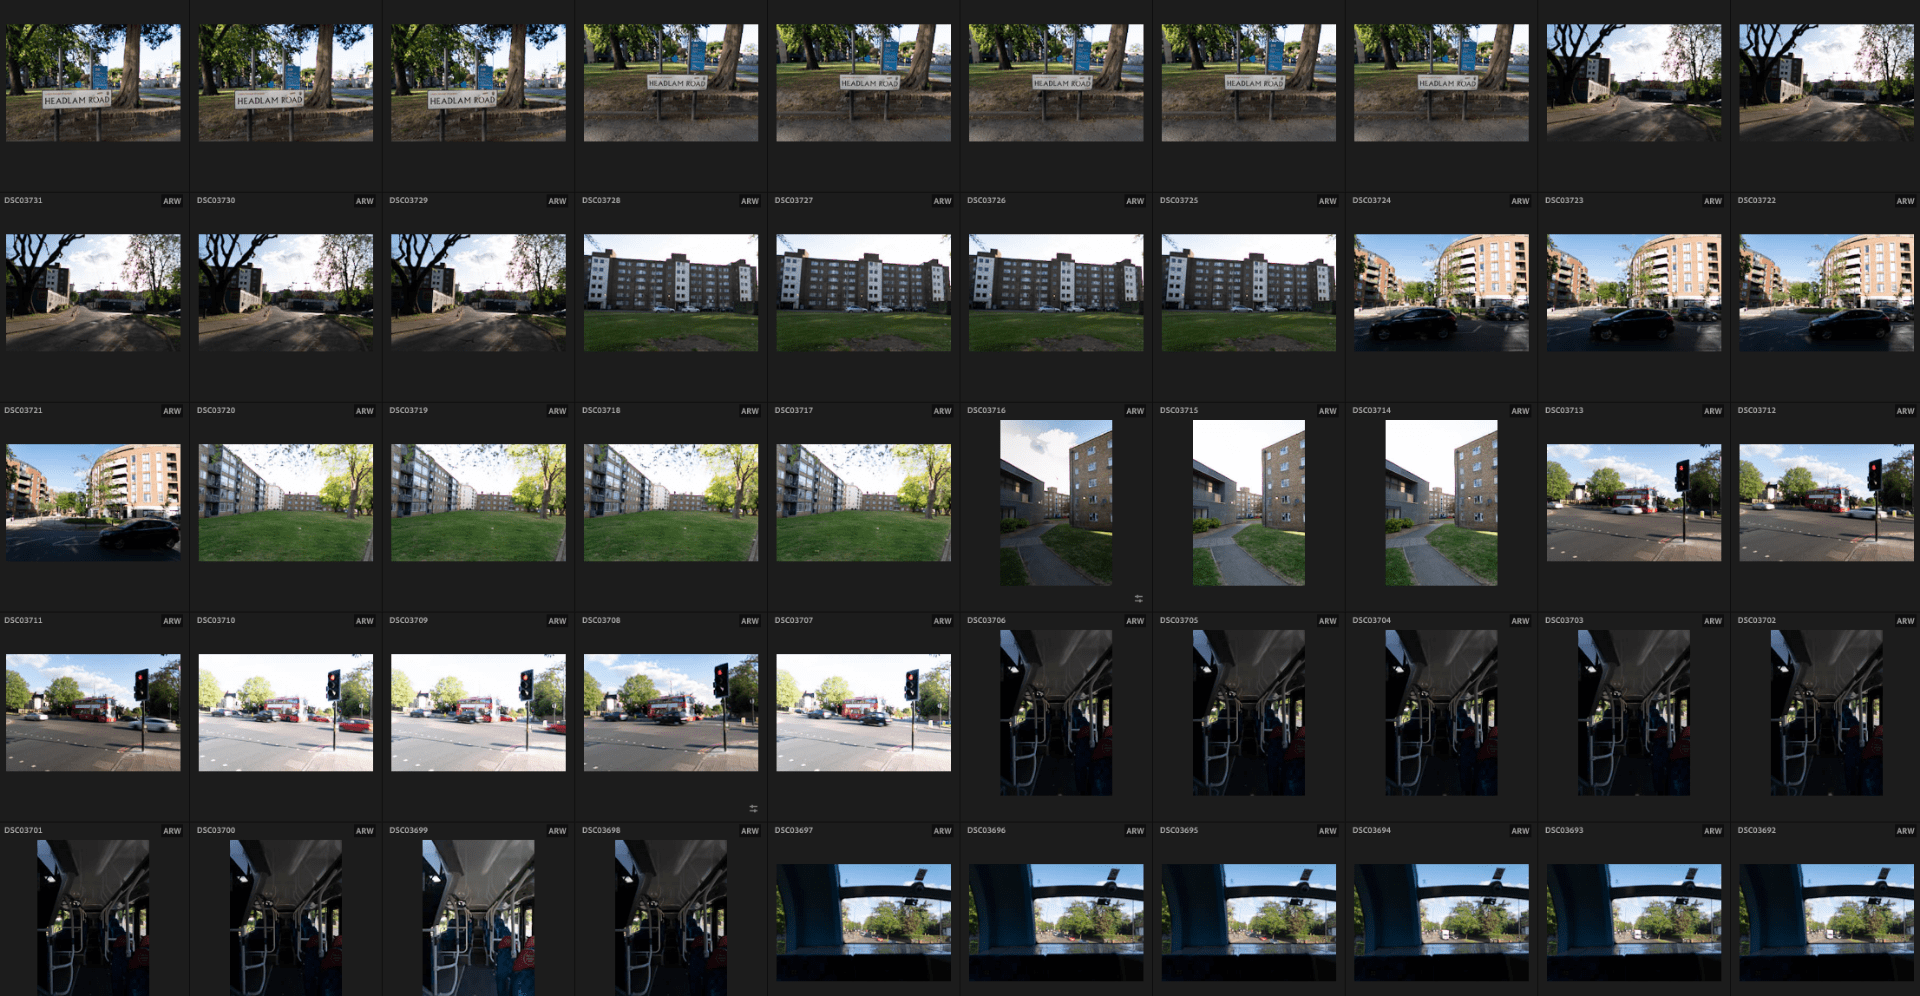
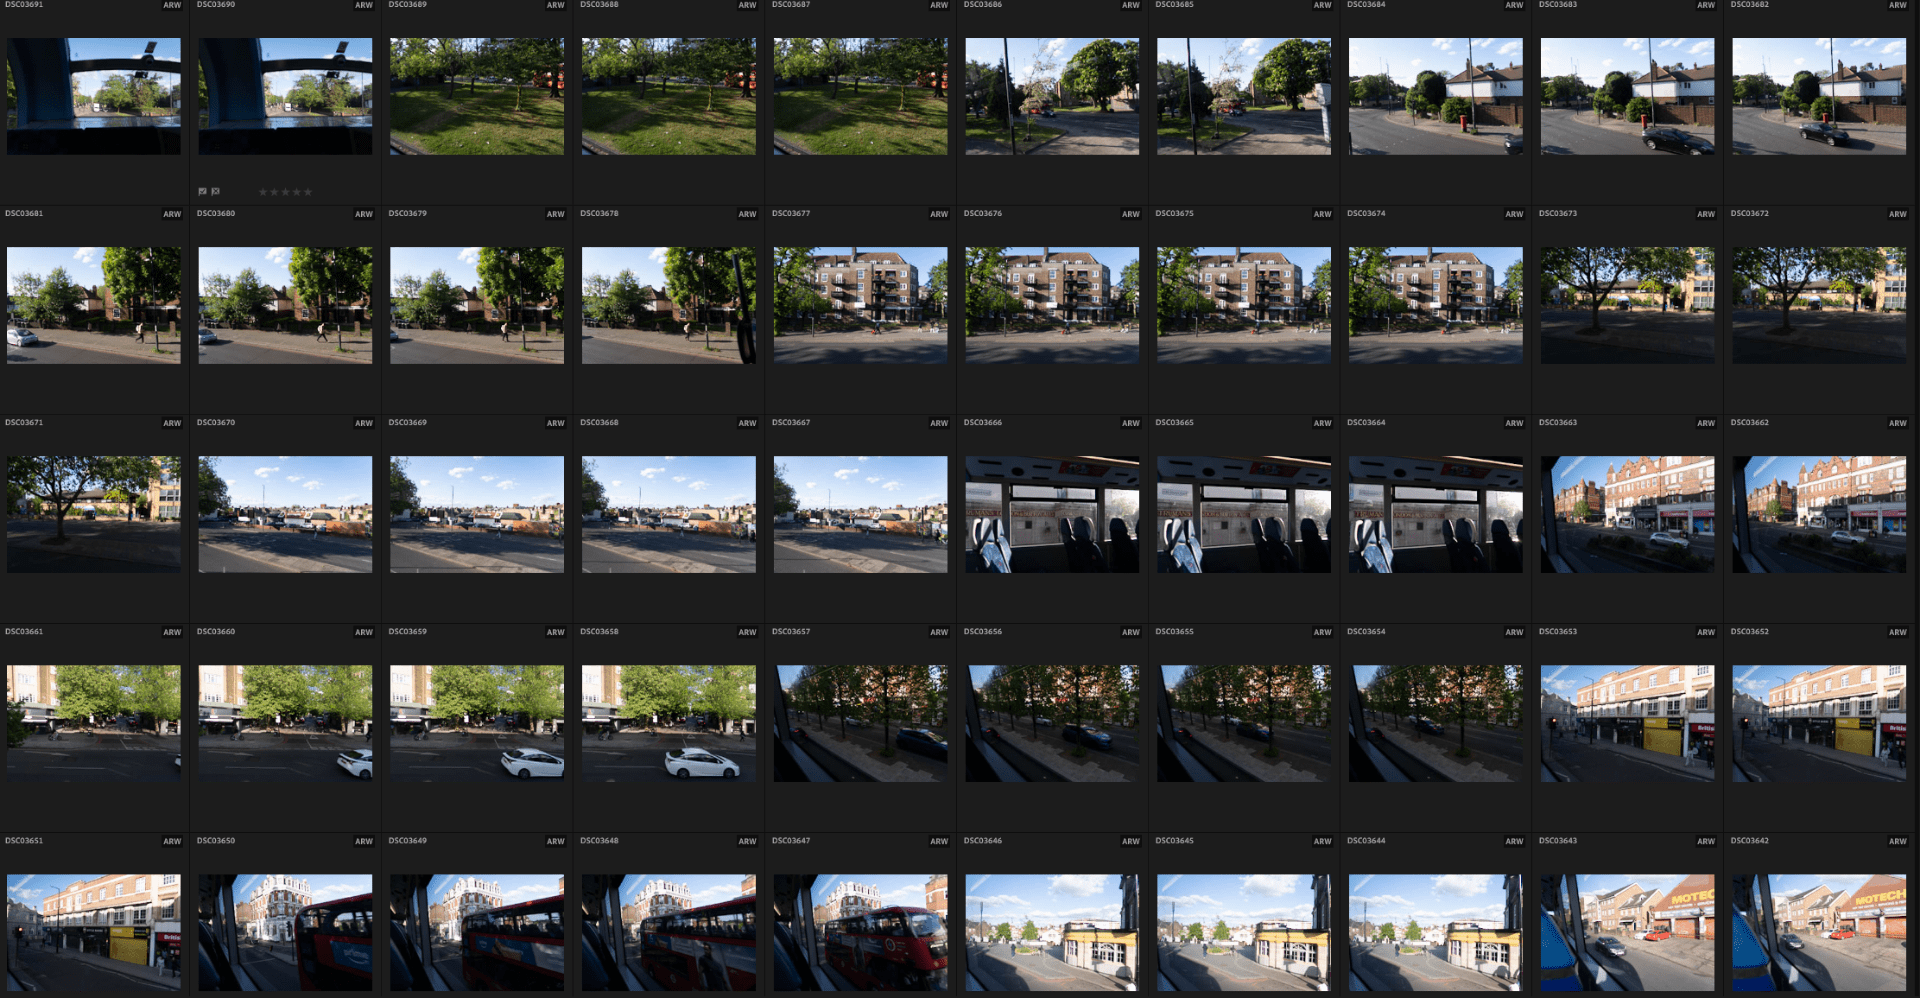
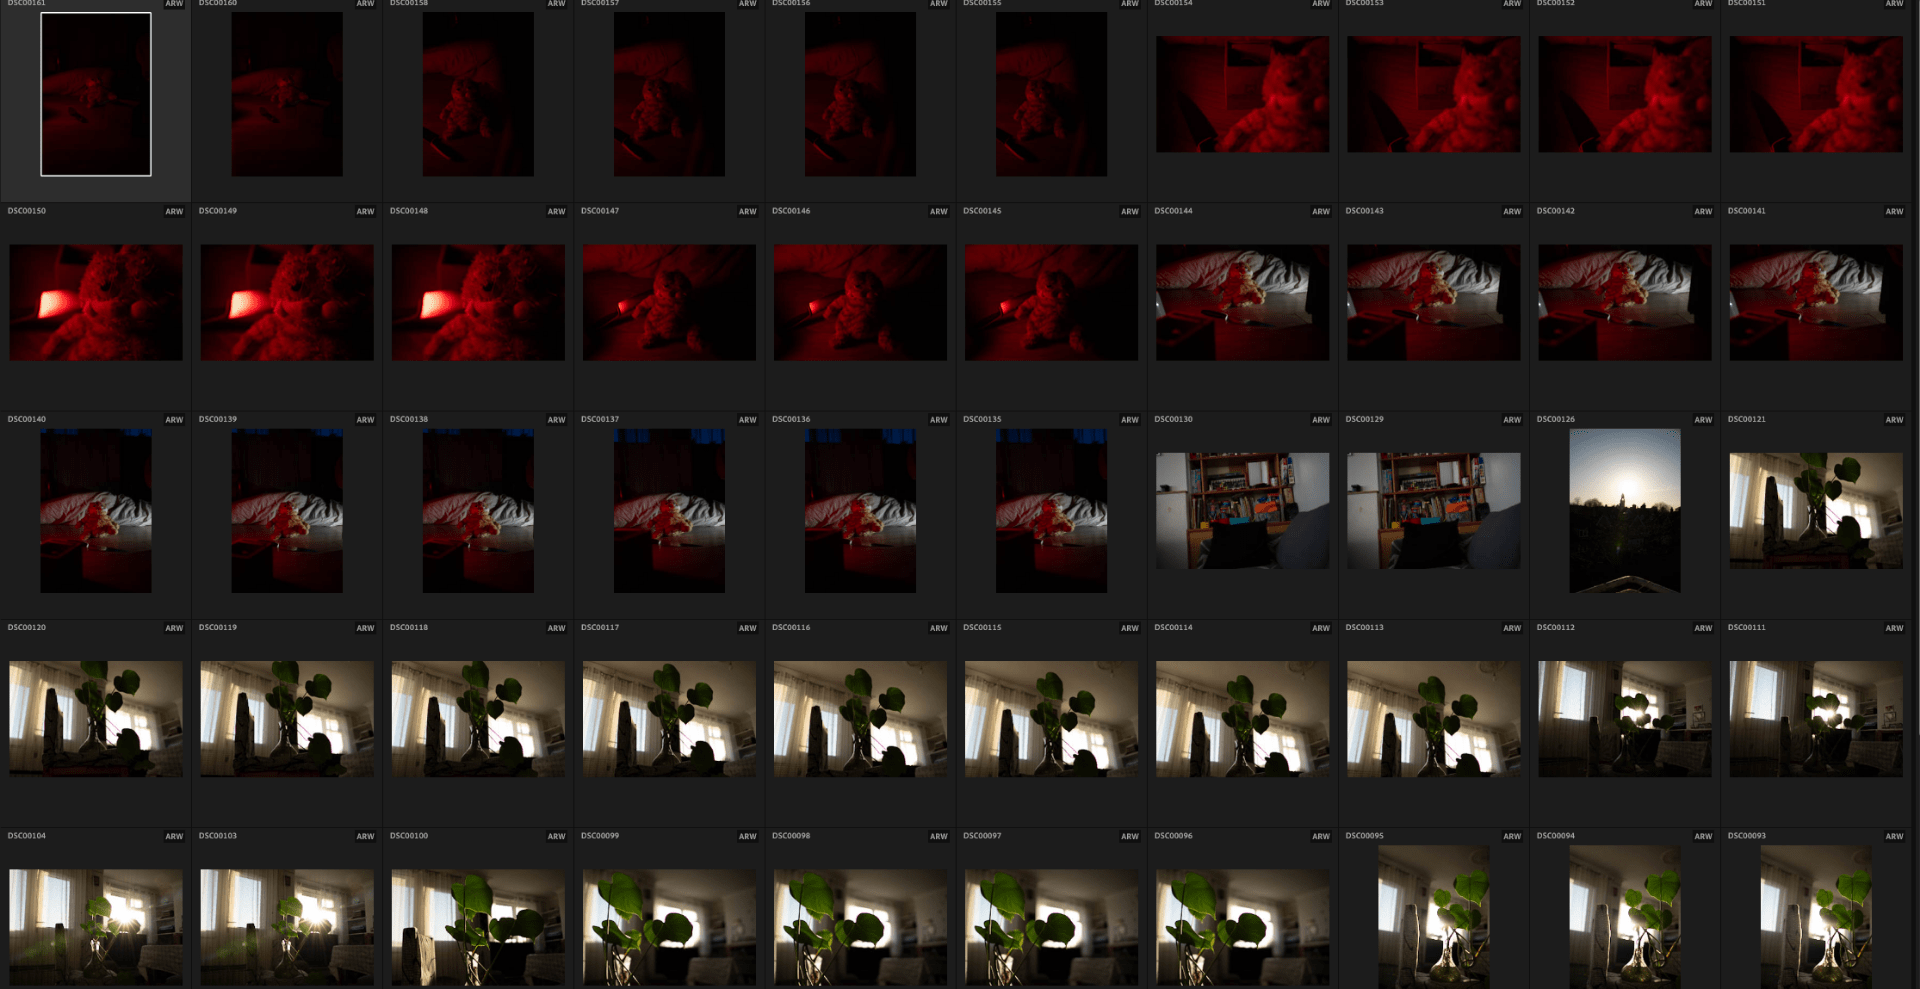
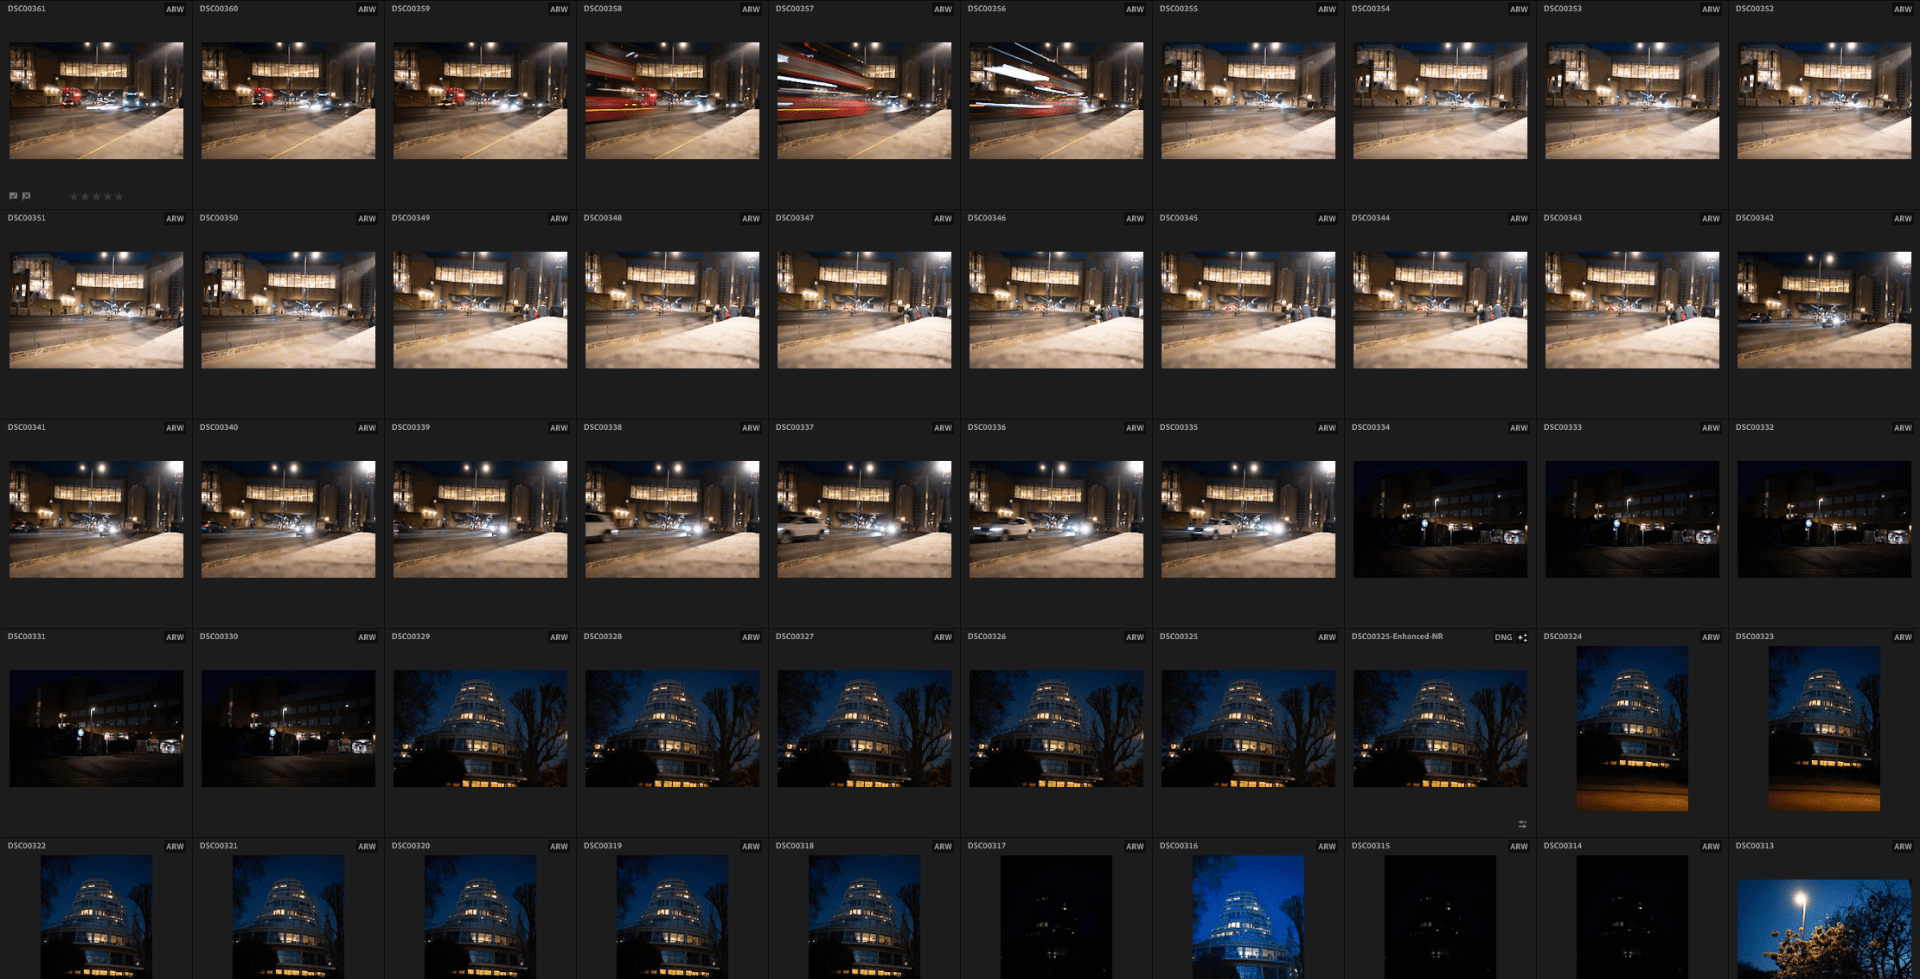
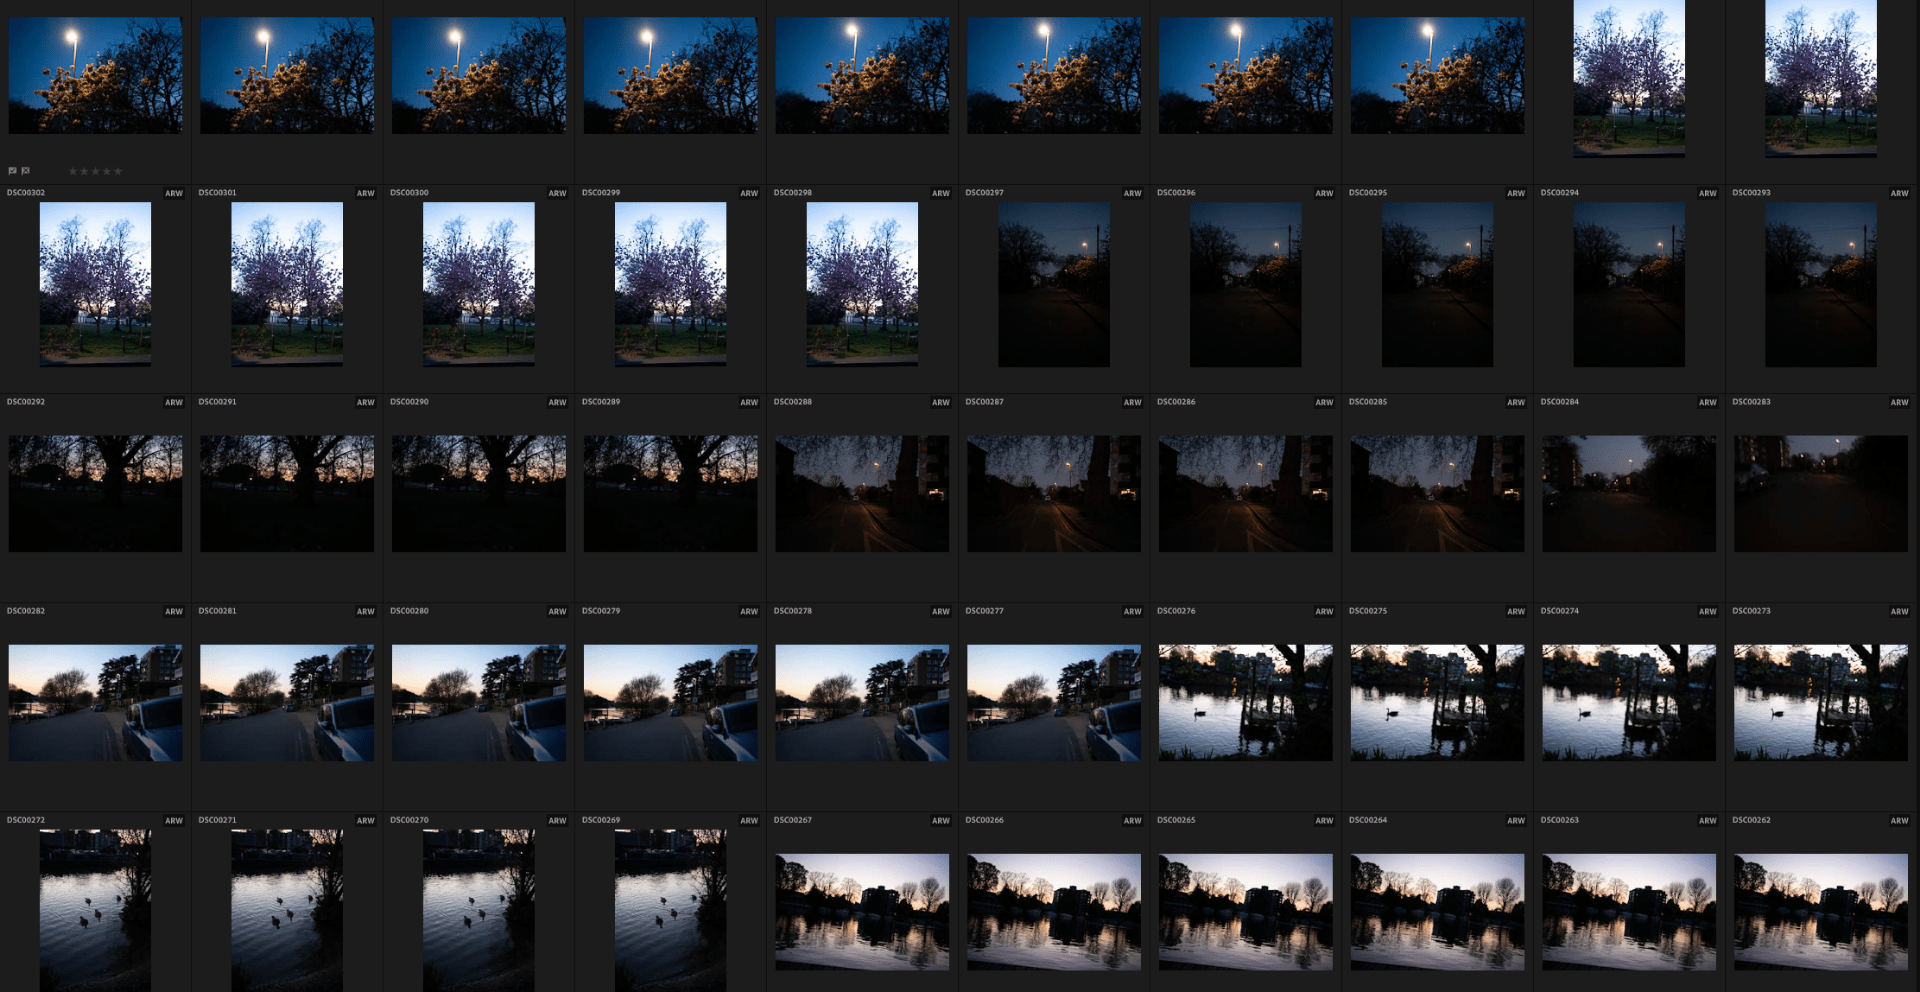
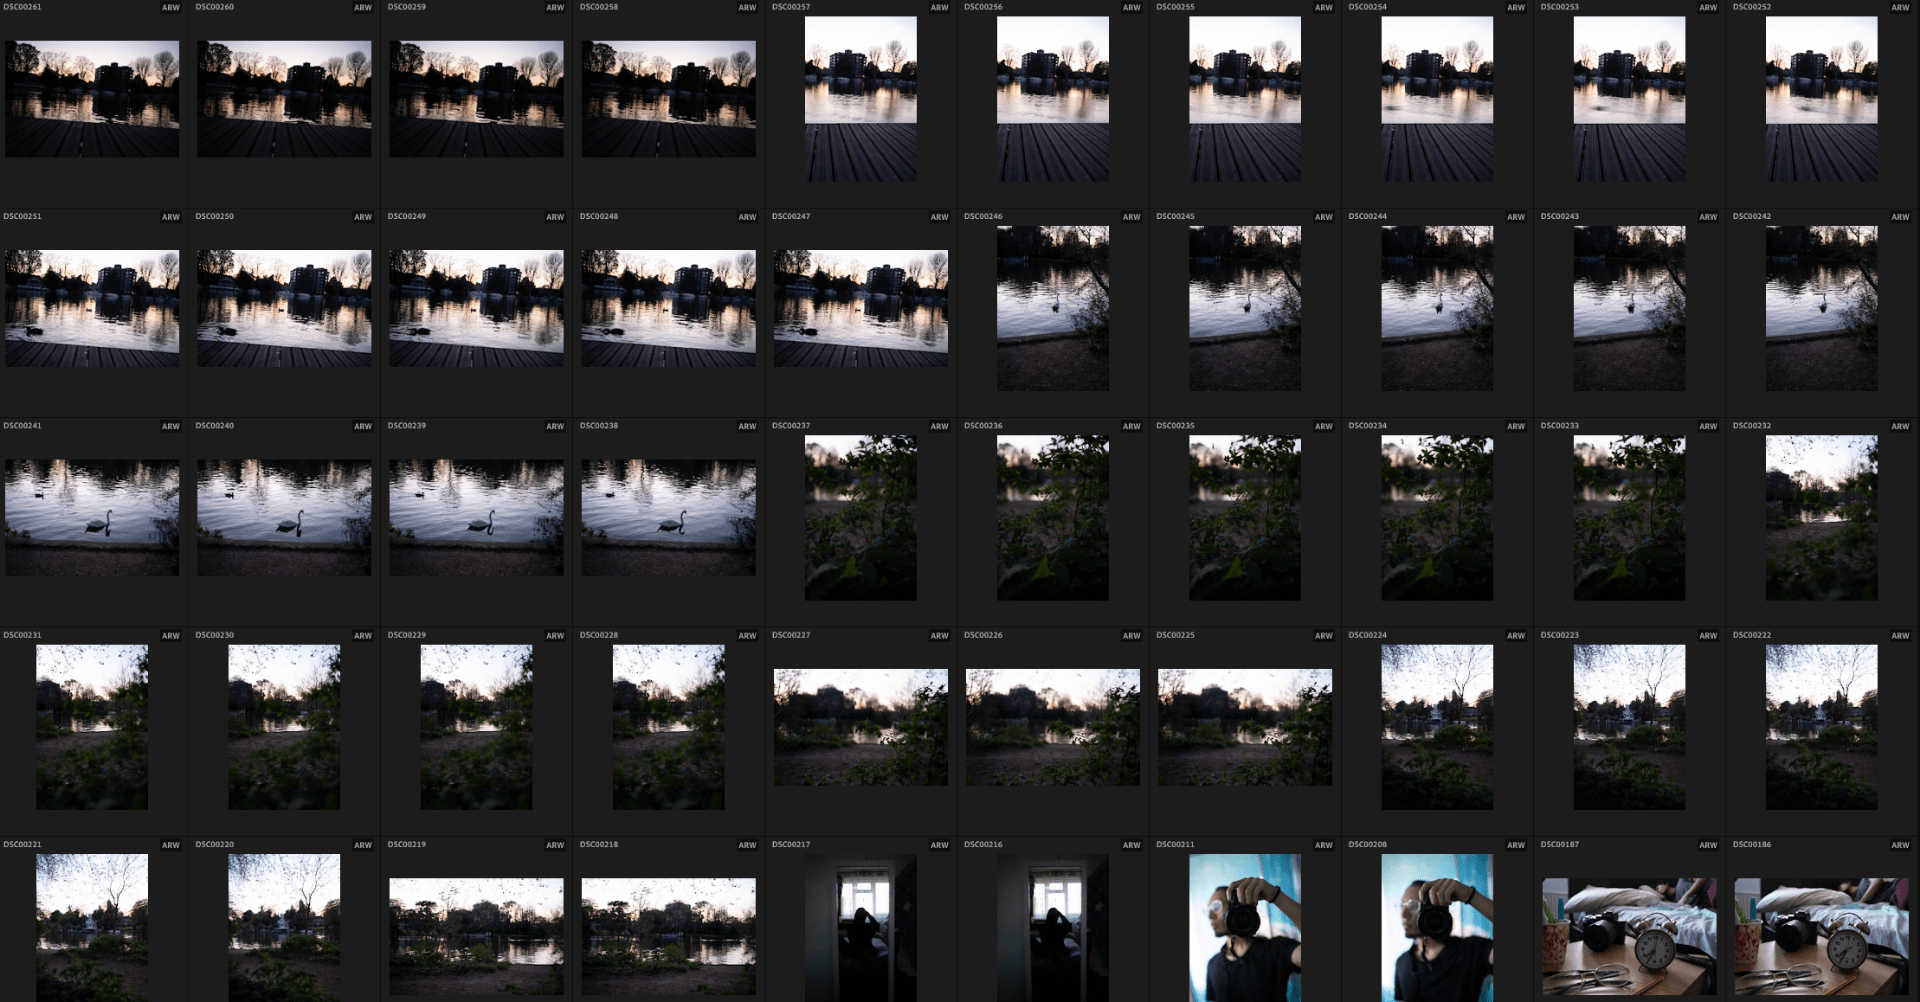
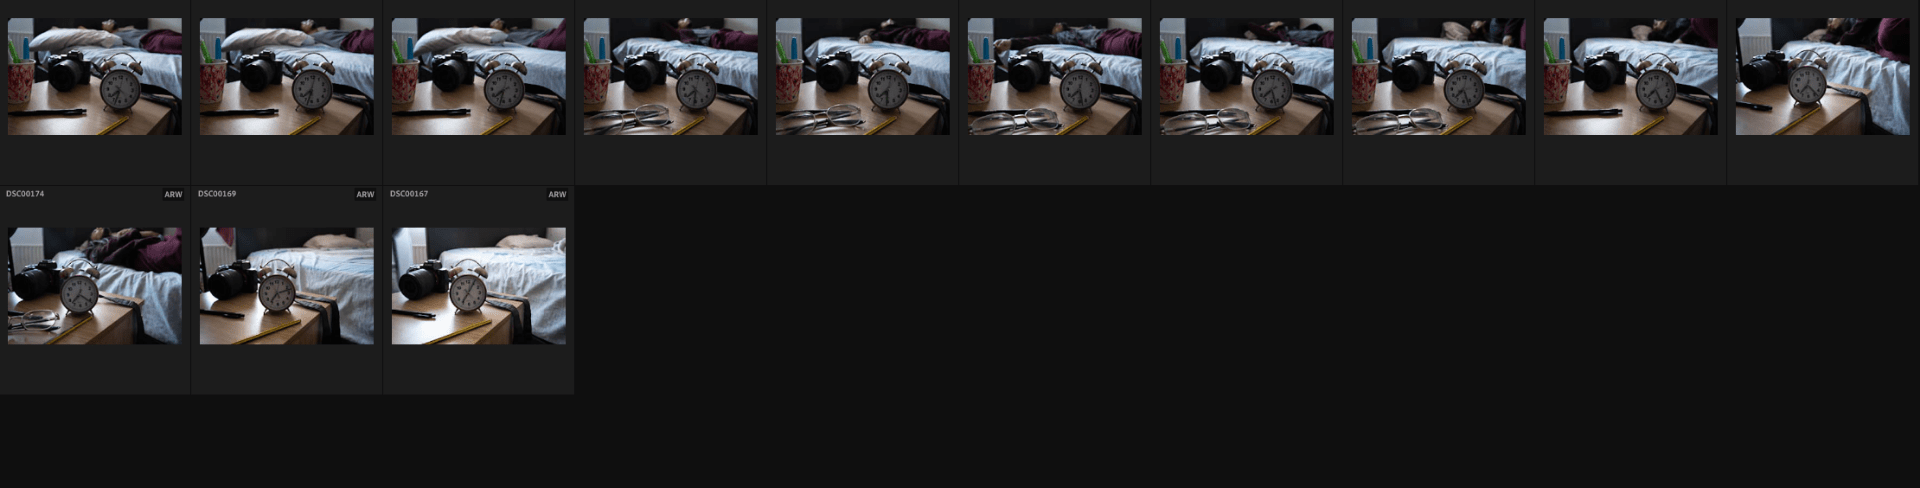
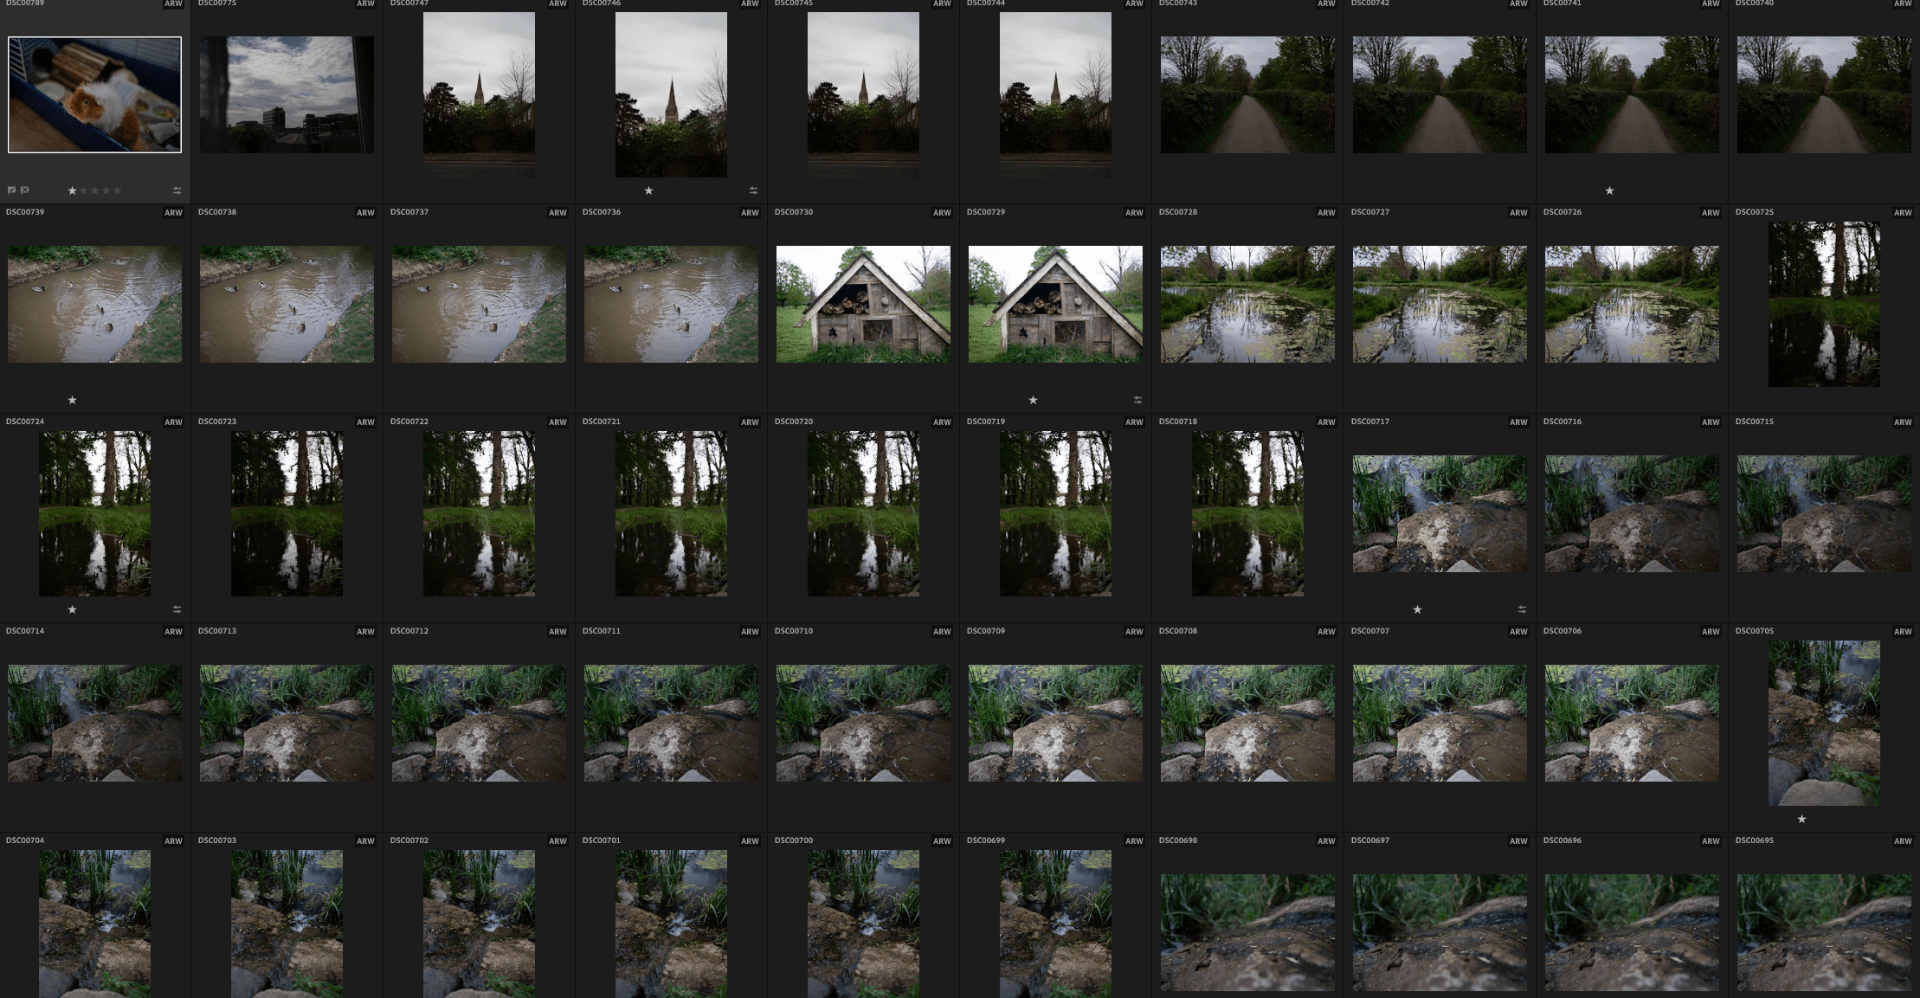
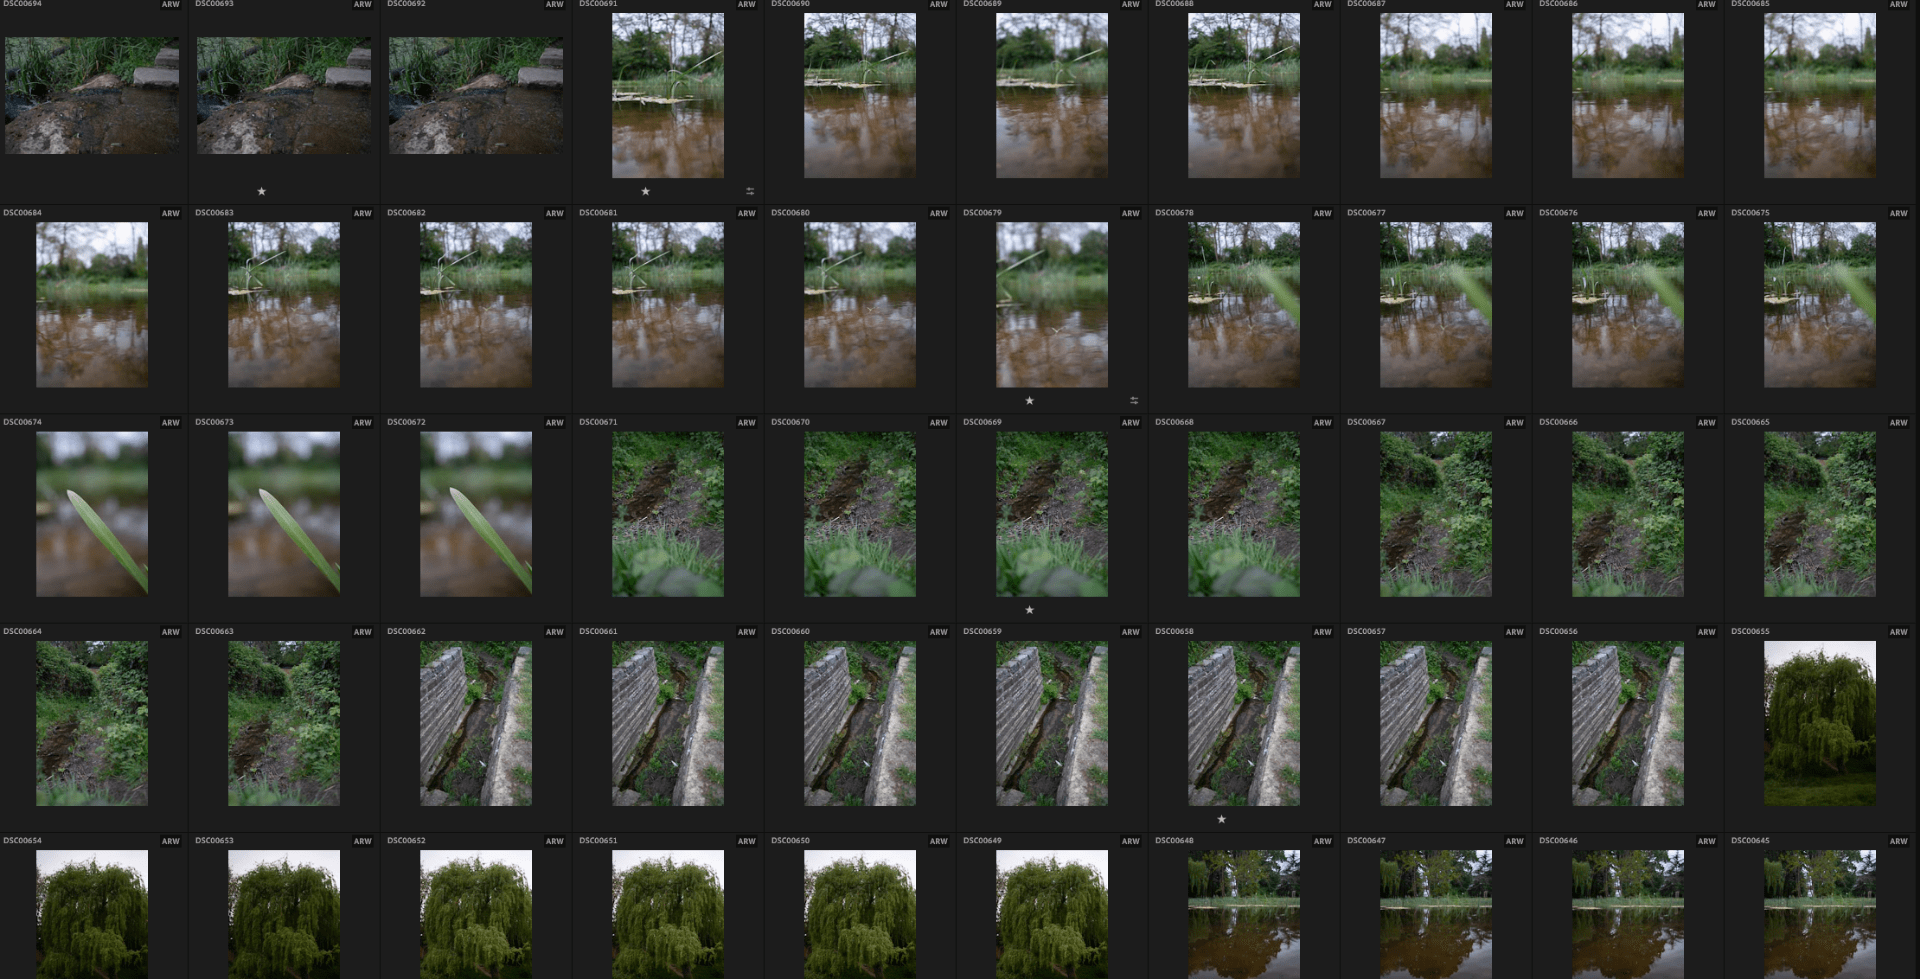
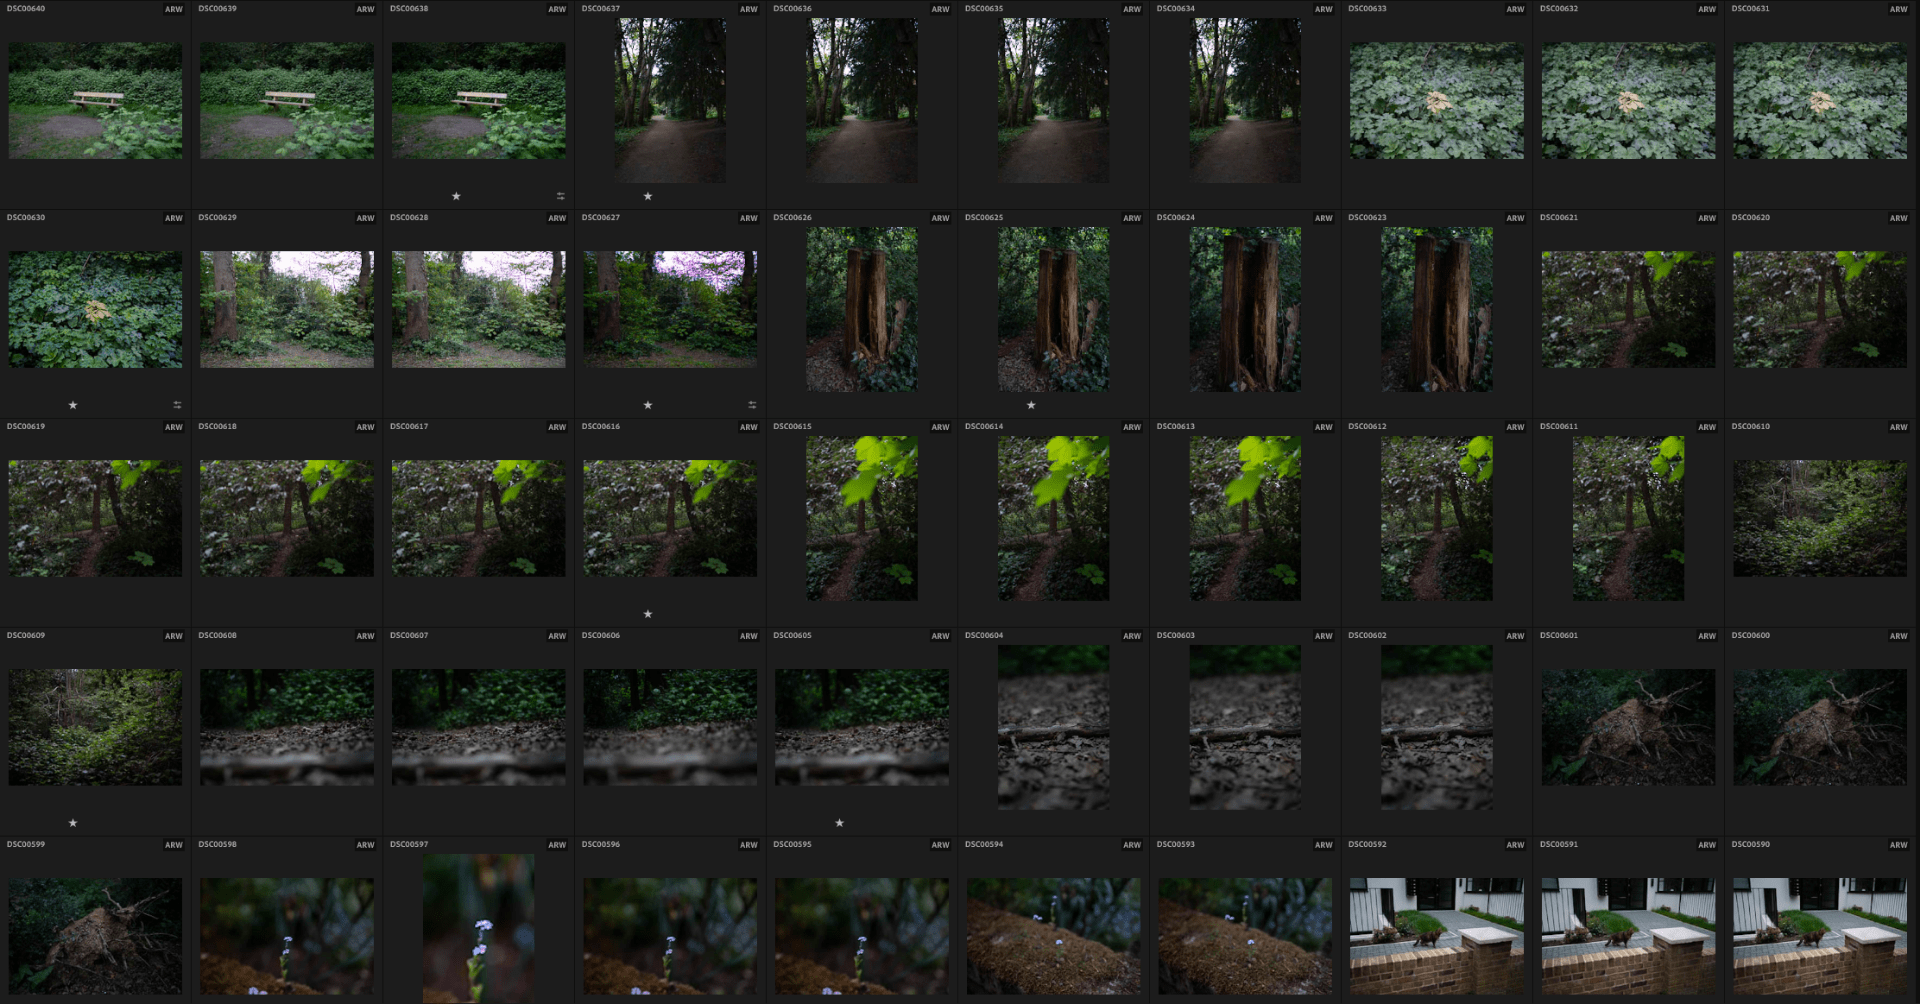
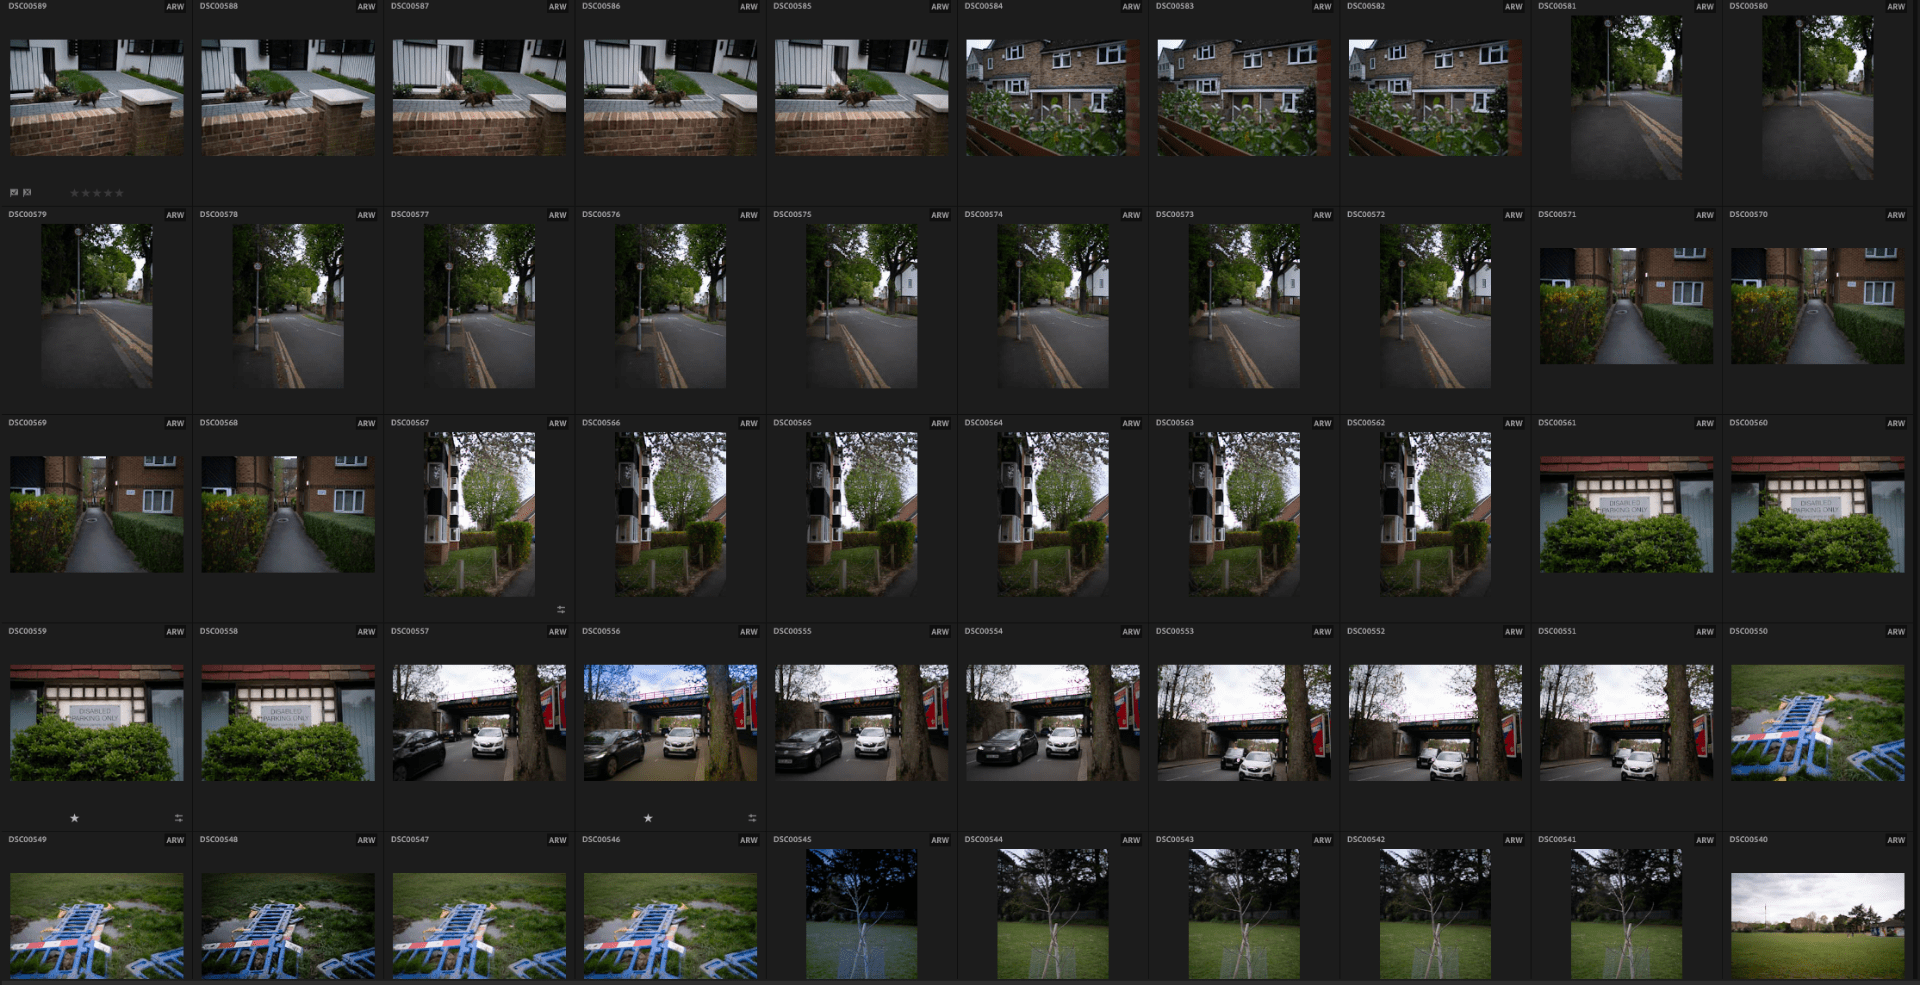
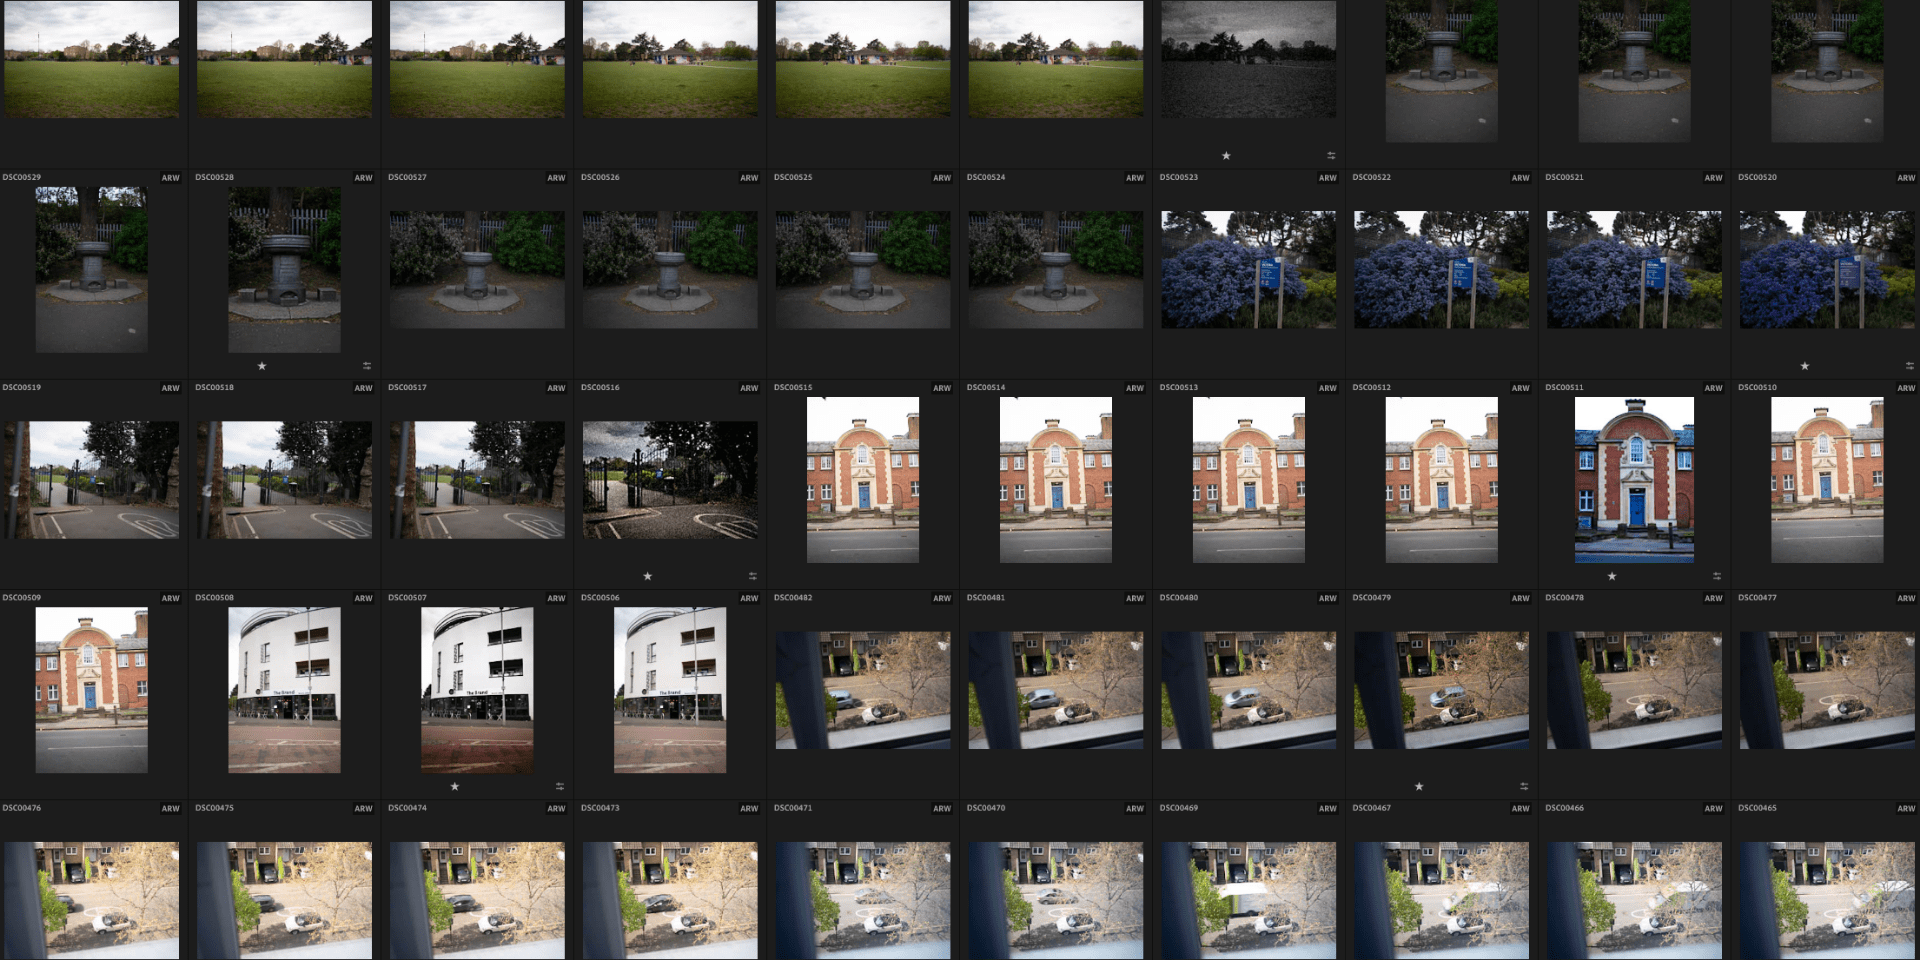
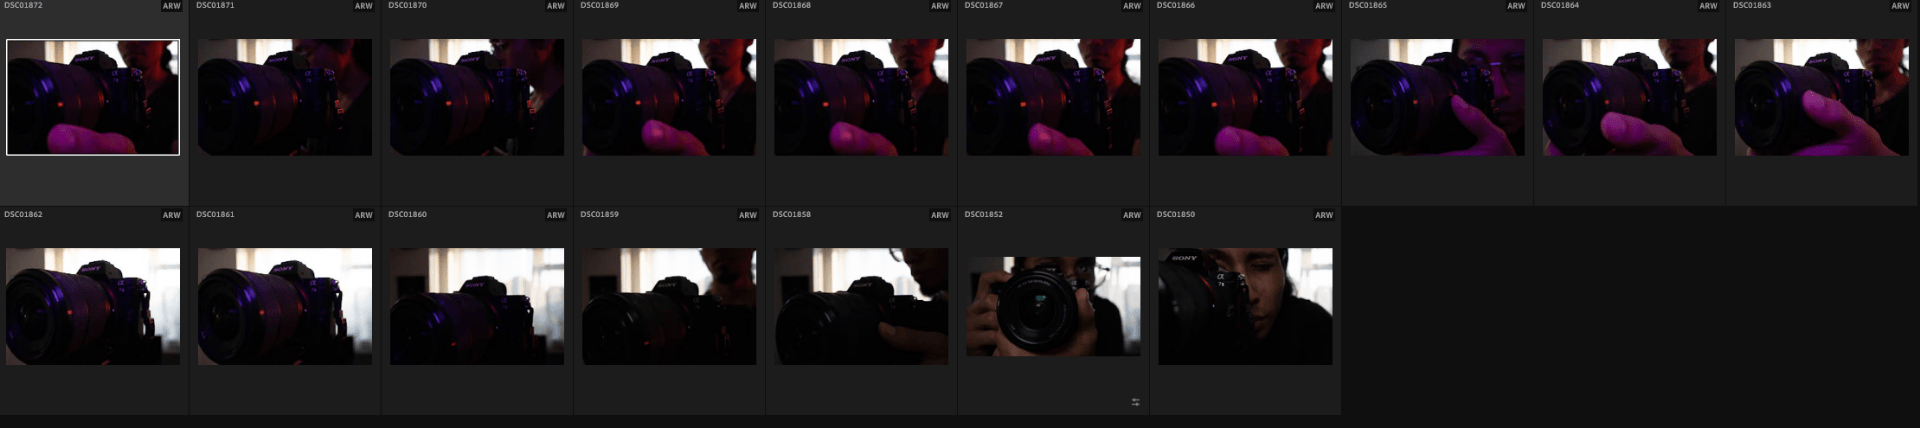
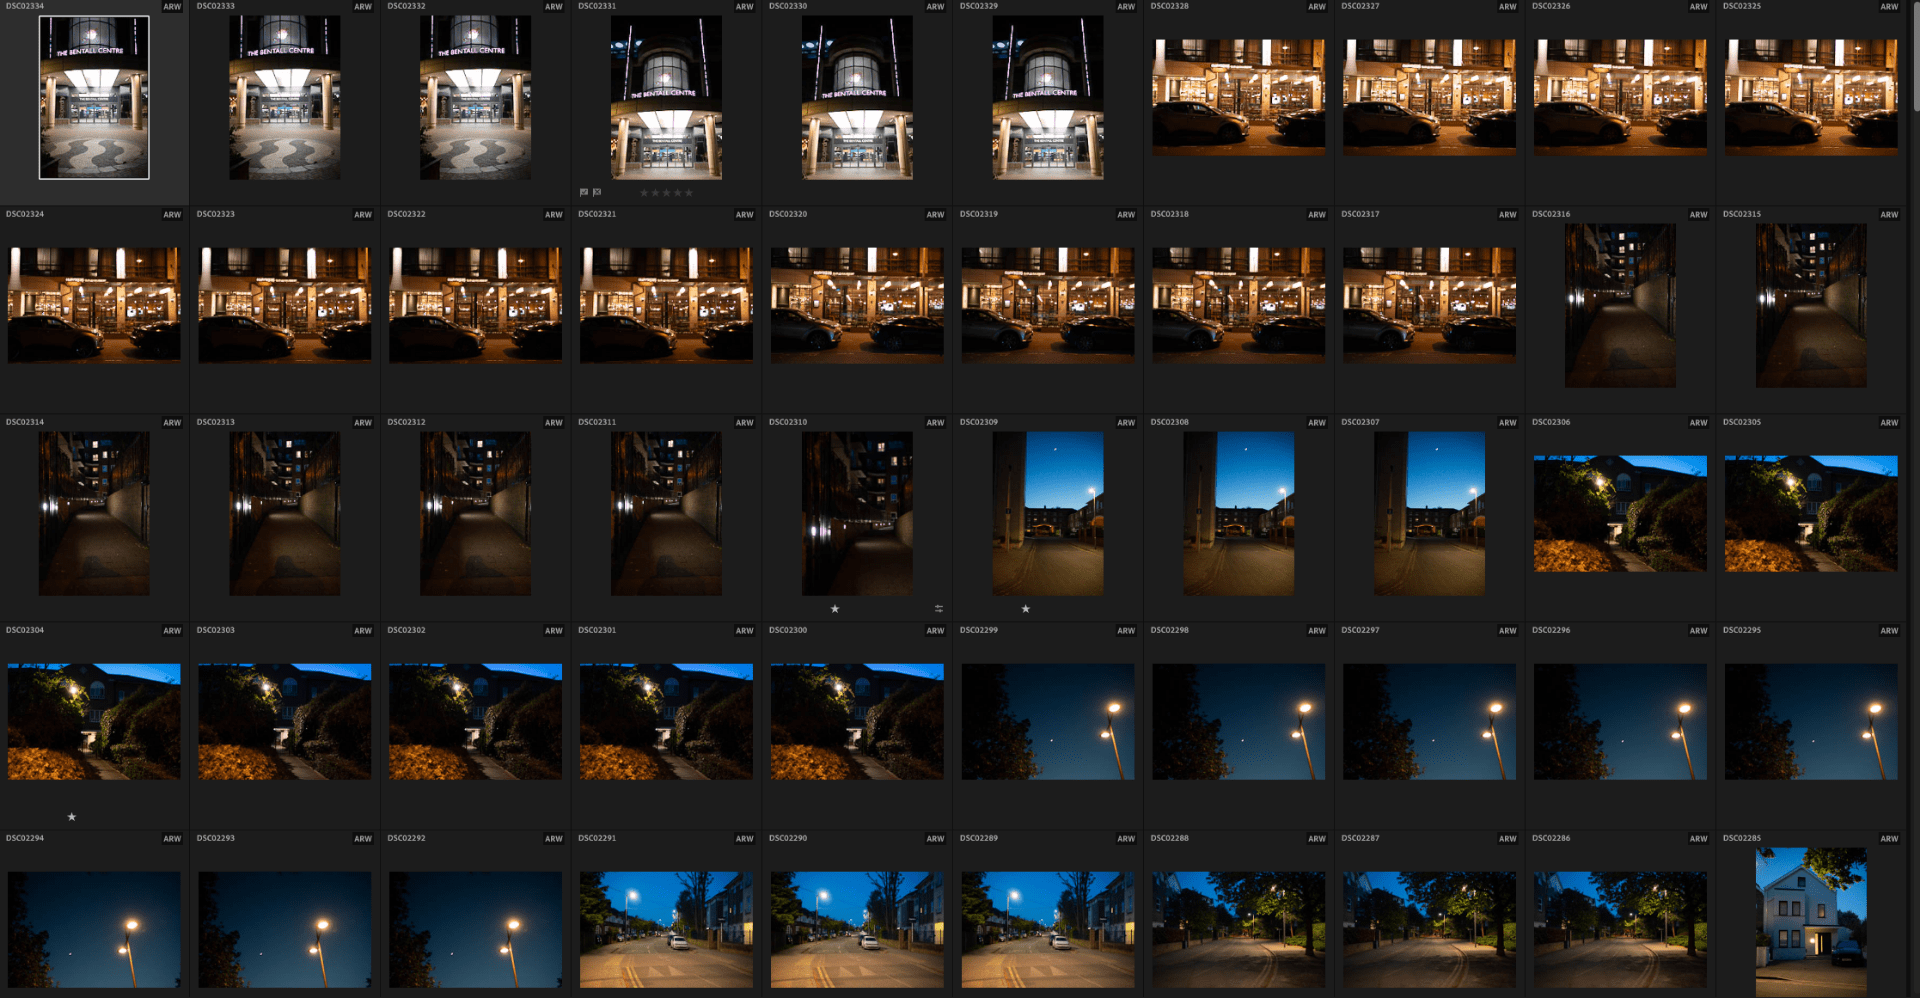
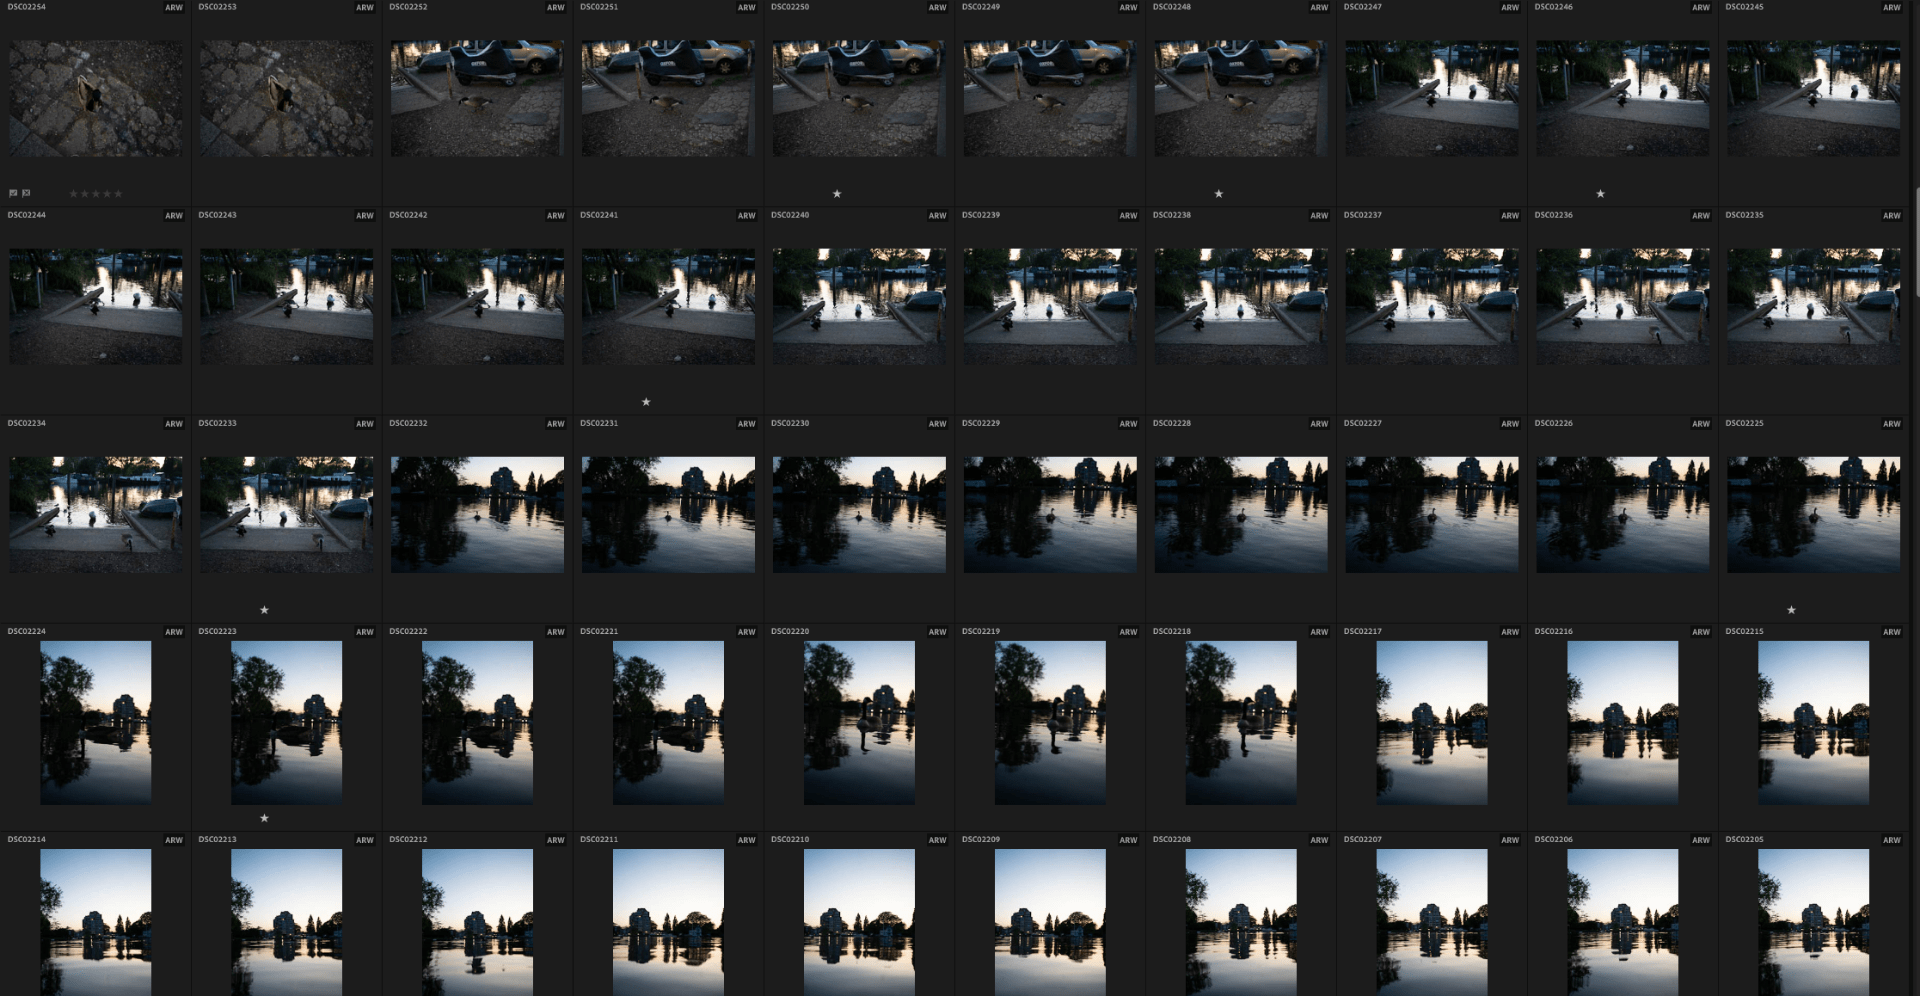
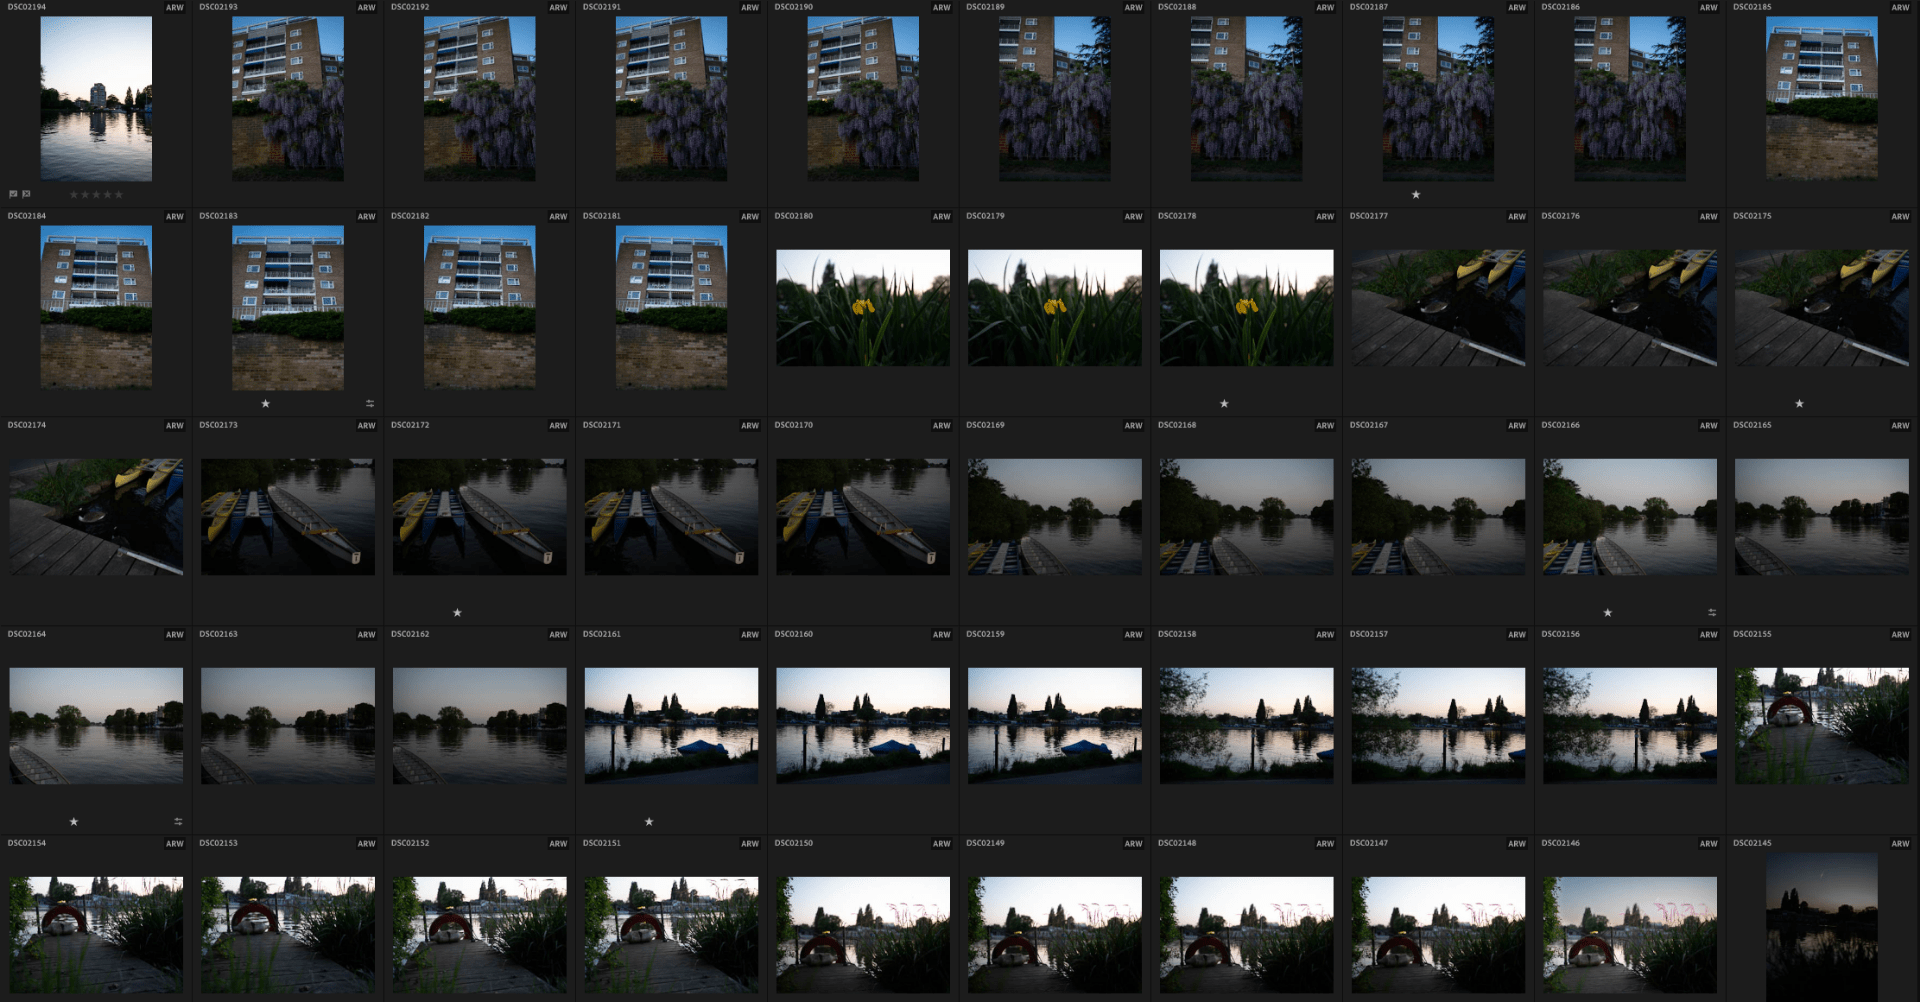
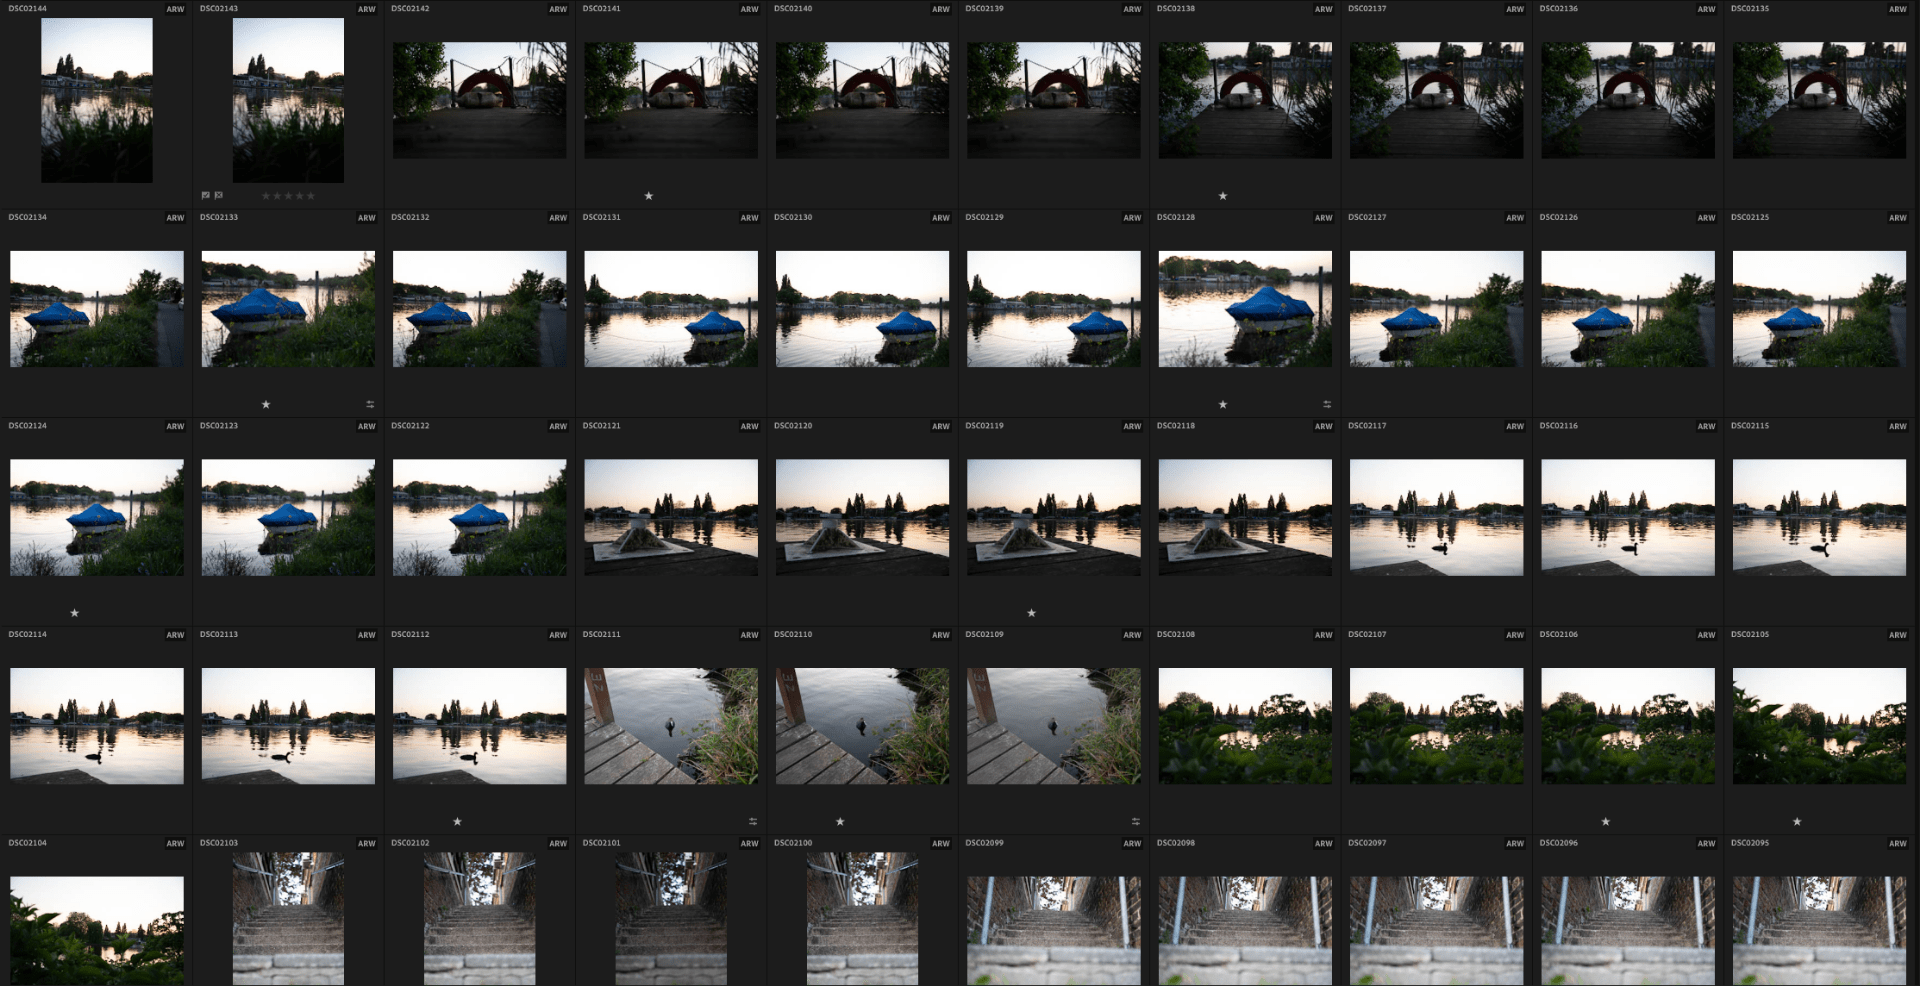
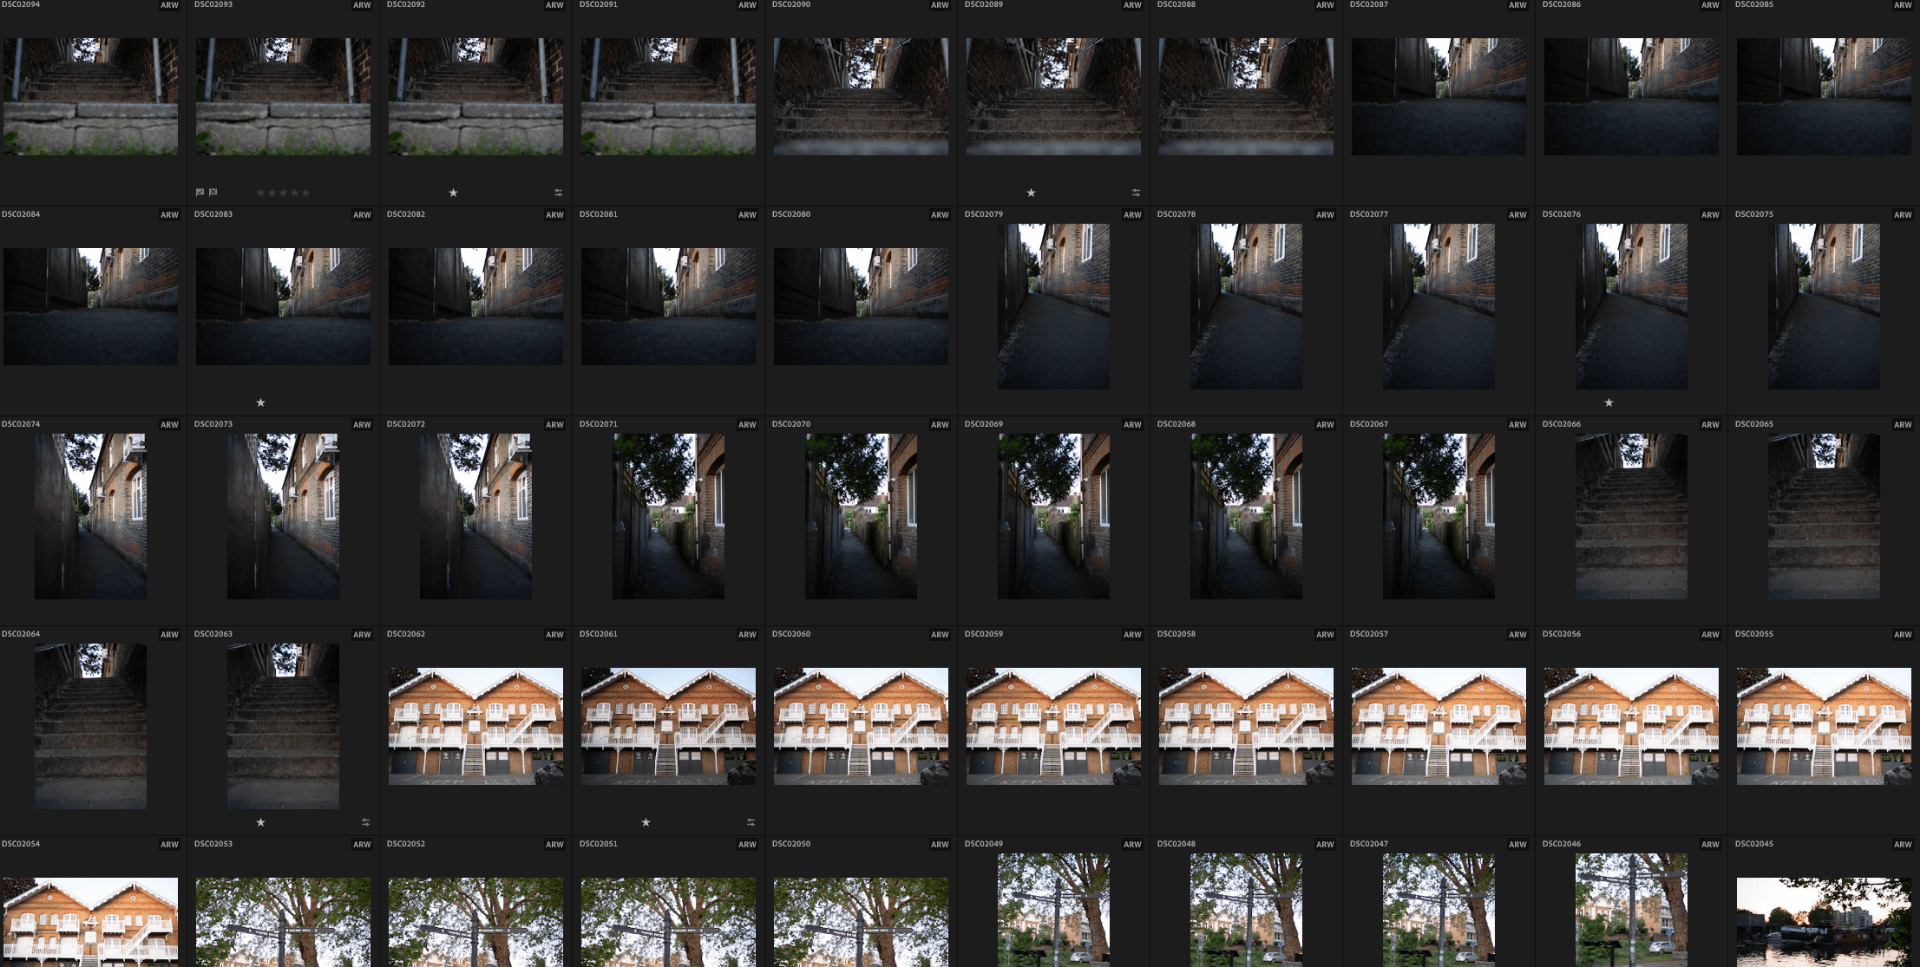
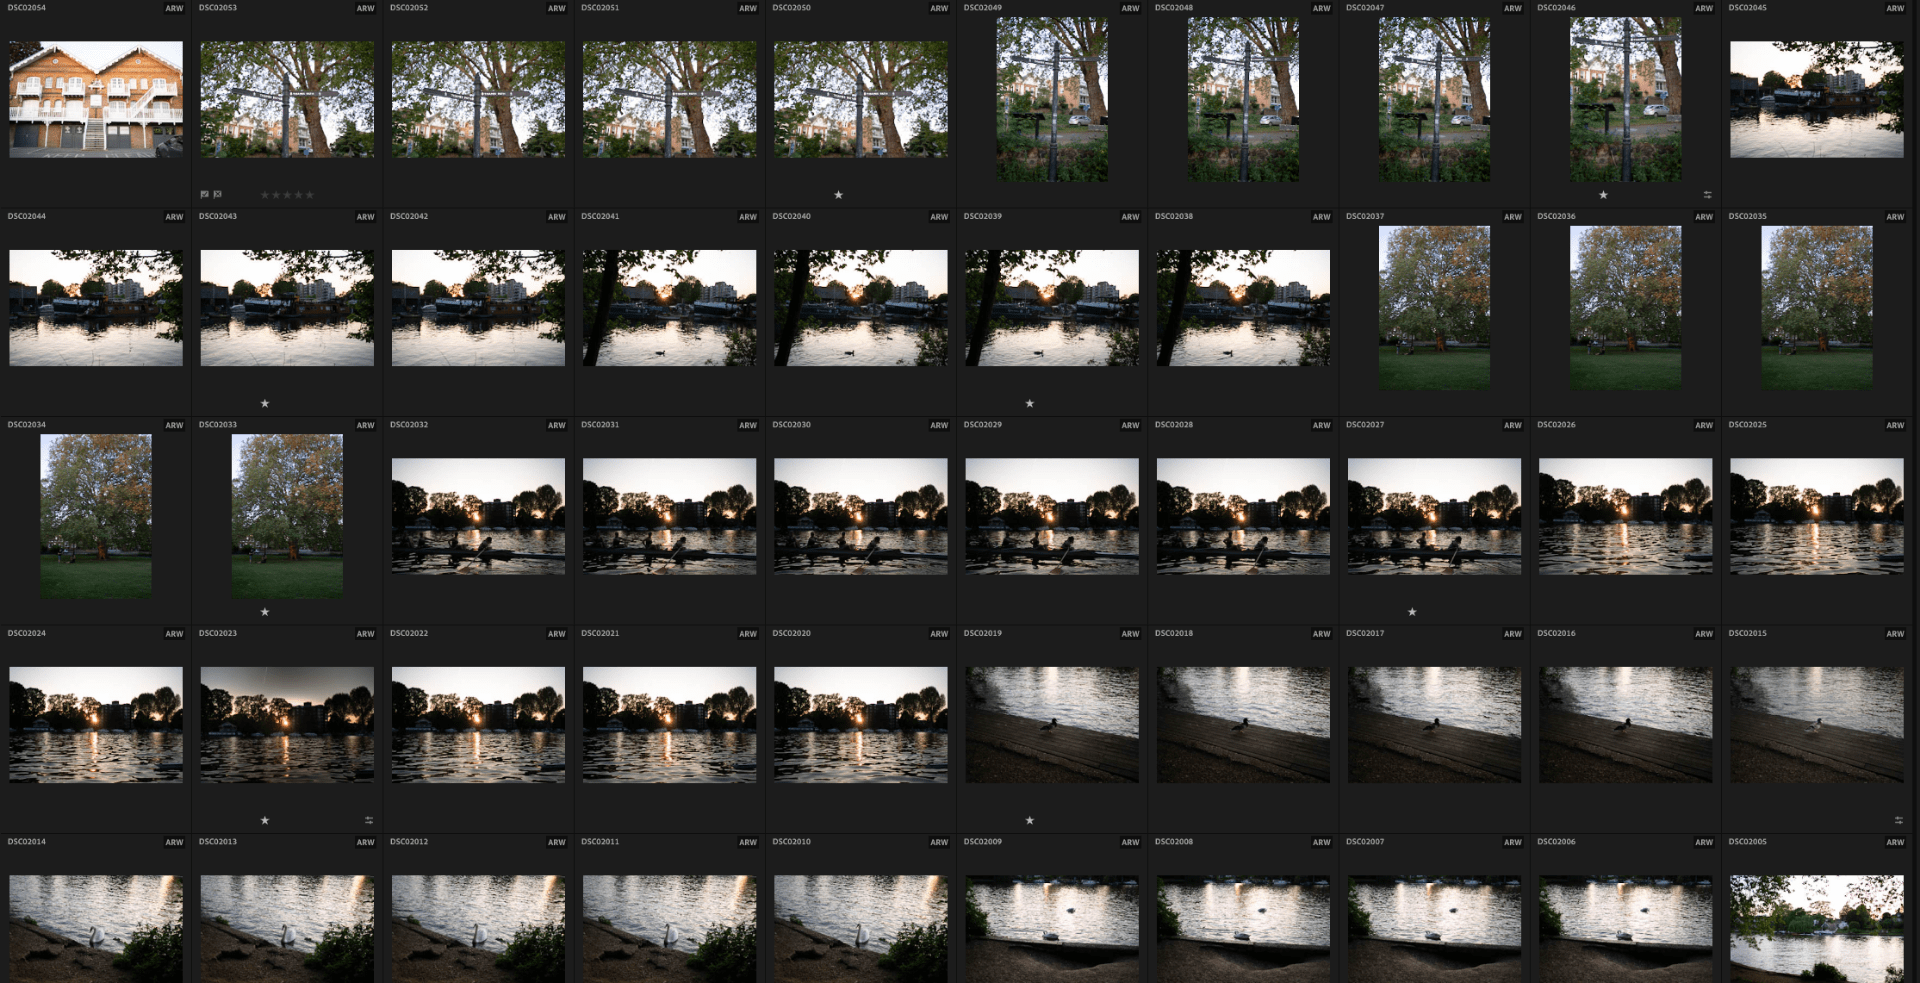
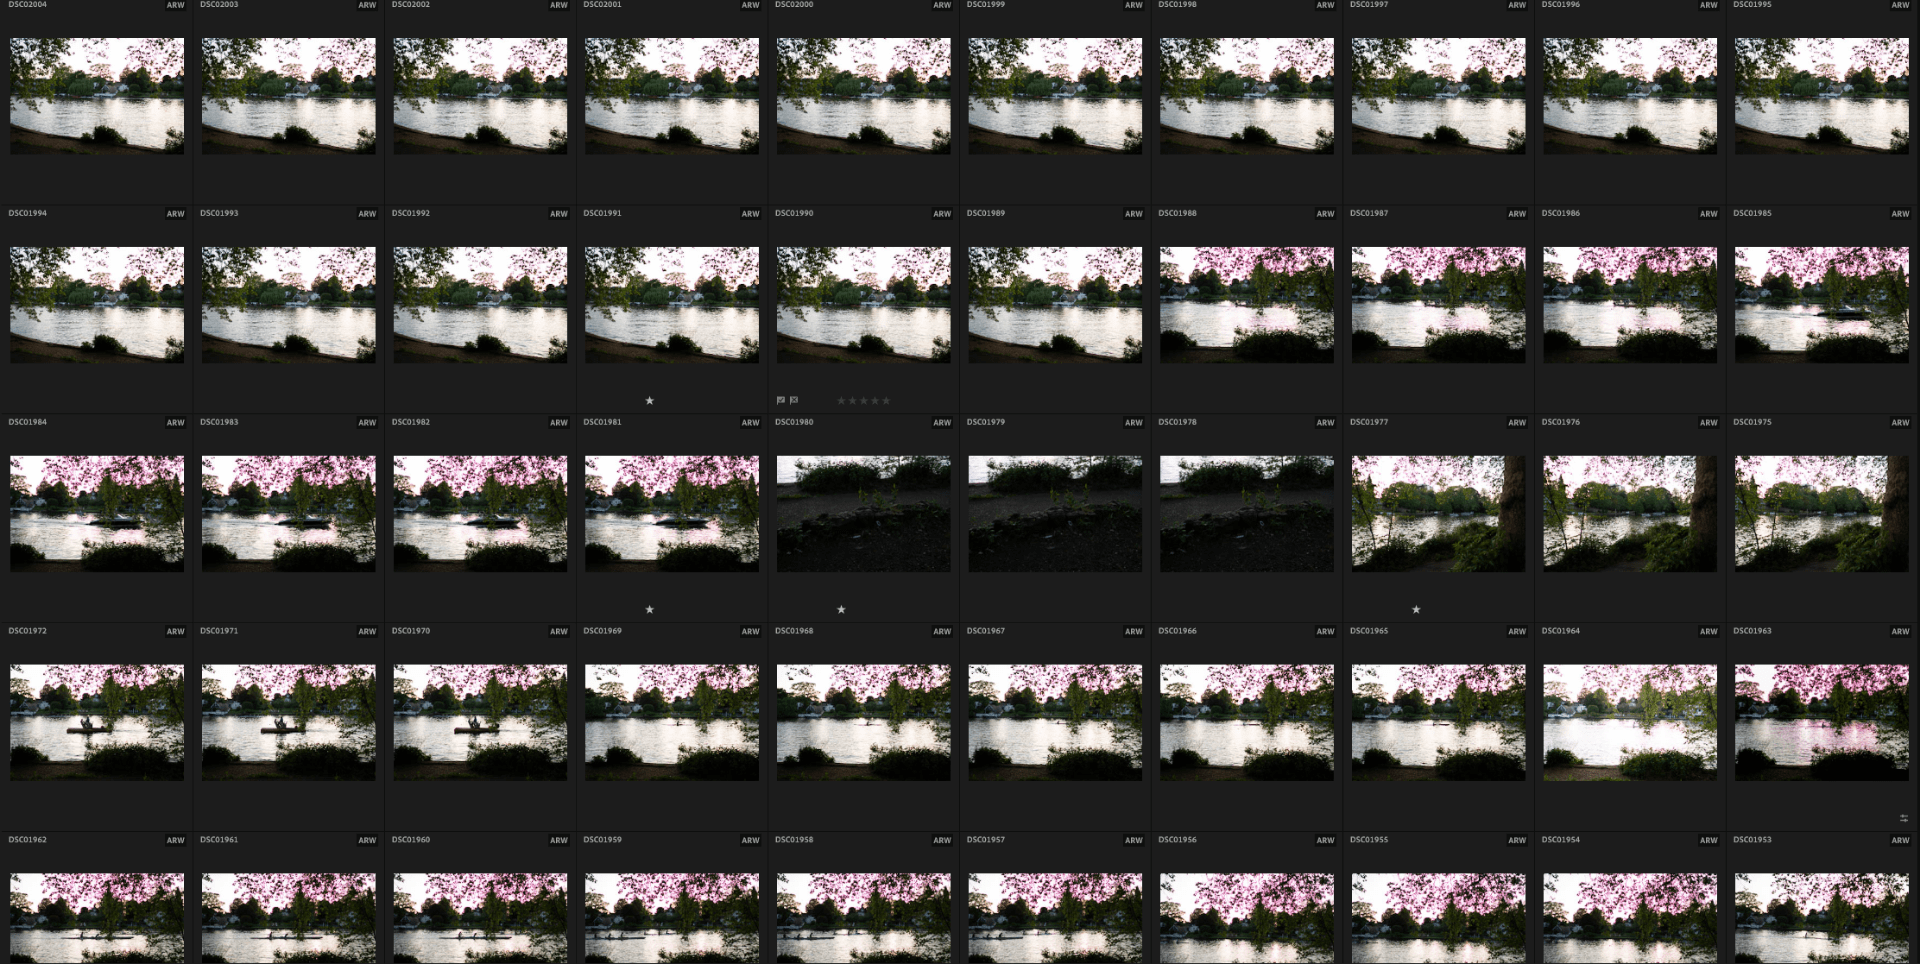
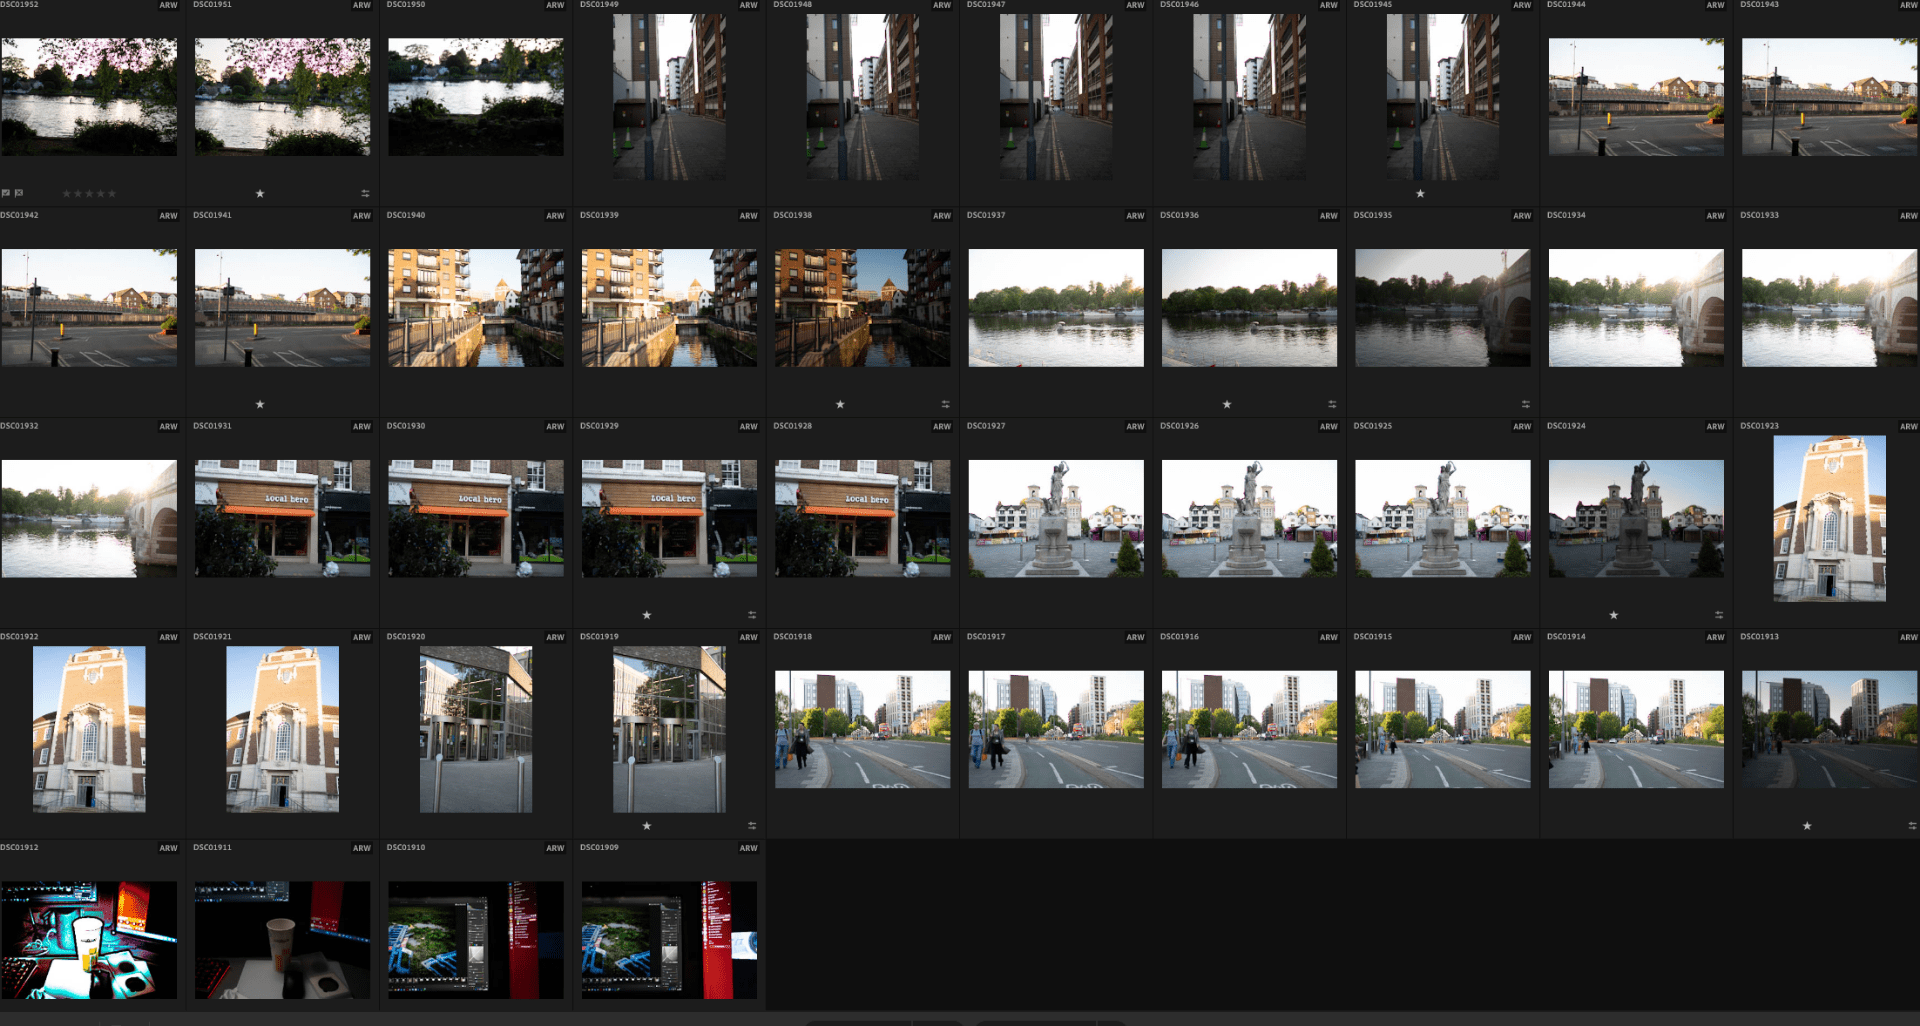
Personally I enjoyed very much the experience of going out and take some photos, I usually do this as a hobby, but this time since I had an idea in mind, was different, the excitement I felt probably was my inspiration for the second storyboard.
After taking all these photos I had to filter the one that suited more for my story:
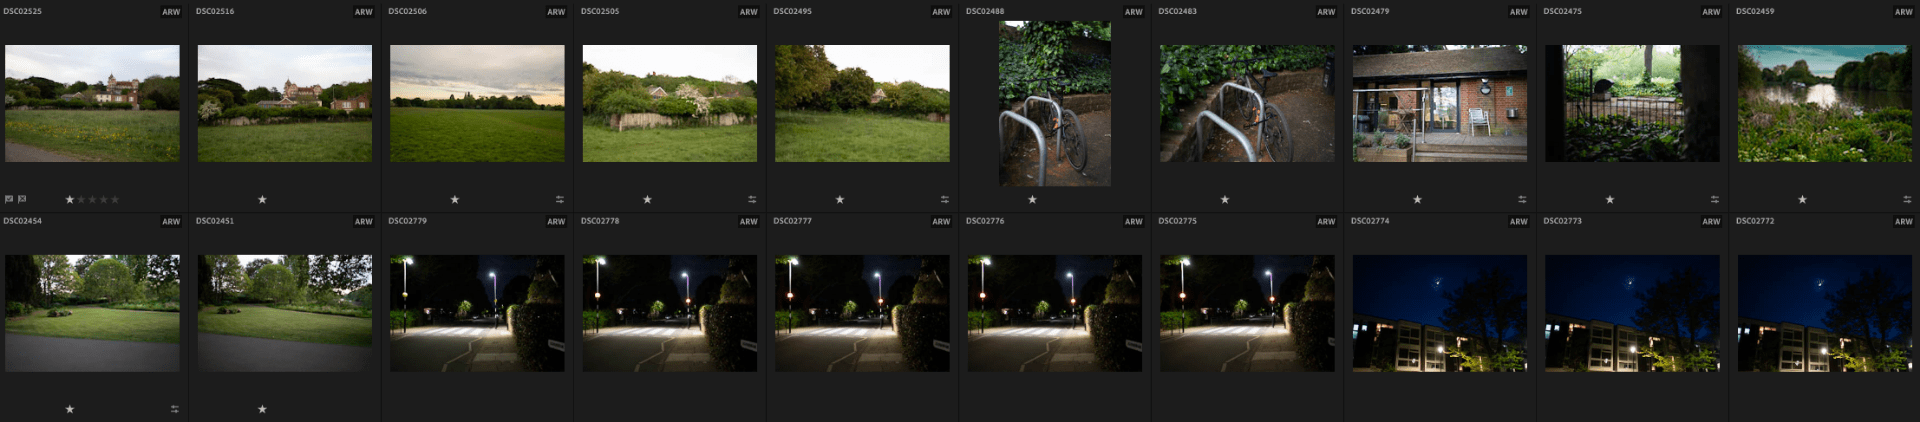
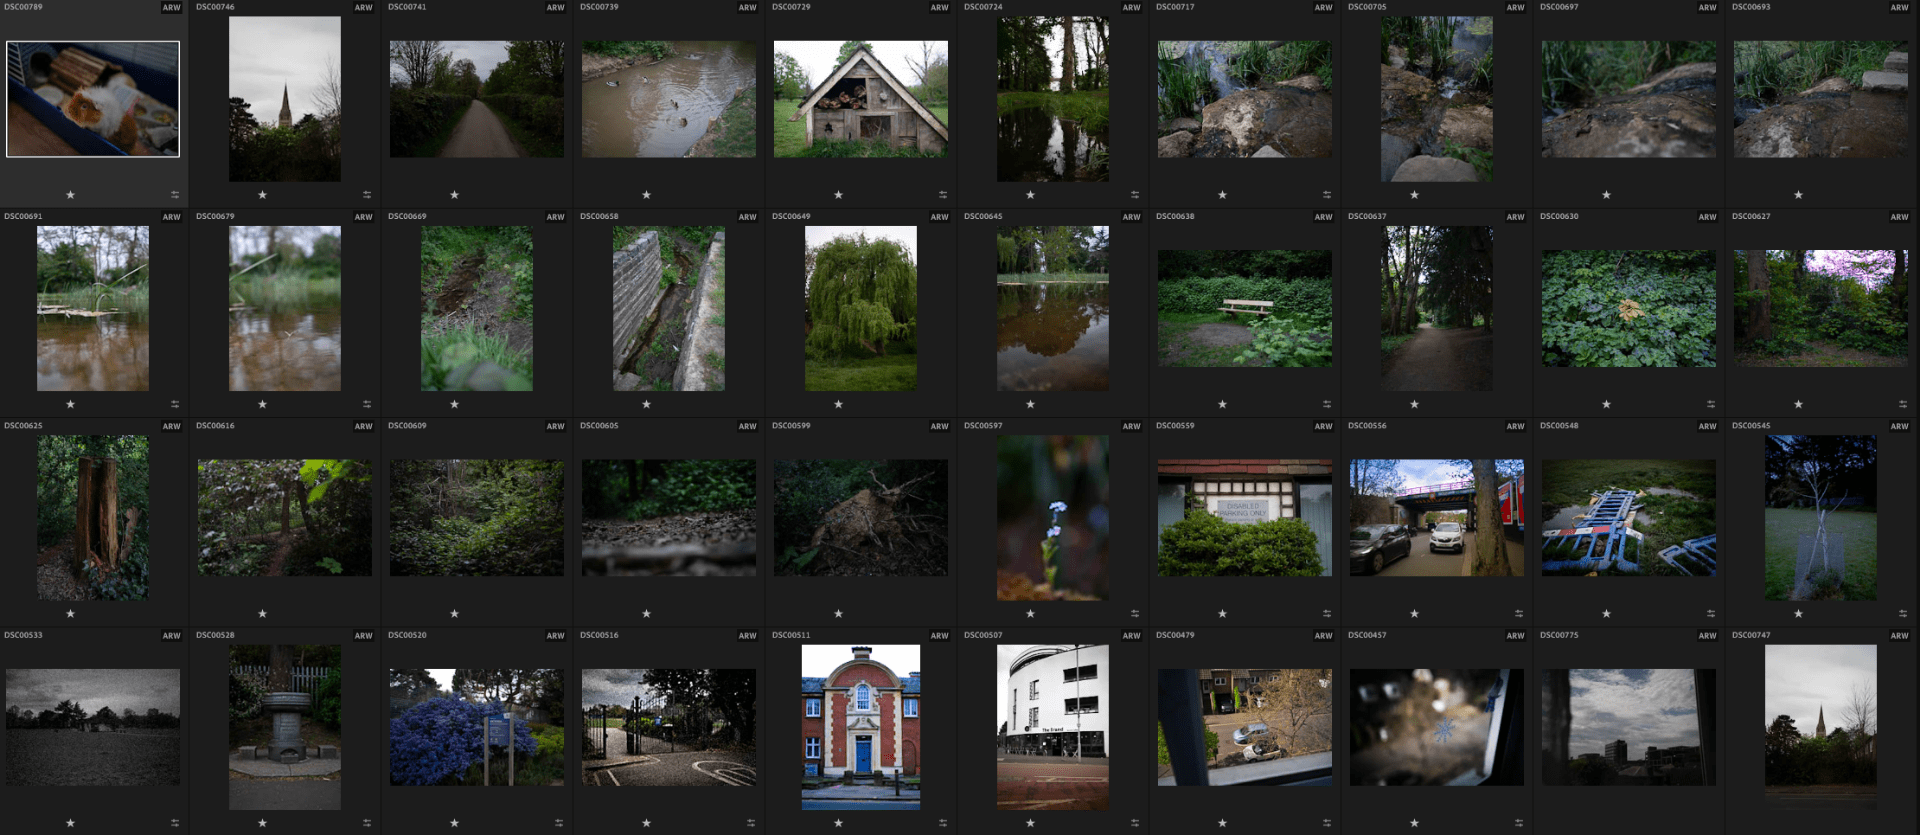
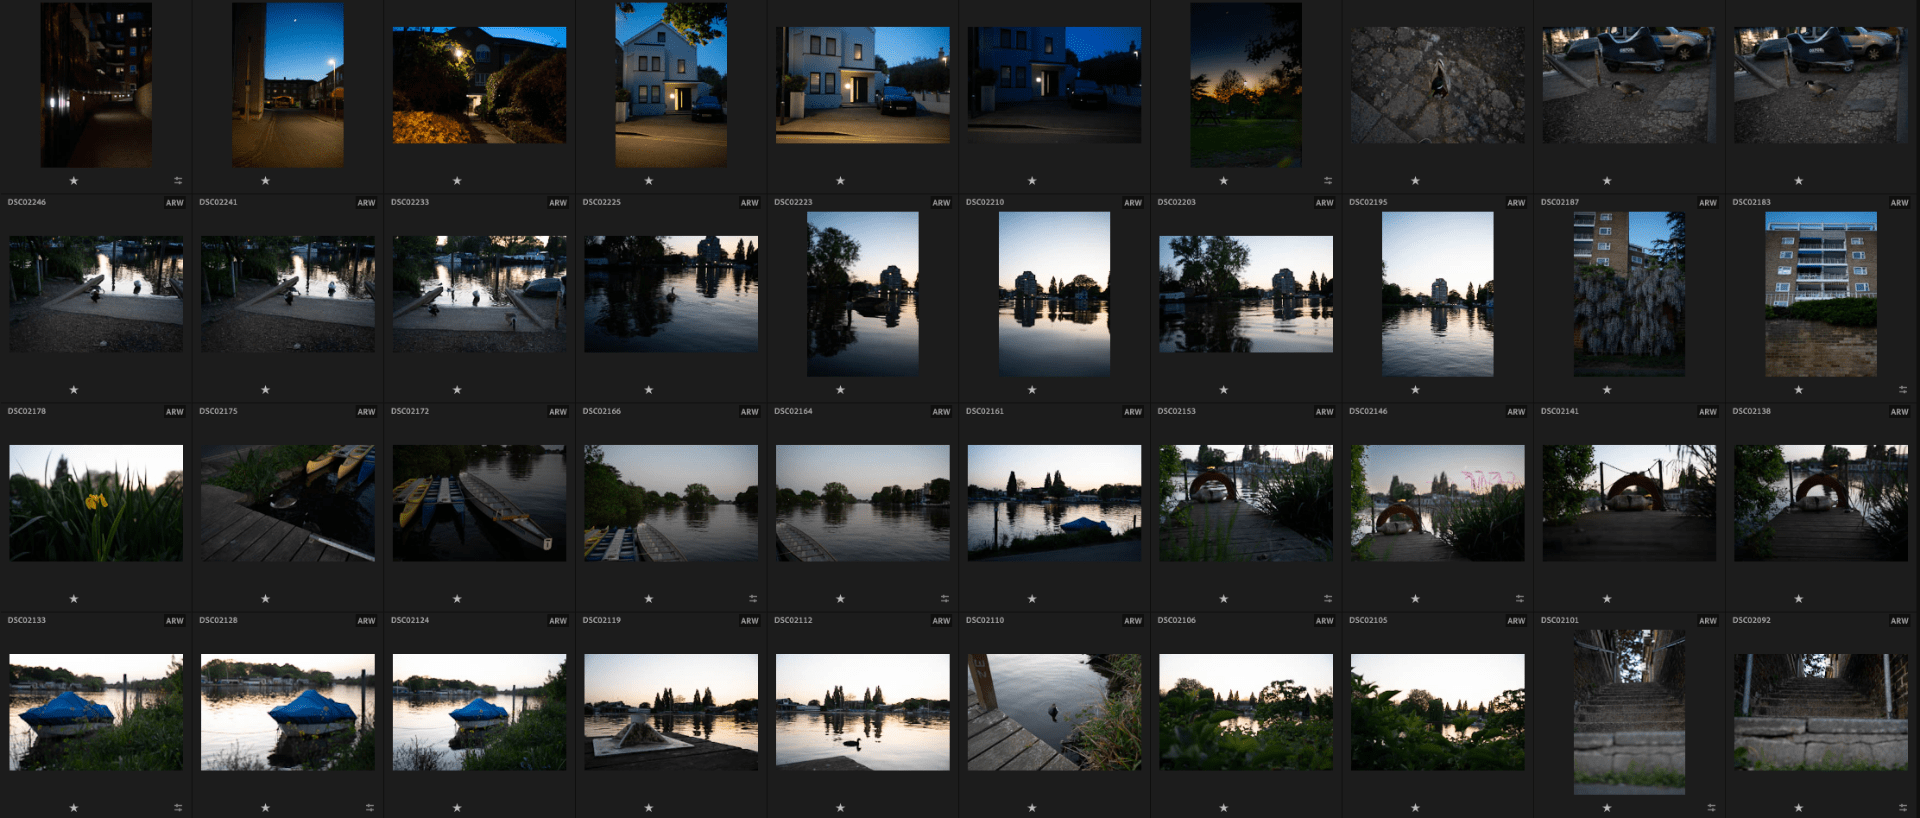
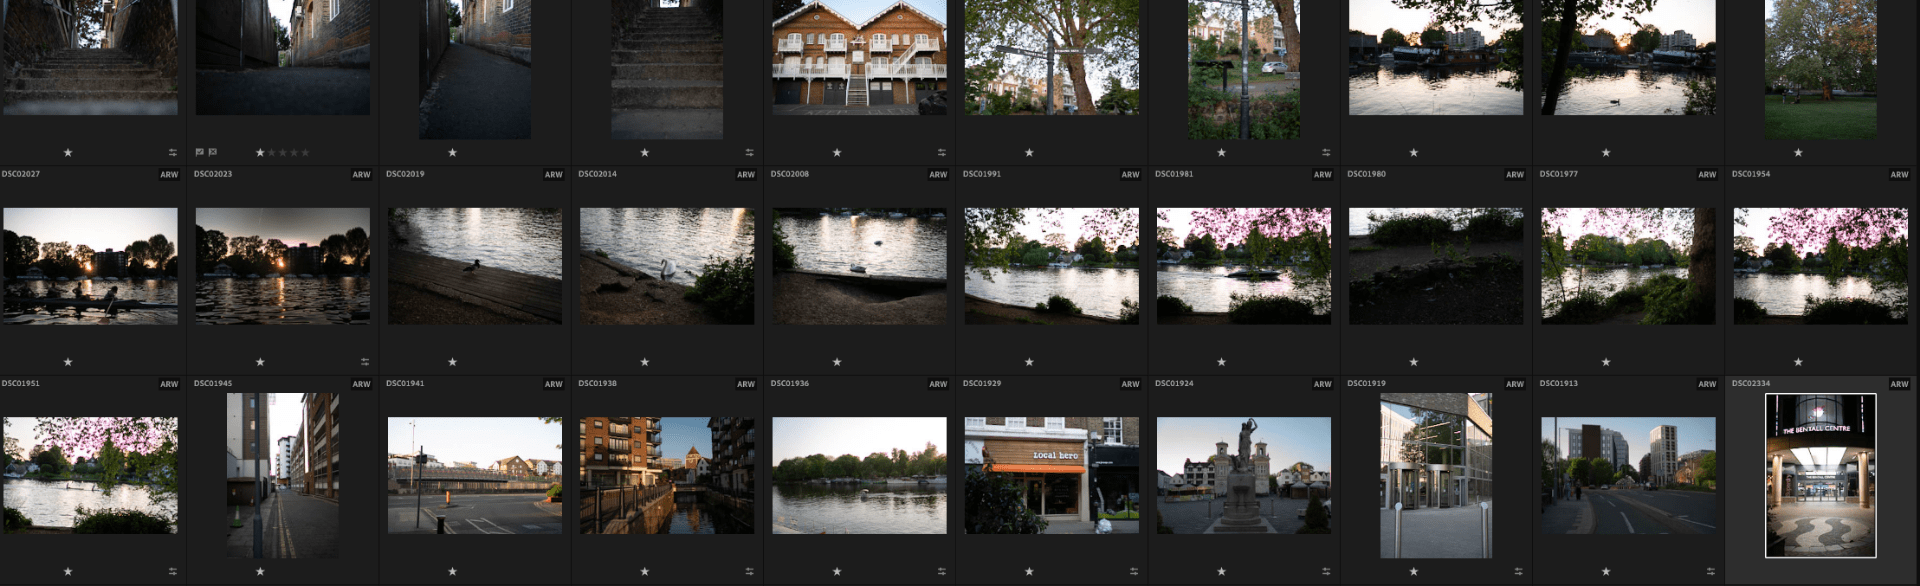
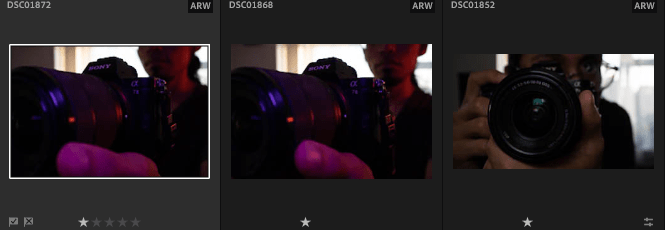
I ended up with a low portion of the initial photos. And finally I chose the final photos for my project.
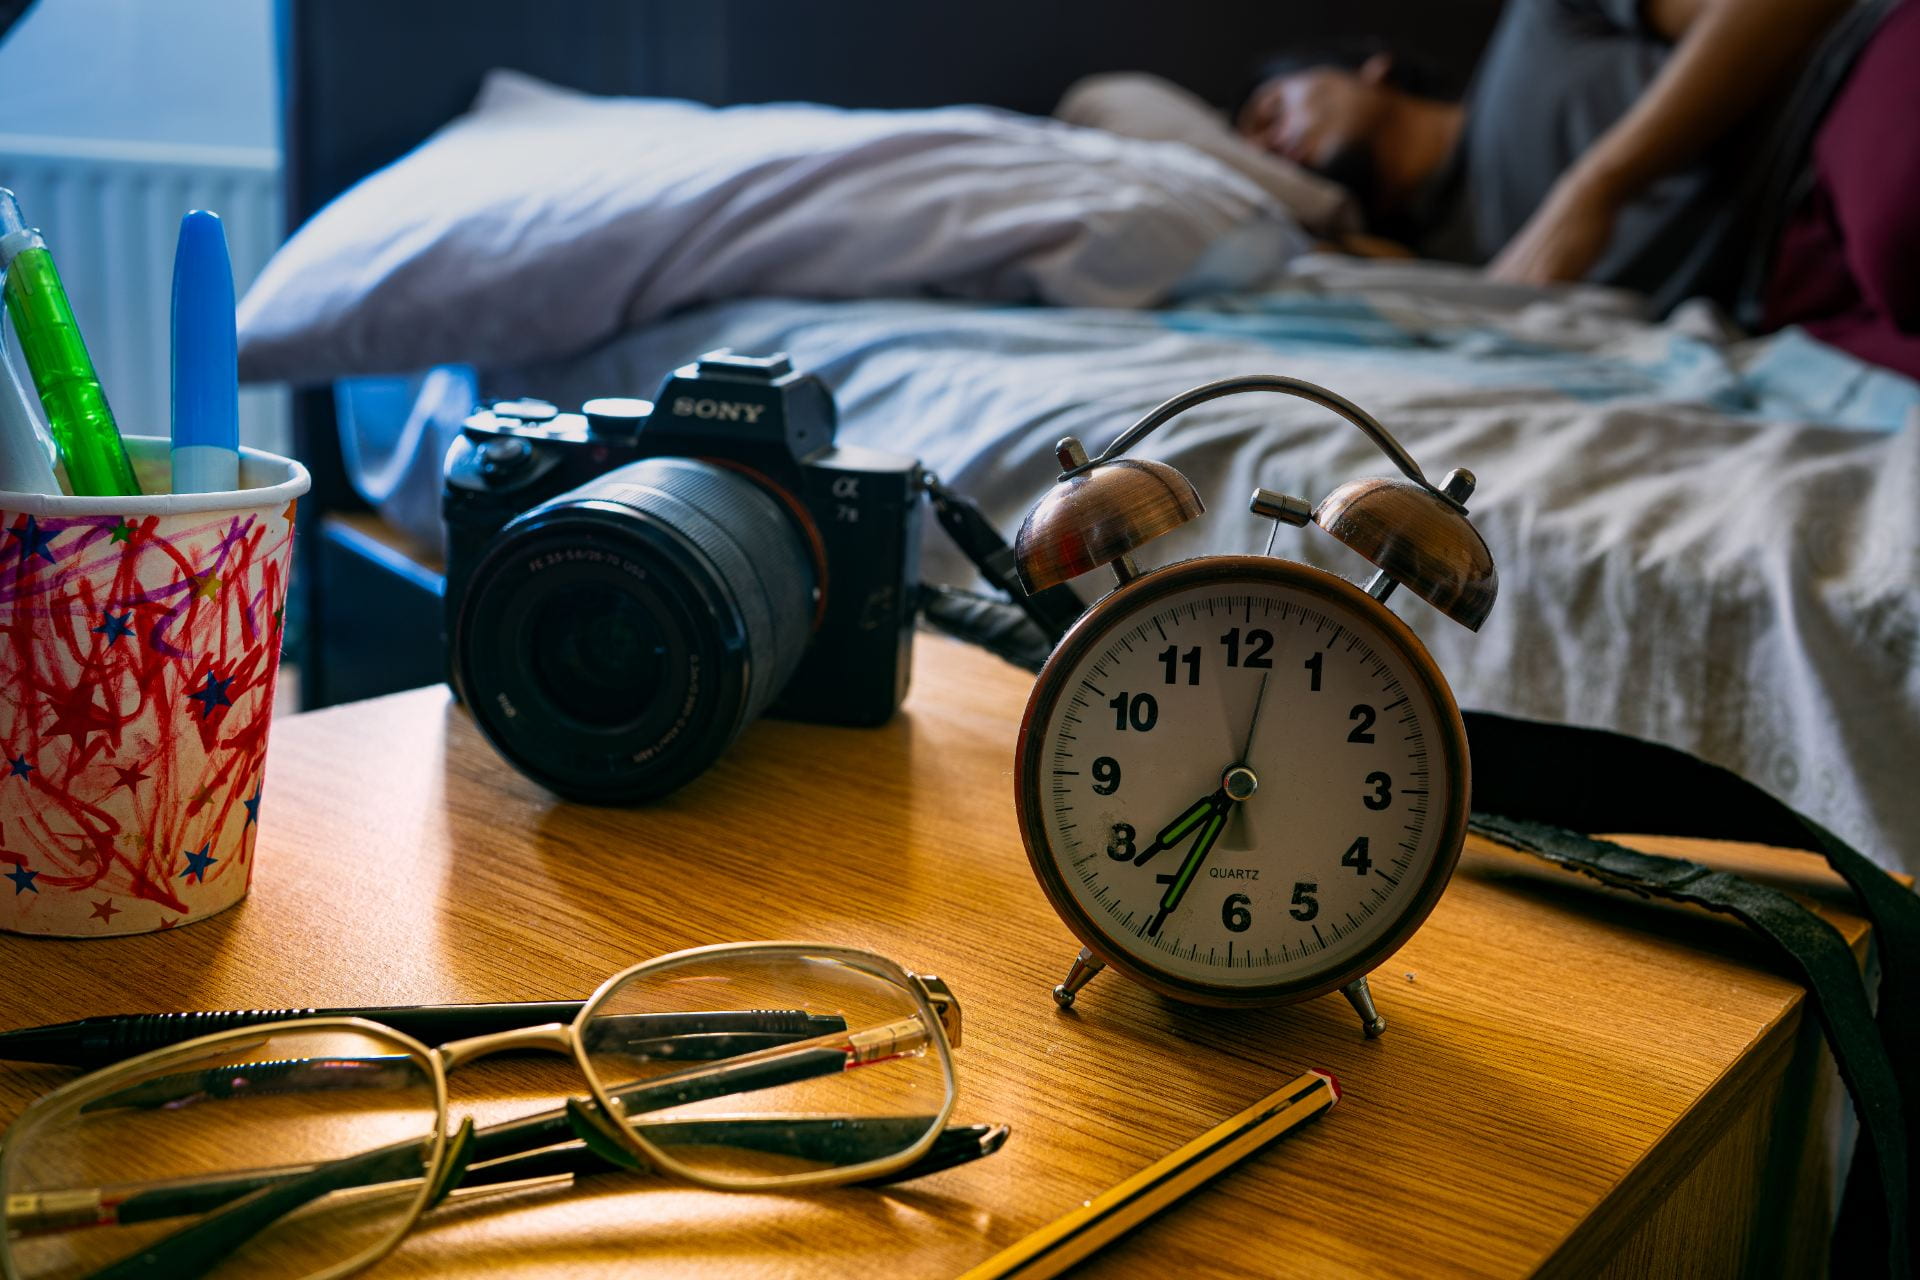
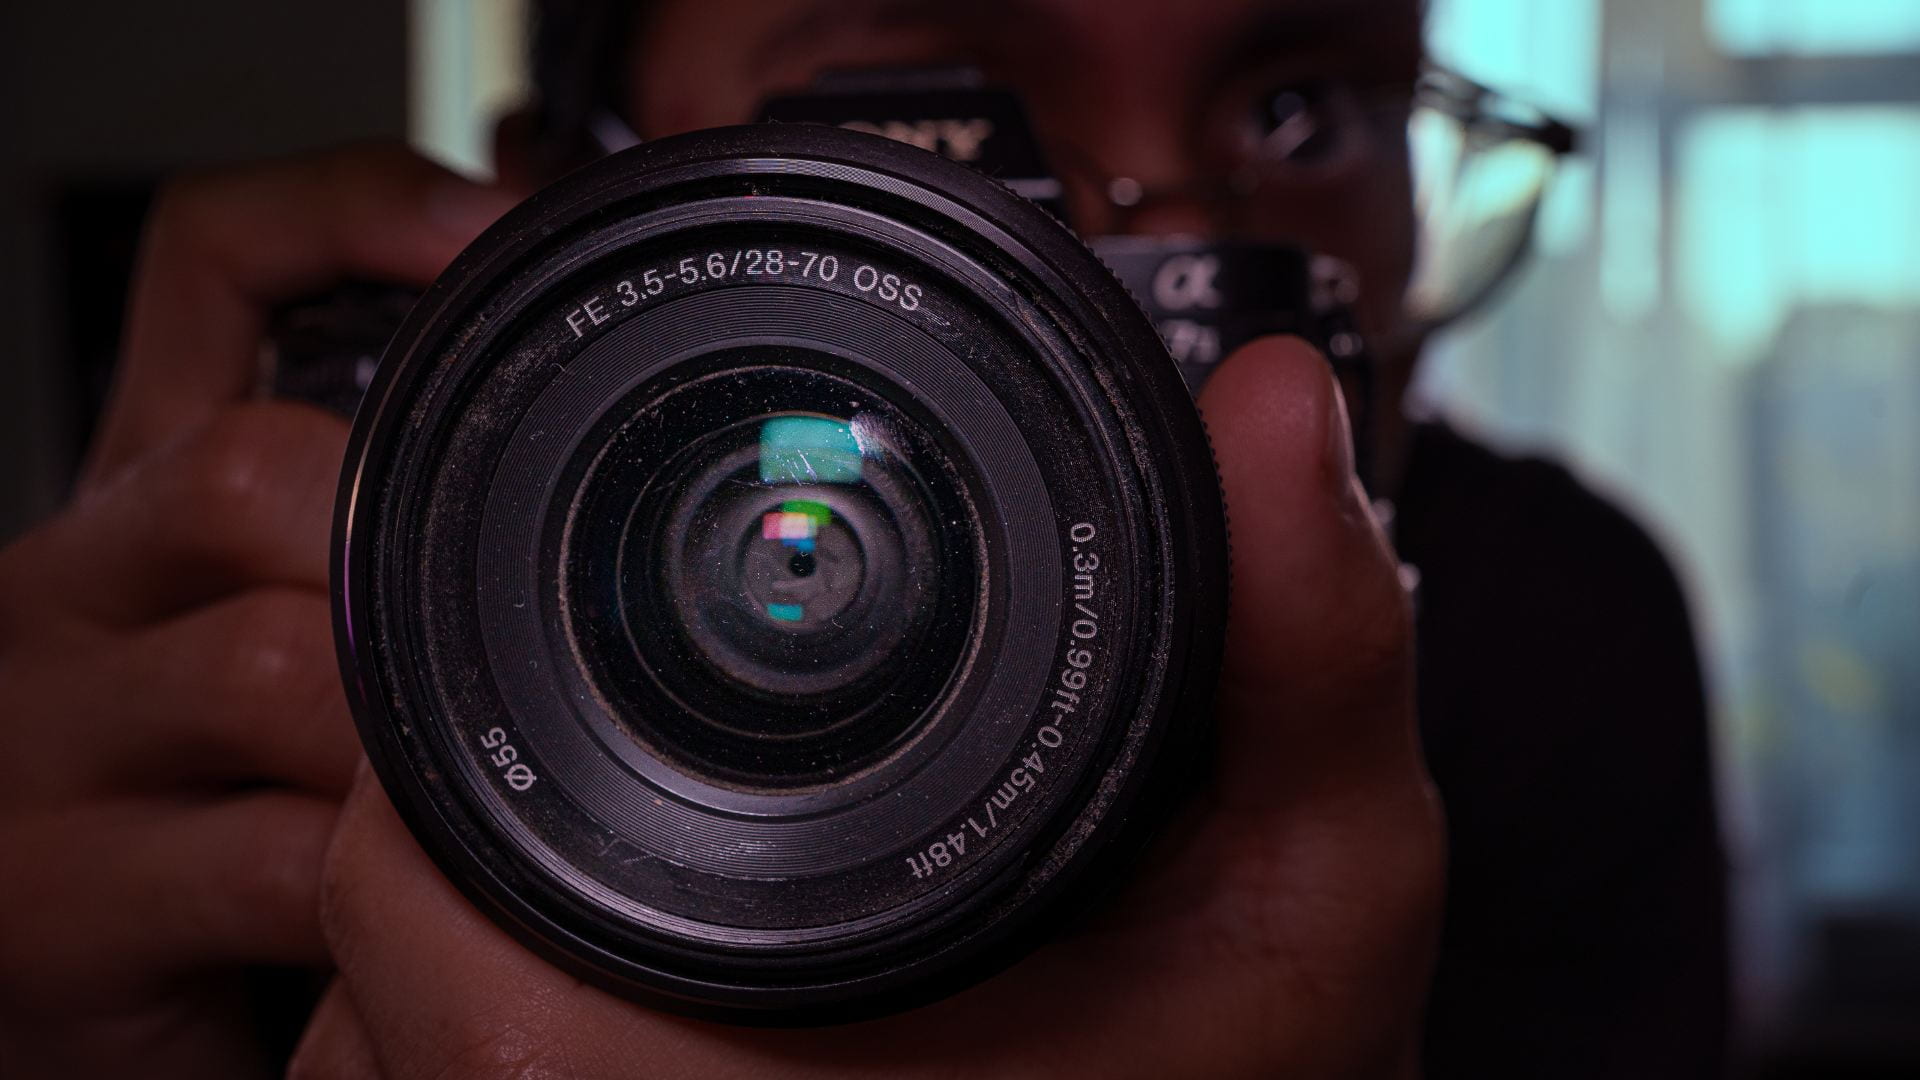
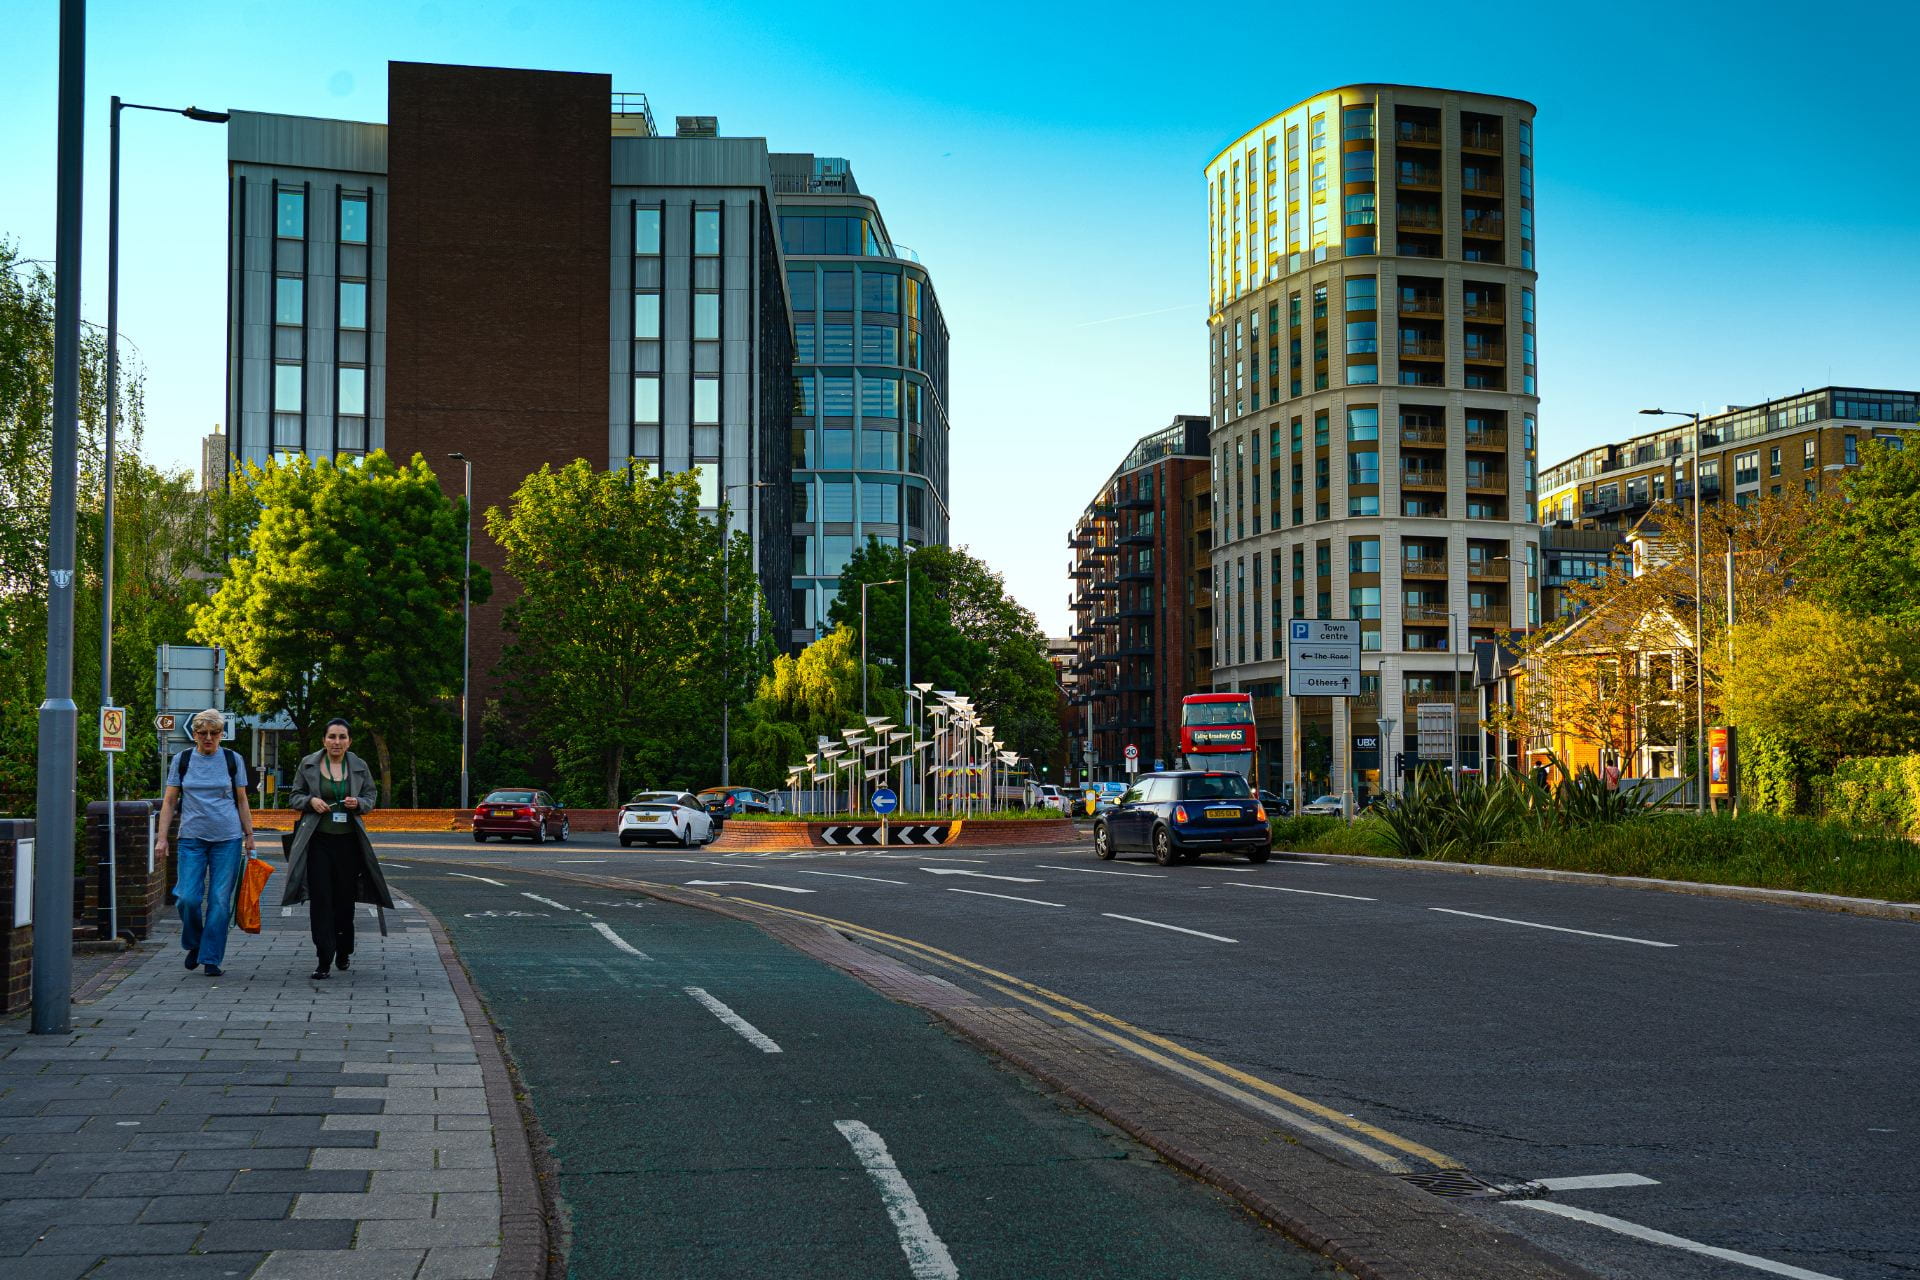
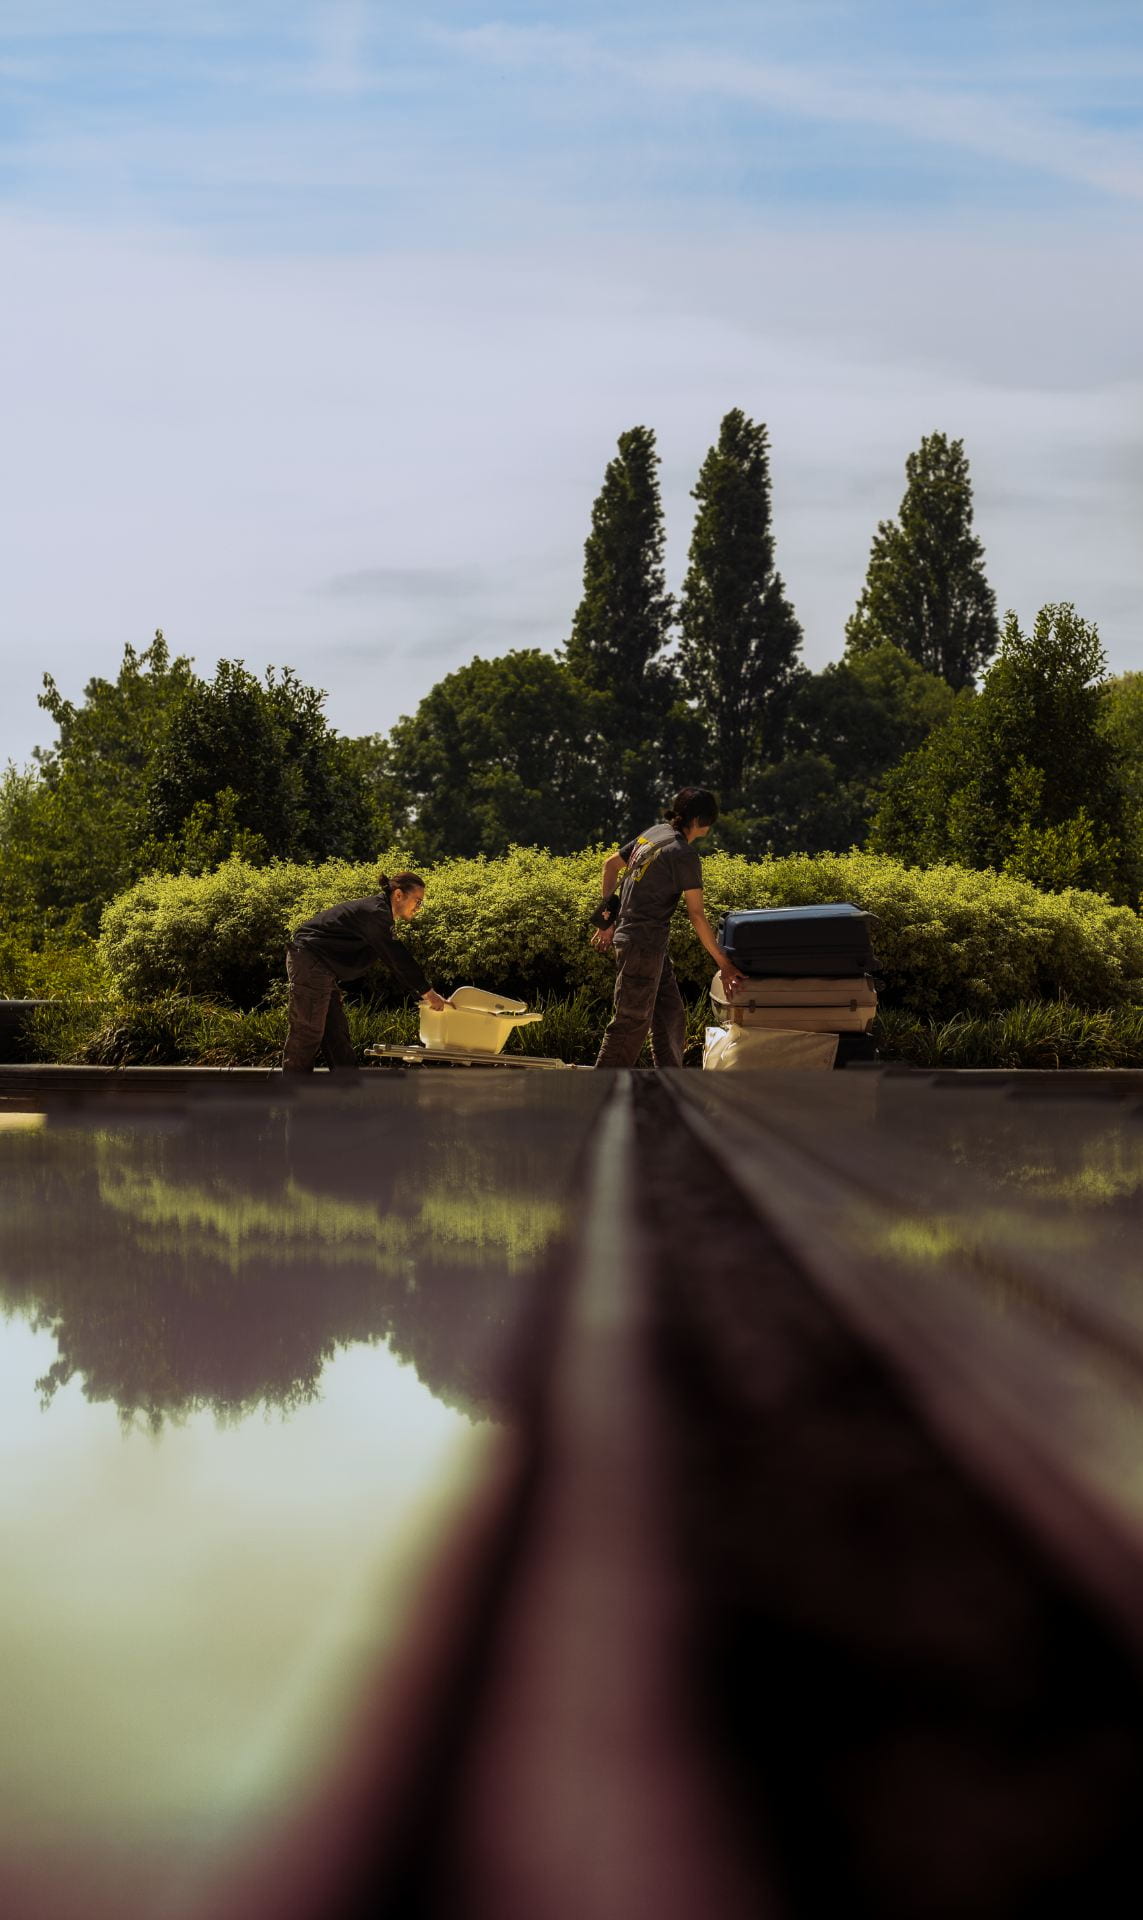
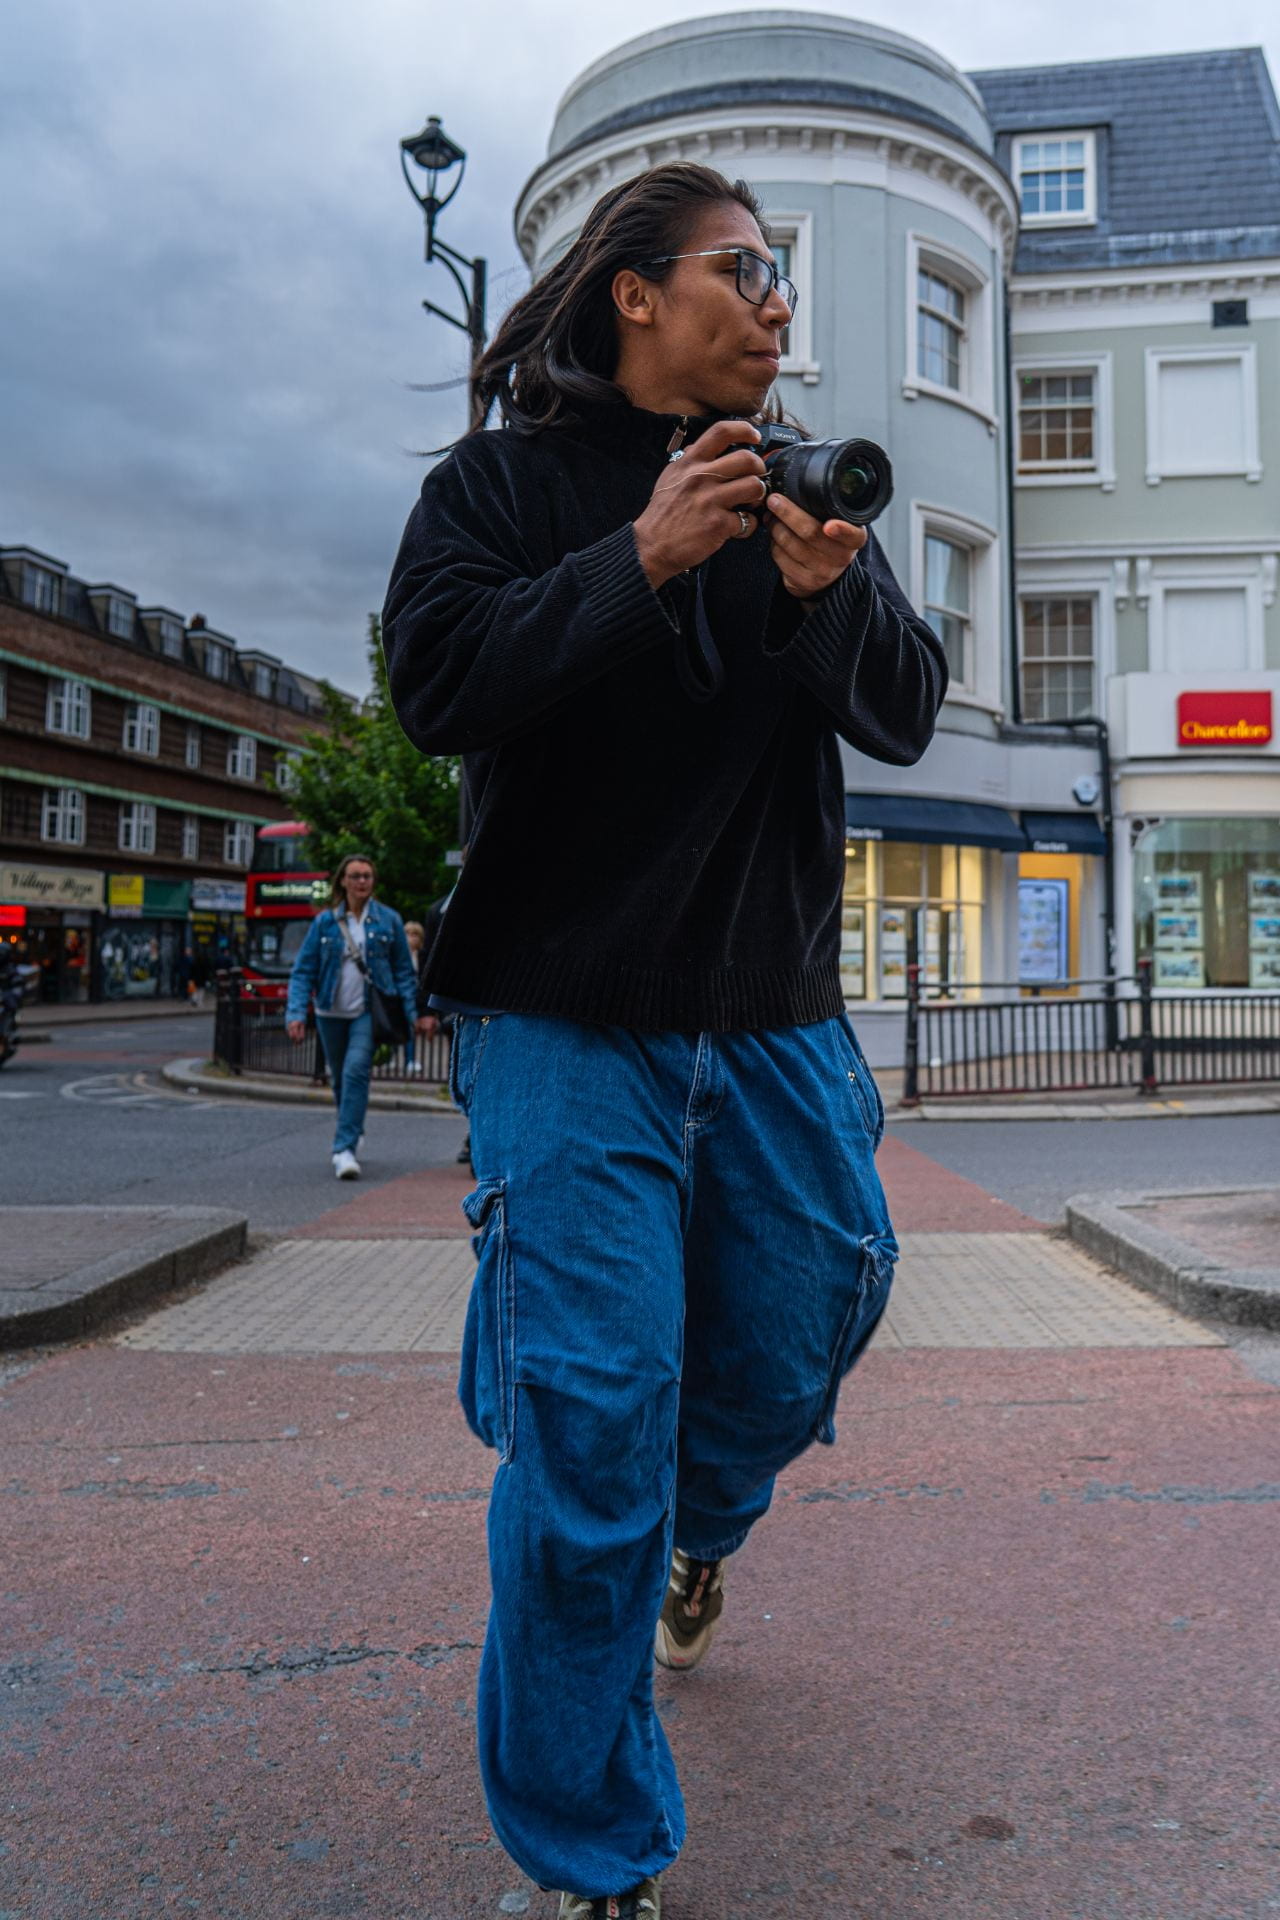
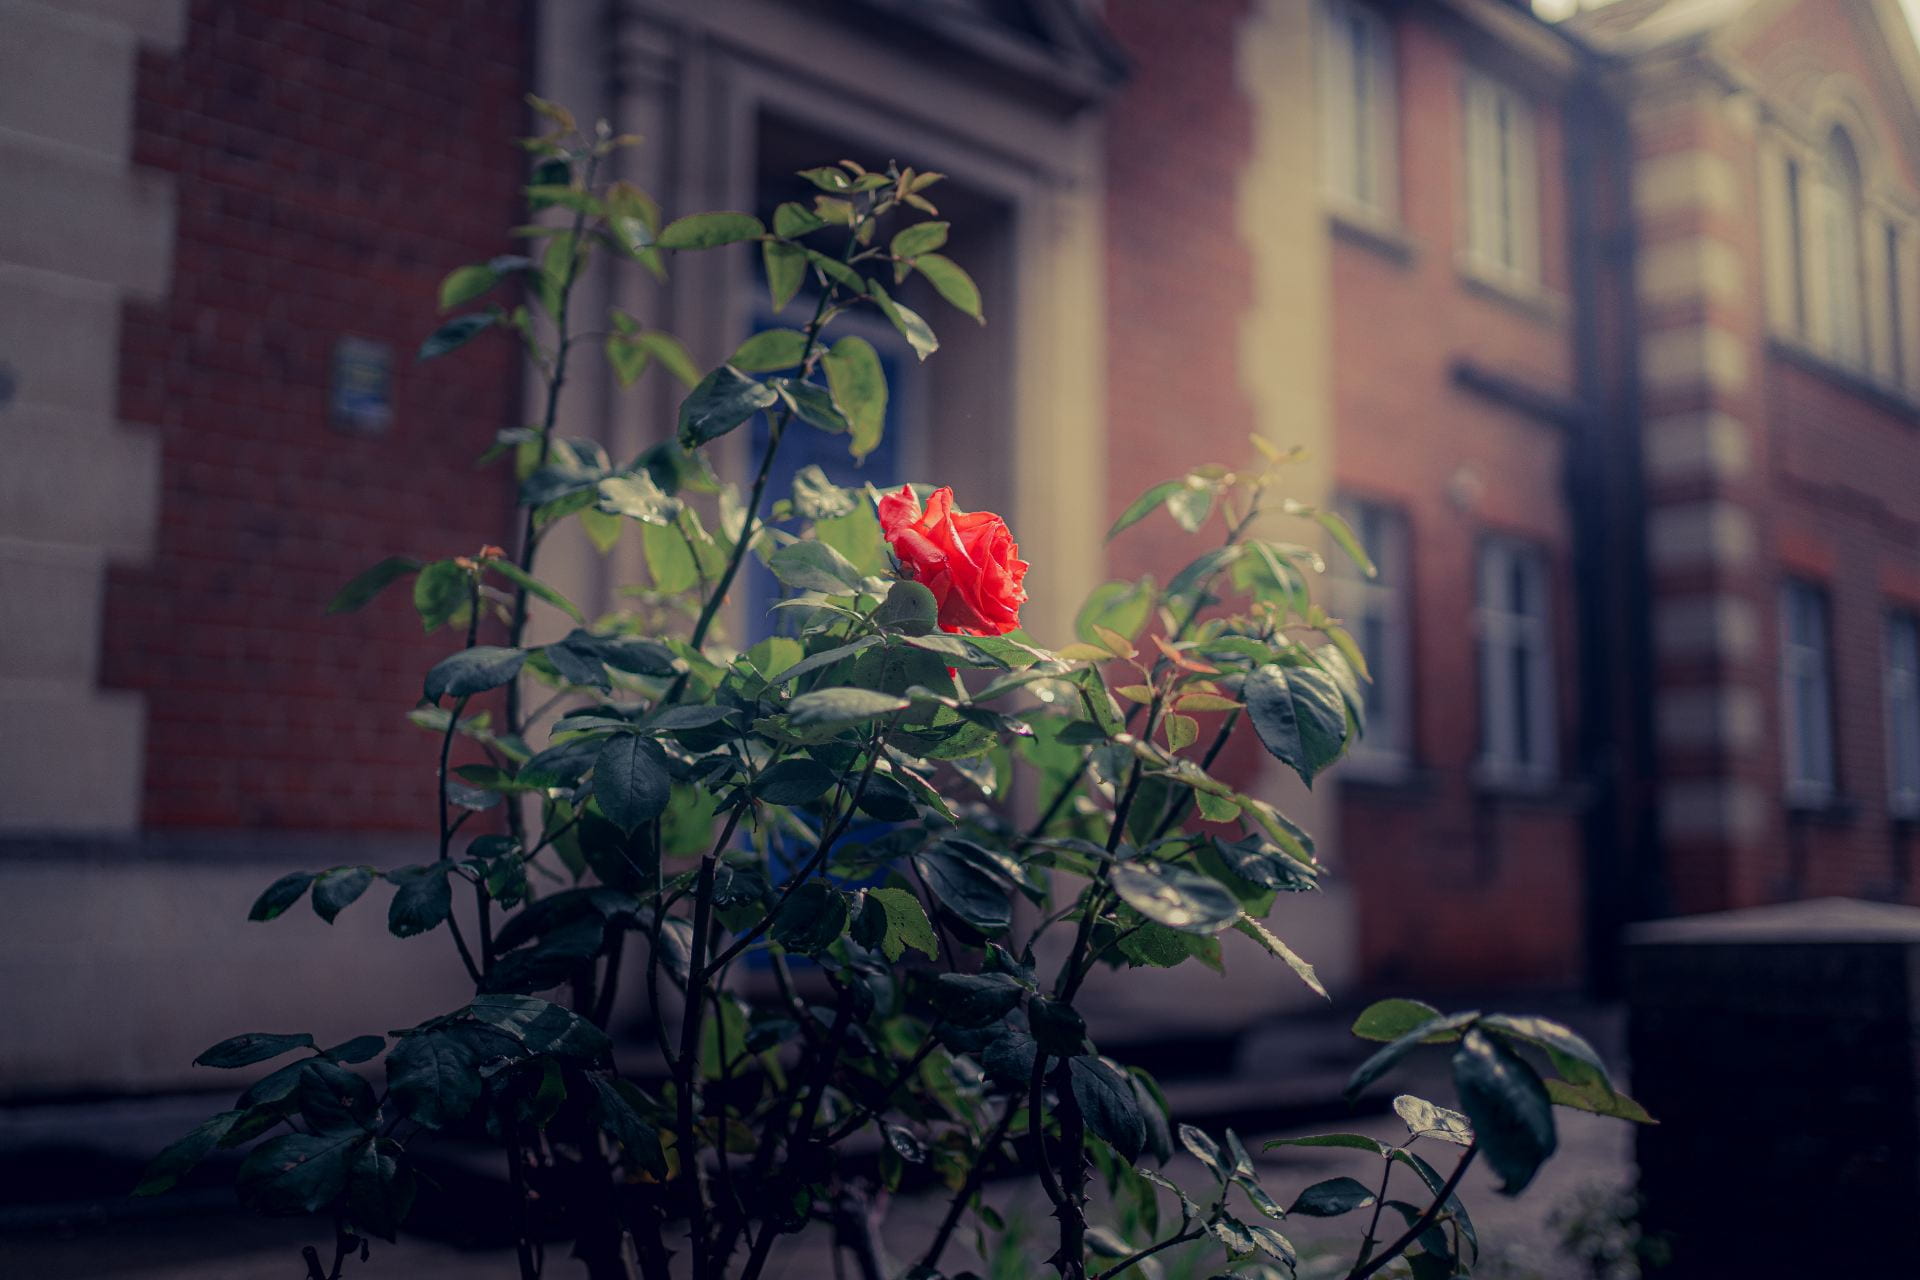
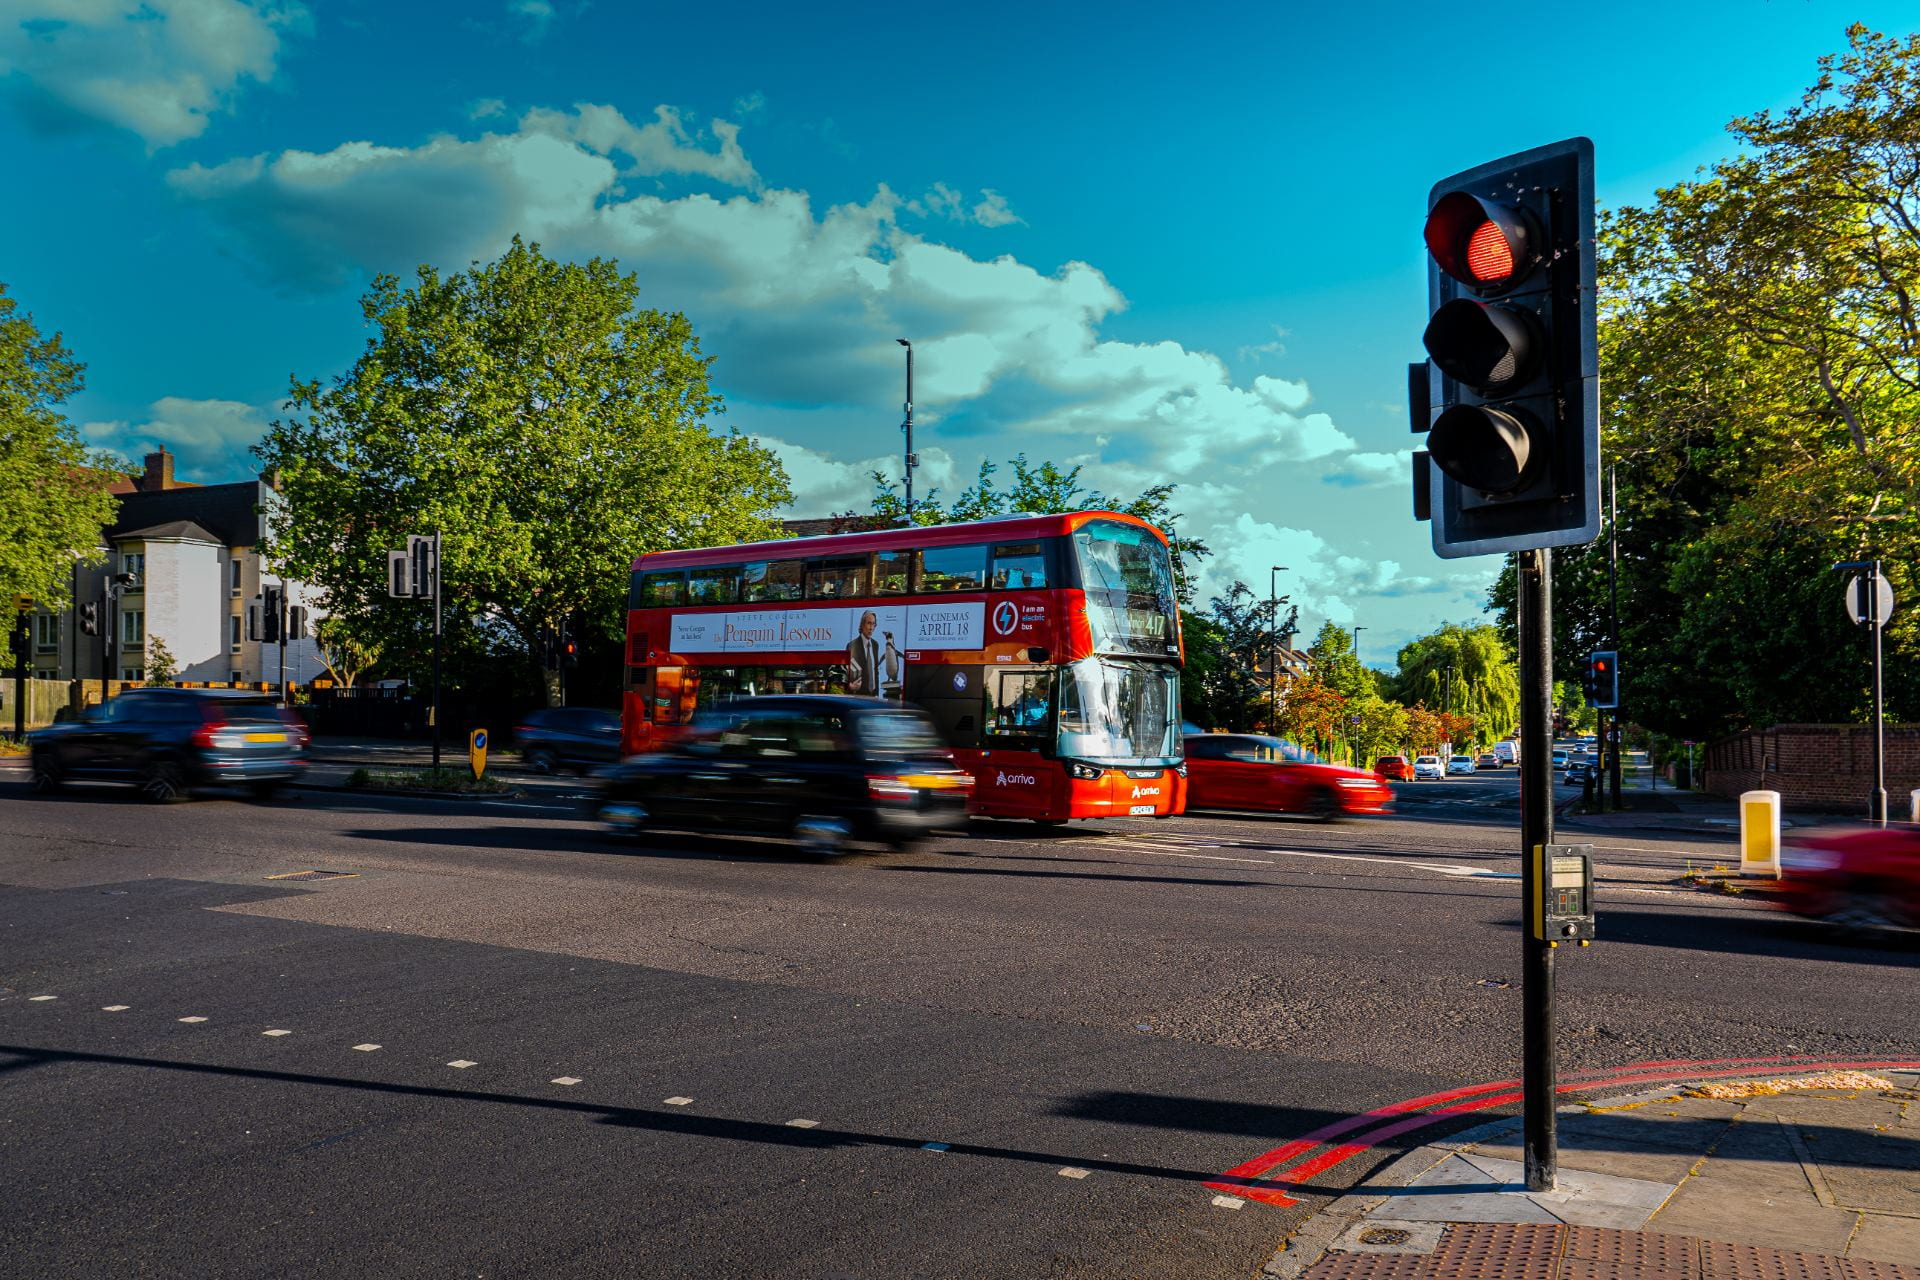
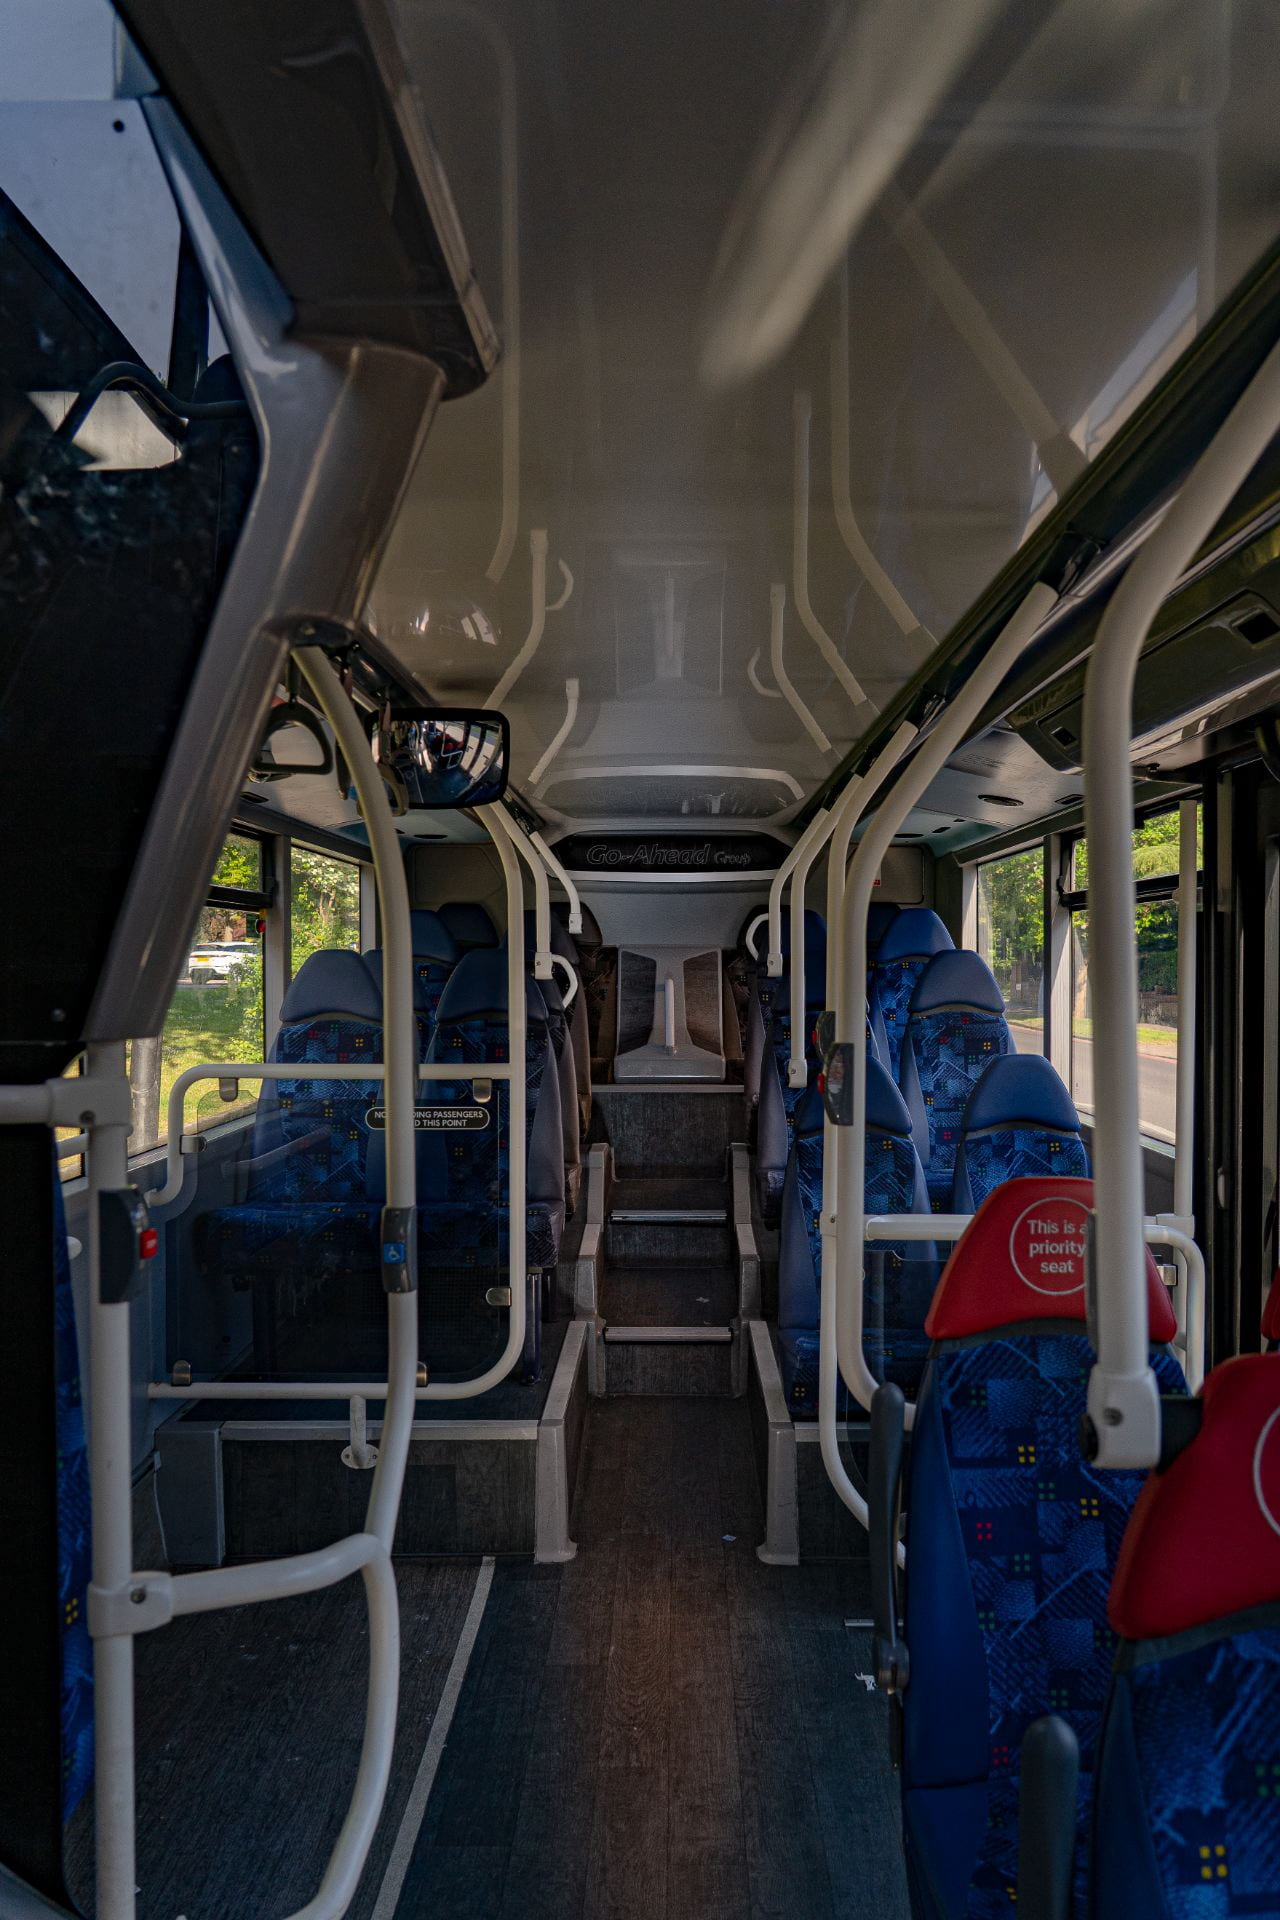
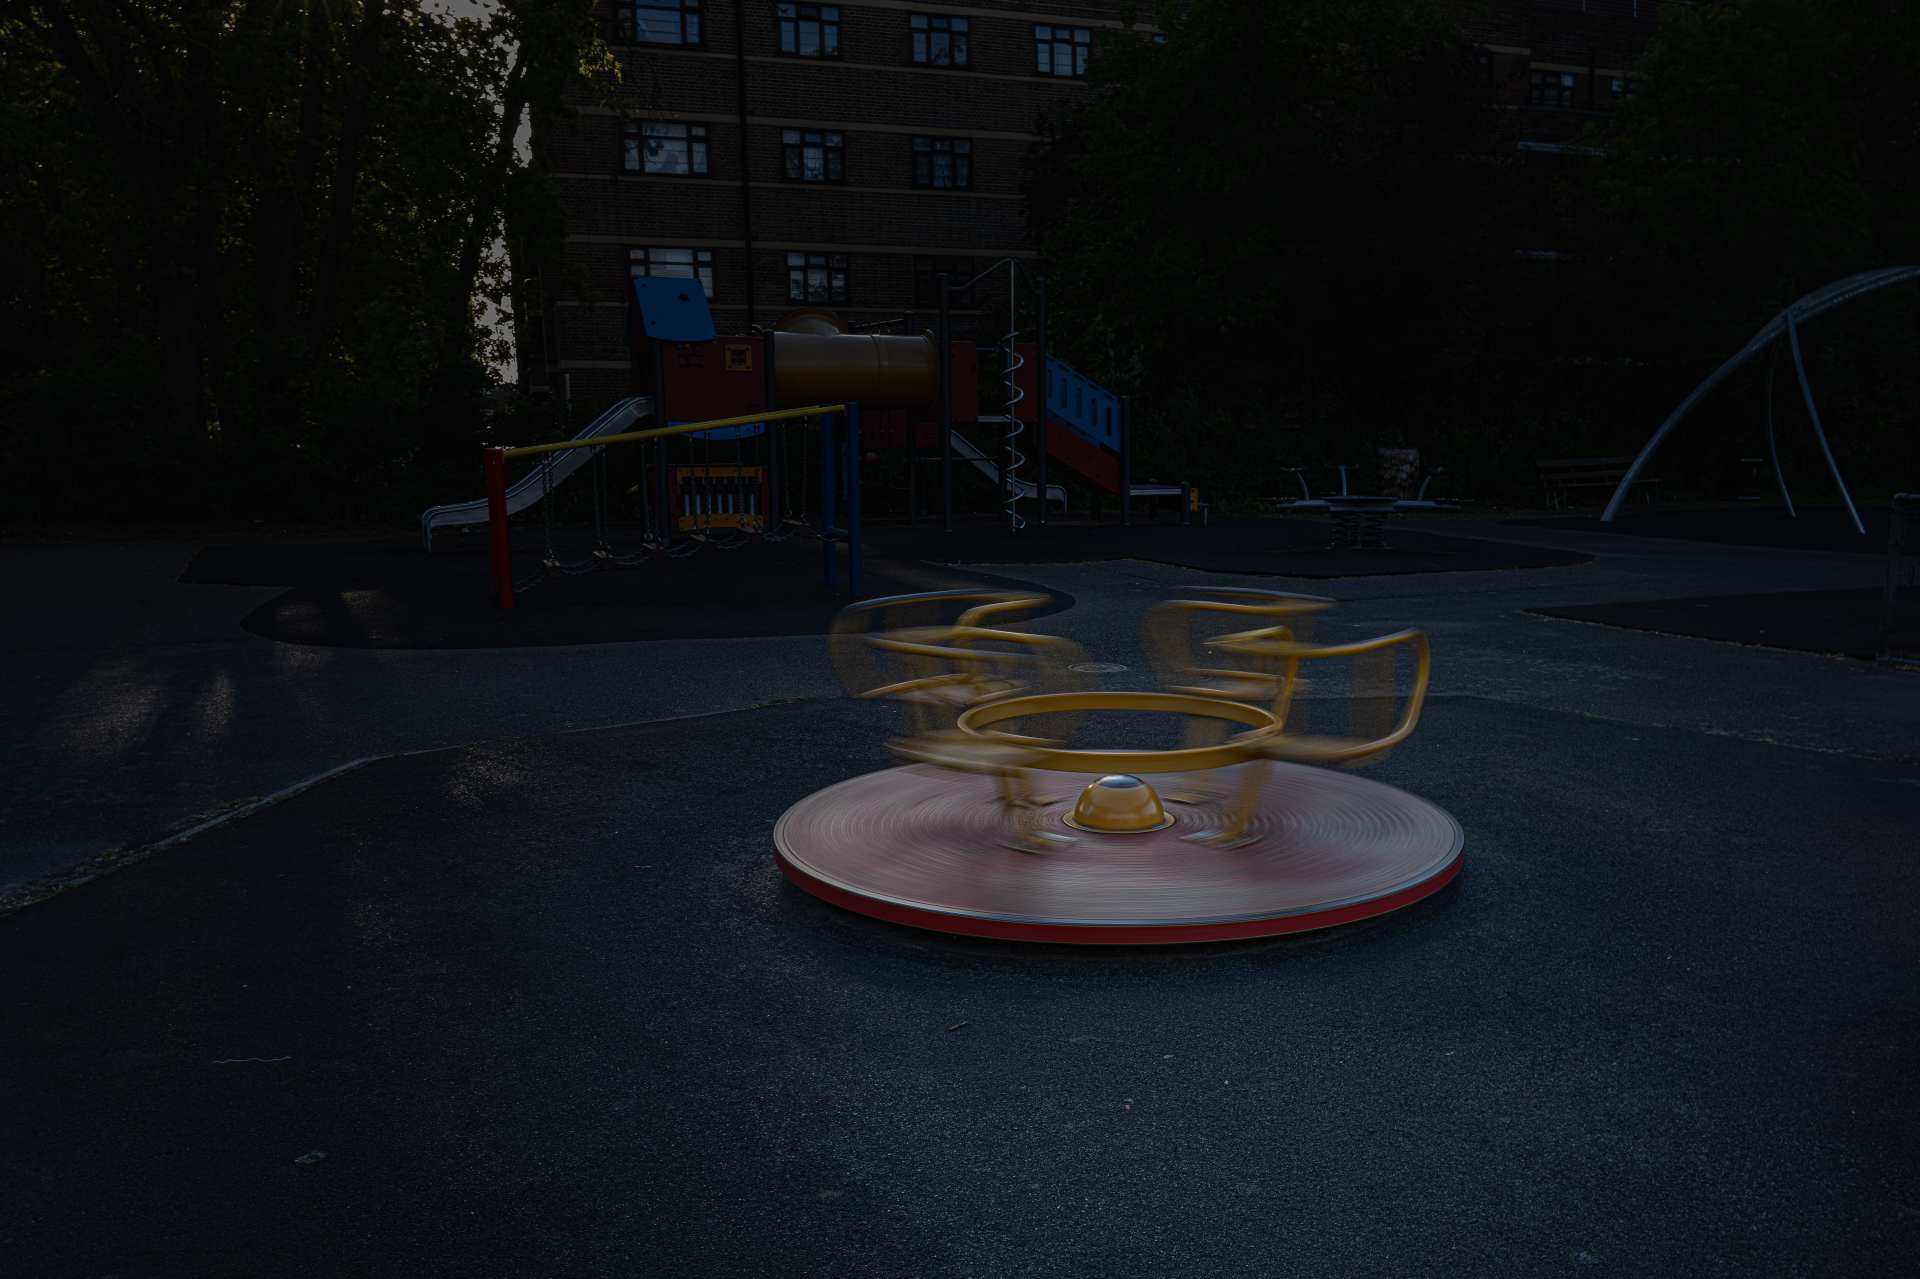
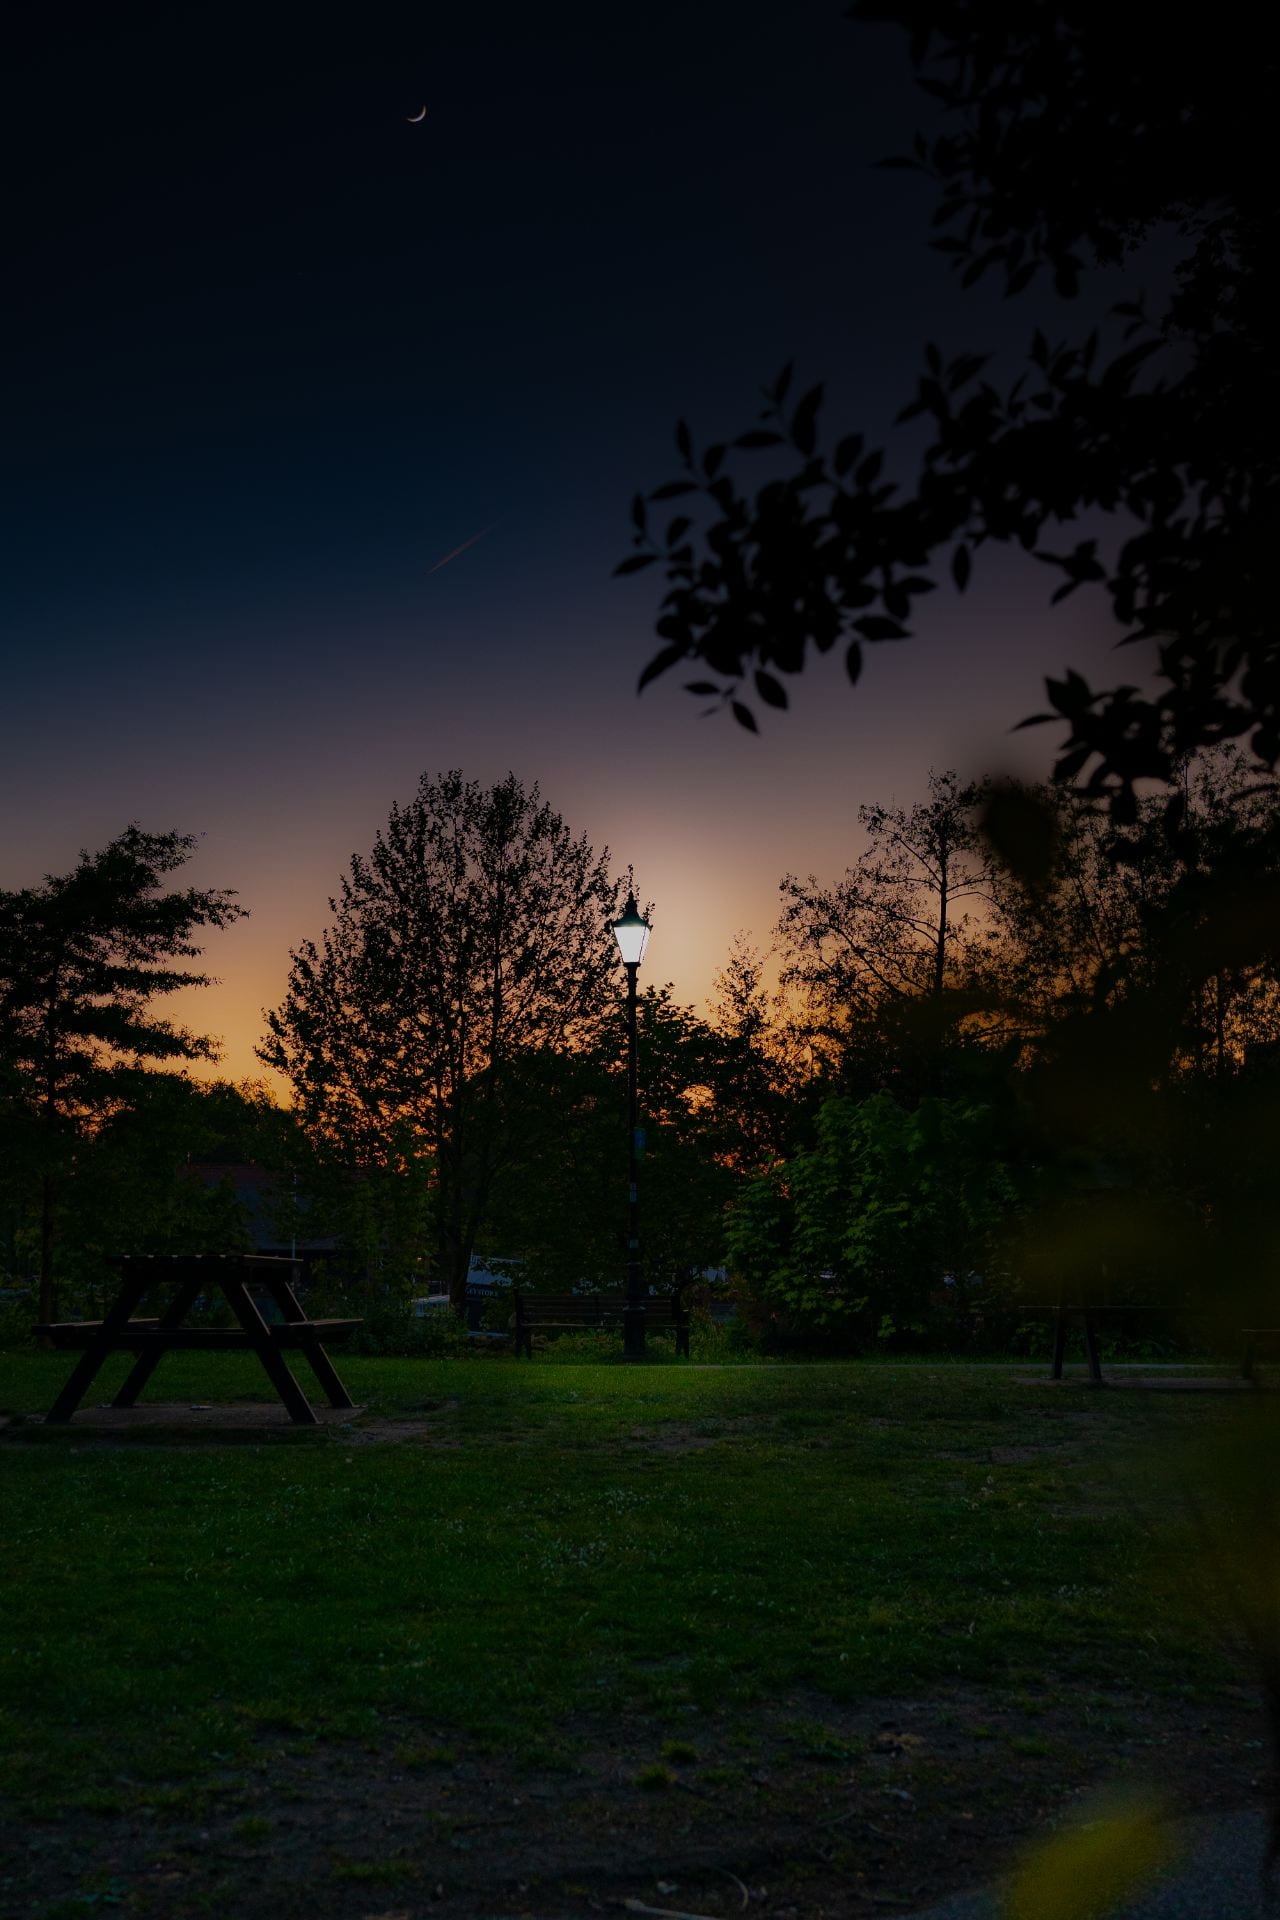
Title: Scaping reality
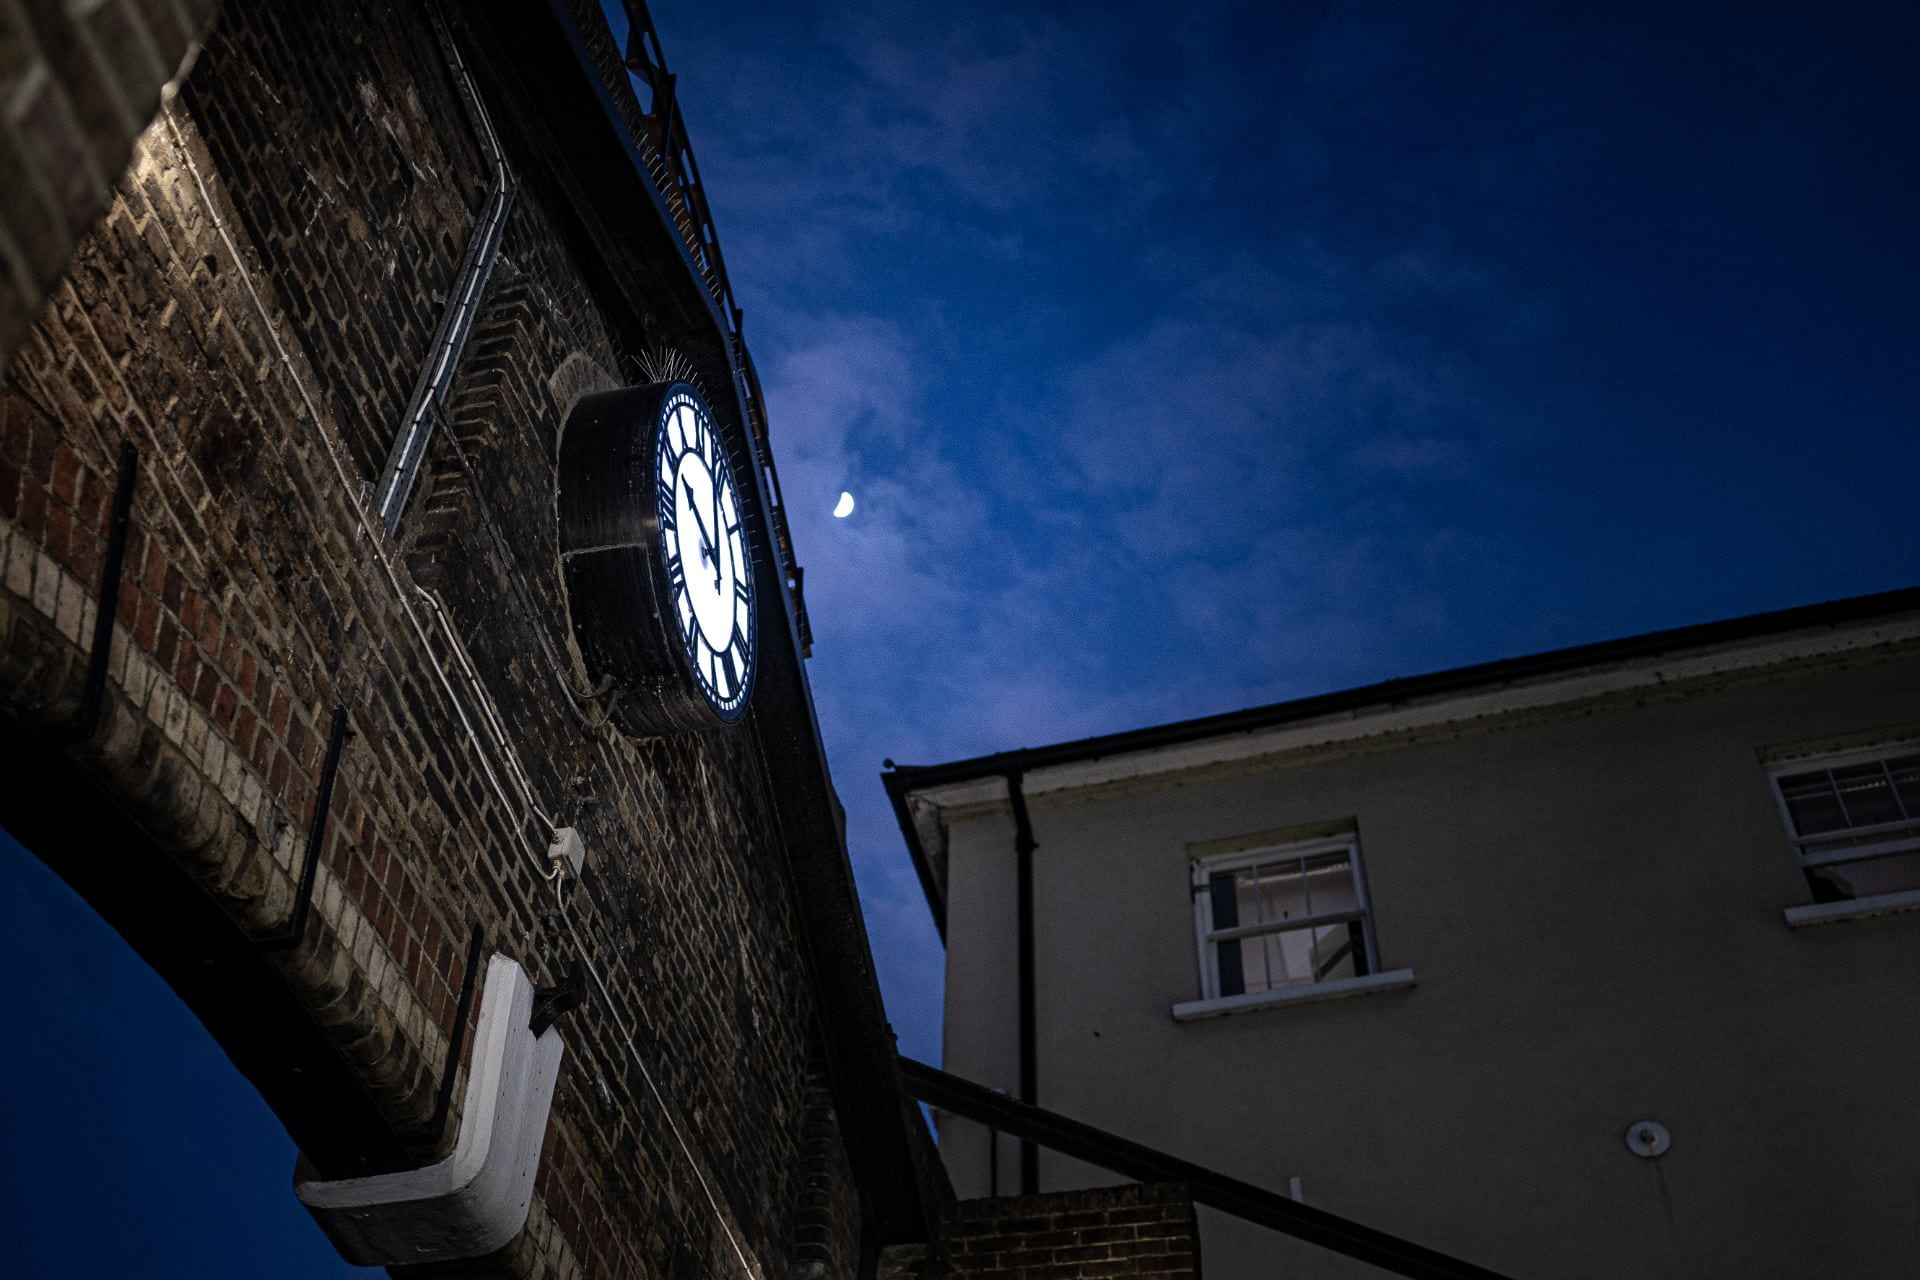
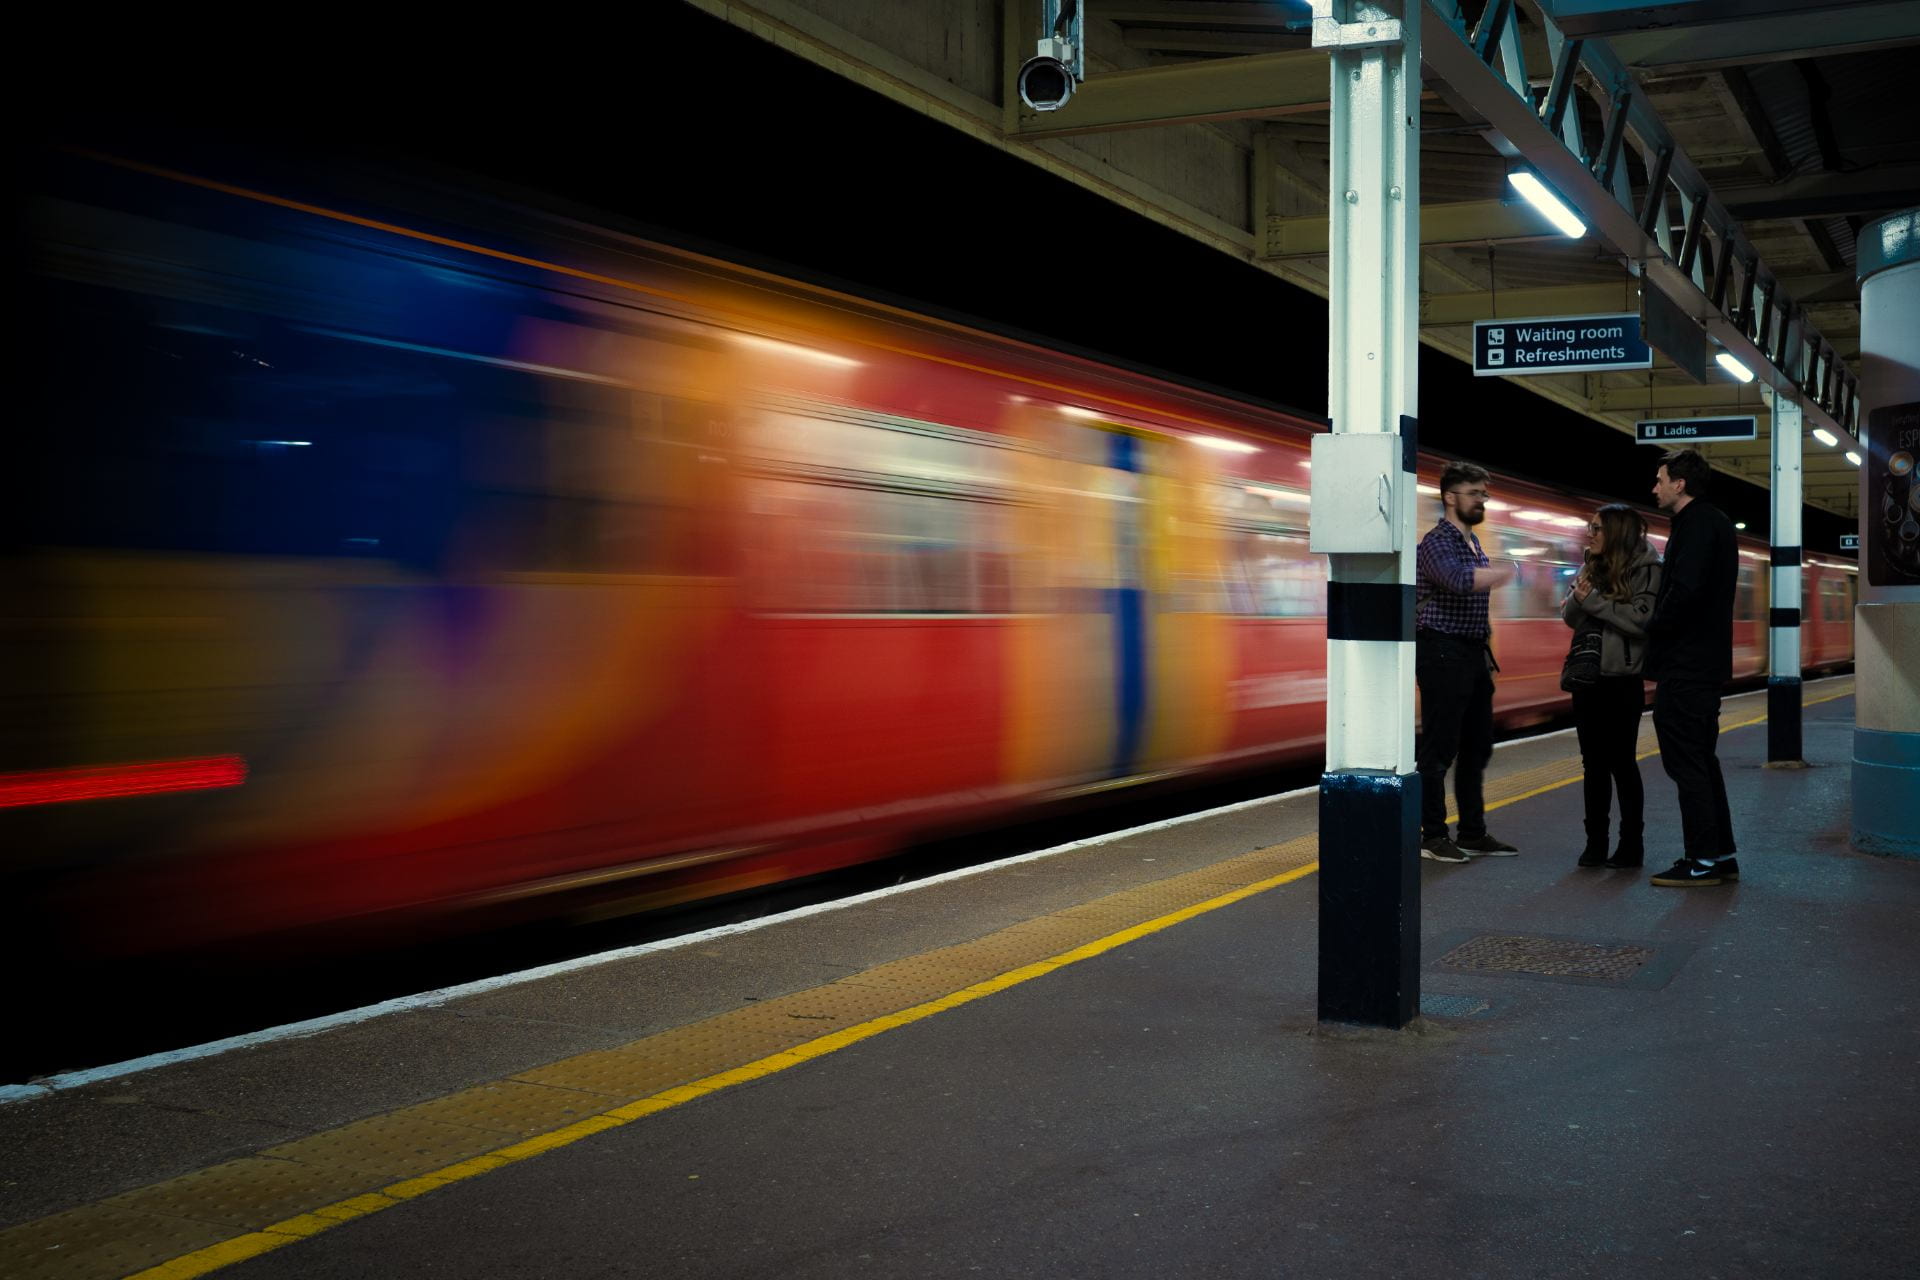
This story is as simple as it can get, Follows a Photographer that goes out and explores the world as a hobby to scape the monotone day by day world, showing his vision through the lends of his camera. Pursuing night and day the Essent that keeps him alive from the most mundane and ordinary things.
Stop Motion animation:
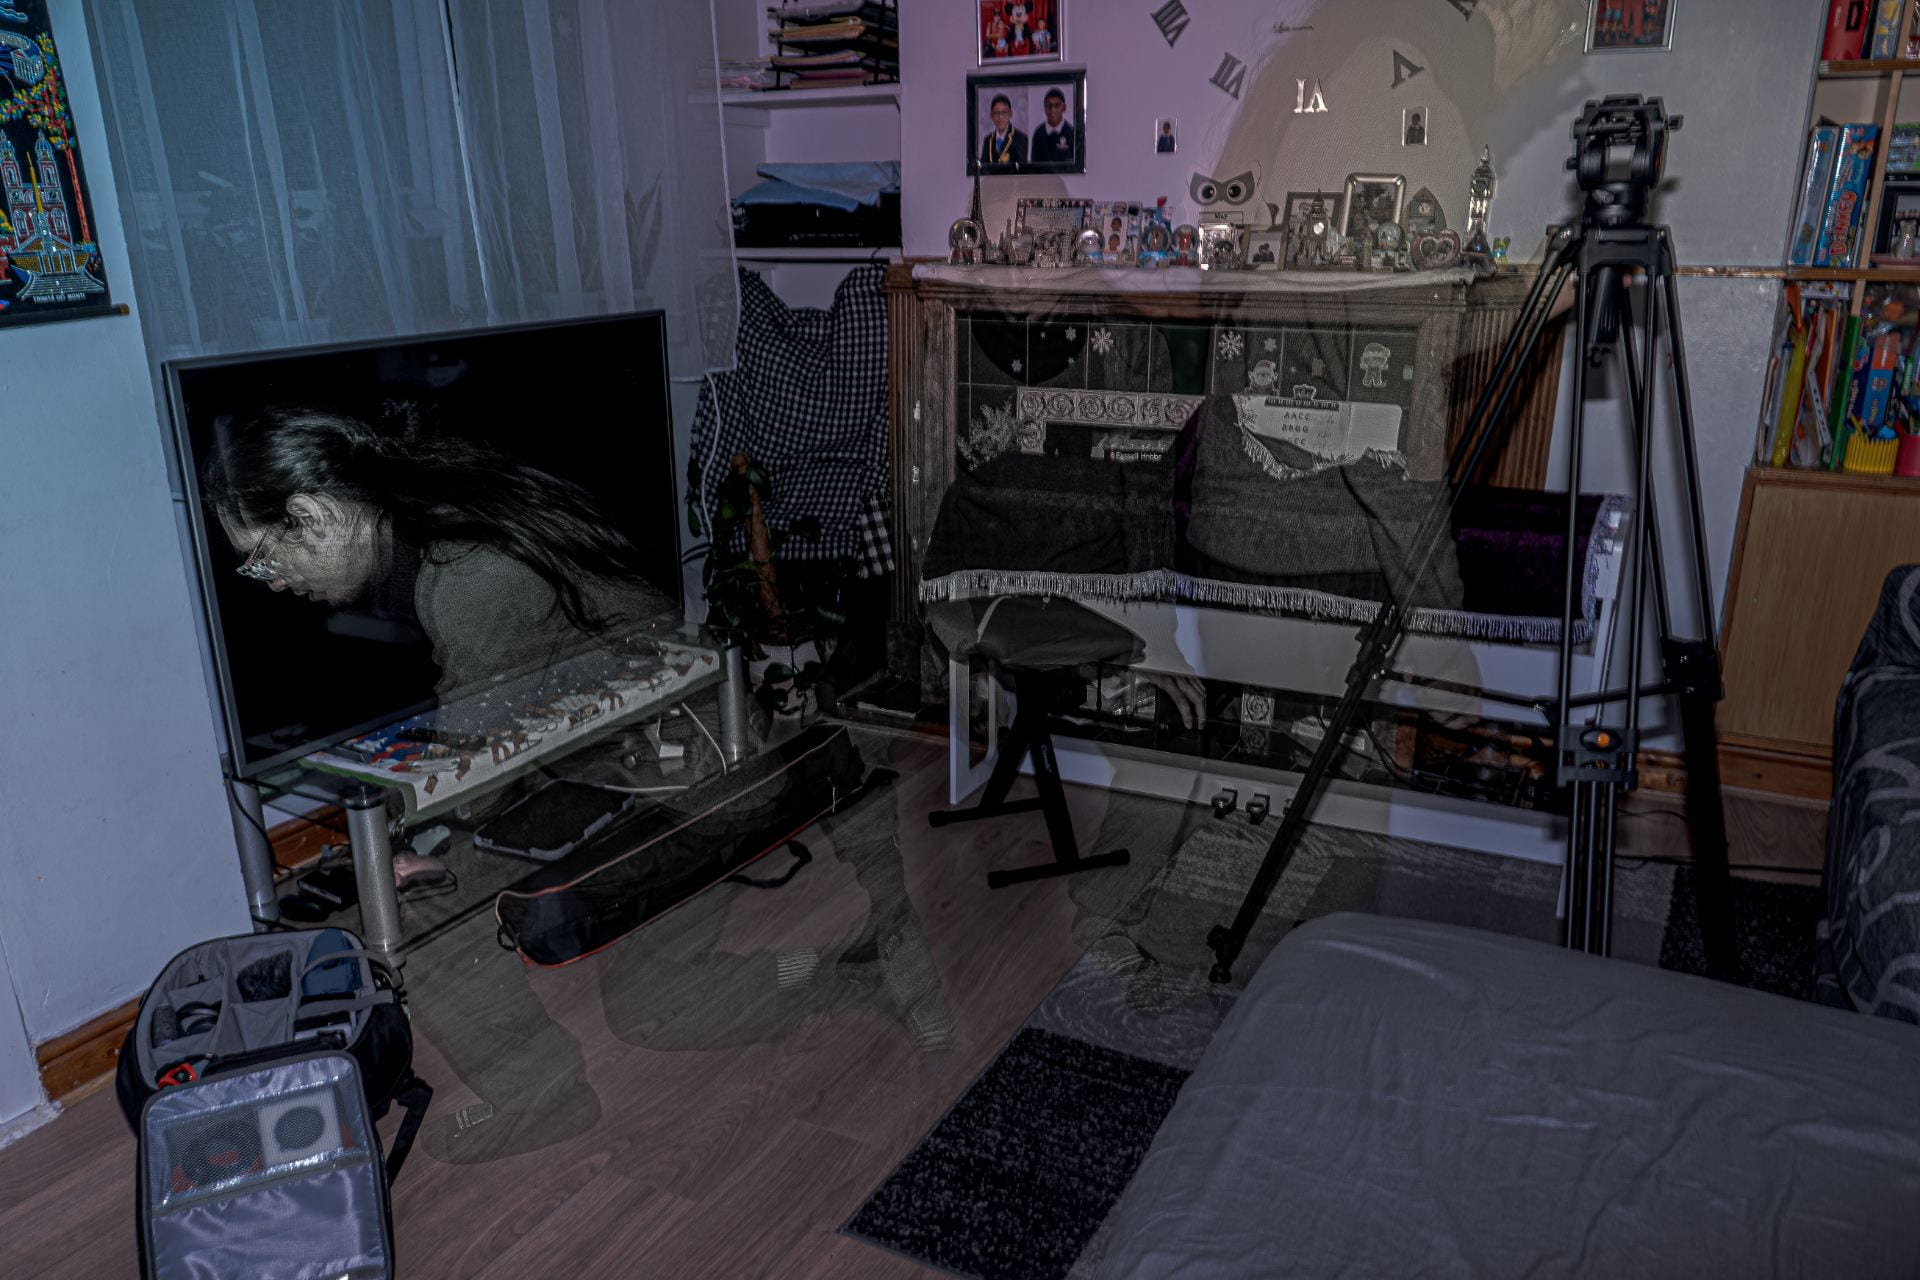
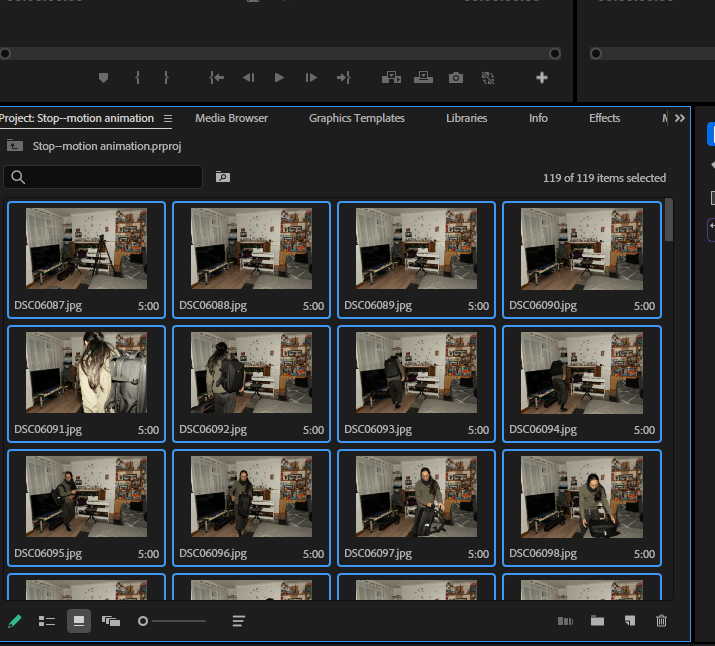
My stop motion animation is based in the last image of the assignment one. Shows how The MC arrives home and start to play whit his equipment.
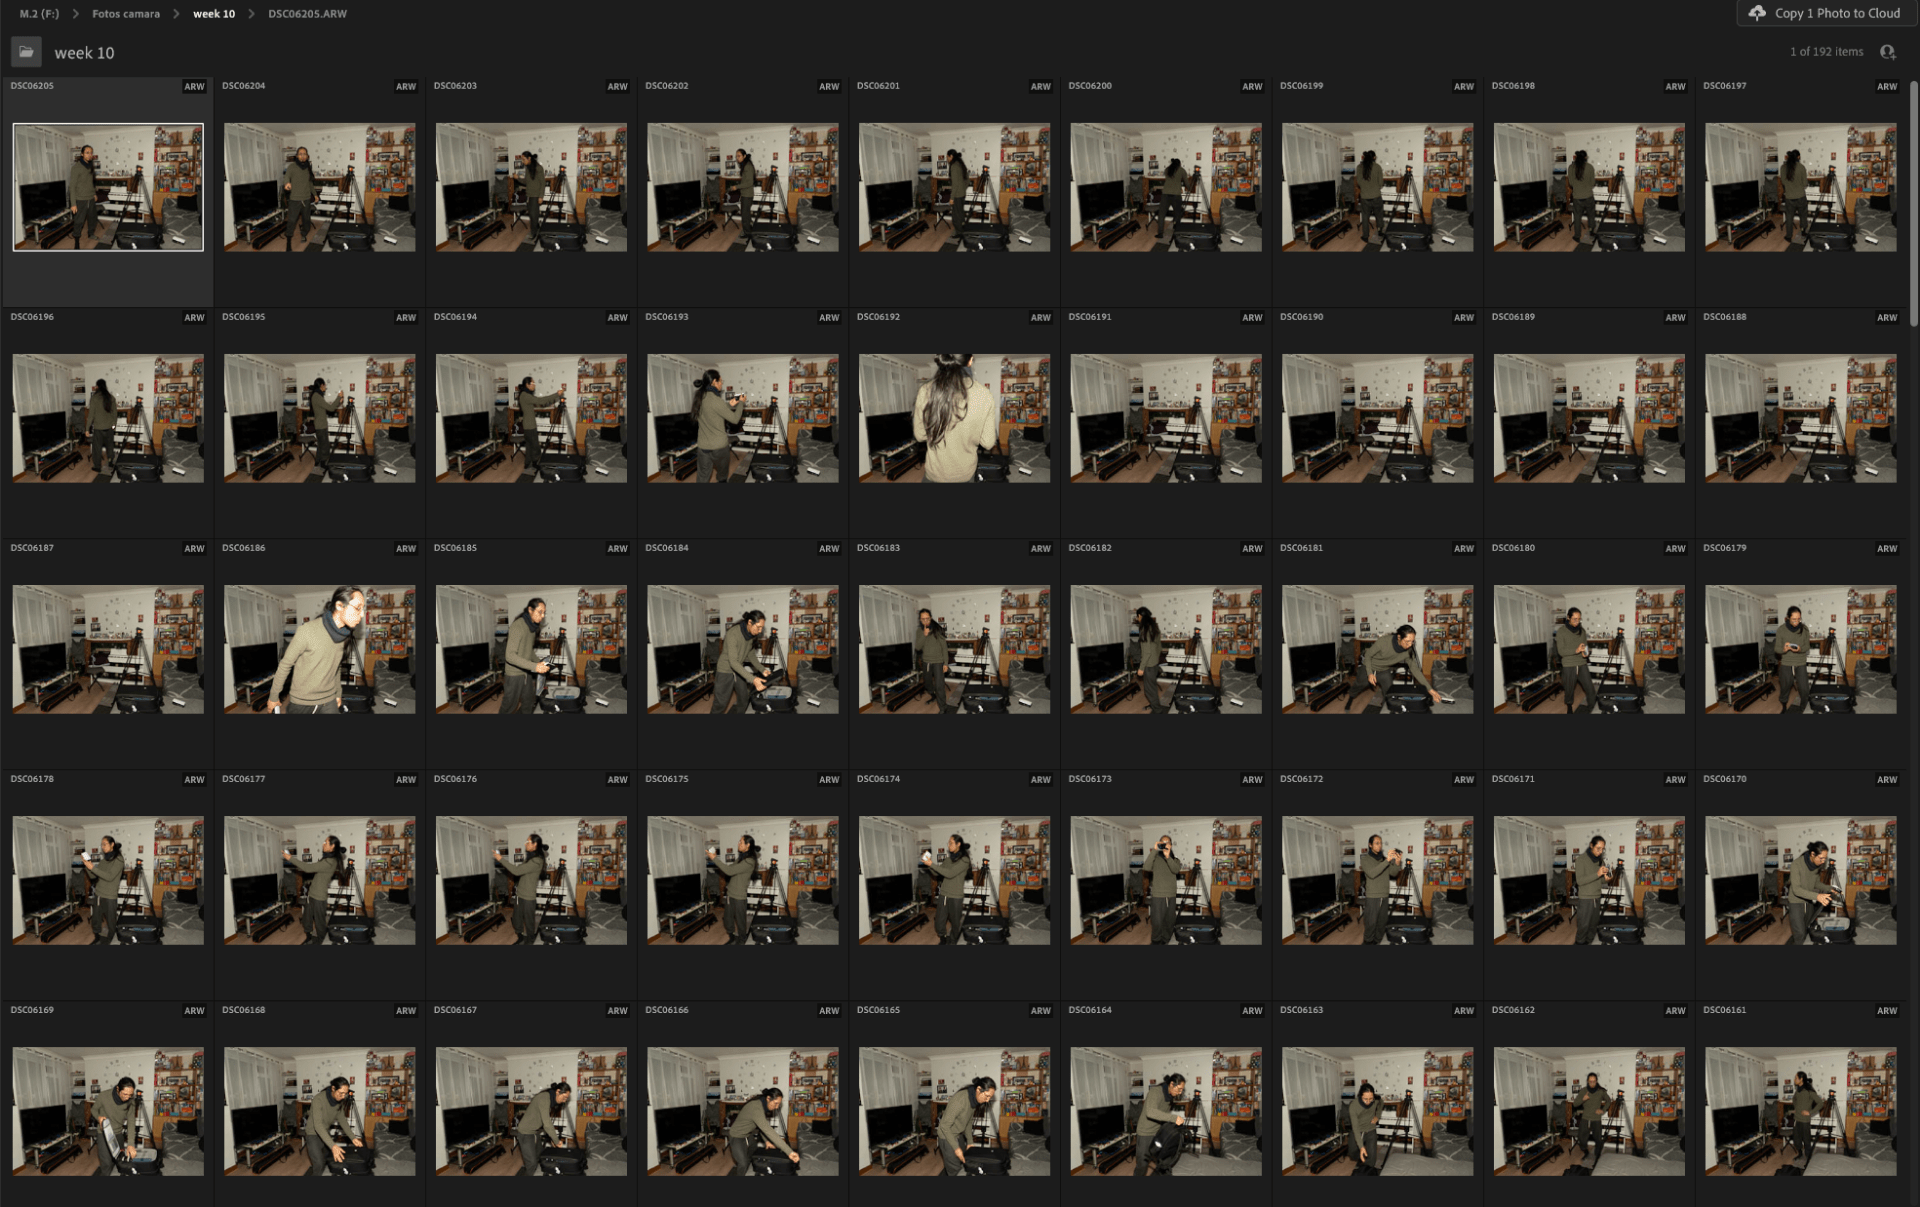
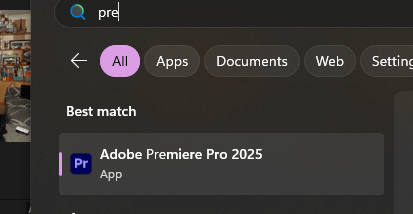
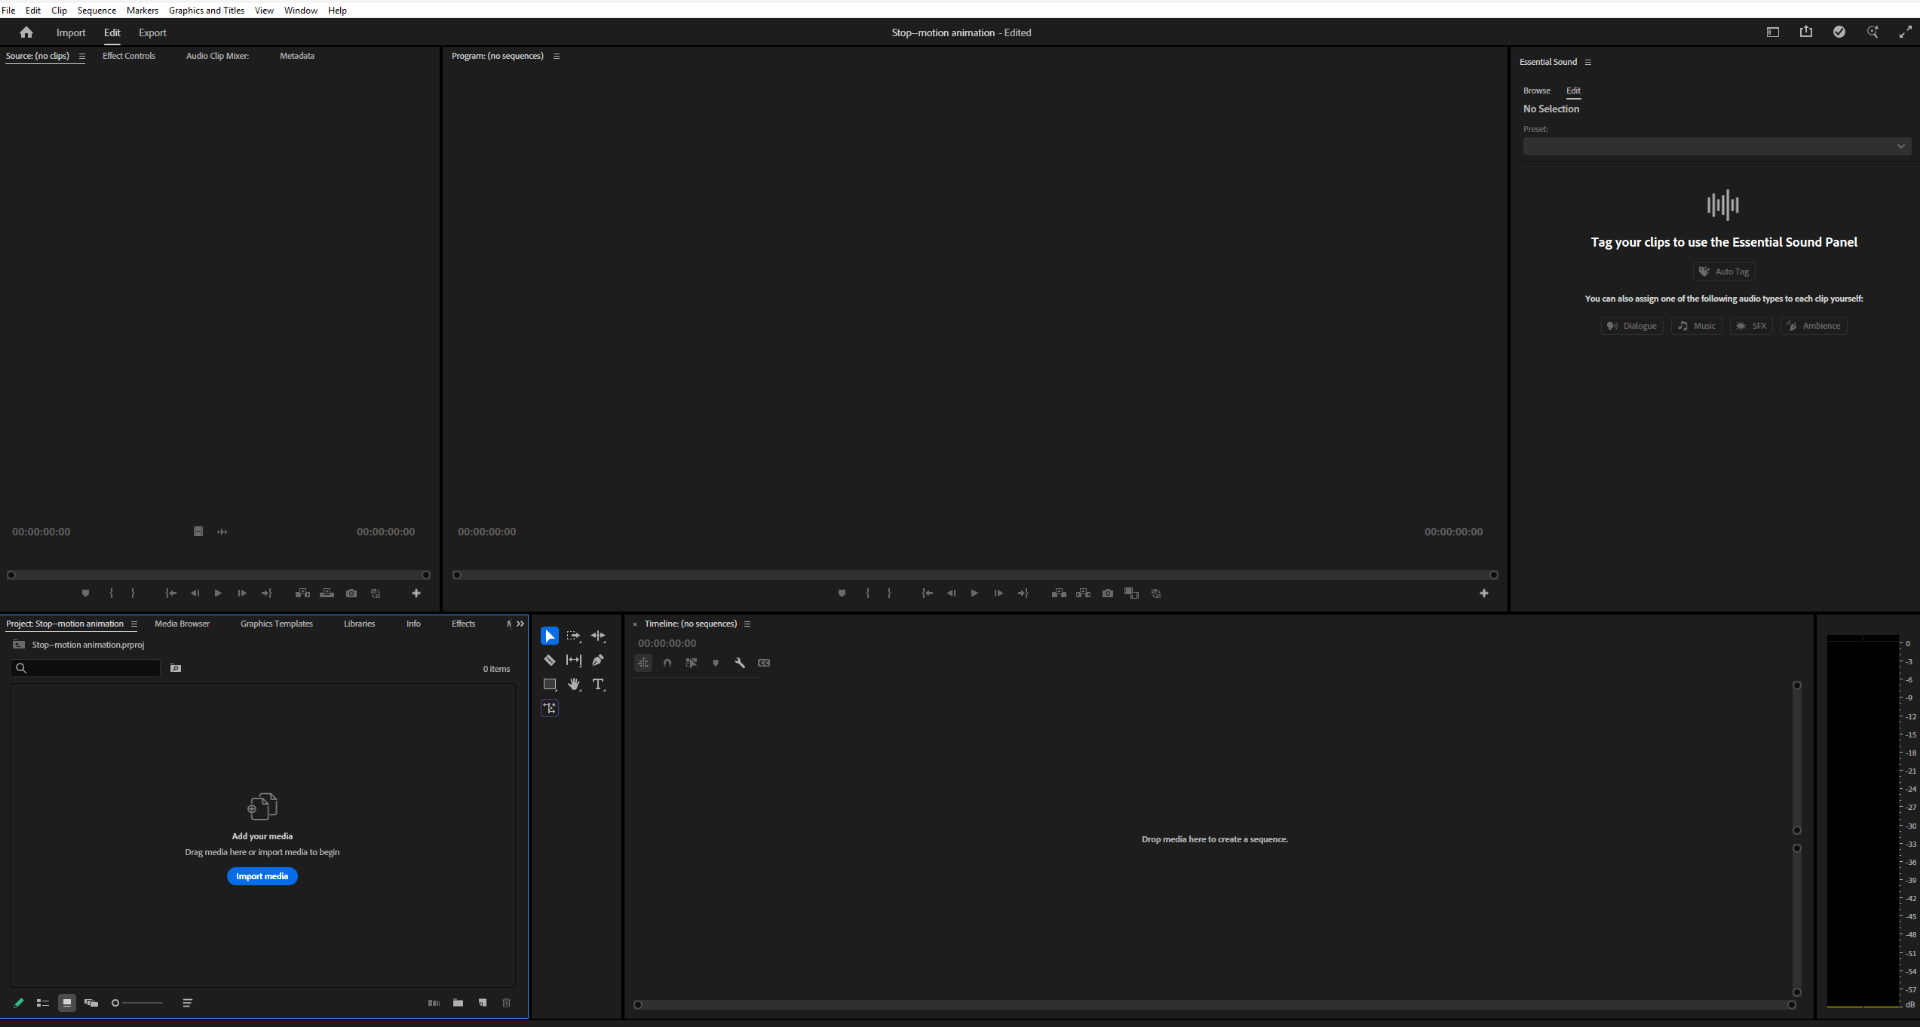
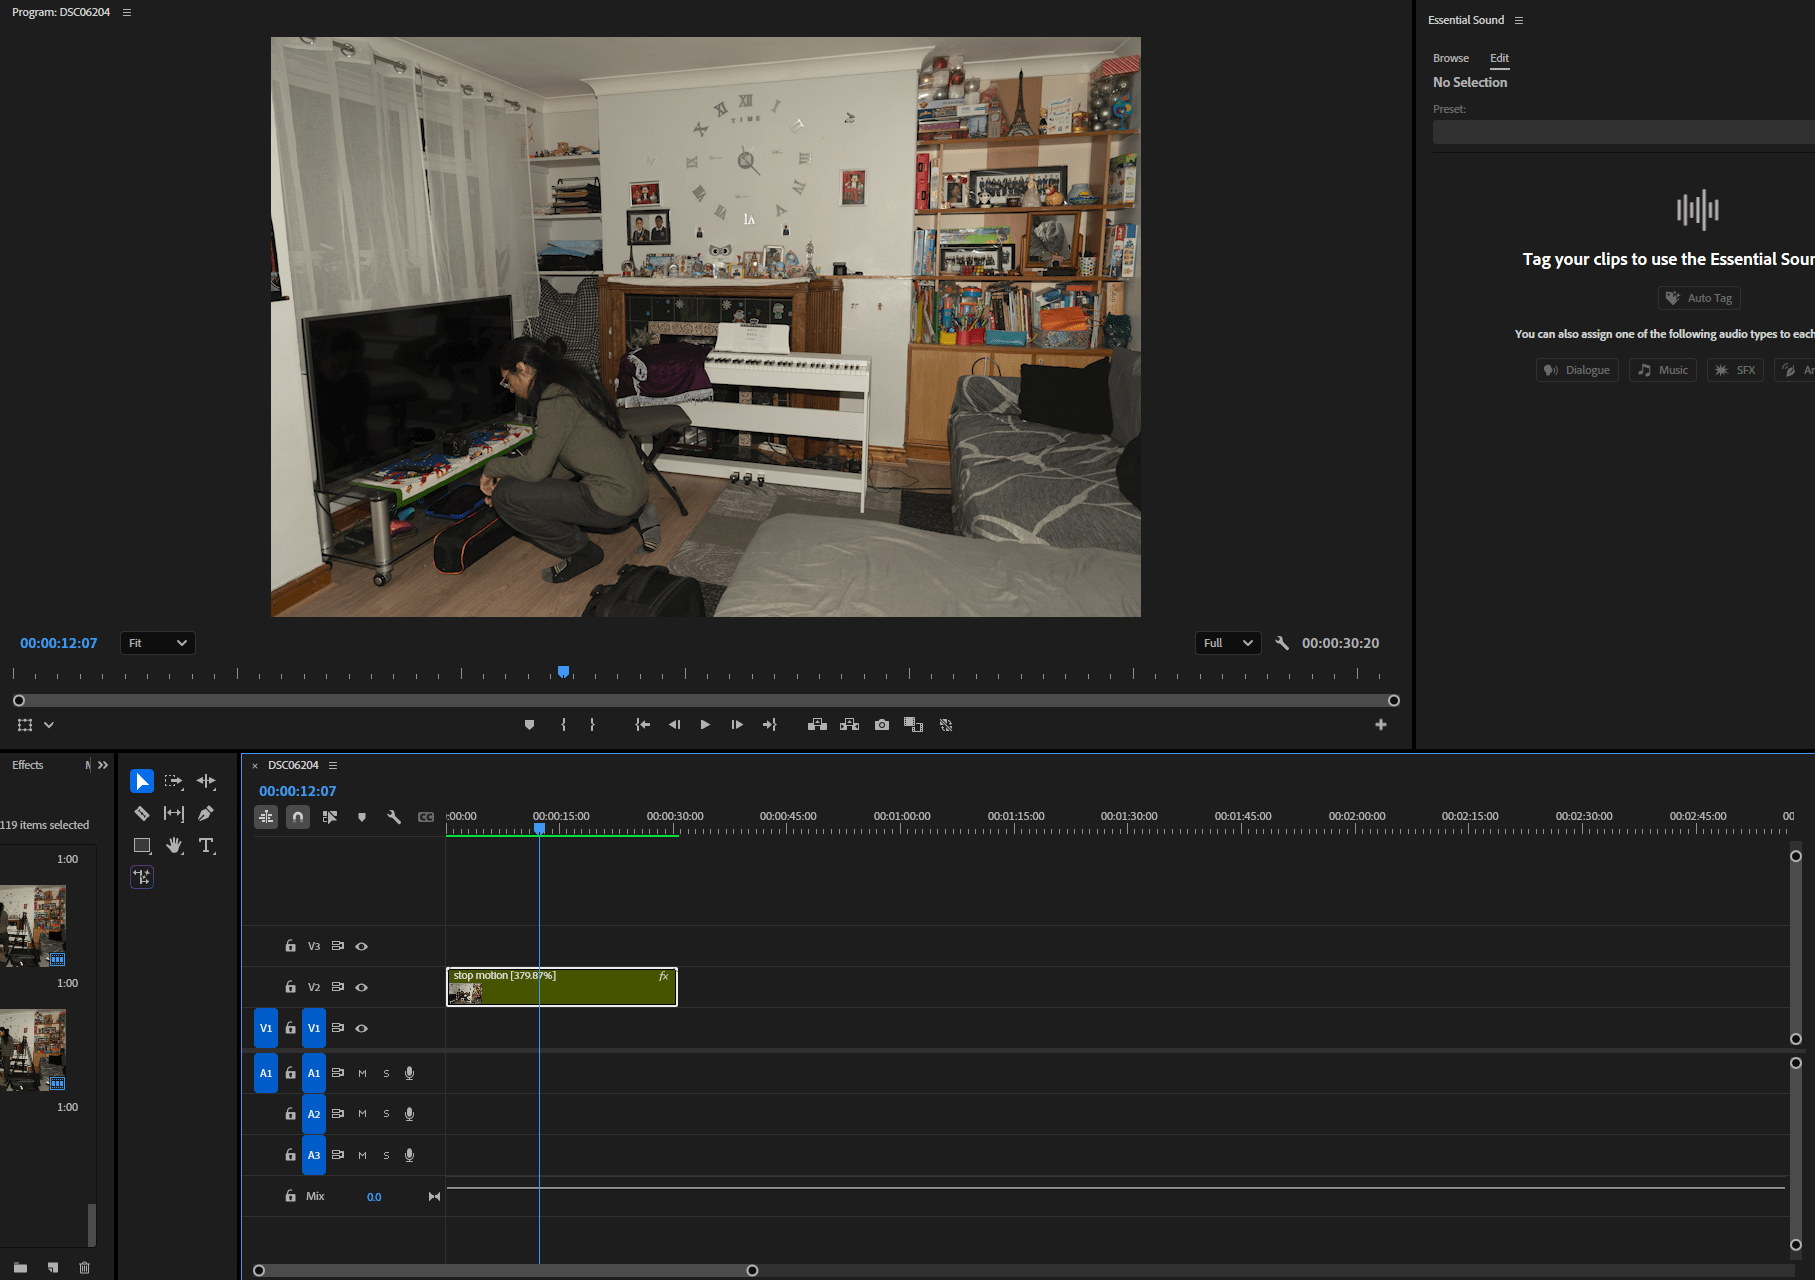
Here we can find the process of converting the images that I took (120) to a basic stop motion video using adobe premier.
Final result:
End of assignment 1
Assignment 2: portraits
Storyboard:
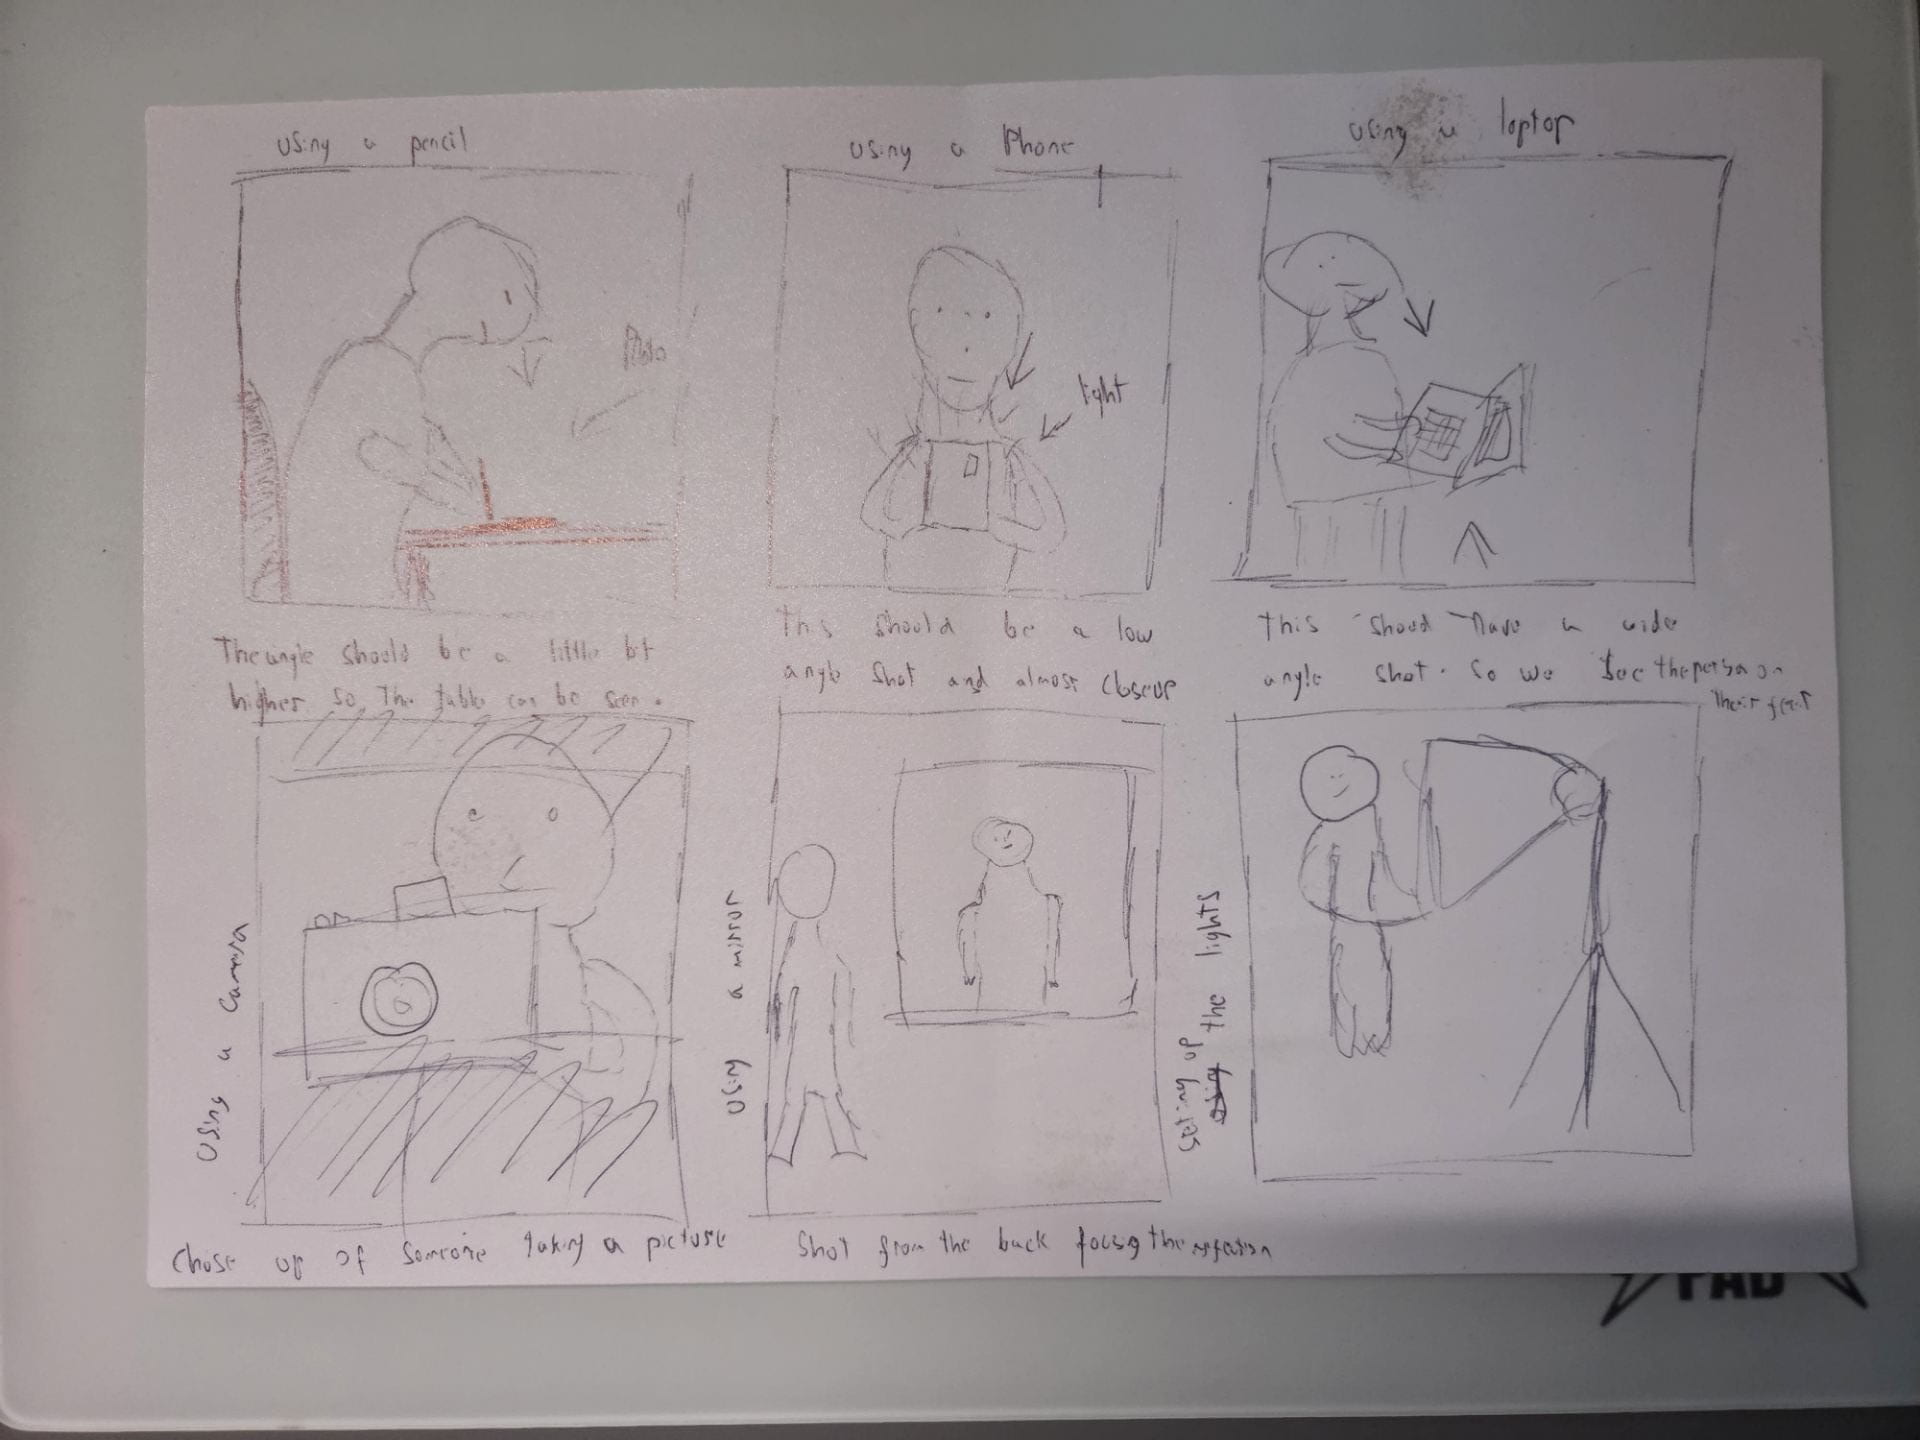
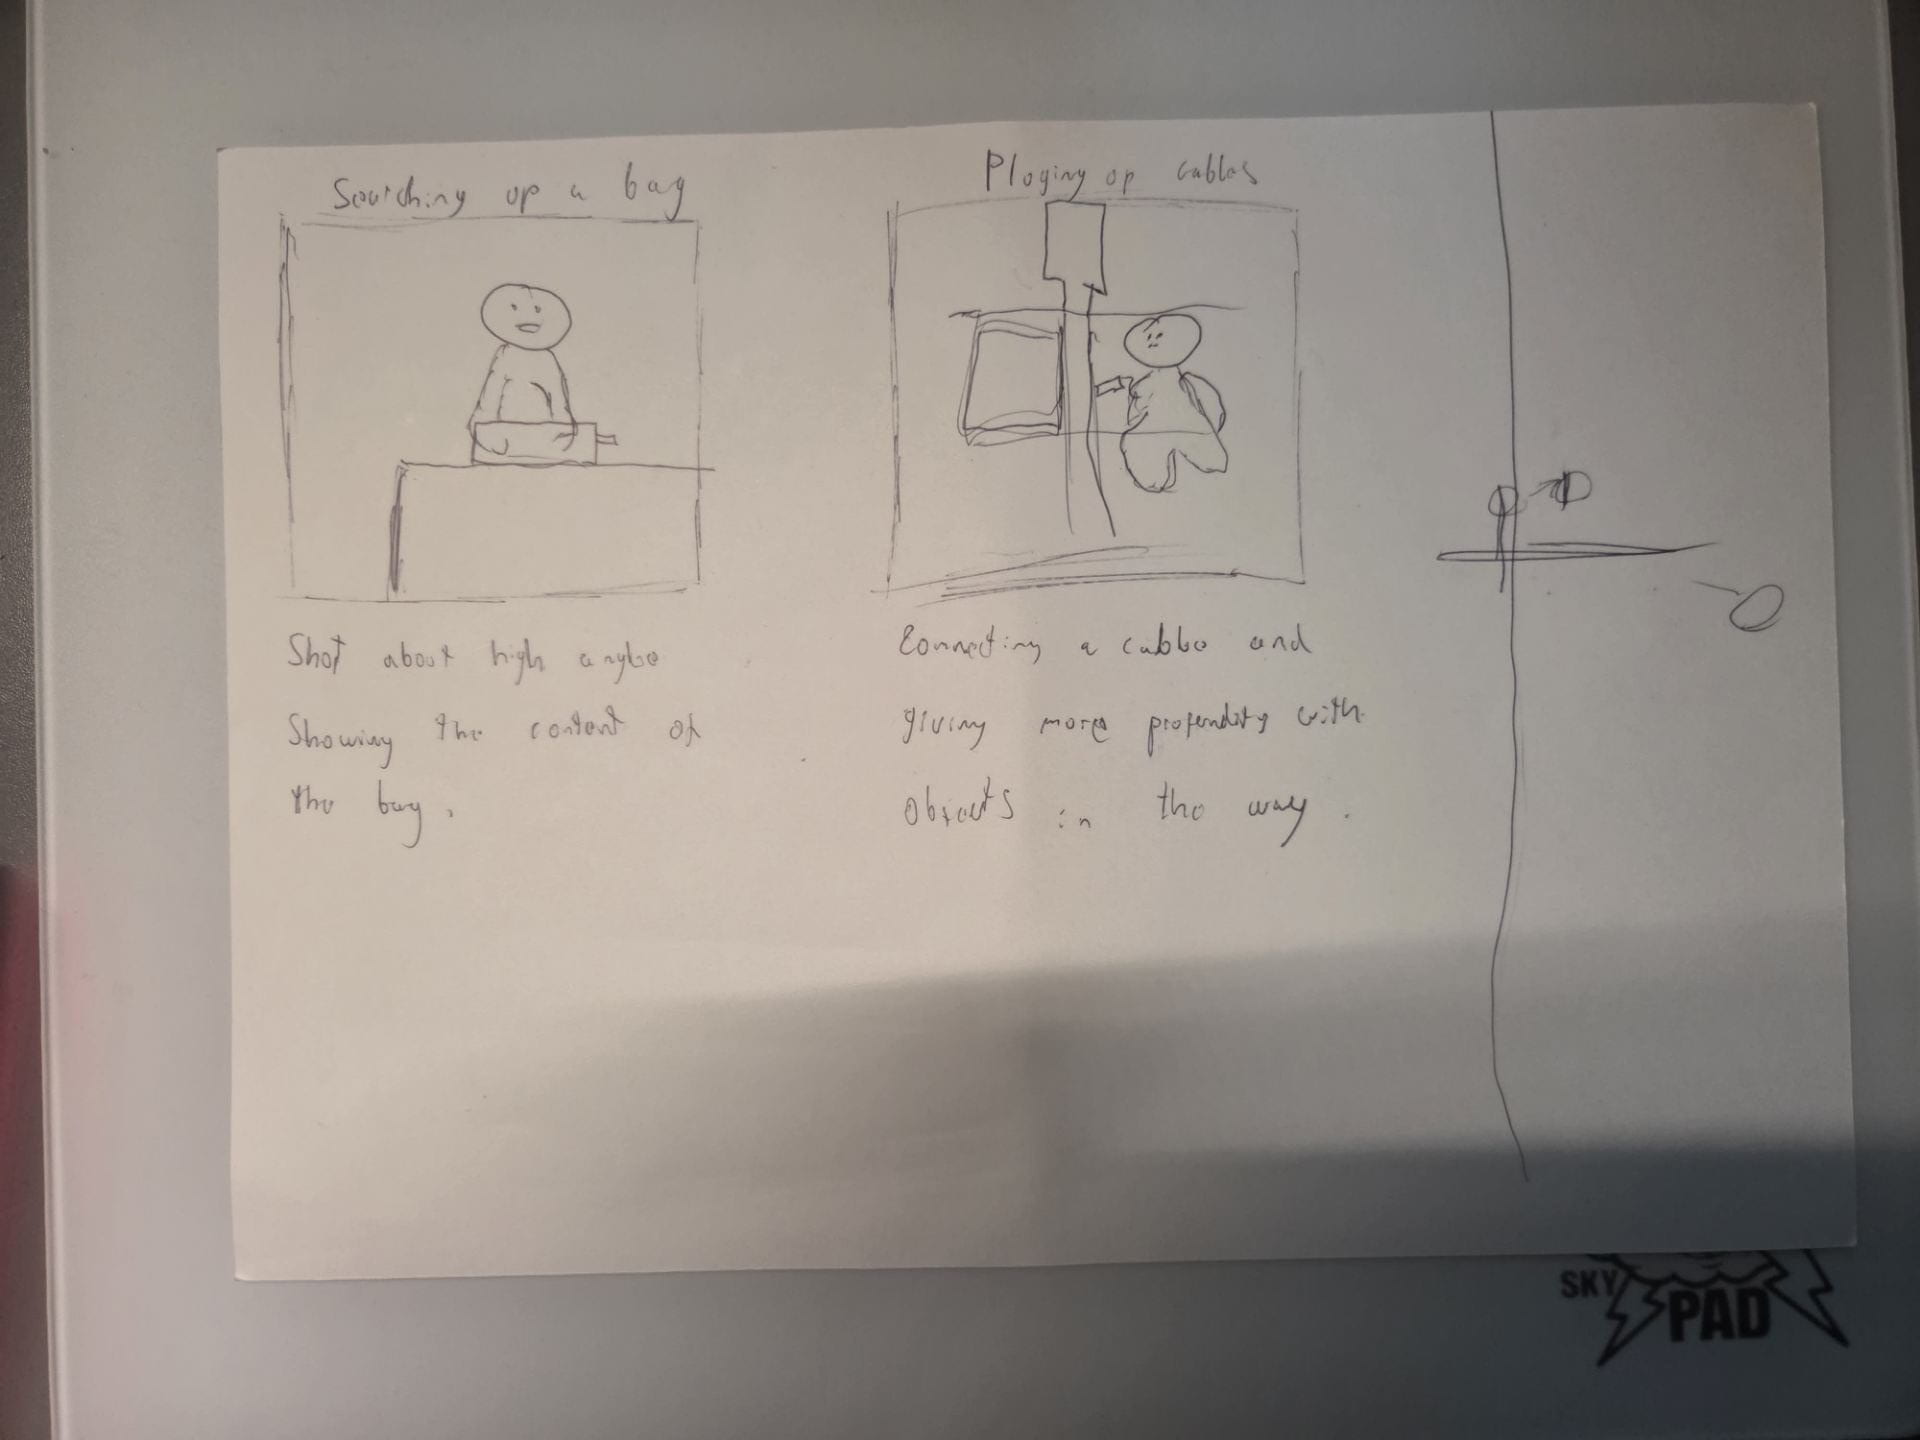
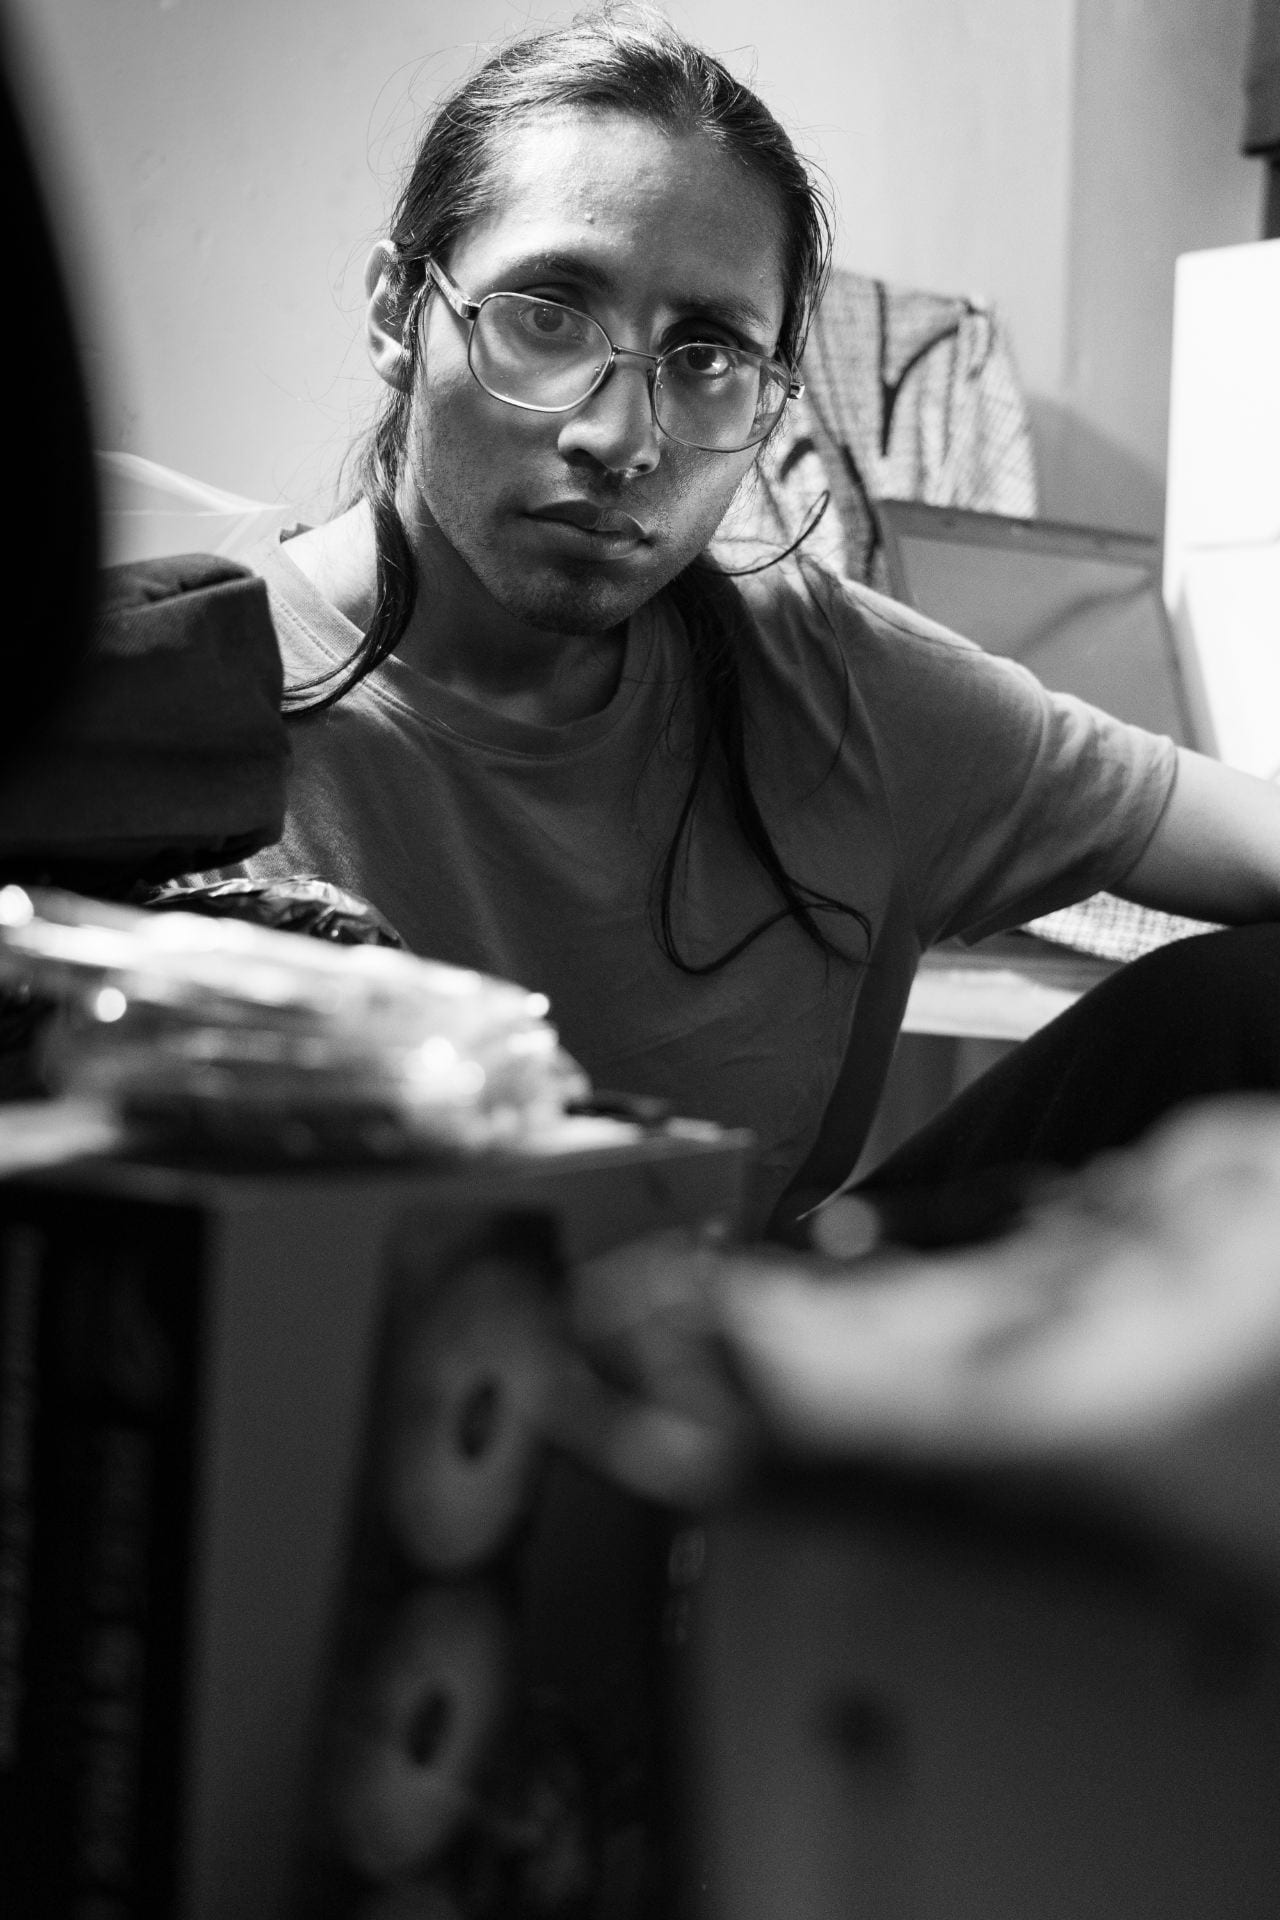
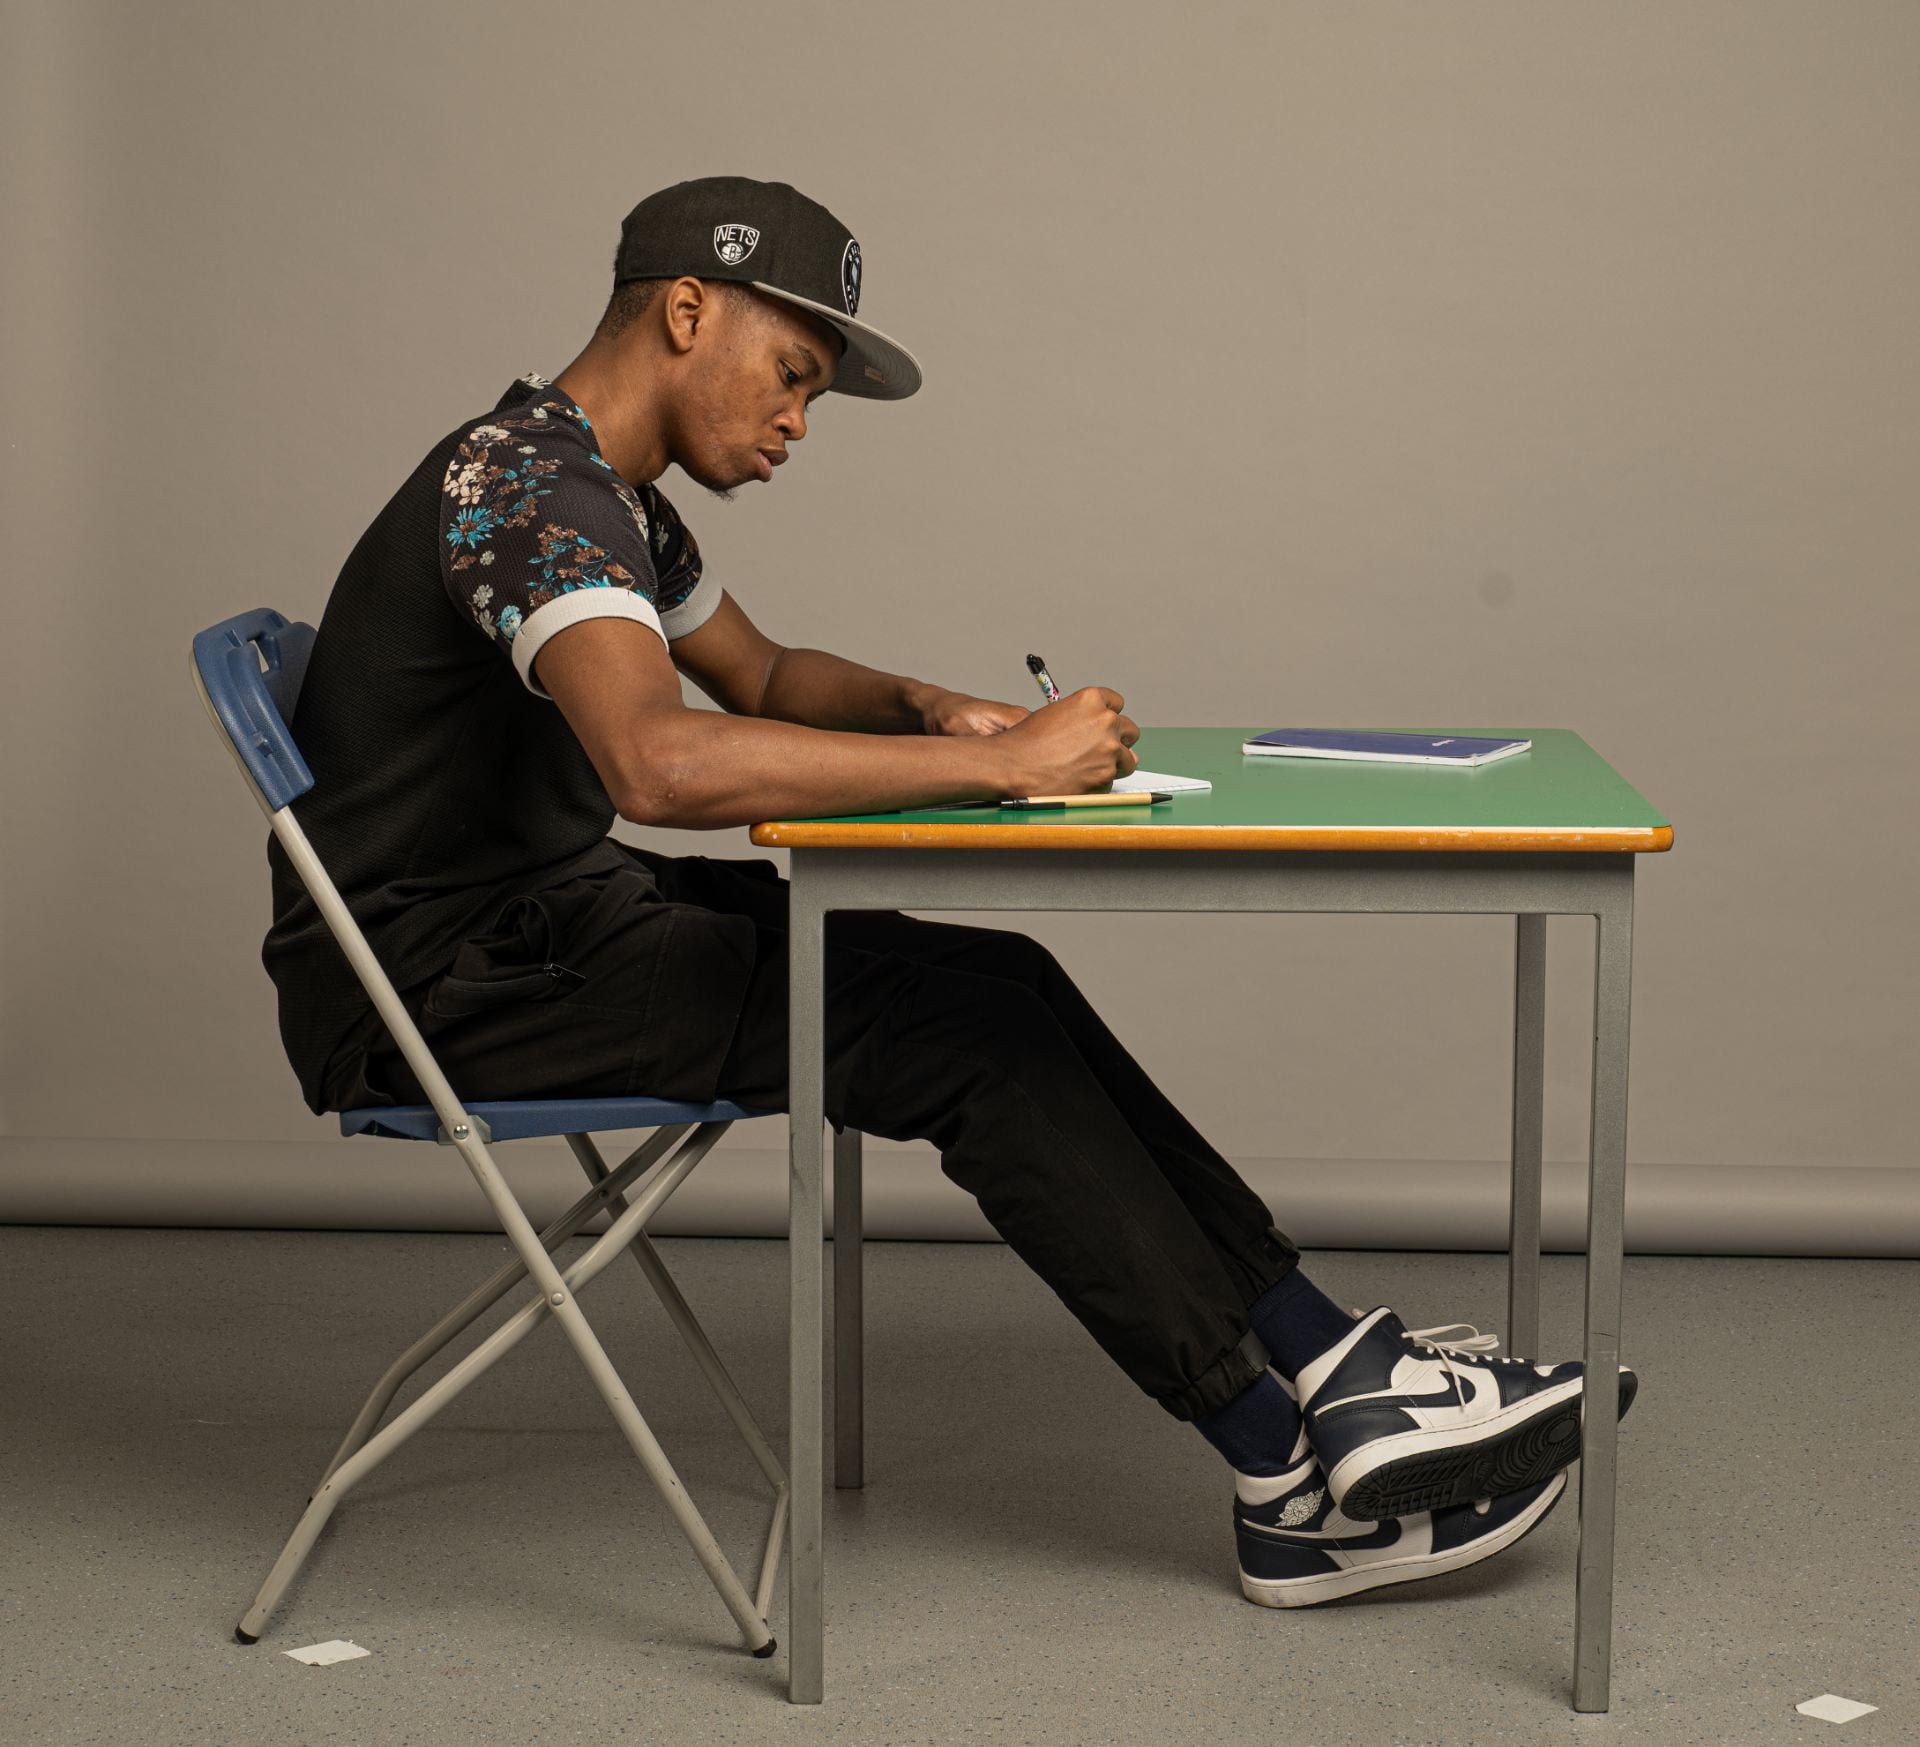
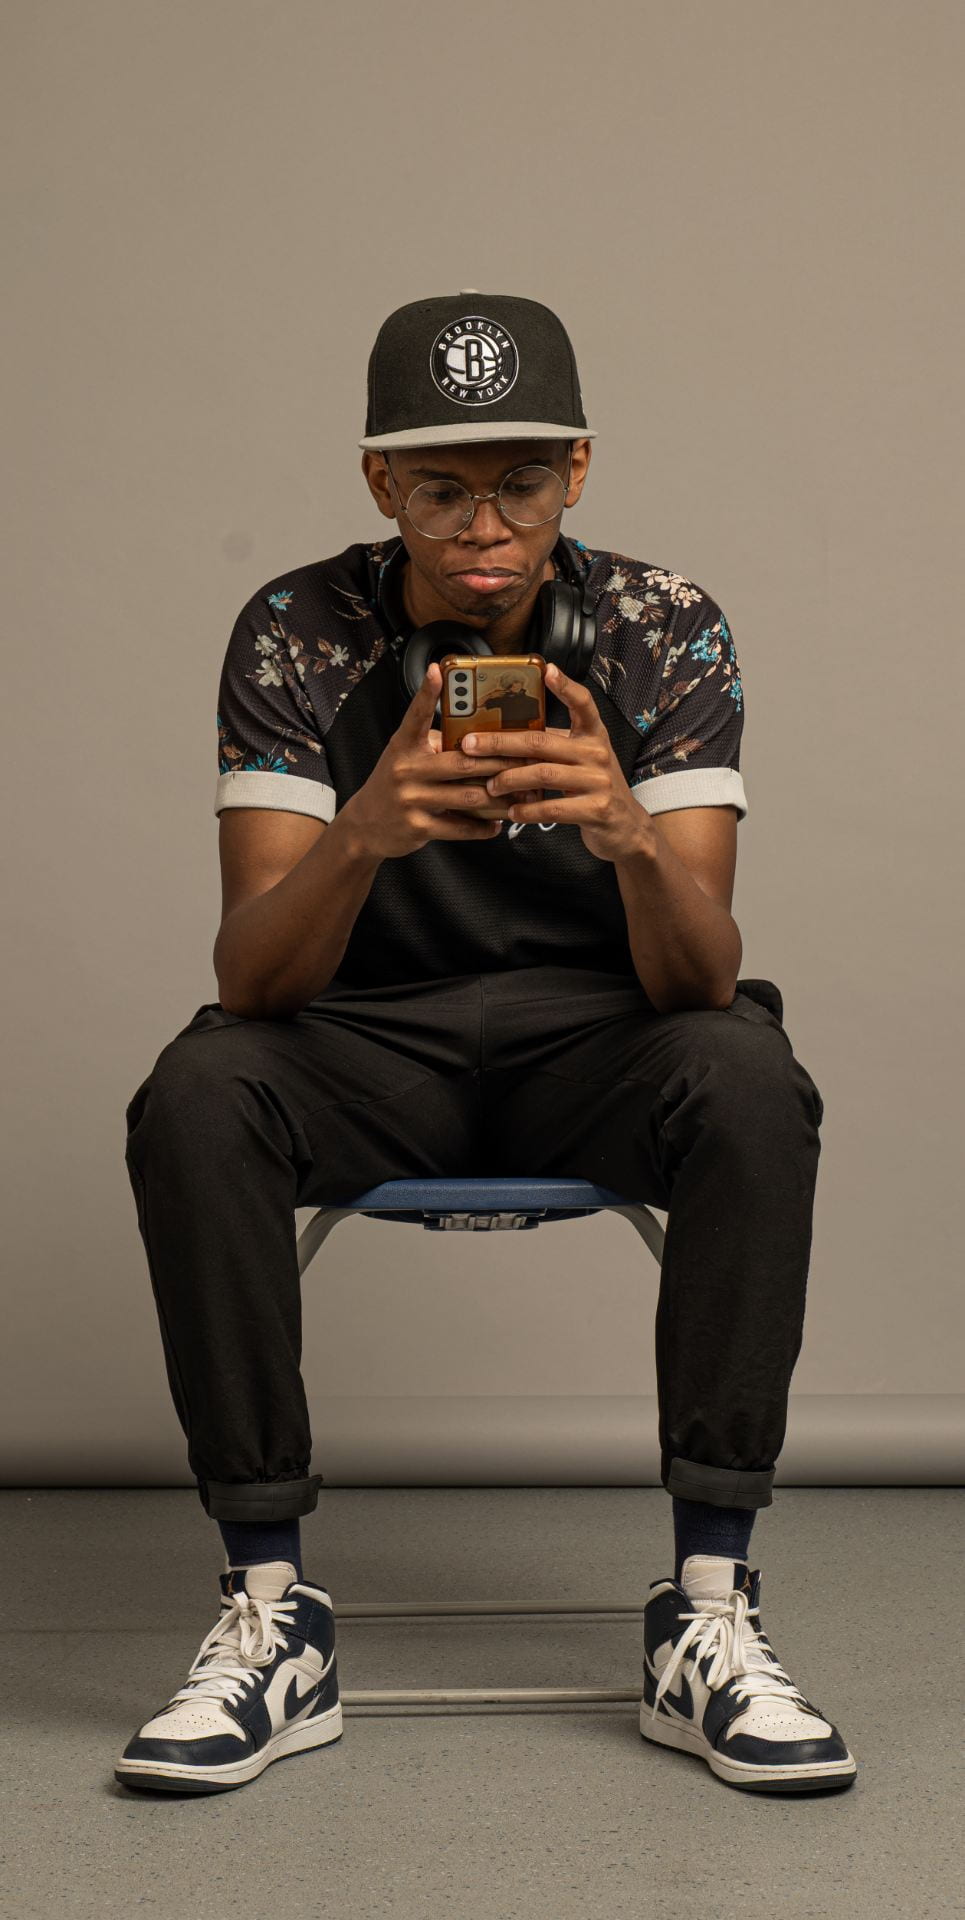
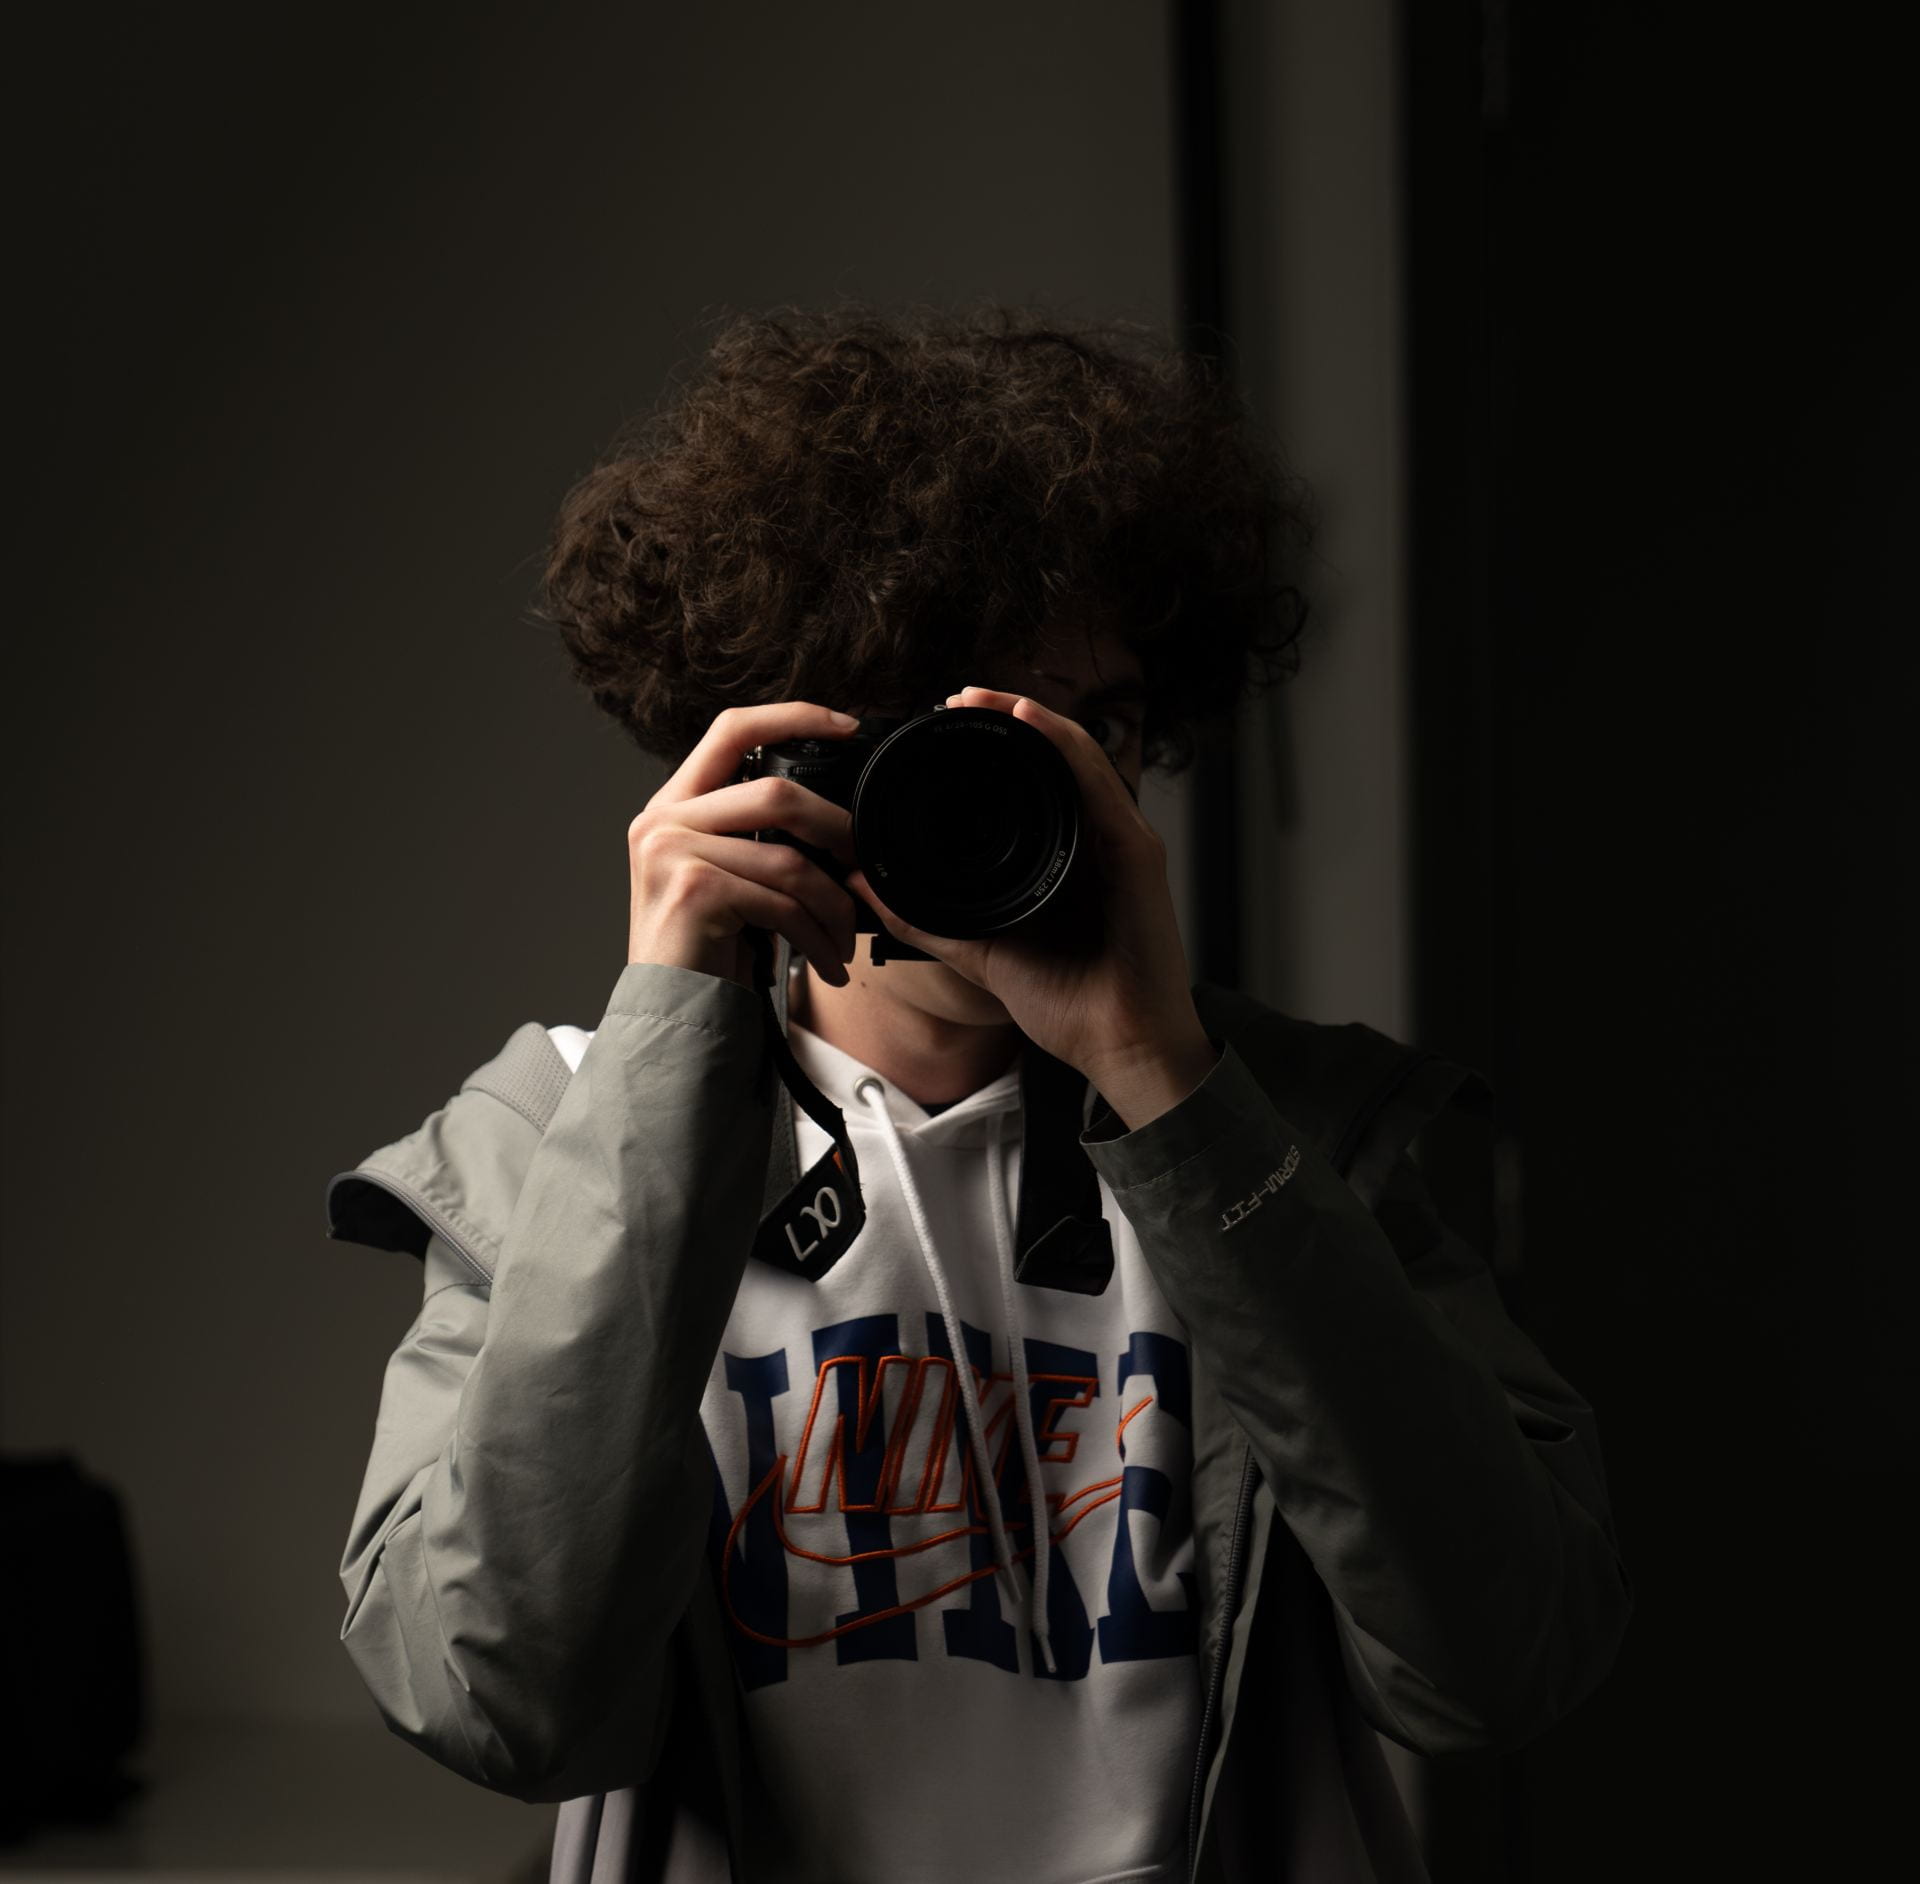
Images:
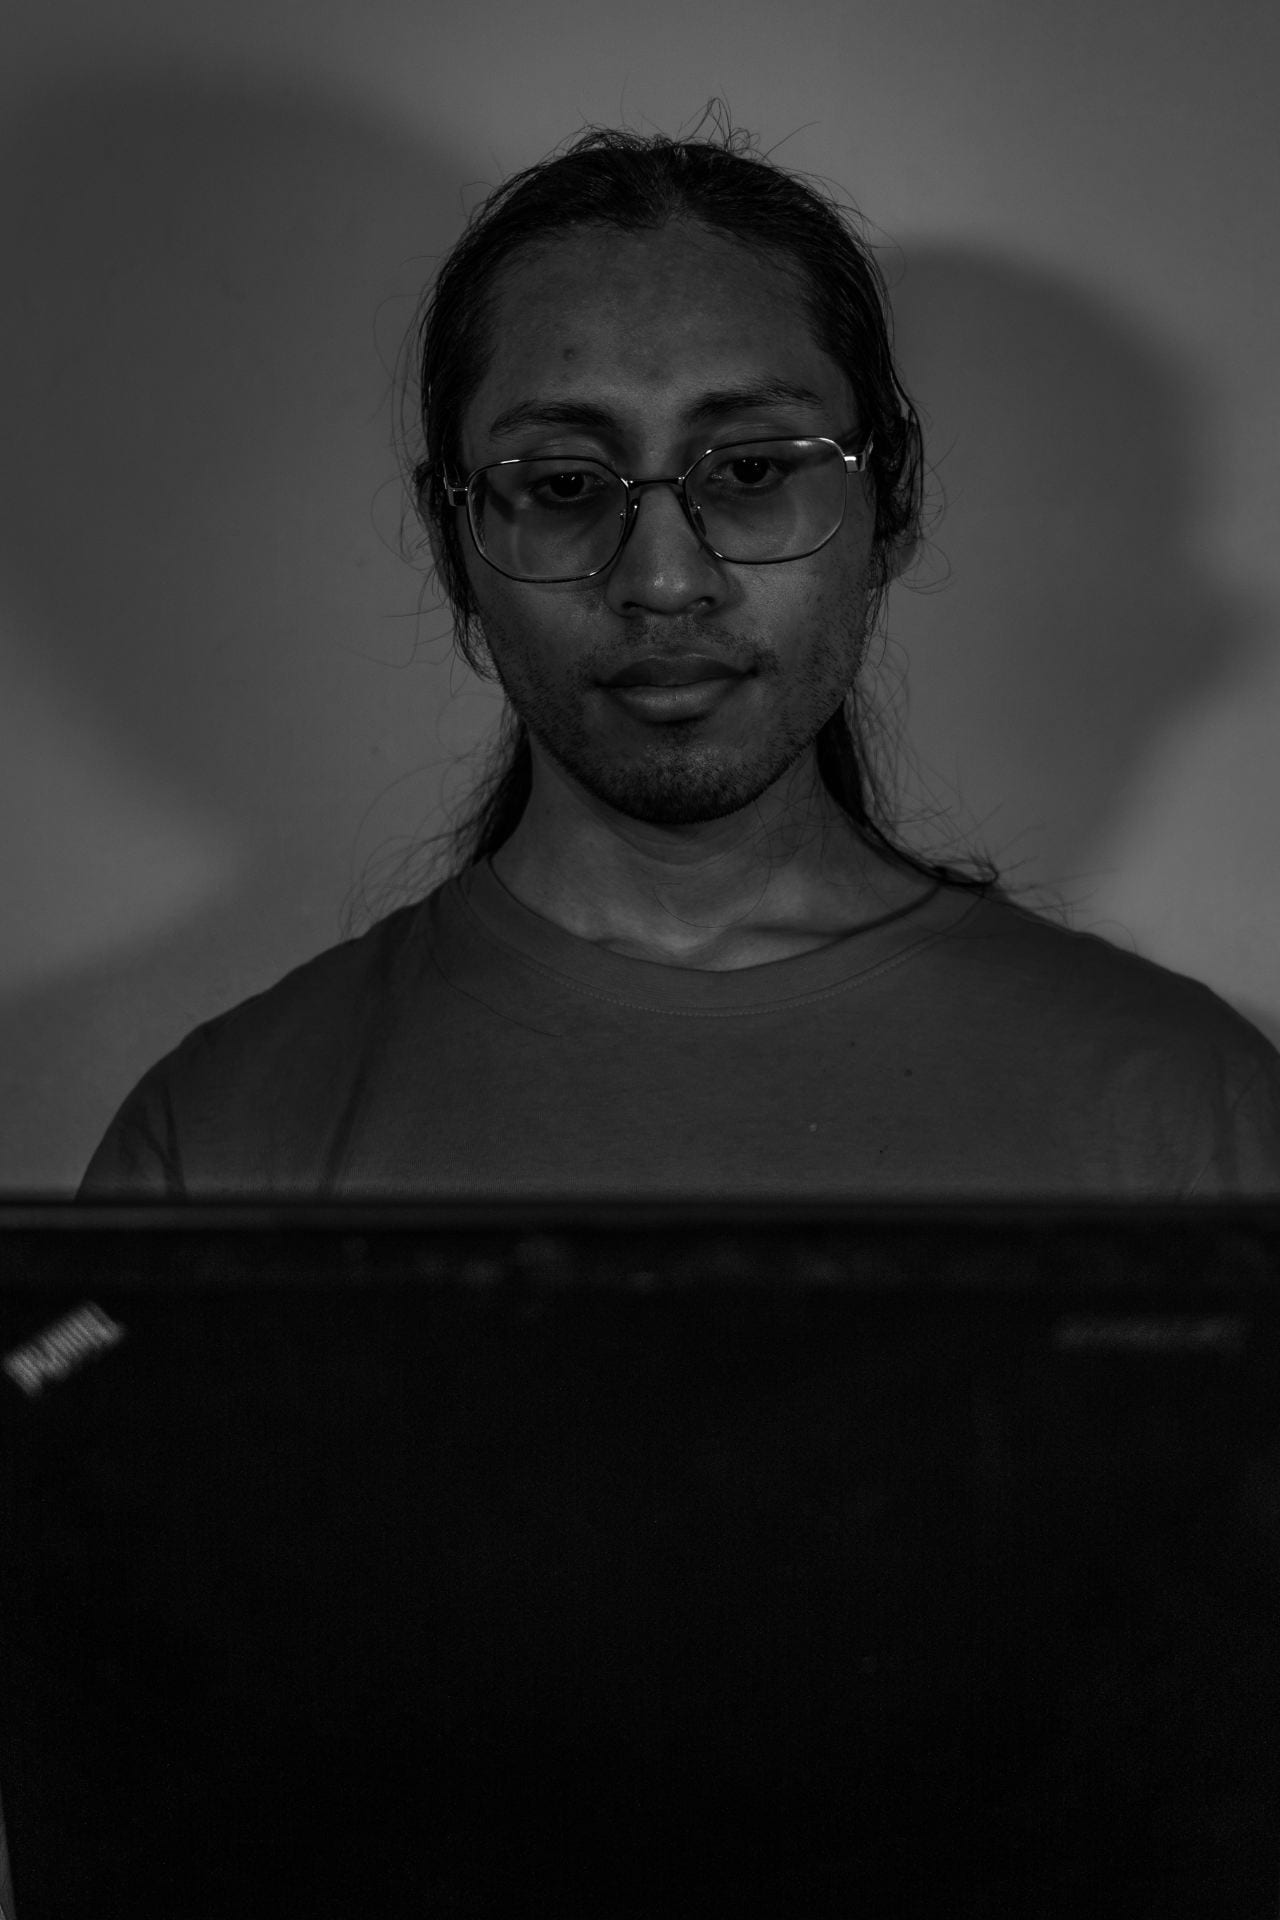
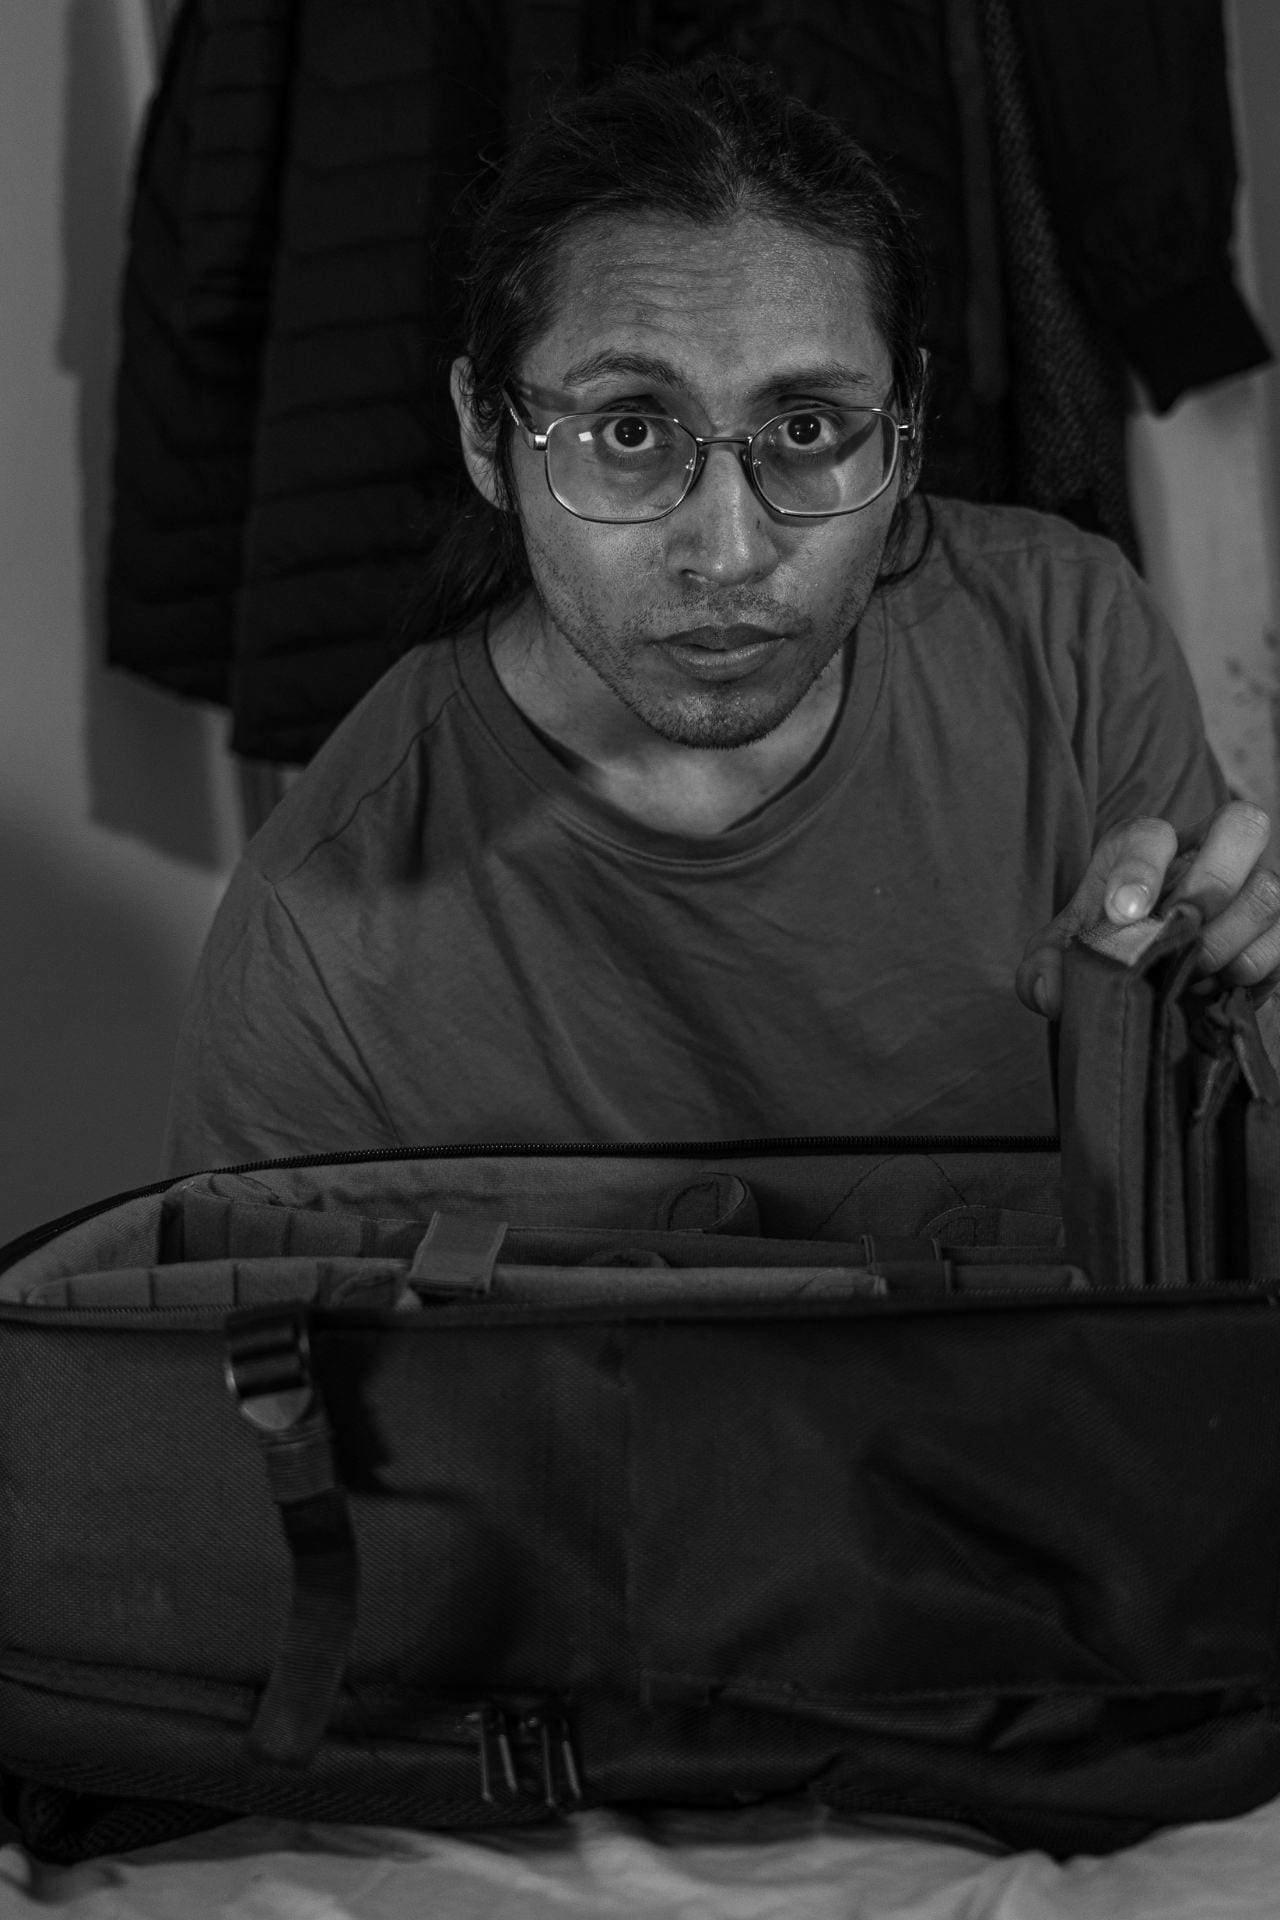
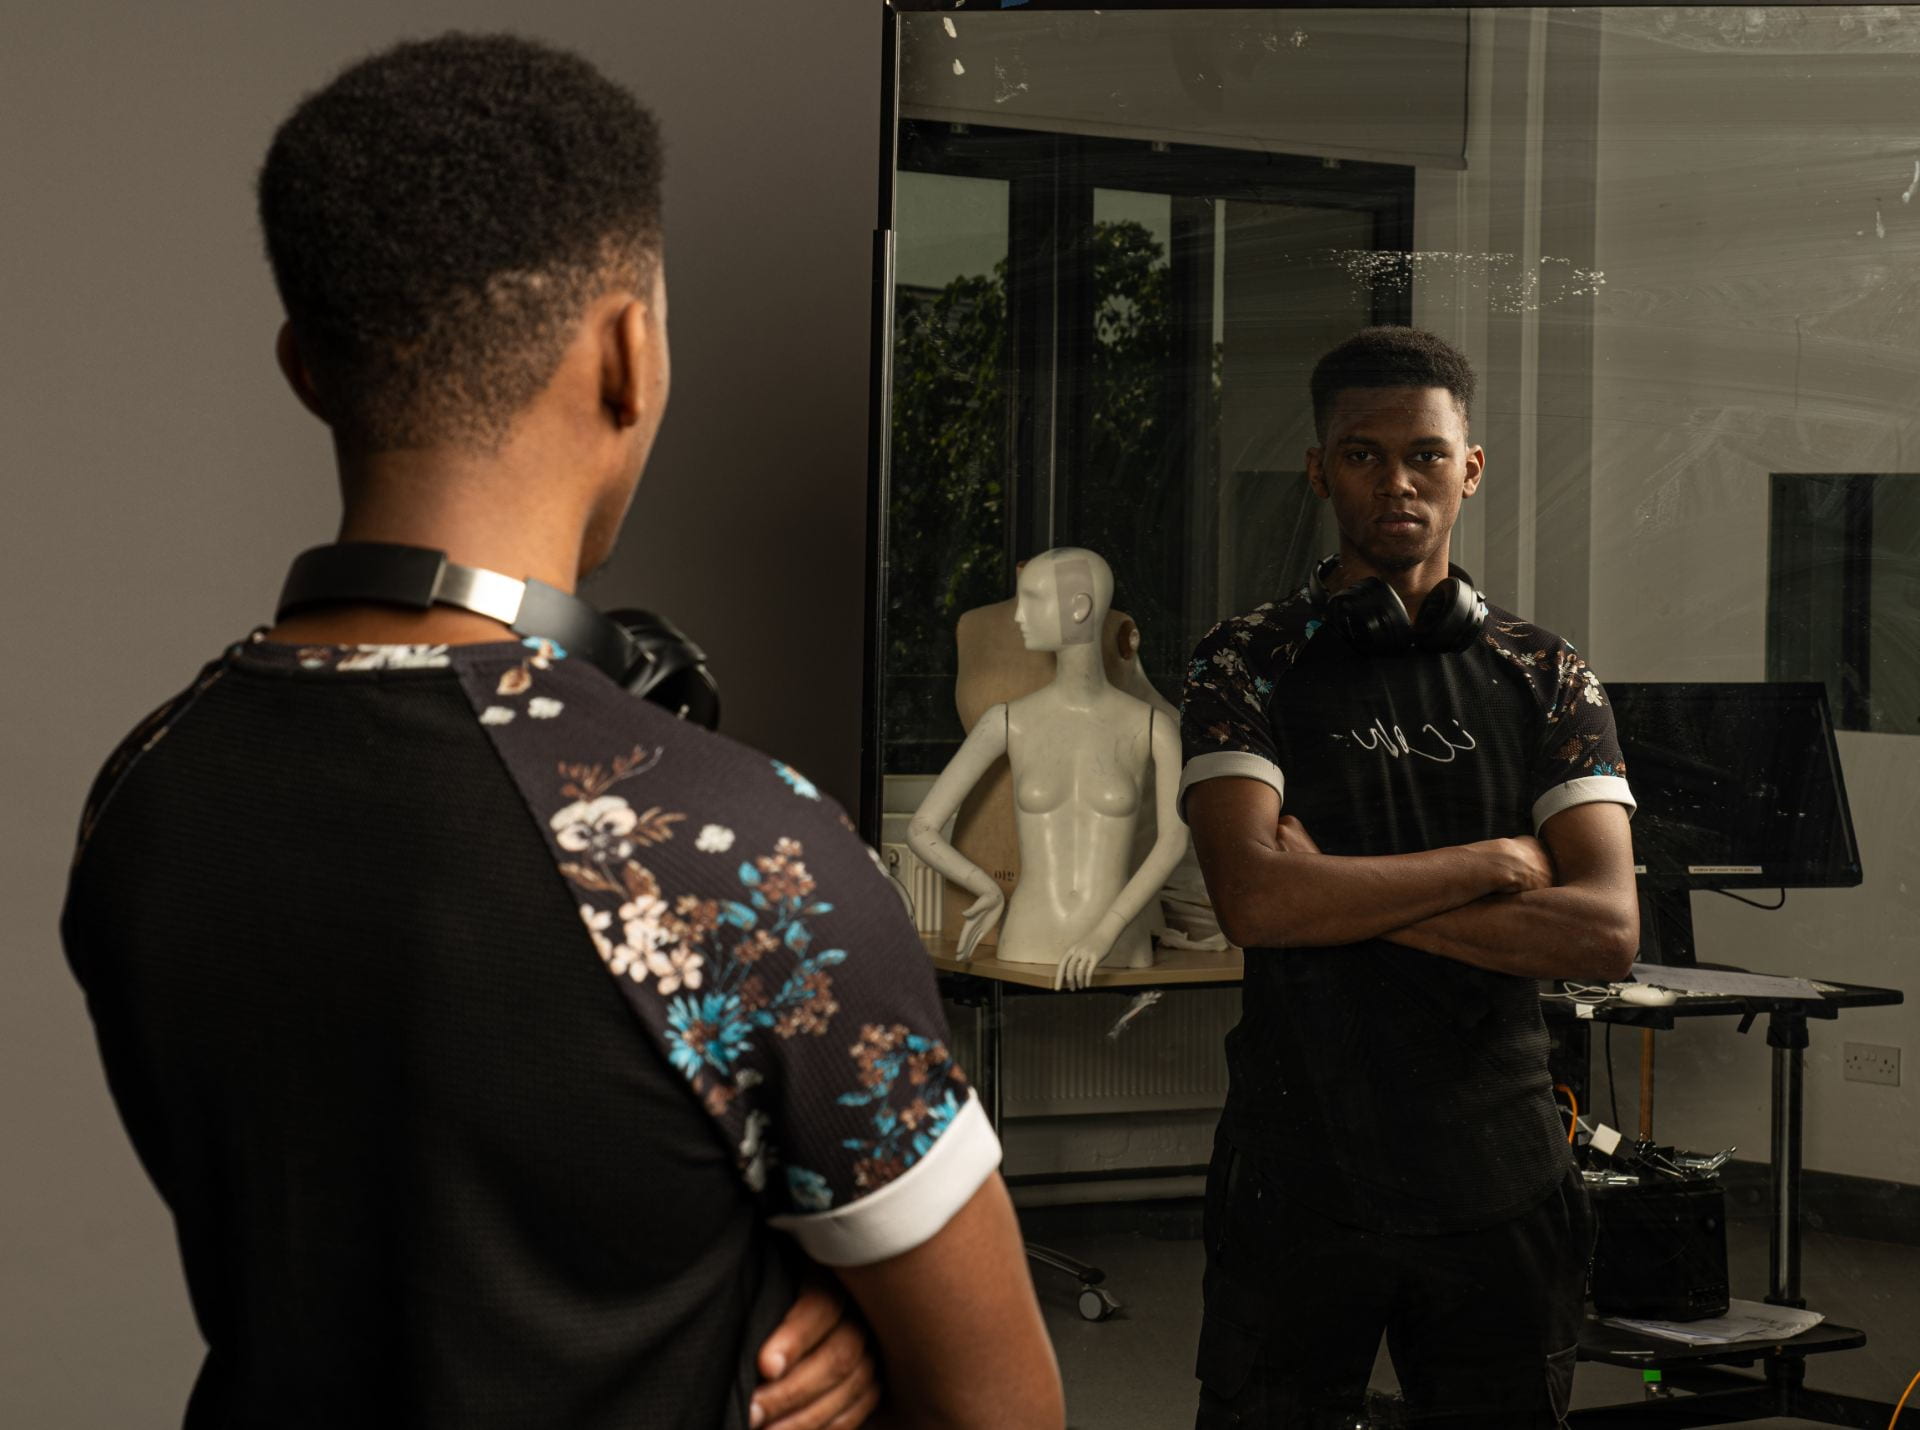
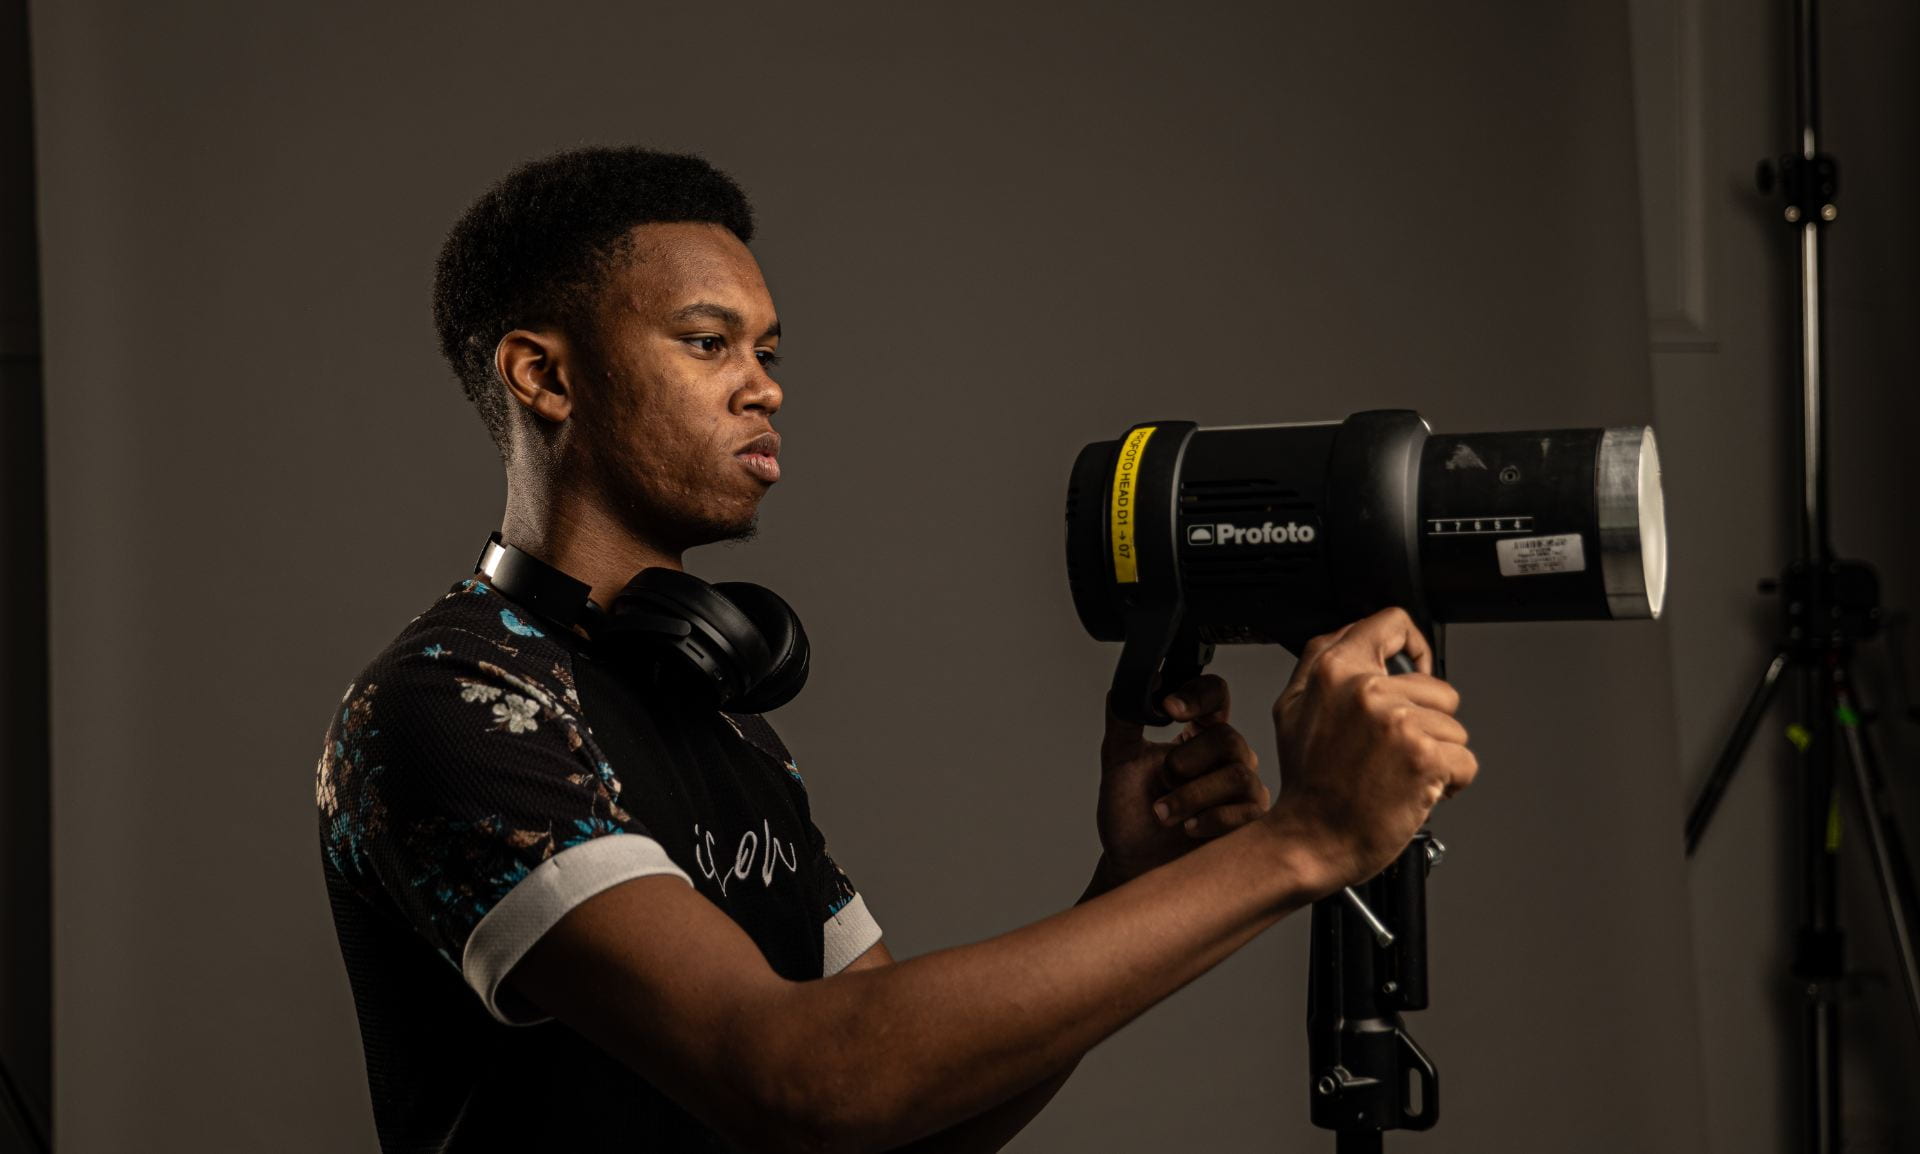
End of assignment 2
Reflection
It’s been a long journey, but I am glad to say that was a good one, this module help me a lot, through new techniques that I have learn during the course, I had some knowledge about photography before, but this module enhanced my previous skills. I must include that I used to take photos by myself but I at some point I lost the motivation, but after all I went trough, making the assignments and task of this module, that flame that ones extinguished, reignited again, I feel that I acquired a plenty range of skills, such as group communication, teamwork, leadership skills, research, and of course photography. I have never felt like I was lost thanks to the guidance the tutor provided to us during the whole course, which I appreciate a lot, because sometimes is really hard to get help. To finish with this reflection I wanted to say that the course was inspiring, and I am looking forward to work with my classmates next year, and acquire new knowledge.
End

